
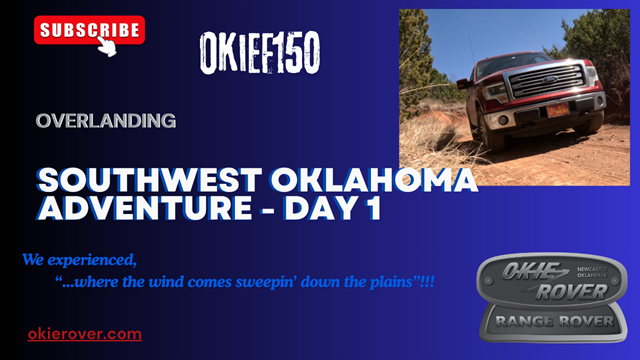
Southwest Oklahoma Adventure Day 1 (Post #728) 3/30/2026
Day 1.
Day 1 of our trip started with us heading down the blacktop toward Sandy Sanders WMA in Southwest Oklahoma. Our first stop was a the Dinosaur Space Rocket that Larry and Mark named Sticker Dinosaur Space Rocket due to the amount of goat heads in the yard in front of the site. You can find it on Roadside America. Unfortunately I couldn’t get the camera working for this attraction.
We took a hard right at Rush Springs, Oklahoma and took to the Wichita Overland Adventure Trail. I highly recommend this route. We drove around and looked at some neighborhoods down there in the Wichita Mountains.
We also stumbled on Mountain Park WMA. This is a wetland and famous for its hunting. It should also be famous for being a wetland in basically a desert. At some point during our chatting I mentioned Cry Baby Bridge in Blanchard, Oklahoma. 35.174555, -97.635488
A list of the “other” Cry Baby Bridges in Oklahoma.
We mapped out a path to “Devil’s Canyon” but we didn’t have a route to travel it in our vehicles. We kept going to Sandy Sanders.
We arrived and drove through the park. We were dealing with 35mph winds with gusts in the 50mph range. There were no camping areas with any kind of break from the wind.
We drove through experiencing some extremes we were quite frankly surprised our crew cab pickups could handle. We did a down angle of 22 degrees on one plunge. We had some off camber turns at 13 degrees. We also had some climbs in the 17 degree range. All in all we had fun.
With temperatures at 100°F (37°C) it was what I consider… SUMMER CAMPING.
I do not “Summer Camp”.
We decided to head to Lake Hall to try and get out of the wind. We were successful, but the temps were still too high for comfortable sleeping. It was 80°F at 11:00pm. Winds were still 20-30mph from the south.
At 0300 the wind changed direction and blew from the North at the same speed as the earlier winds that day. That cooled things off quite a bit. Down to 44°F with a windchill making it feel like 37°F. This was debated as the most extreme weather change our hapless group had ever experienced.
I took the lead for the second day and headed us toward the Antelope Hills and our final destination for Day 2, Packsaddle WMA.
Day 1 Wrap-up
I found some video on the B-roll camera I thought I’d also share. We just BS about the day’s events and take a look at our camping accommodations.
Day 2
We headed north to Antelope Hills. That was pretty great find. We did not see any antelope but deer were prevalent. Along with the wind…
Apparently the Texas Rangers had ventured there in the 1850s to battle the Comanches. Here are a couple of links to what happened.
Oklahoma Historical Society and Battle of Little Robe Creek.
We then headed straight for Packsaddle WMA. Again, the winds were silly strong. We hit all the roads we were allowed to travel. This would be quite the driving park if the roads reserved to the oil companies were open to the public. This was pretty disappointing. I get it, no one wants anyone messing with well heads. But this was a very unique site.
It also did NOT have any locations out of the wind. We finally found a site on the east side that offered a little and I mean little bit of wind break. The good news for us as the evening winded down so did the winds.
A negative for the site, all the camping areas were overrun with goat heads. Everything that touched the ground became covered in stickers. I’m not sure anything could be done about that, but wish there was.
We found an old school on 1890 Road, but I could not find anything online about the building. It could be Lone Bell school. It was an obvious school and may have served as a home in it’s later life.
We settled in to a chilly night with a moon dominating the sky and coyotes howling all night.
Day 3
We got a late start, on our third day. We are just three over 60 fellows. We are low-drag and never really in a hurry. Breakfast is our first thing each day and we take our time getting it done. Can we move faster… sure, but why? Part of the fun is not living by any agenda. Hell we barely prepare where we go, let alone keep a daily schedule.
We head east to close the distance to home. We headed to Burns Flat to check out the Oklahoma Spaceport. First and foremost, I bet your state doesn’t have a spaceport! So shut it. We have a spaceport, but it wasn’t without its controversies. Cost overruns, lack of any “real” progress, visitors from outerspace showing up without invitations, no cool yard art like rockets, or piles of debris from failed attempts to reach the stars. In the video I called it a “boondoggle“.
We then hit the blacktop to make some time to our final campsite. We stopped in Bessie (my adopted maternal grandmother’s moniker), Corn, Colony, and Sickles. Corn had a cool museum on the main drag. I got some video of that. It also had an old Jeep pickup like fellow former YouTuber and Okierover subscriber Tumbleweed Garage.
We pulled into Red Rock Canyon for our overnight camping. If you haven’t visited this gem, you should. First and foremost it is family friendly. It also has bathrooms and showers, perfect after a few days on the road. Campsites are everything from primitive to powered to rentable Yurts! What?!?
We were able to have a fire so I harvested some downed wood and we enjoyed a fire. Fires were IMPOSSIBLE at our other campsites due to the winds we experienced. We ended our trip here and headed back home to loved ones and civilizations and schedules.
Thanks for reading and Happy F150ing?…. Happy Rovering too…
Video coming.

