Footwell Repair Part 2: Disassembly (Post #649) 3/24/2024

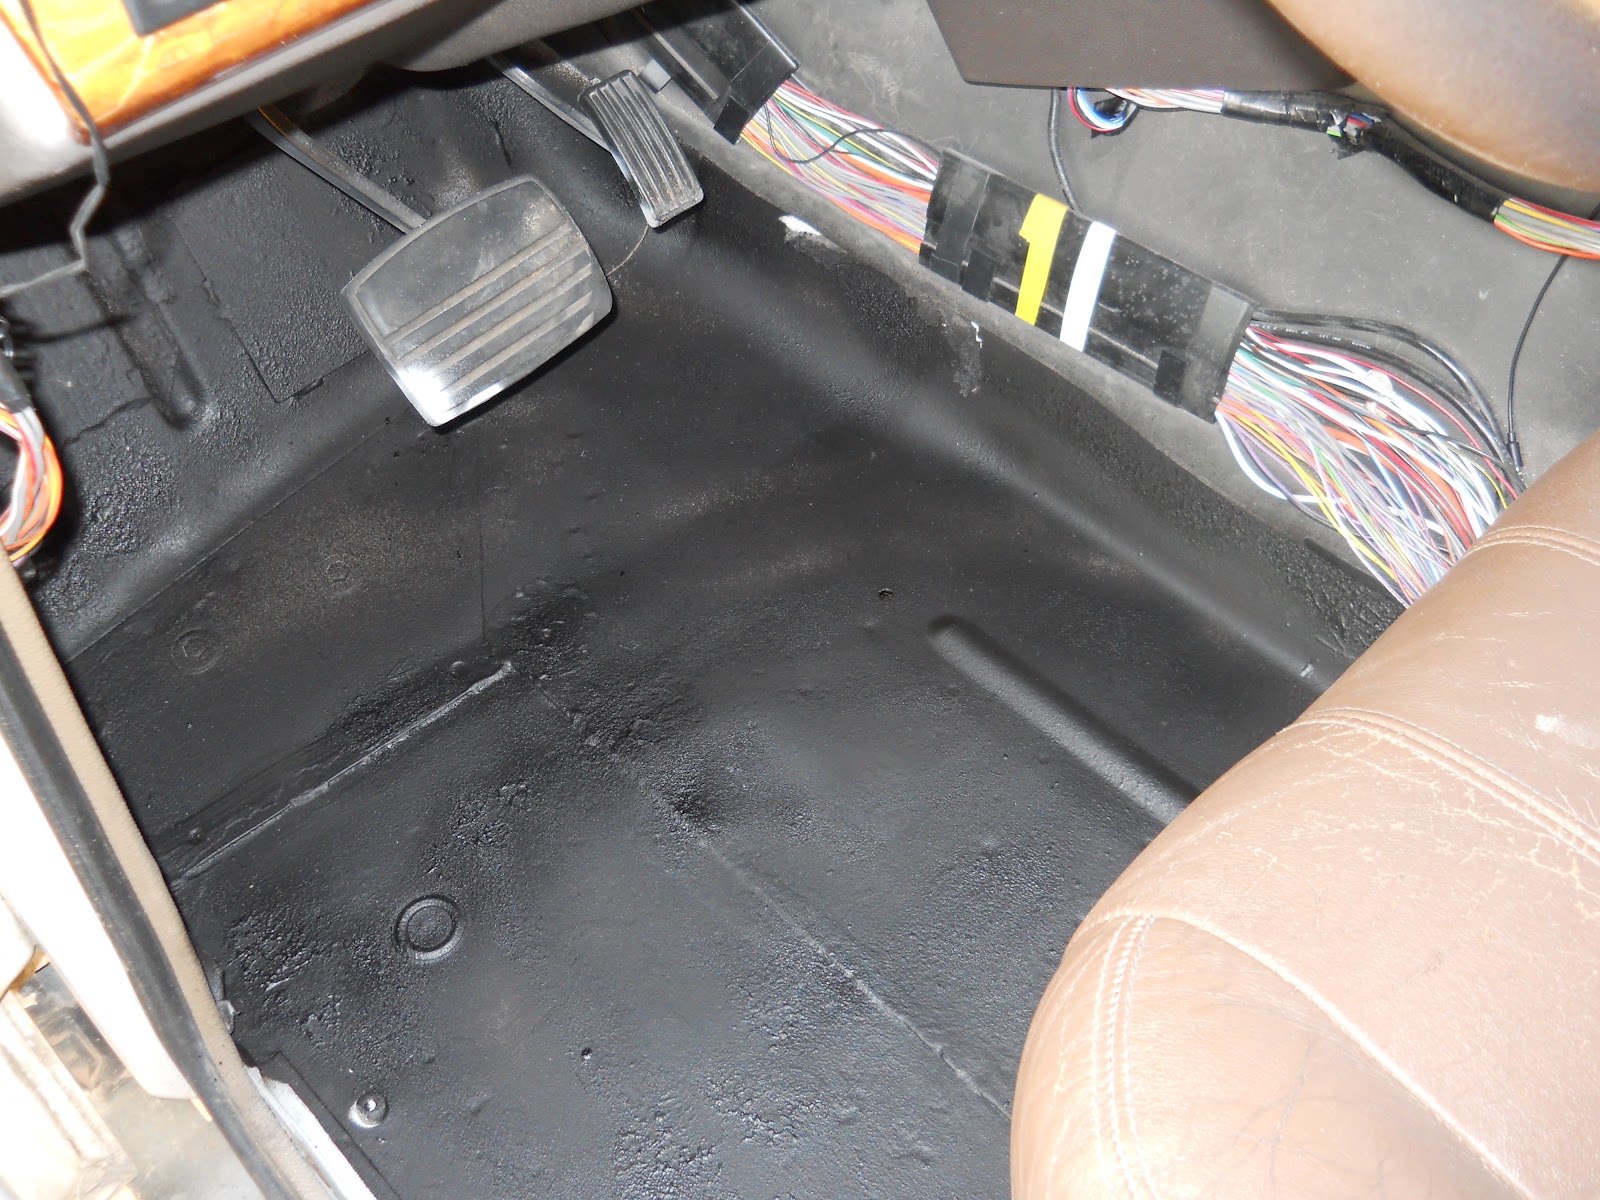
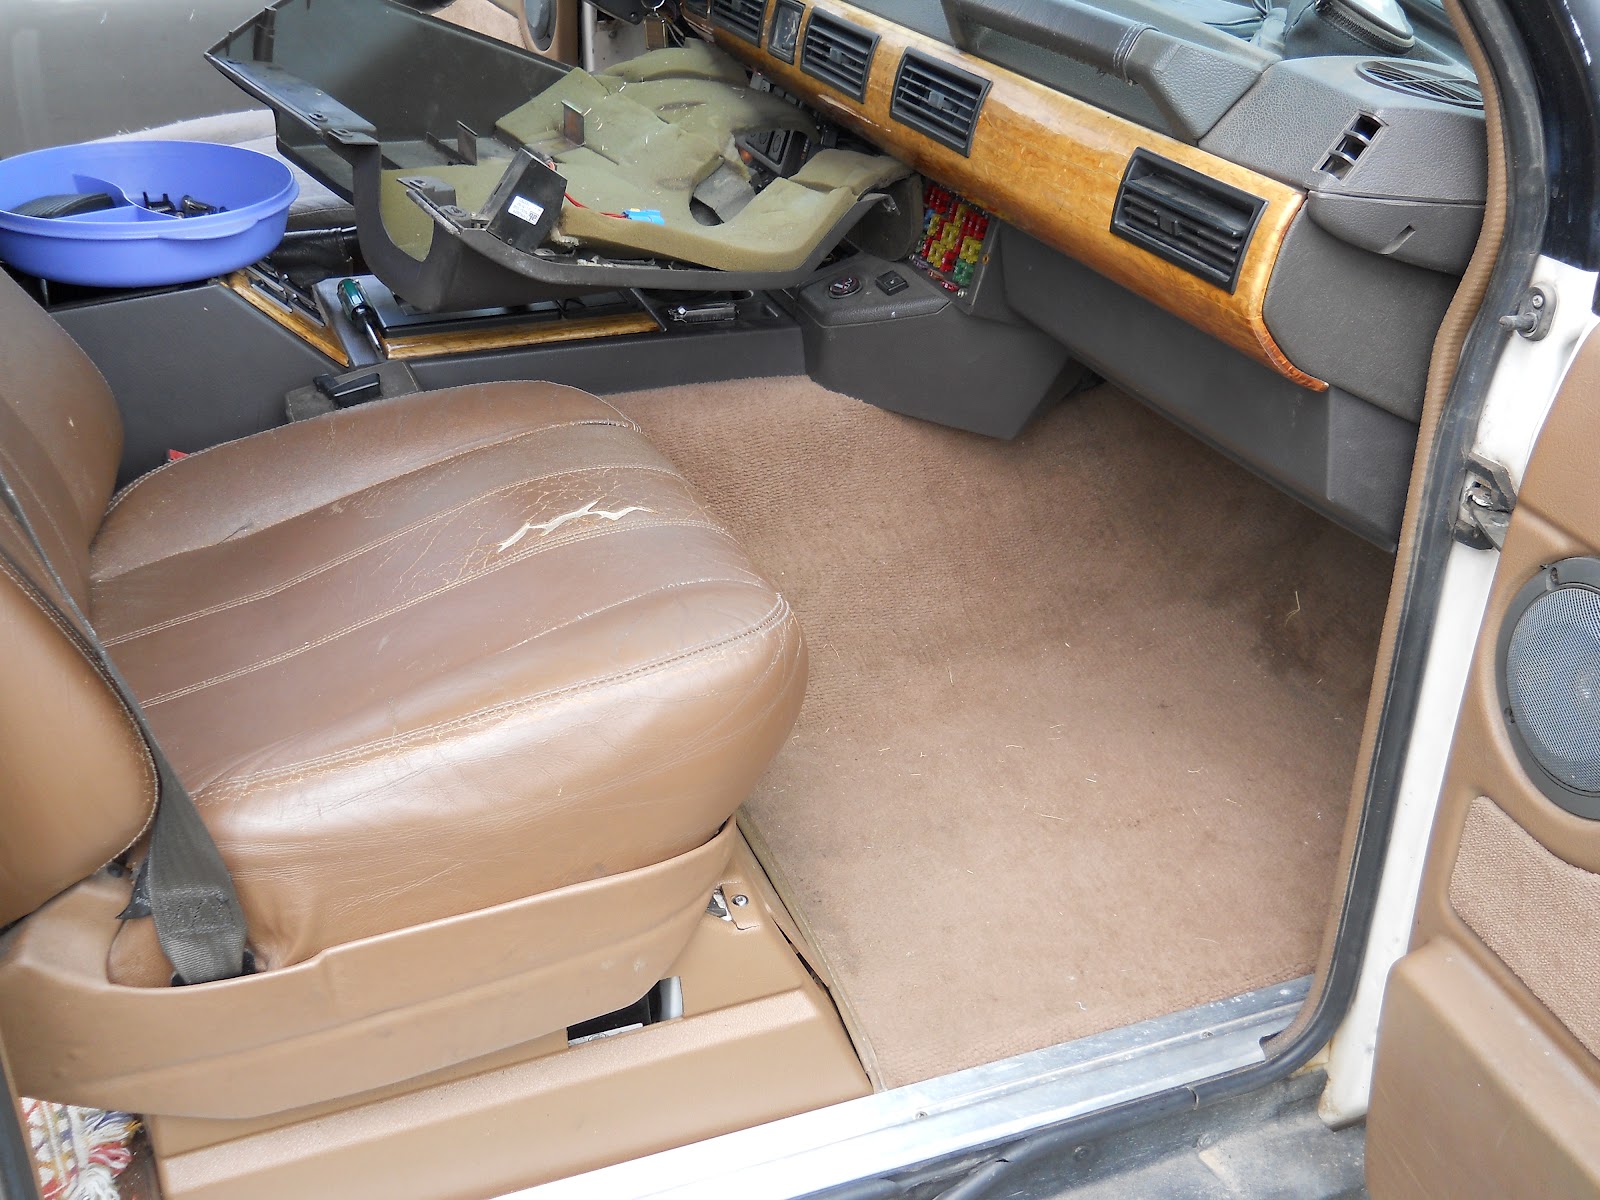
In this installment I begin the disassembly of the front fender to expose more rust. And I was NOT disappointed. I found just about what I expected. A rusted through footwell. On a positive note…I think I found where the water was getting in to soak my carpets. I have no idea how to correct it, but at least I found it.

In order to get to all the rust the front fender had to come off. I encountered a bunch of rusted screws and bolts. I had to cut several of them off. I even used an air chisel to remove some spring type U nuts (yeah I had to look that name up, I had no idea what they were called). I can tell you they were a bitch to remove. But after you deconstruct them a bit they came right off. I’ll likely replace the U nuts with stainless steel bolts and nuts.

The fender didn’t put up much resistance after I got the U nuts off. I then had to remove a plastic fender piece. You can probably guess that the plastic clips weren’t going to survive being taken off.

Underneath I found a lot of surface rust. I put the angle grinder with a wire wheel to work. I cleaned up some of the rust and found a bunch of really bad metal.

In the seem between the wheel well and the footwell I found what I think is the source of my wet carpets. This spot is going to be hard to fix. I don’t know what needs to be cut away and what needs to be welded on.

Inside where this failed bulkhead is is covered with Fat Mat. That will need to be removed. Heat gun and patience I hope will assist me in getting it removed. There is a nice cluster of wires and relays right there too. So joy of joys I’ll get to relocated all that too!!! Woot!

I also took the lug nuts and cleaned all the rust off them. I have the first coat of paint on them. They’ll get a second before I put them back on.

That’s about it for this week. I got to watch some severe weather out in western Oklahoma on Sunday. It all petered out before it got to the Okierover Base Camp.

Like and subscribe the video.

Never trust quotes in social media.

https://youtu.be/Hr4vN39uf8c

Fat Mat Installation (Post #295) 6/8/2012

If you’ve been reading along like good little minions dis-interested onlookers followers you know about the rust issues in the front floor pan of the Range Rover. You also may have read that I was looking for sound deadening products in my post back in September 2010, Shhhh!  Last month I decided to do something about it….again. I purchased some Fat Mat sound deadener. I had two thoughts when installing it. It would…

  • Reduce heat and sound
  • Cover the floor pan
The reduction of heat and sound is a simple one. The Range Rover shipped new from the factory has a pad and carpet installed. If you pull that up you will find two small pads to reduce vibration and thus sound. The first thing you learn about the factory pad is IT IS A SPONGE. The second is it smells. And lastly it holds water and increases the rust chances for those metal surfaces.
The second to cover the floor pan, is simple, reduce water coming in contact with at least one side of the metal. I thought if I could coat the floor one more time and then cover it with this material I might minimize the rust. For certain, I won’t ever see rust there again as the Fat Mat material is very difficult to remove.
Once I began to prep the surface with grease and wax remover I noticed…the metal was already beginning to rust. Frustrated, I got the angle grinder out, too the surface down to bare metal. I then wiped the surfaces with the grease and wax remover and sprayed the surface with acid etching primer and after letting it set up. I covered the floor pan with pickup bed liner.
Over this I placed the Fat Mat.
All I can say about the install is follow the instructions. And put it on in small sheets. It would be impossible to cut the sheet correctly, peal the back, and get in place, and rolled down. As I type that I’m sure someone out there has done it or will do it. 
I was careful to cover the floor in such a way as if water DID get in there it would not seep through the Fat Mat and sit on the metal. I know the floor will rust again, I just don’t want to see it.

Over the Fat Mat I placed the OEM floor pad and then reinstalled the carpet AND all the plastic trim! Yes! The floor project is complete.
Once I had completed this I also installed a Fat Mat bonnet kit as well. This was to reduce the sound as well. I got an added bonus light is reflected from its surface down into the engine bay.

The worst part of the bonnet install was leaning over the engine bay to wipe the surfaces and to place the mat.
After everything was done I took her out for a road test. I wish I had taken readings so I could have compared them. Over all I think it is quieter. I can safely say the heat in the leg area has been significantly reduced.
Over all I’d give the Fat Mat project a 1 (one) on the OkieRover Difficulty Scale if you are just putting the stuff in sans rust abatement. I’d say this job was a 2 (two) if you have to grind any rust and spray any paint or surface covers.
Thanks for reading and Happy Rovering.