Let There Be Light (Post #719) 12/14/2025

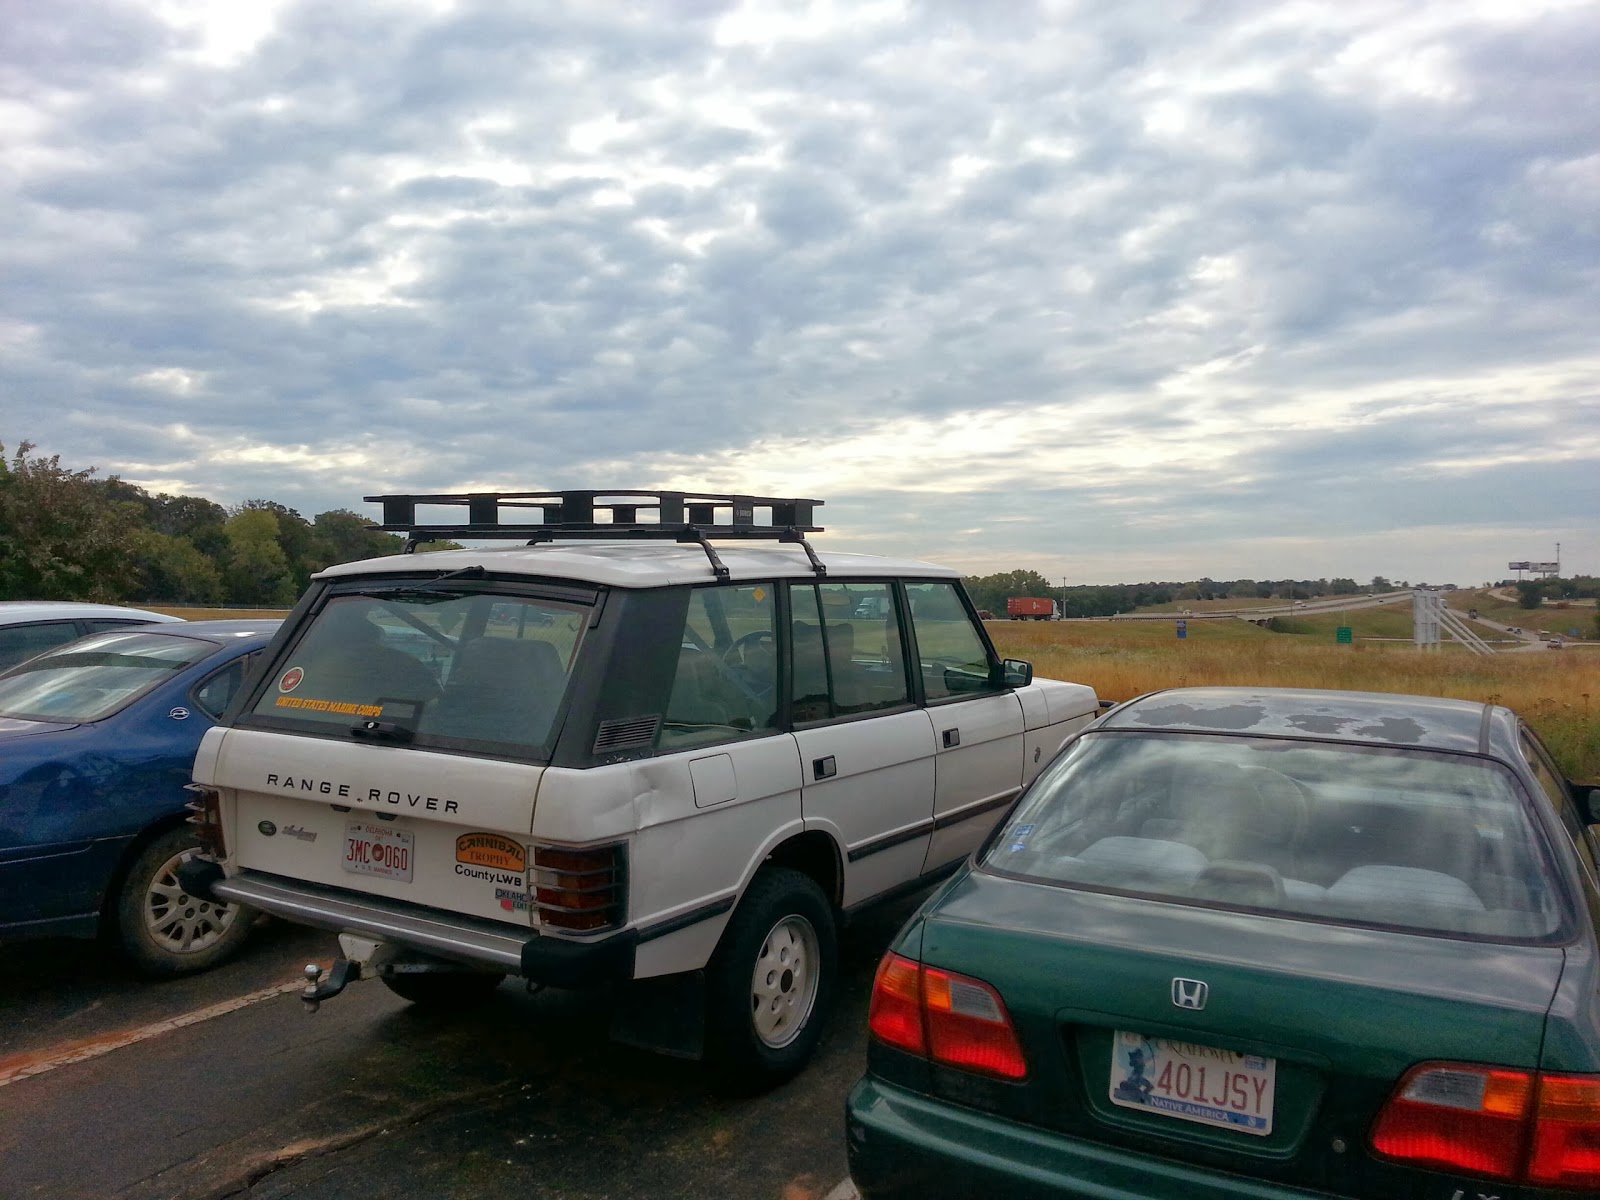
In this post I rough-in the wiring for the lights on the outside of the Big White Bus. My plan is to have external lighting that I can control from the comfort of the sleeping area in the back of the Range Rover Classic.

I have selected the lights I’m confident will provide the light I might need… setting up camp, entertaining guest and generally lighting up the exterior so I can see any threats that might be lurking while I relax in the the comfort of the sleeping area.

Three of these strategically placed on the roof rack should be sufficient lighting. There is a a minor concern about how the wiring will go from the lights back into the sleeping area. The wire I bought has a significant shield. I sorted out how they should run past the D pillar beauty panel.

I think it will work the way I have it, but if not, I will cut the beauty panel to accommodate the wires. I had a thought to run the wires through the tubing on the roof rack. The thickness of the shielding will likely prevent that. I also didn’t have black zip ties. So I’ll have to source those to complete the wiring.

That’s the gist of it for this week. I do explain my recent absence from posting videos. I have had a few weeks of medical issues that all culminated into a possible muscle tear or pull in my abdomen. I then had family over for Thanksgiving, then I reinjured myself helping Mrs. Okierover’s cousin with a tree that would have fell on his rent house. I then got bronchitis and it has been a battle to beat that. Better living through chemistry.

Congrats to the Midshipmen as they defeated the Cadets of Westpoint in a thrilling football game. My first Army/Navy game was on TV when I was probably 11 years old (1975, Navy won). I had just begun to enjoy college football. I was watching the game on my black and white TV in my room. My dad walked by and I asked, “Who do we route for in the Army Navy game?” Dad said, “Always Navy.” That should have been obvious but I was only eleven and didn’t have a full grasp of the universe at that age. I know, shocking.
My dad served in the Navy when, “Ships were wood, and men were iron.” That was 1947-1950. Sailors learned knots and morse code and nautical things subjects no squids today learn. My uncle also served with my dad on the USS Wiltsie. Uncle Bob lied about his age and joined when he was 16 years old. Epic. Dad was 19 years old. They fought the Chinese communists during the Chinese Civil War.

Thanks for all the emails and messages checking on me. I’m getting better every day.

Like and subscribe.

Thanks for reading and Happy Rovering.

Random Next Jobs on my Range Rover Classic Overland Rig Part 2 (Post #716) 8/31/2025

The first thing we did this weekend was drive up and surprise Lucas by taking him to his first pro football game. It was my first too, but we made it all about him. He had a great time.

In this post I worked on the footwell and the rust issues that may come up from melting off the stone chip/bedliner material with my welding. I got underneath and scraped off as much as I could reach with all the exhaust and drive shafts in the way. I also now realize there is a fair amount of leaking oil on this beast.

I found some transmission fluid, obviously engine oil, and I saw some antifreeze too. These are all leaks I can list along with my power steering which is weeping from the lower seal. All very annoying. Some we can fix. Some we will probably not fix. Engine oil could be coming from the valve covers which I think need sorting. Antifreeze is likely coming from one of the heater hoses on top the engine. All of those should probably be replaced based on age alone.

I also used some of the fancy zip ties to lock some stuff down. That was very satisfying. There is actually only one size in the bag and they were too small for some of the holes.

I also found some rust. “NO, how is this possible!!!” you might say. The front differential is really rusty. Flakey rusty. So that will need to be cleaned up and coated in rust converter. Then painted. The other rust I found was on the tube that houses the bonnet release (hood release to my fellow Americans). It looked terrible. I got the wire wheel out and got it knocked down to bare metal. I was pretty proud of myself for not wire wheeling my fingers.

I got it coated in rust converter and will get it painted next weekend. I still have several additional jobs to do. It’s labor day weekend so I plan to spend some quality time out there.

That’s about it for this week. No video last week because I had trouble getting the video to build and by the time it was built it was the middle of the week. So I slotted it for later.

Thanks for reading, like and subscribe, and may the wind take your troubles away.

Happy Rovering.

https://youtu.be/ERO8ZXFW5Q4

Floor Pan Repair on a Range Rover Classic: Part 3: Z Bar (Post #684) 12/22/2024

In this episode. Grady and I get the Z bar welded to the floor pan panel. After the debacle of last week was finally solved, we had some new tools and great grounds to work with. These allowed for our plug welds and our panel butt-welds to hold.

I also noticed I had the heat up too high on the welder. Once I lowered that, the welder didn’t blow through the panel. There were a LOT of welds. We went through a half tank of shielding gas. And in the end we ran out of gas. So next weekend I’m going to need to get down to the welding supply house and get a fresh tank of gas.

If you remember the first video we determined we needed to cut about an 1/8th of an inch off one side. It turned out to be closer to 1/4th of an inch when I finished. We used the pinch vise clamps, some hammering, and a lot of bending to get the panel flat enough to make good welds.

Grady got to weld quite a few welds. I think I need a second welding mask so I can watch his technique and help him to get better. He did a pretty good job after he got the hang of it. Its fun for me to see him engaged and wanting to learn.

We have 2/3rds of the sides on now. Our first task will be to get the last one welded on and to fit it ONE MORE TIME. We fitted the panel and I’m 92.6% sure the panel will go in cleanly and fit properly.

That’s all for this week.

We wish you all a very Merry Christmas.

Thanks for reading and Happy Rovering. Like and subscribe.

https://youtu.be/F3x3iota0Dw

Floor Pan Repair on a Range Rover Classic: Fitting the bed Part 1 (Post #682) 12/10/2024

In this post my grandson and I work on the floor bed to get it to dry fit. The first thing we needed to do was to get the Z bar into place. This required us making the side rail straightened and in some places cut some useless steel off.

The next thing we needed was to tack weld the Z bar into place. This was quite the challenge. I tried tacking and it didn’t take. I finally got my weld to hold. I let Grady weld too. His welds would not stick either.

After some frustration we determined that likely we didn’t have a good ground. I put in a lot of effort to get this steel painted so it wouldn’t rust. That unfortunately also prevented us from having a good ground for our welding.

I ground off a lot of paint. This is going to be a problem. The whole reason for the paint is to prevent the damn rust in the first place. So once I get the Z bar in place I’m going to need to paint everything again.

We finally got the Z bar into place and tried to fit the panel. We are about an 1/8 to a 1/4 of an inch off. This is going to require some additional cutting and more fitting to make sure we have it right before we start attaching the braces.

This is part 1 of 2. We spent WAY too much time with welding and prepping. So I cut this down to under 30 minutes.

Like and subcribe.

Thanks for reading and Happy Rovering.

Video Blog #3 (Post #514) 10/4/2014

Video Blog.

As I mentioned in the Okierover Video Blog #3, I recently got a Service Engine light.
image


I don’t see Check Engine or Service Engine lights very often. I forgot that this was not the CHECK ENGINE light. So I rambled on a bit on the video. Here’s how to reset the SERVICE ENGINE light on a Range Rover Classic.

image


Find the SERVICE Module under the passenger seat. Just remove frustration, move the seat all the way forward and lift it up too.

image


Turn the ignition on. With a paper clip or other metal bar pierce the paper sticker on the top (it has probably already been pierced) and insert the rod. You will feel the pins and if you look at the instrument cluster the SERVICE ENGINE light will go off when you have satisfied the reset.

image

Now if I could only find something to short out to fix the ABS / Traction Control problem…oh well.

Thanks for reading/watching and Happy Rovering.

Guthrie and Beyond October 2013 (Post #406) 10/30/2013

I loved the lines.
High on a hill east of Guthrie.

Mrs. Okierover and I love a good road trip. So when our oldest daughter (Fireball) told us our oldest grandchild (Pistol, aka Tater) was cheering in Guthrie, Oklahoma, we had to go. Guthrie holds a special place in our family’s history. Fireball was proposed to in this city by our now son-in-law J-man.

From our home in Norman, Guthrie is a solid one hour drive on the interstate. The first grade football game began at 0830. This meant both Fireball and her brood would need to roll out of their racks around 0630 in order to be more or less on time for the game. It’s no small task to haul a 6, 4, and 9 month old anywhere let alone at 0630. I’ve done it, alone, with only 6$(US) in my pocket, so I know. (A story for another time.)

I am not fond of “rolling out” at 0730 on my only “sleep in” day of the week. Add driving an hour on the interstate on a OU home football game weekend. Not fun. So I ponied up the money for us to stay in Guthrie over night. The grand kids had never stayed in a hotel so we knew they would have fun. Continue reading “Guthrie and Beyond October 2013 (Post #406) 10/30/2013”