My buddy Mr. Fisher came over to bring some used tools over for my grand kids to play with. He replaced his old tools with new ones with more modern batteries and technology.
We talk about my lights and reminisce about trips and gear in this longer than normal video.
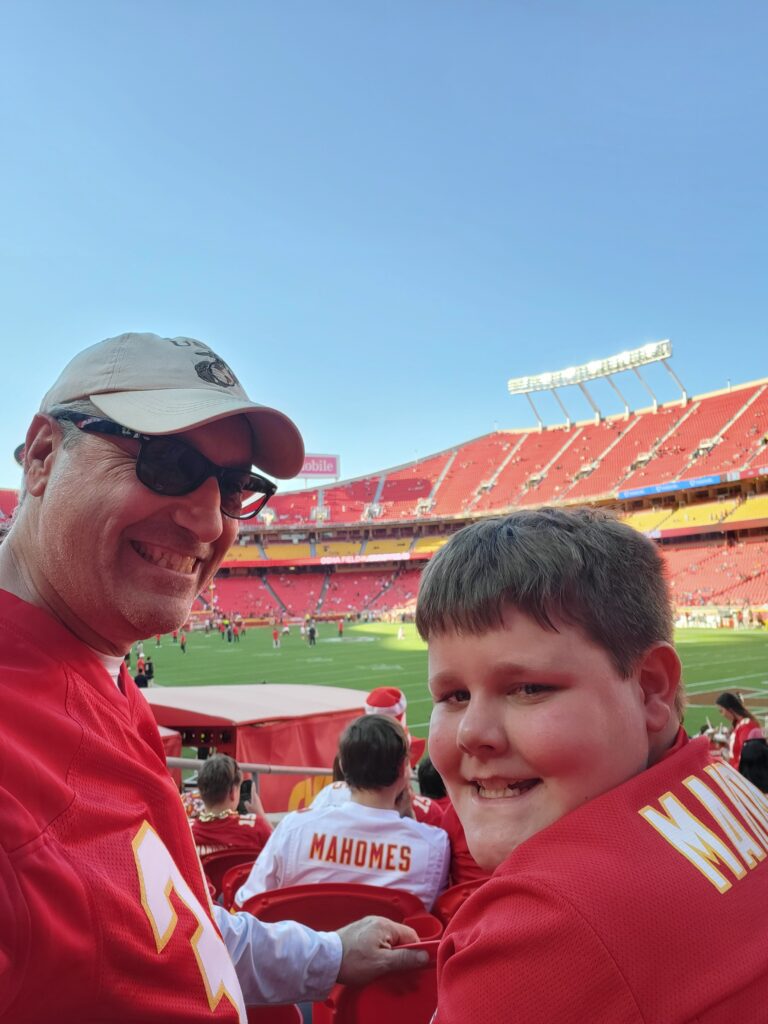
The first thing we did this weekend was drive up and surprise Lucas by taking him to his first pro football game. It was my first too, but we made it all about him. He had a great time.
In this post I worked on the footwell and the rust issues that may come up from melting off the stone chip/bedliner material with my welding. I got underneath and scraped off as much as I could reach with all the exhaust and drive shafts in the way. I also now realize there is a fair amount of leaking oil on this beast.
I found some transmission fluid, obviously engine oil, and I saw some antifreeze too. These are all leaks I can list along with my power steering which is weeping from the lower seal. All very annoying. Some we can fix. Some we will probably not fix. Engine oil could be coming from the valve covers which I think need sorting. Antifreeze is likely coming from one of the heater hoses on top the engine. All of those should probably be replaced based on age alone.
I also used some of the fancy zip ties to lock some stuff down. That was very satisfying. There is actually only one size in the bag and they were too small for some of the holes.
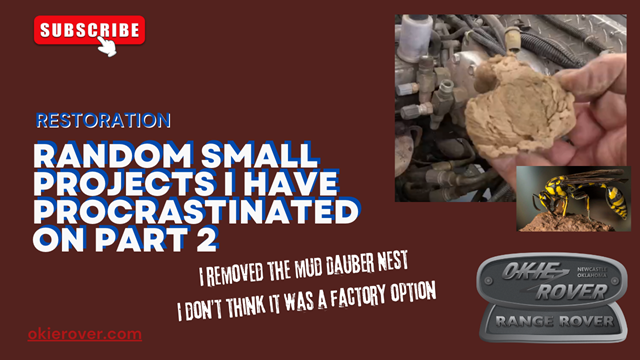
I also found some rust. “NO, how is this possible!!!” you might say. The front differential is really rusty. Flakey rusty. So that will need to be cleaned up and coated in rust converter. Then painted. The other rust I found was on the tube that houses the bonnet release (hood release to my fellow Americans). It looked terrible. I got the wire wheel out and got it knocked down to bare metal. I was pretty proud of myself for not wire wheeling my fingers.
I got it coated in rust converter and will get it painted next weekend. I still have several additional jobs to do. It’s labor day weekend so I plan to spend some quality time out there.
That’s about it for this week. No video last week because I had trouble getting the video to build and by the time it was built it was the middle of the week. So I slotted it for later.
Thanks for reading, like and subscribe, and may the wind take your troubles away.
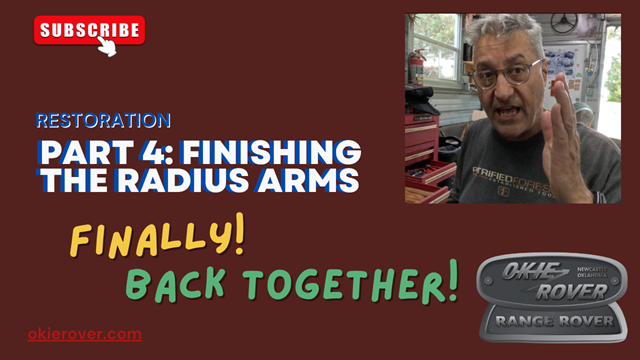
Thanks for coming back. This week I installed the Panhard Rod and got the rear Radius Arms back on the Range Rover. Interesting observation from the install. The suspension had moved due to the poly bushings failing. Probably didn’t help with me driving it.
The new bushing could not be tightened until the axle side had been installed. The was just not enough play in the system. On the first side I first tried to install it with the frame bushing installed. That was a no go. I could not get the axle side to line up the holes for the bush and the bolt.
You may encounter that when you are doing yours. I also had some trouble with the port side bushing due to my use of the cutting disc. It had carved a ridge on the mount that I couldn’t slide the bushing past. That took a little extra encouragement to get it lined up.
I used anti-seize on all the bolts. I feel pretty good about that. I’ll need to replace these at some point and it doesn’t help when they are rust welding themselves together.
The panhard rod still did not want to get lined up when I tried to install the bolt. I used the old bolt and drove it through the bushing to eliminate what ever was keeping me from installing the bolt.
I took her out for a drive down and OH MAN what a difference. This small upgrade fixed a bunch of the issues. She’s safe to drive again.
It was soooooo hot today. I tried to start early but just couldn’t get out of bed and started. By the time I was cleaning up the garage floor it was 105F in the shop and it was really taking its toll on me.
Mrs. Okierover got home from the National Senior Games where she competed in the Women’s 3v3 basketball in the over 60 age division. They did not have big point differentials so they were relegated to the Bronze Division this year. They swept all the teams but the last one out of San Diego.
The ladies of the Oklahoma Wolfpack played well and we were extremely proud of them.
My wife took our oldest grand daughter Cadence along as well as my son Drew. Erica even drove up from Spring Hill, Kansas with the boys so they could spend some time with Mimi and so they could watch her play.
I added a short clip of one of her games on the end of the video I posted.
I had some website trouble this week, so hopefully you didn’t come by and find it down. I got some TERRIBLE advise from Go Daddy’s online chat support (from India) and they managed to get my page hijacked by a restaurant somewhere in Maine(?). I also had no way to make any changes. They just kept suggesting I add products that would help me. It was all in vain because I had no protection after they had me remove my SSL certificate. Idiots.
I called back and talked to two help desk technicians (American) and they were awesome. The first guy was awesome. “Why didn’t they just put it back to the original configuration?” I said, “EXACTLY!” They nearly lost my business over this latest SNAFU.
Thanks for reading and Happy Rovering. May the wind take your troubles away.
Camp Mimi 10 is in full swing. Part of Camp Mimi this year is Mrs. Okierover taking the grands to a “cabin” in Medicine Park, Oklahoma. Its a house, but if she wants to call it a cabin, whatever.
With that she needed to take the Honda Pilot to the dealer for a check of the air conditioning. We had a lively debate as to whether or not it was actually cooling when we went to get a Fro-Yo from Braums last weekend. My assertion was it was NOT cooling. She insisted it was and I said, “whatever you think dear…”. So she didn’t get it looked at and drove it to Kansas to pick up Lucas and Logan.
When she got back she said it was NOT cooling. So off to the dealer for investigation. No leaks just 6 year old coolant. So they swapped it out. Yay cooling!
They also told us that our brake pads wore dangerously worn. She told them I would take care of it. I stopped by O’Reilly’s on the way home picked up a set of pads $92.00(US) or there abouts.
I swapped them first thing Saturday. They were NOT dangerous if anything they were about half way. The pads wear pretty unevenly. The inside pads wear less than the outside pads. I need to get over to the Piloteer Message Board and see what that is all about. While I was swapping them, I managed to do one stupid thing and put my back out.
It doesn’t take much, and I’ve been REALLY careful for nearly a year, so it was pretty unexpected that I cut my weekend short by screwing that up.
I’ve started my steroids and am popping Ibuprofen like an over-zealous Corpsman was handing Chicklets to me. I see the doc on Tuesday, and I bet she’ll give me a steroid shot if I ask for one. I’ll be right as rain by the time the campers return.
With all that going on, I took Lucas for a ride. He enjoyed it. The ride just reinforced to me that I need to swap all the bushings and get the shocks replaced. I ordered them Saturday night and expect them this week. They will go in either late on Sunday or early Monday so look for another video then.
That’s about it, like and subscribe to the channel, and Happy Rovering.
In this post I started the prep for painting the floor bed. The goal here might be a surprise to you, but I need to get some paint on the unpainted parts. Why? Because RUST!
I’ve got some ideas about how I can get paint between the metal panels we just completed all the welds on. Why didn’t we use zinc weld through primer? Damn good question. Because I tried it with the welding on the front half of the Range Rover. I don’t know that it worked all that well. I should experiment with it in the future.
I got all the welds ground down. Not to flush, but not sticking up either. They were pretty porous so grinding them flat would not be great. Or at least, I don’t think it would have been great.
I had camera issues so most of that didn’t tape. I got the vacuum out and cleaned up all the debris from so many grinding sessions. So much dust in there.
I now need to get paint between those pieces of steel. I’ve got some ideas and bought new tips for my cans of paint. Hopefully I can spray the paint into the split between the two panels. Then seal it up with bedliner. I’ll then fill everything remaining with seam sealer.
That’s going to be a crappy day on my back under the Big White Bus, but I only have to do it one more time. I’ve got a bunch of seam sealer to buy still. I also am out of primer so that will be sourced too.
That’s all for this week. After this is complete, I start planning the electrics in the back of the overland rig. Also, I’ve noticed the poly bushes as failing in CHUNKS now. I’ll have to fix those pretty soon. The shocks are also toast and will need to be replaced. Adding two more projects to the still growing list of tasks.
Both Mrs. Okierover and I had another bout of Covid. Her’s was likely a sinus infection too. She is also recovering from a much needed foot surgery. Hopefully I can get back in the groove and hit repairs hard in the next few weeks.