I really wanted to get out on the trail this fall and I felt like it was my turn to plan and lead a trip. I looked for a non-OU-Football weekend and found two one in September and one in November. The initial inspiration for the Capulin Volcano trip was seeing a similar trip in OutdoorX4 magazine. We had some interest in the trip from several people in the Oklahoma Land Rover Owners group but in the end only two of us made the commitment to the overland adventure.
“If your Land Rover isn’t leaking you’ve run out of that fluid.”
I heard them all, I’ve even made up some of my own. But the jokes are all true. The only Land Rovers that don’t leak are still in the first 3 years of their life. Even then, I’m not entirely sure you won’t have a leak of some kind. The basic premise is, if you’ve cracked open a system, coolant, oil, transmission fluid, air condition, steering fluid, brake fluid, blinker fluid, it doesn’t matter, that system will forever leak from that day forward.
This year I decided, I’m not going to pour my hard earned money “through” my Land Rover any longer. You buy the fluid, you pour it whatever reservoir, and you see it on the ground in your parking spot at home, work, wherever you park. I decided I am stopping that now.
Earlier this year, I started with my power steering system. I got that sealed back up only to have the “O” rings fail and it leak out again. That’s fixed now.
I then decided that my oil leak needed to stop. I replaced my oil sump gasket and got that sorted. This will probably always “weep” but it’s not leaving a puddle and I’m good with that.
The last major leak is the coolant system. This is one you don’t ignore. You get an aluminum block too hot and you’re doing engine work. In this case I had my expansion tank finally give up. It had a slow leak in the seam. I sourced a new one and decided the coolant hoses were starting to resemble over-inflated balloon animals and needed to be replaced as well.
The filler tube nut was also past it’s life expectancy. I bought a brass one and another plastic one. The brass one was actually for my radiator but the plug there was soldered and would not be replaced. I used the brass one to clean the filler tube threads. That worked better than I expected.
I got the system filled and started looking for leaks. There were none in the things I touched. But I still had a leak from under the transmission. There are no coolant line back there I thought, “What the hell?”
I let the engine cool a bit while I solved all the world’s problems with Mr. Fisher. I then began what I hoped was not a leaking heater hose. The heater hoses that go across the top of the motor to the heater core are back there. That has to be where the leak is coming from.
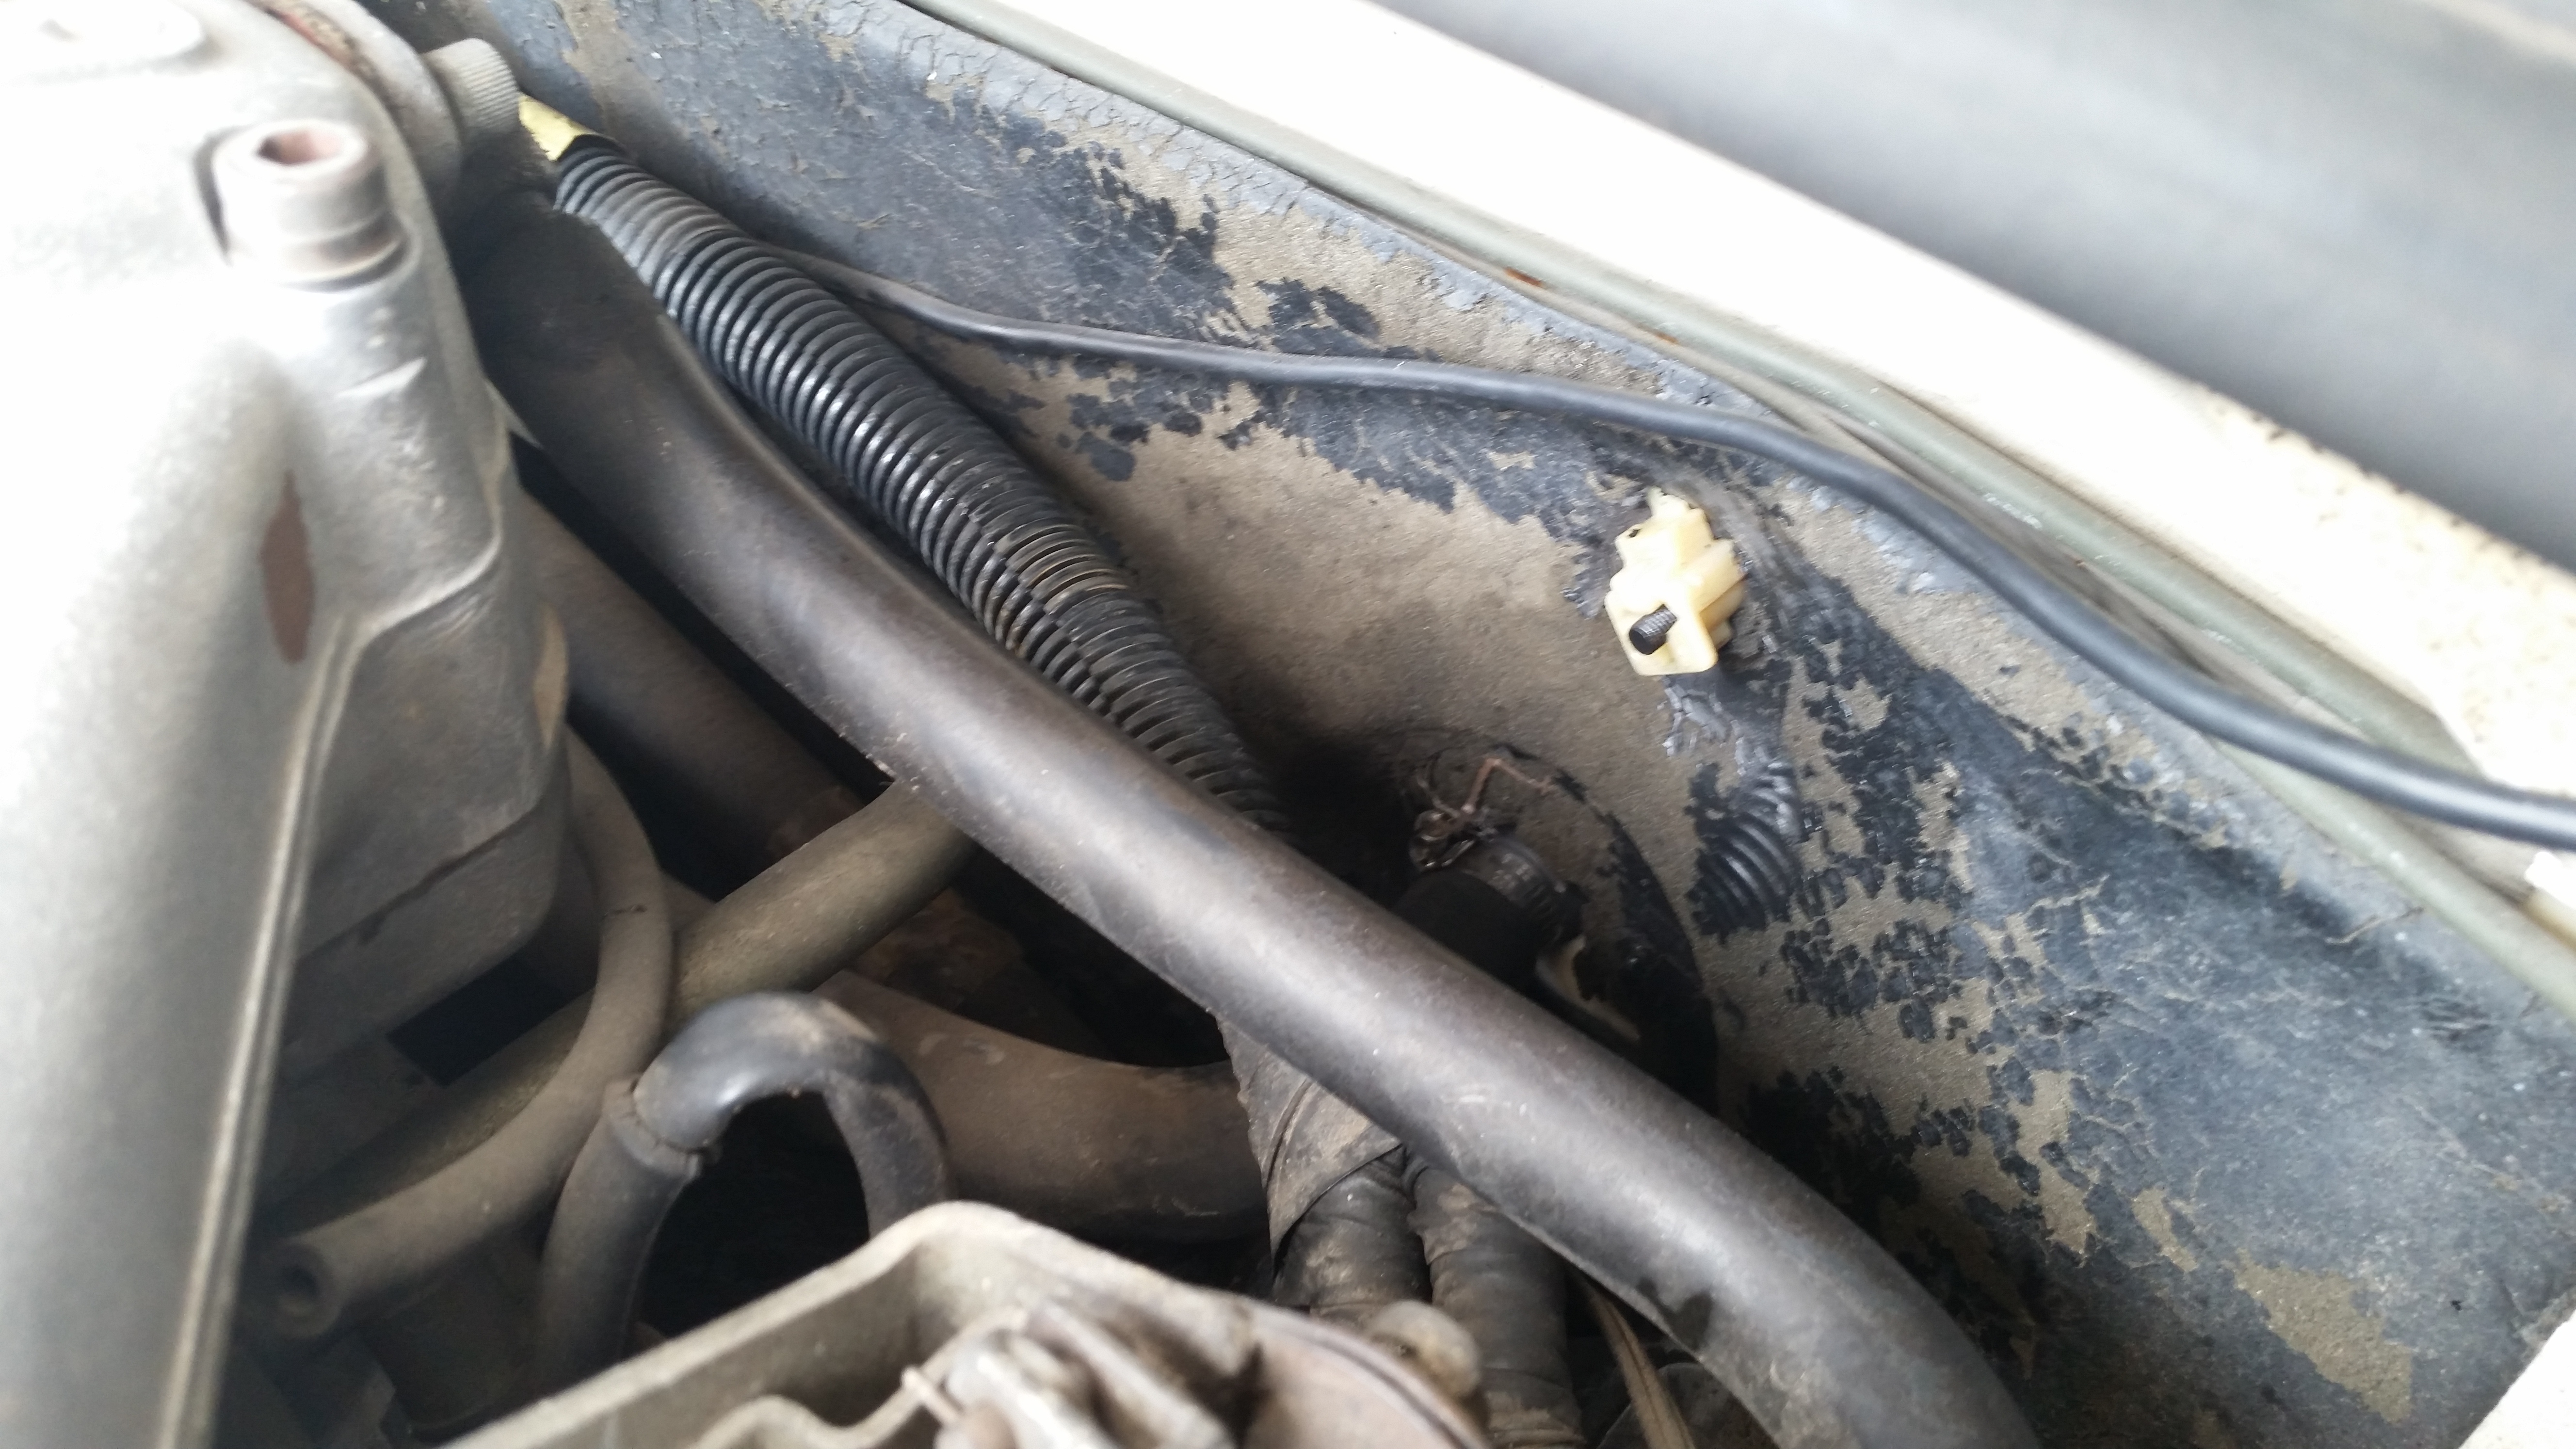
You can see the offending hose there on the firewall. The hose clamp is the one. Turned out it was not tight at all. I was able to turn the hose with my hand.
Getting it tight required pulling it off and replacing the hose clamp and combining various combinations of socket sets to get the socket on the clamp screw. Eventually I got it tight.
I had to fill the system again so that process was followed again. Finally I got done and started the engine up to get her back to pressure and hot to look for leaks. I also moved the Big White Bus down the driveway to spot new leaks.
And to my surprise just as I expected there were no leaks. It was decided a maiden voyage to Hollywood Corners for lunch. On the way the coolant light decided it was going to notify me of a low coolant situation. I knew this wasn’t possible. Did I have an air bubble?
When I got the BWB back tot he hacienda I opened and saw the level in the tank was below the fill mark. I topped her off. I also decided to swap my cap for one I salvaged off one from the breaker’s yard.
So for the time being I’m leak free. And for the next 24 hours I’m going to be the only human on earth with a 23 year old Land Rover that doesn’t have any leaks. That feels good.
Thanks for reading and Happy Rovering.
Why 24 hours? Because I’ll drive her again tomorrow and I’m sure I’ll be planning how I’ll stop the new leak.
If you follow me on the Okierover Facebook Page you read that I needed to replace my oil sump gasket. And as I predicted the weather did NOT cooperate. It stopped snowing at 1030 that morning but the wind was blowing 20-30 mph all day. It was very chilly in the garage.
If you are from Oklahoma or drive a domestic automobile (Chevy, Ford, Dodge, just kidding no one drives a Dodge) you can translate oil sump to oil pan.
I had trouble with the term too. Try Googling “oil pan gasket” when your British motor car has all their parts listed as “oil sump”. The same thing happens when you are searching the RAVE manual looking for an oil pan. Thankfully when I ordered the part from Rovah Farm it was easy to find.
Back to the leak, the Big White Bus has recently been leaving a nice puddle of oil when she comes to a stop. I know all the jokes about British cars and leaks. If you don’t see a leak, it’s probably dry. Well, I don’t care for leaks. I do my best to find the leaks and eliminate them. Like the steering box, it leaks like a sieve. I should have a rebuilt unit next week. And I will have it installed by the end of that Saturday. That will be the last of the petroleum based fluid leaks. It only took me 3 (three) years!
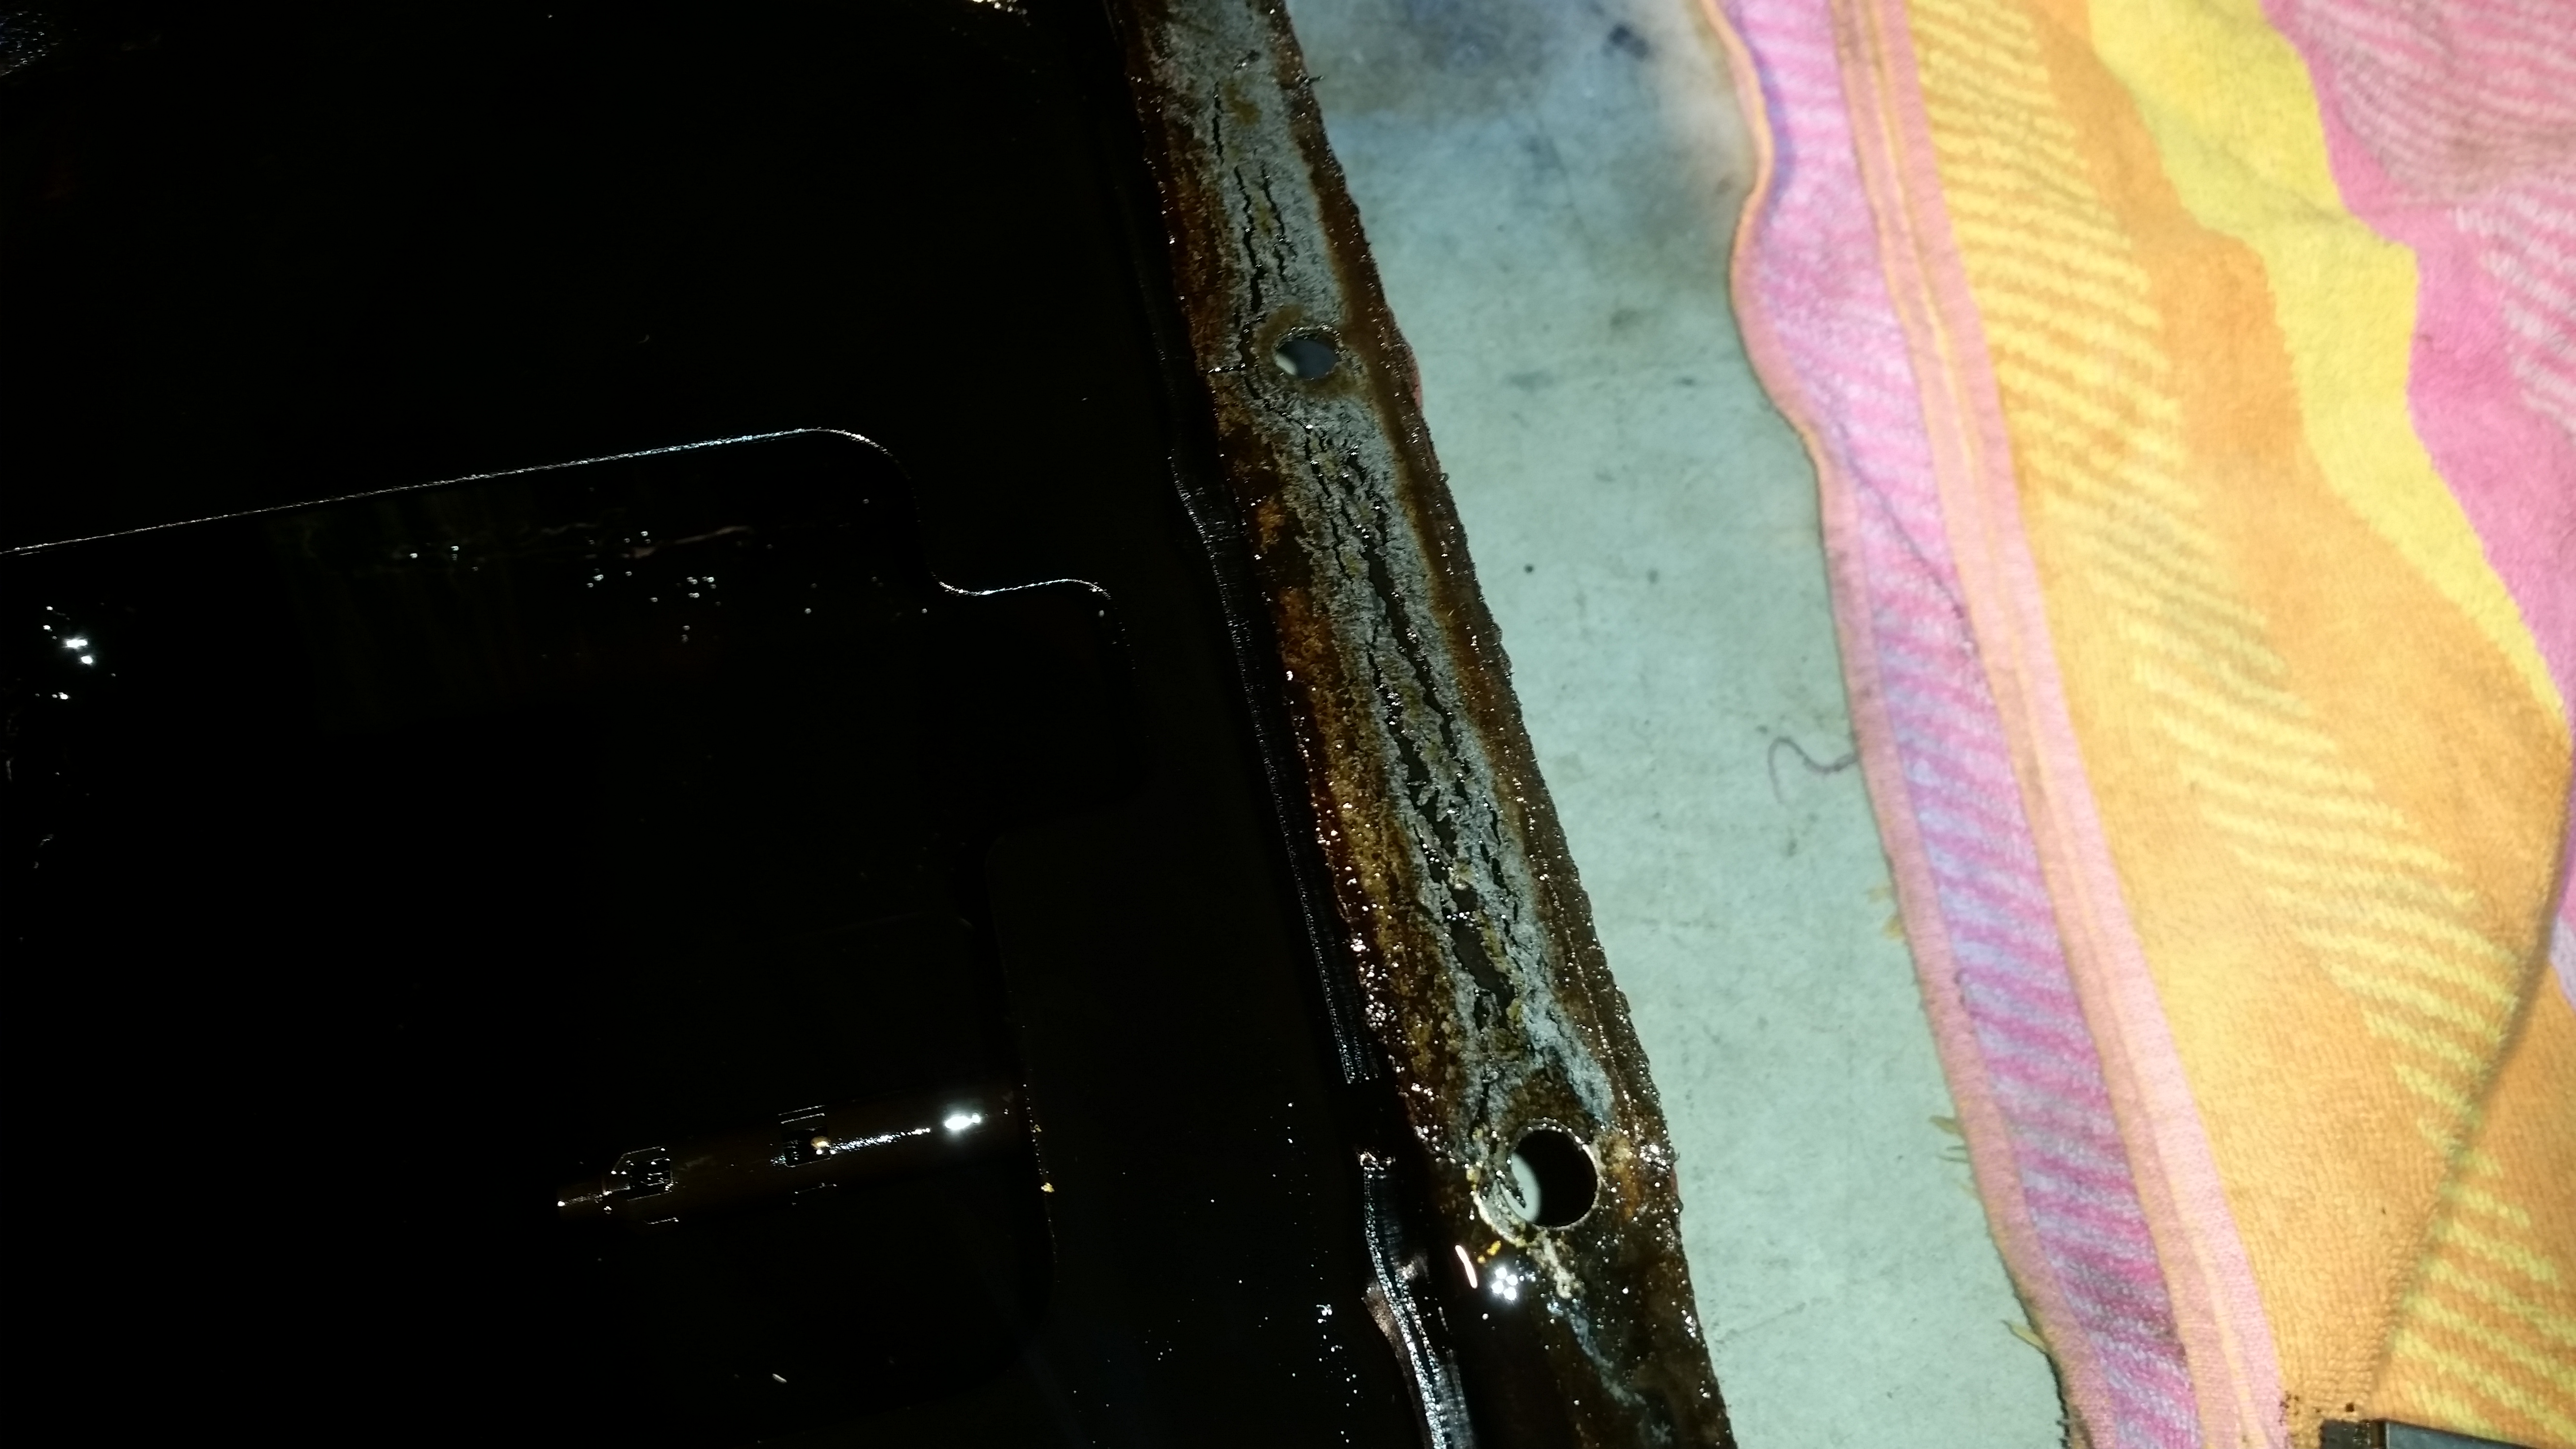
The sump dropped away from the block. Labeled for your reference.
The source of the leak? the oil sump gasket or to be more specific, the LACK of a gasket. I am the second owner of this motor. As you can see below, someone used Permatex Ultra Gray for a gasket. First, Ultra Black should be used, not Gray, and there should be a cork gasket completing the seal. If you have done this I’m not criticizing, I’m just pointing out now you probably know why it’s leaking.
That is a bit too porous to hold oil back.
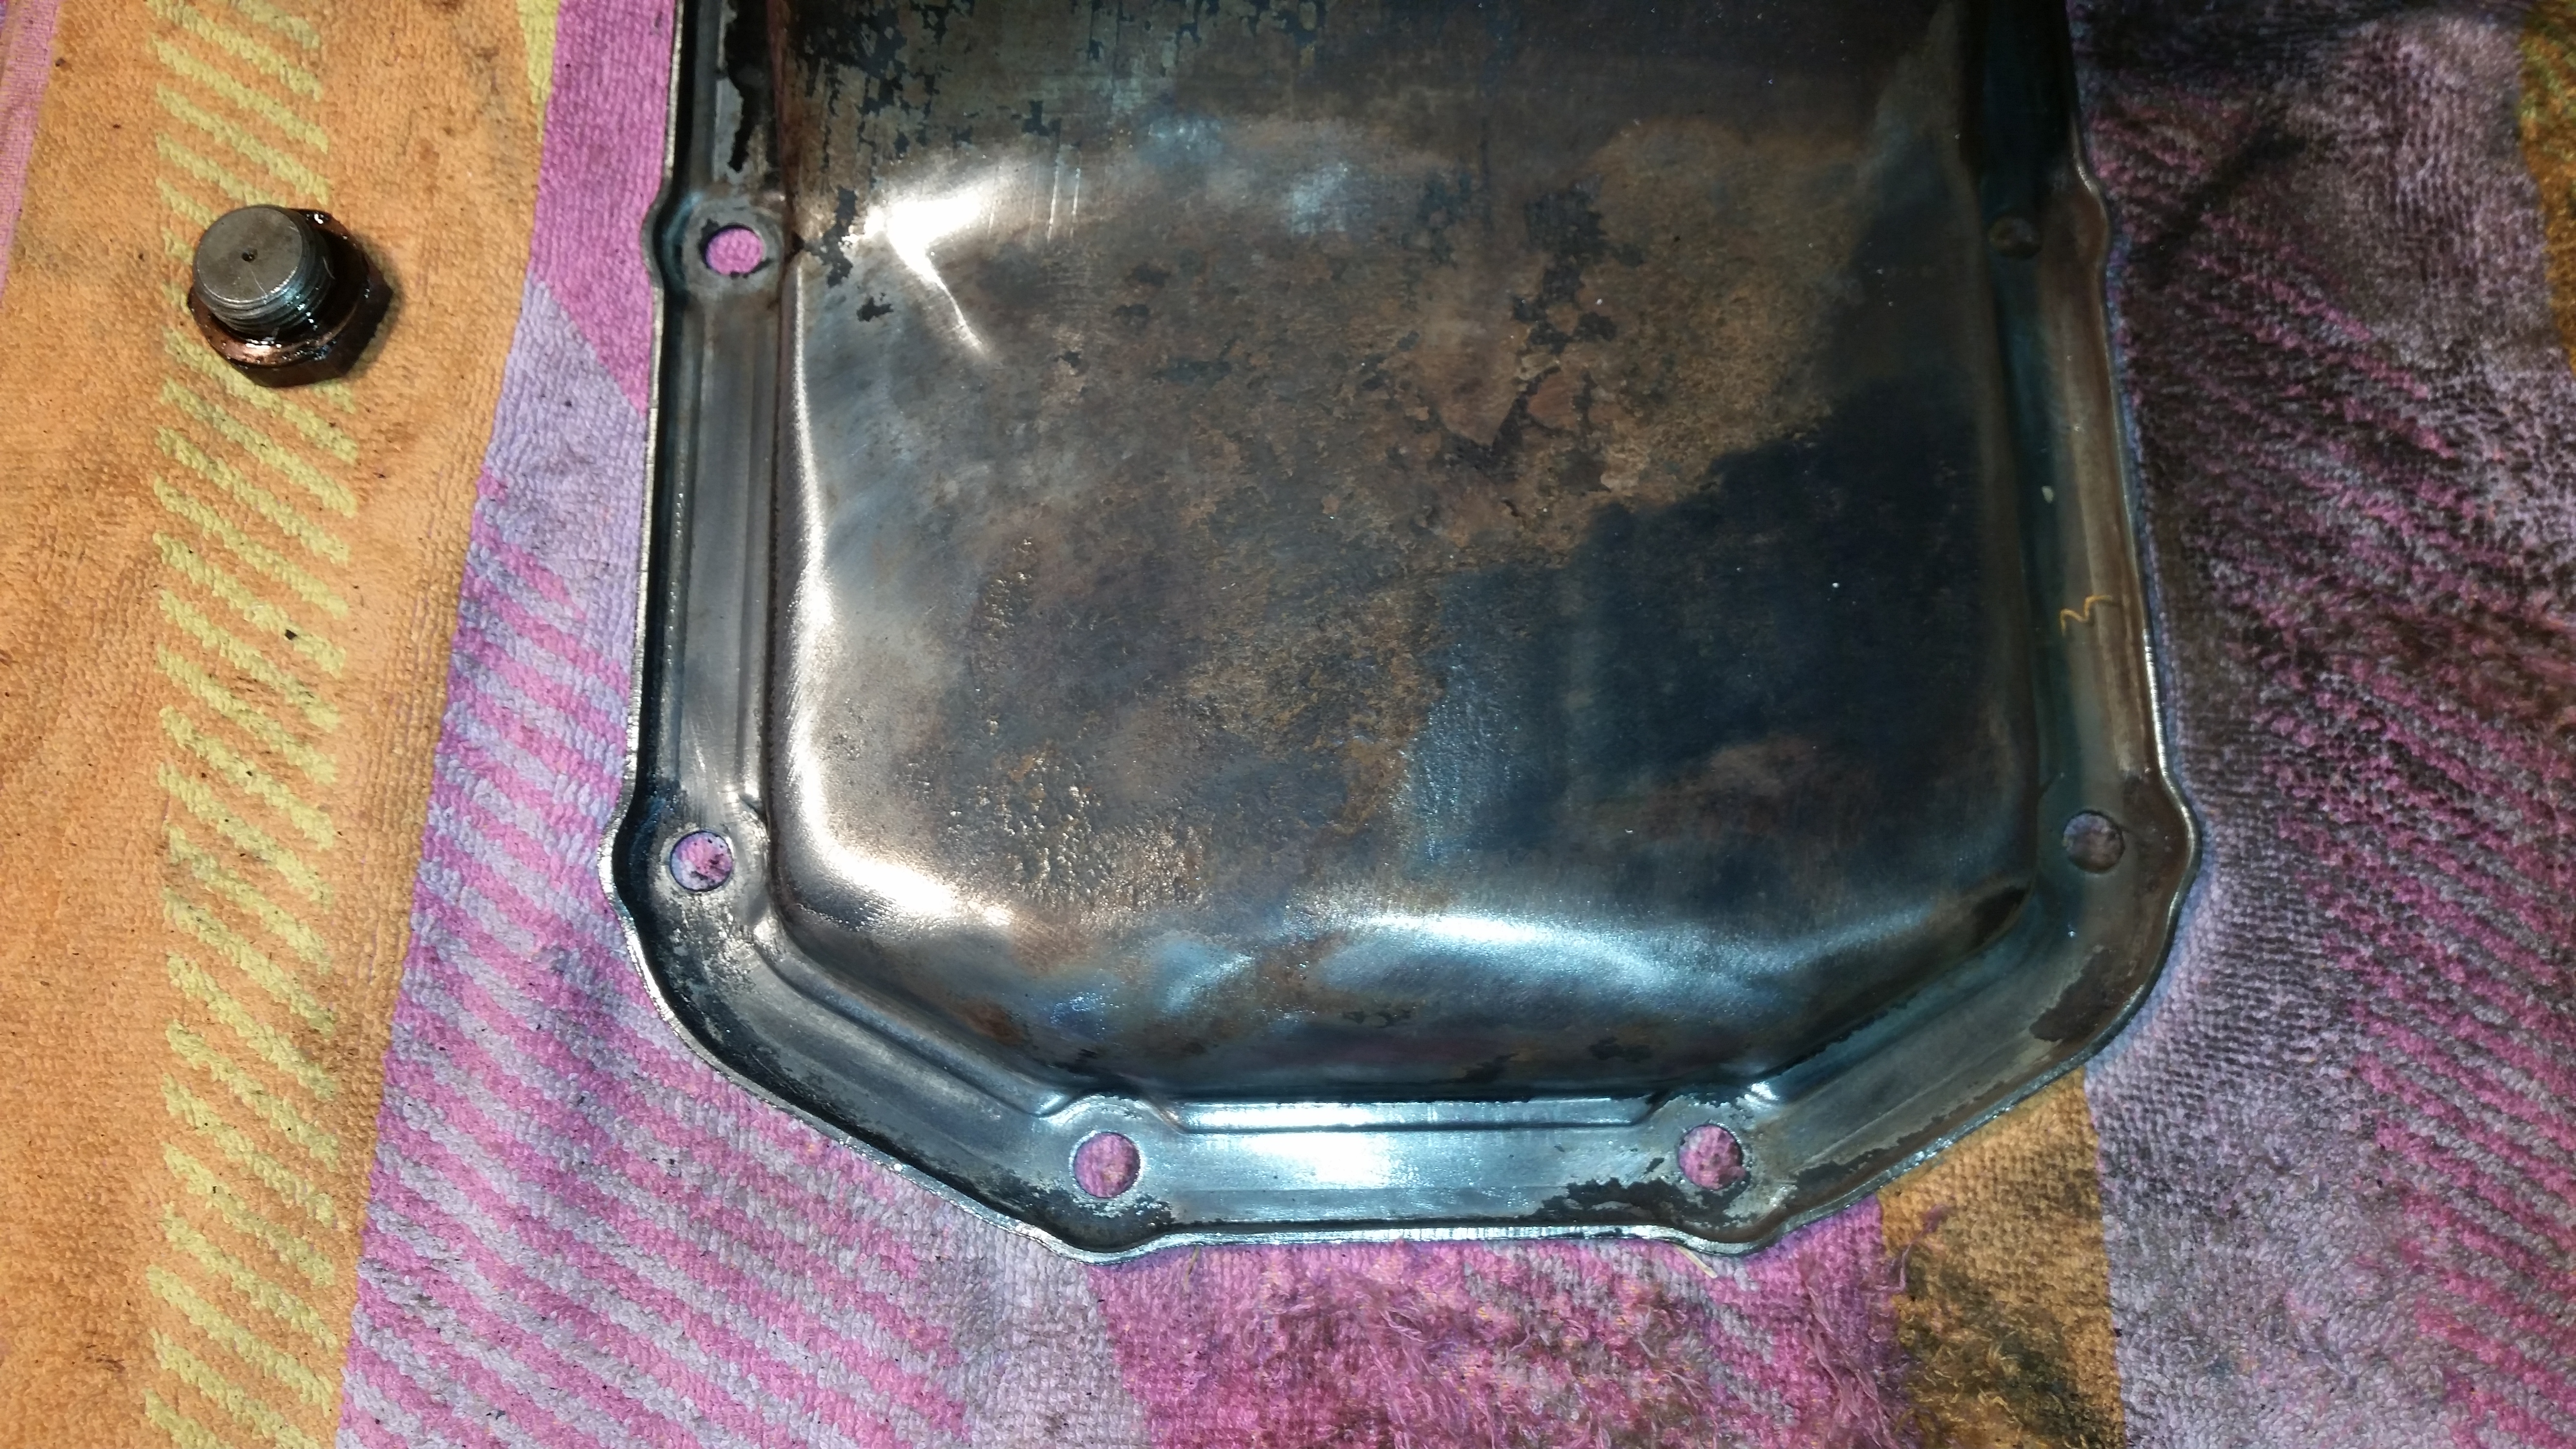
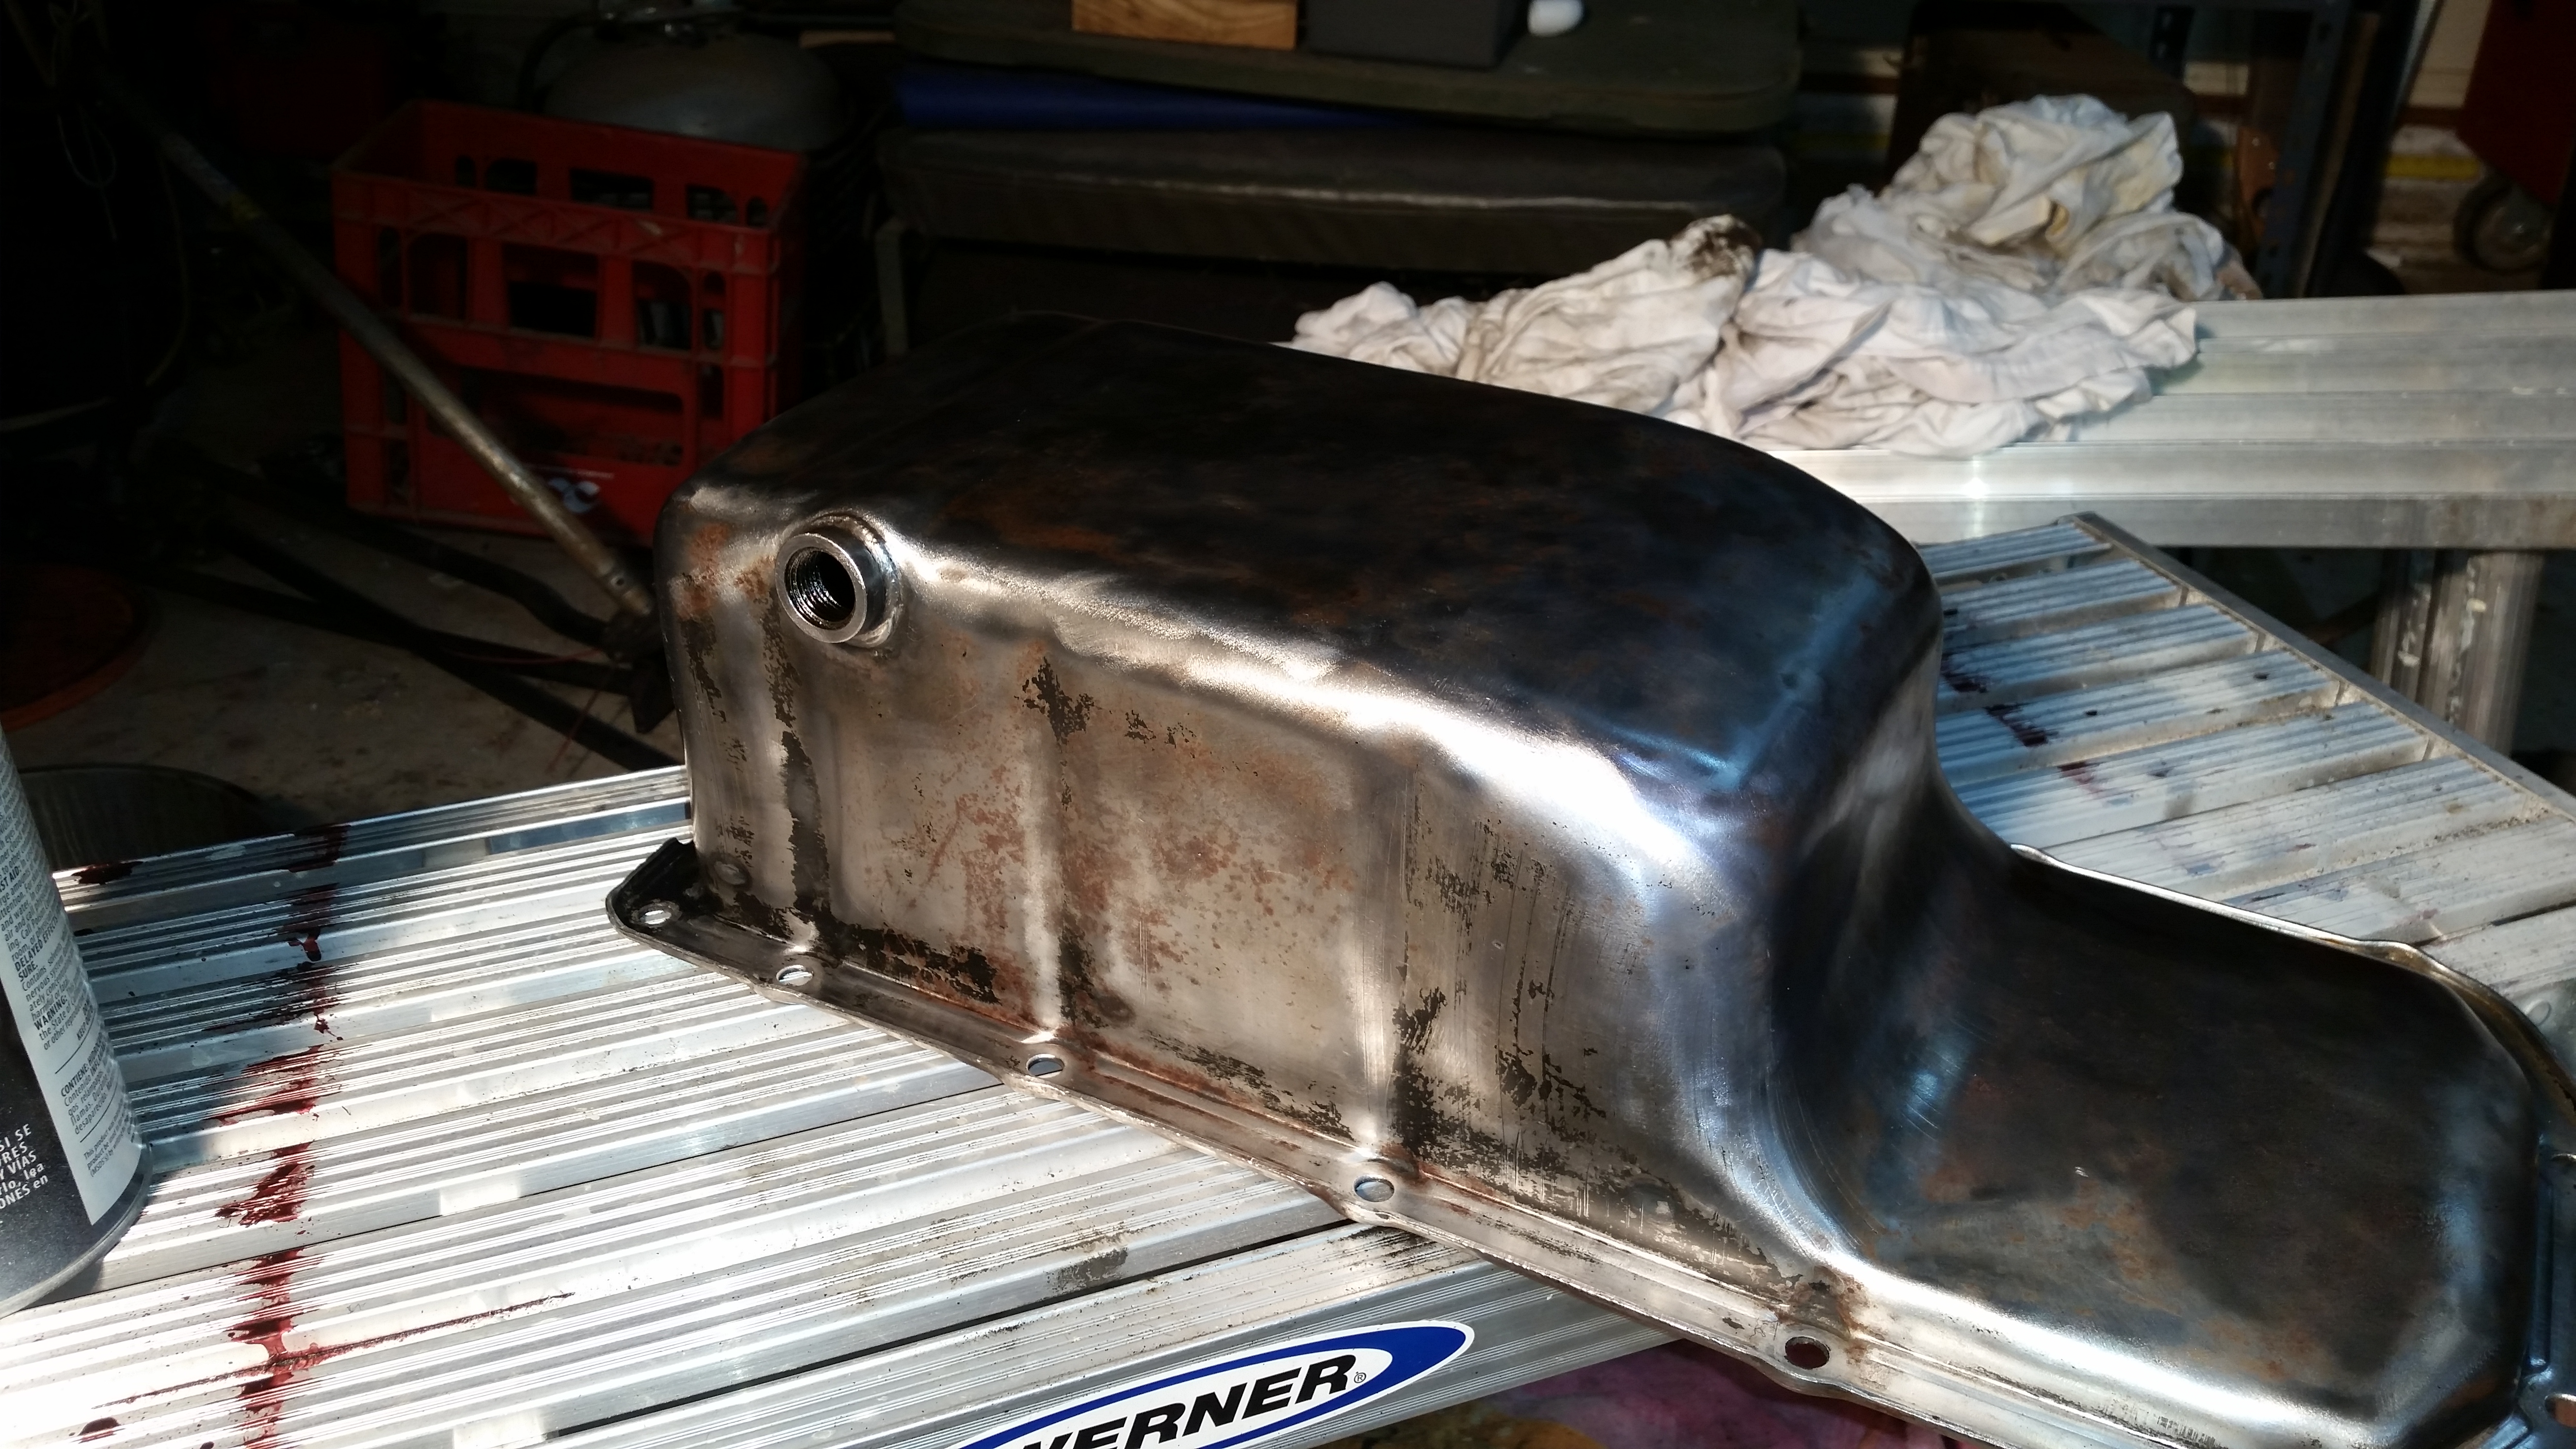
My oil pan sump had to be removed and serviced. There was rust and chipped paint and what was left of the “gasket” had to be removed prior to putting a new one in. I was surprised that something that has had so much leaked oil on it could rust, but it did.
The oil sump with a bit of the rust removed (on the right).
I got the trusty angle grinder out and hooked up a wire wheel and scraped off the rust and the factory paint (black). The challenge was getting the oil and grime off. I used brake cleaner, a lot of rags, and in the final stage before painting I used some pre-paint grease remover.
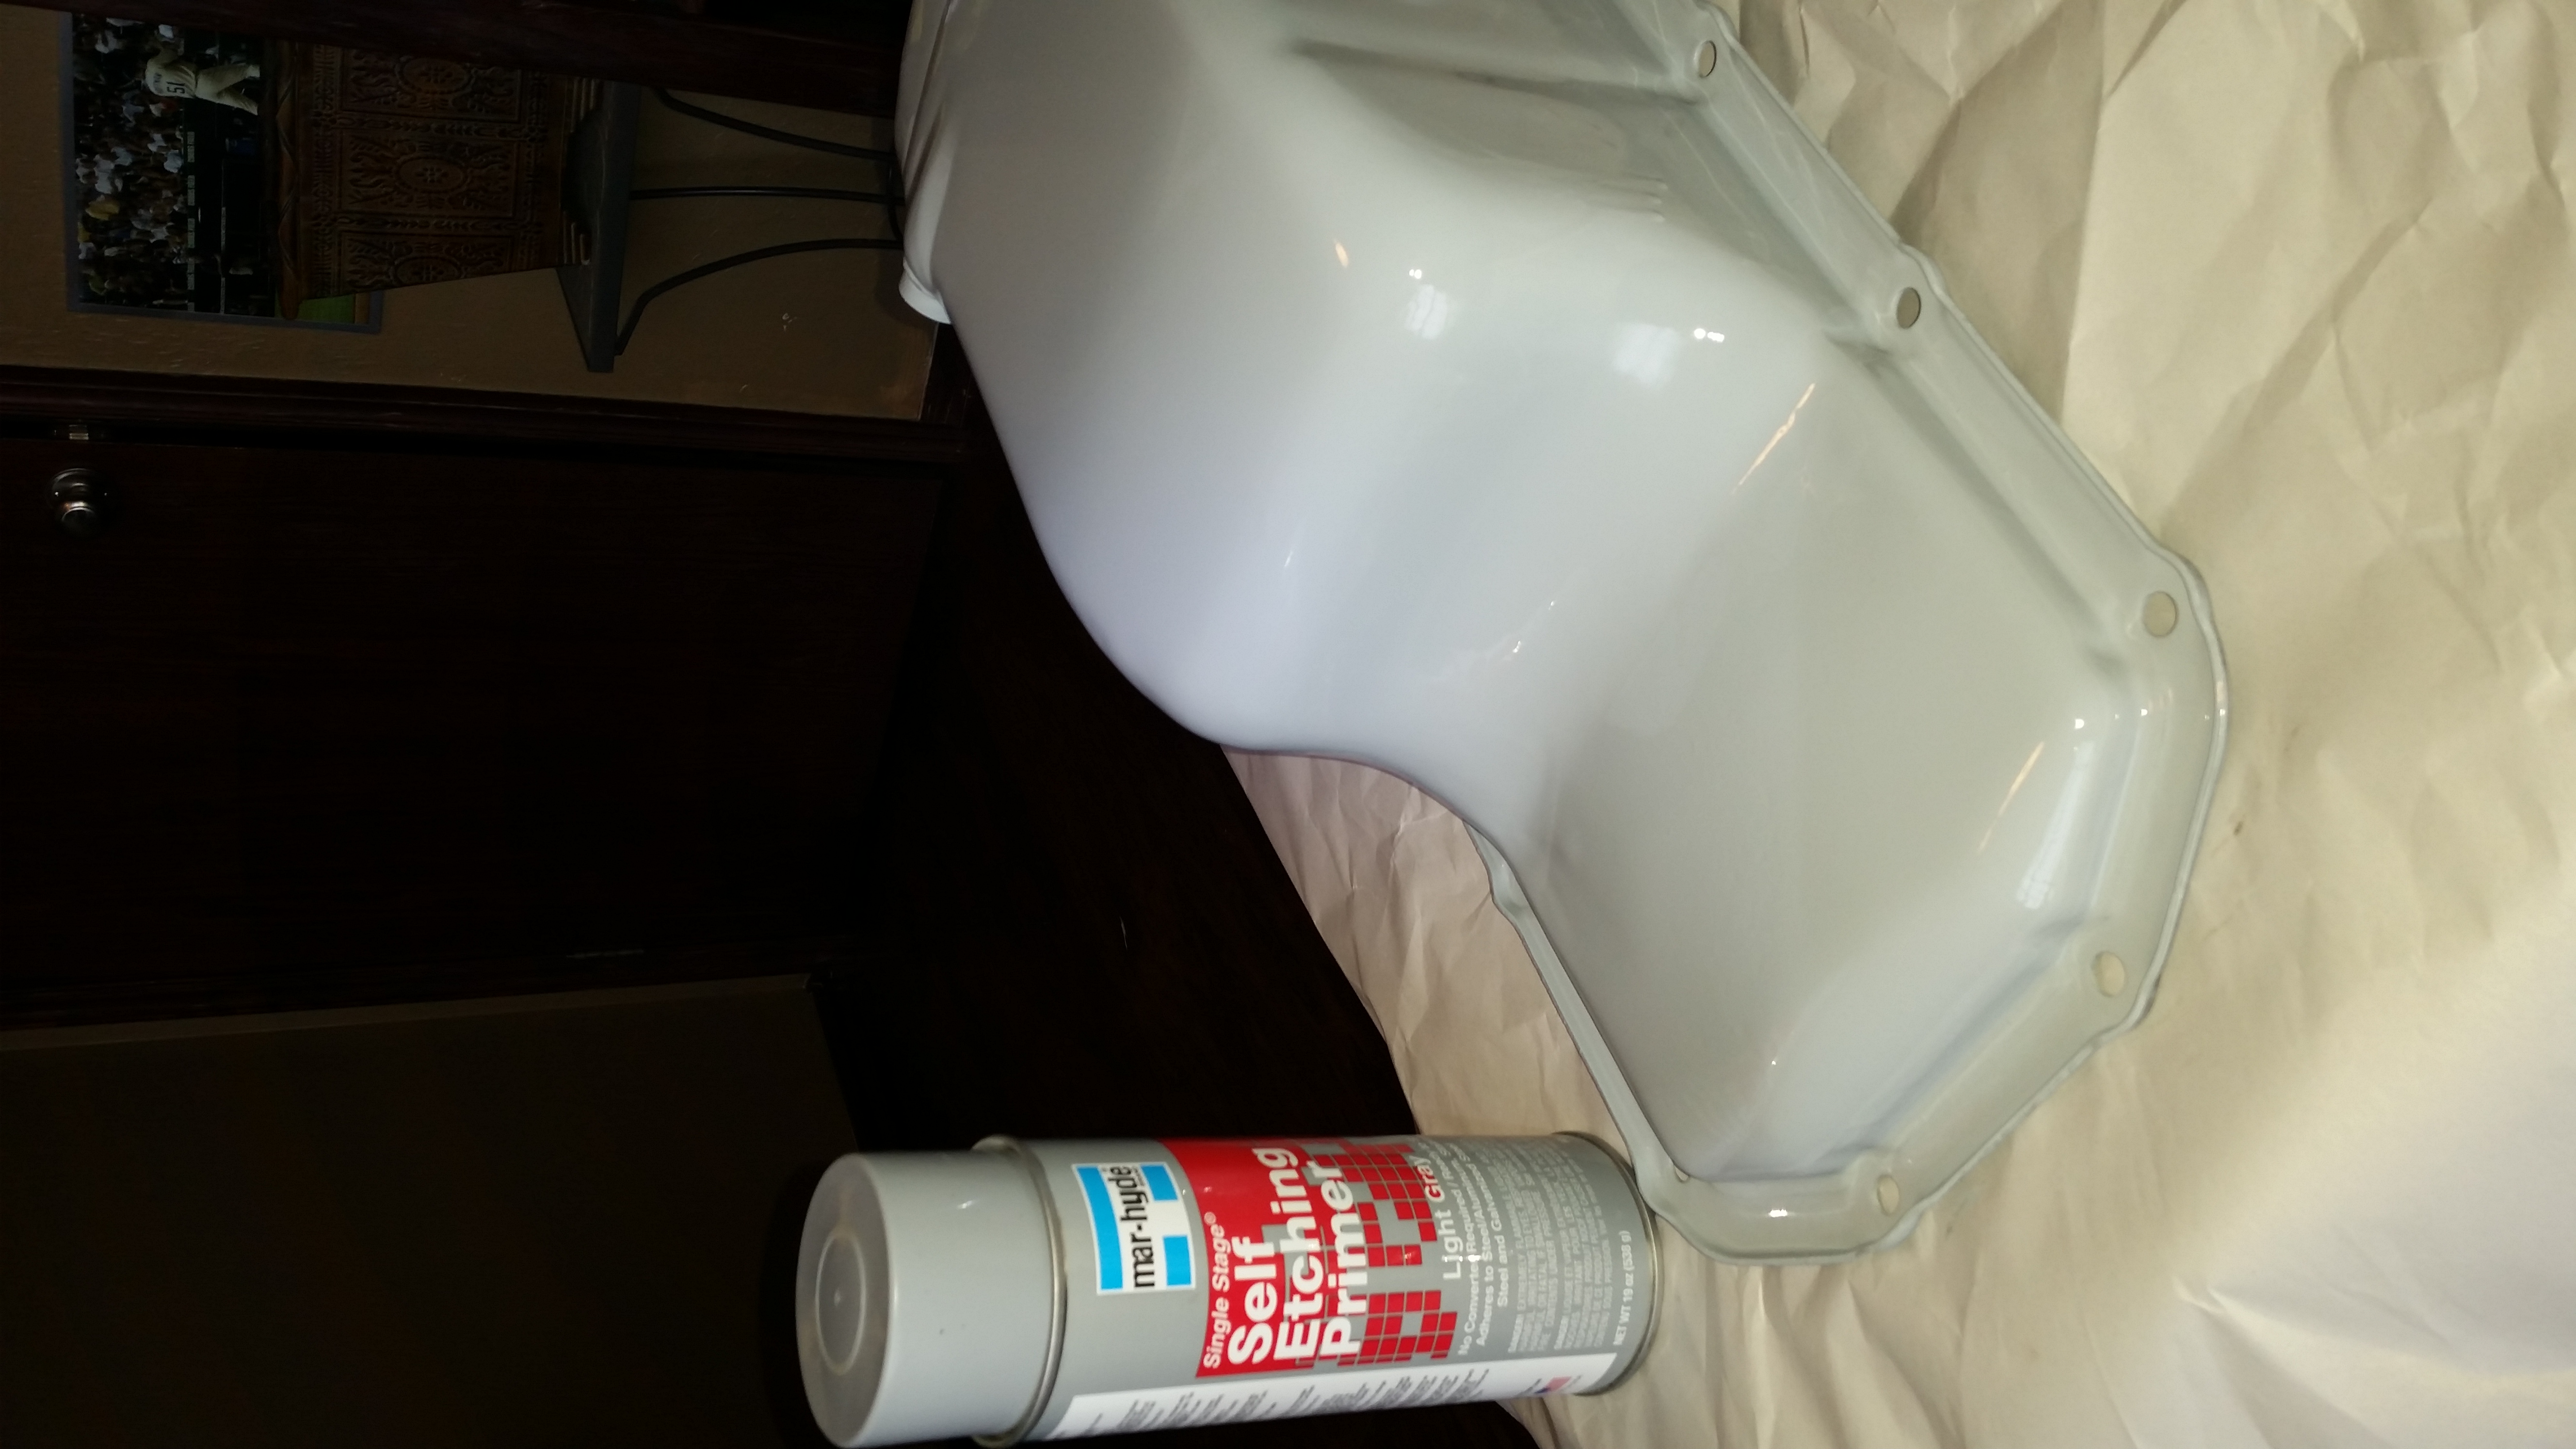
Ready for paint.
While I had it off I cleaned some of the grime and muck out of the sump. I used a flat razor scraper. I was careful to make sure I left no “chunks” in there. Short of a sand blaster there was no way to get all the baked on muck out of there. My sand blaster cabinet is not big enough.
The sump was ready to be painted. I got the Mar-Hyde Self Etching Primer from inside the house where it was being stored at a temperature that allowed it to be used. I painted the pan with the first coat and then brought the pan into the house and into my office to dry. I gave it an hour to dray and when back out to clean up the underside of the motor. I also swapped out the last poly bushings on the radius arms.
I don’t know why WordPress won’t let me rotate this picture. Fresh paint looks good.
I put the second coat of paint on and after some waiting I started to put it all back together. The first thing that is required is getting the Permatex Ultra Black gasket maker on and letting it set up. I did this in my office. I wasn’t even sure if it would setup in my garage at 30 degrees Fahrenheit. Once it set up I put the cork gasket on and lined it up. The Permatex acts like an adhesive at least enough to secure the gasket from moving during install.
The next challenge is to get the sump back in place and bolted up to the block. Take your time and don’t rush. The cork gasket can slip and if you break it, you are done. After it is in place you bring the bolts up to snug. The manual calls for you to tighten it to specific torque settings. The idea here is that you don’t crush the gasket.
From the manual you can see that is not a lot of torque needed. I don’t have a torque wrench that I could get my 13mm sockets on. You have to use narrow walled sockets, etc… in short my tool chest is inadequate for this. So I was careful when I was tightening them. A note here, the rear bolts are not labeled but I assumed it was the ones on the row nearest the transmission tunnel.
I finished up the oil change and and then the moment of truth came. I got the oil up to temperature and watched for leaks. None were found. I drove the Big White Bus to church the next day and still no leaks. I’m going to mark that down as a success. I will of course be watching it for the next week.
On the Okierover Difficulty Scale this job is a 2 (two). You will have the oil sump off, you will get oily and dirty (and not the good kind). You also have to remove the sway bar to get the sump out. If you aren’t going to clean it up you can skip the removal and just clean it up while under the engine.
Thanks for reading and Happy Rovering.
PS the Oklahoma Land Rover Group is still on track to #Hibernot and take on a section of the Oklahoma Adventure Trail. If you are interested check out the details on the Oklahoma Land Rover Group on Facebook.
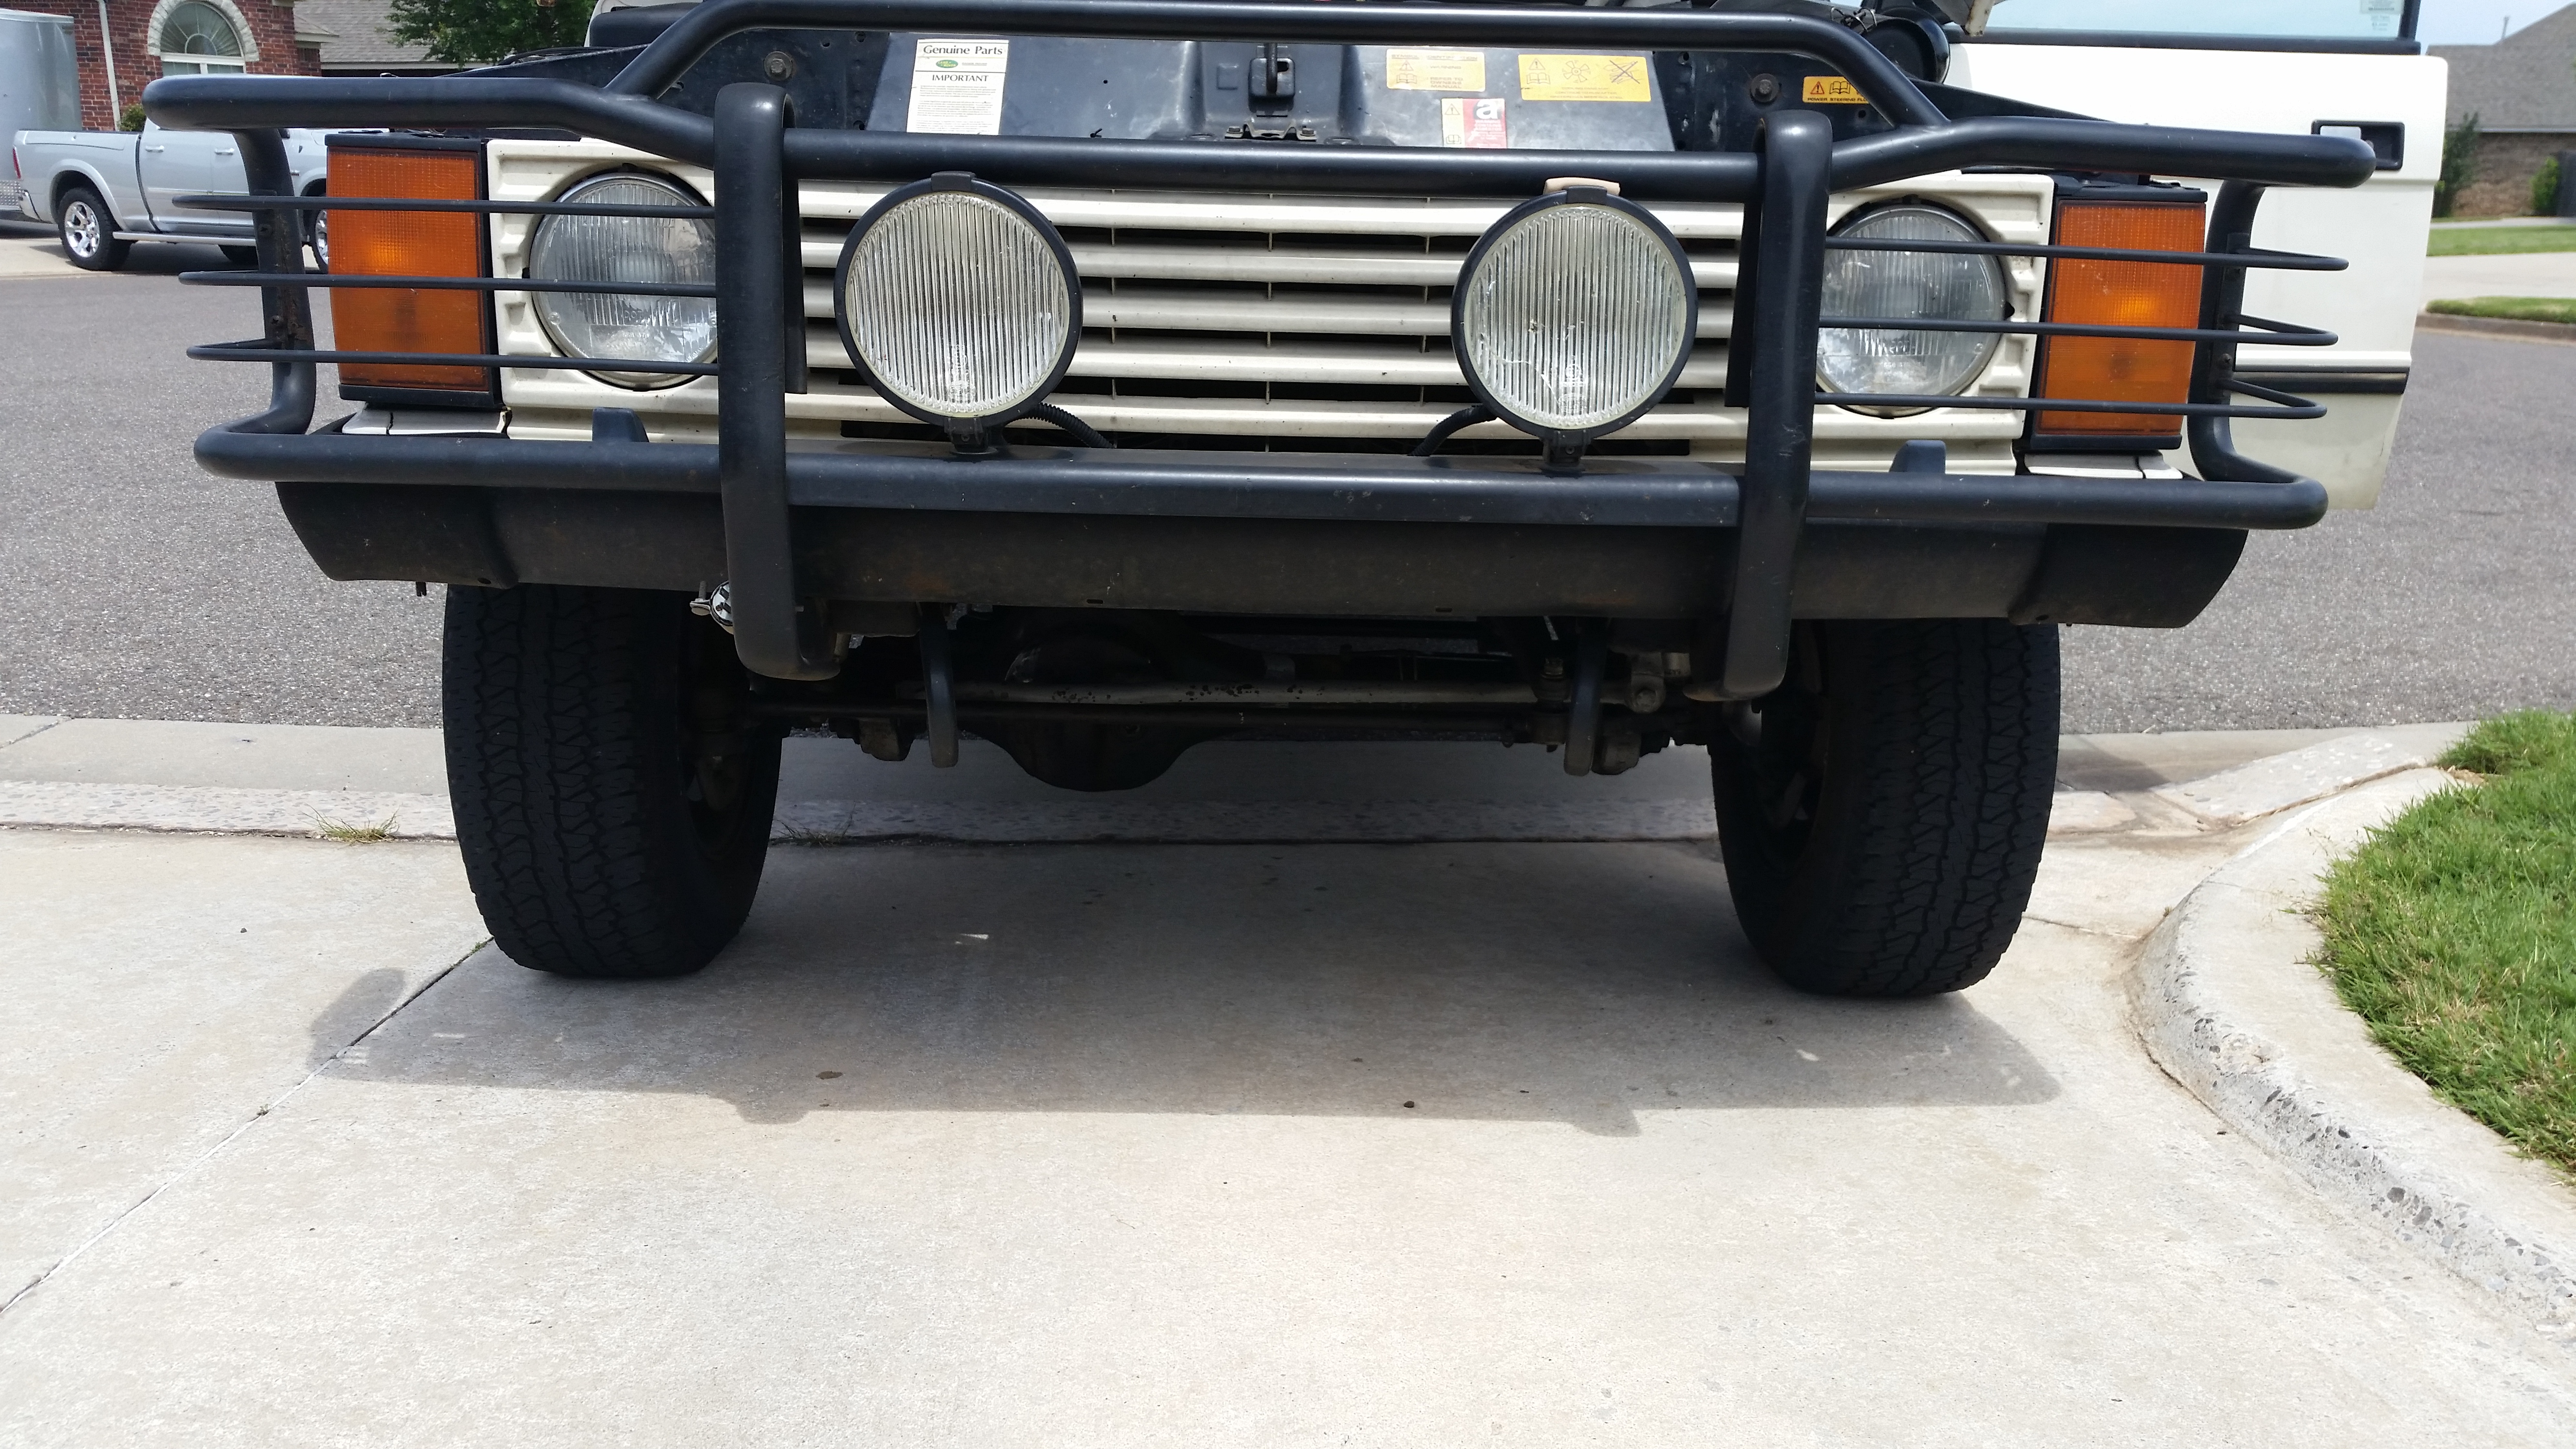
Doesn’t the Big White Bus look good all washed up parked in the drive. Well she looks better with a little mud on the tires and traipsing up and down the hills of Barnwell Offroad Park in East Texas. Yes, it’s close to that time of year again. Its time to prepare the Range Rover for the South Central Area Rover Rendezvous aka SCARR.
Once again there is lots to do. A short list…
Transmission Rebuild
Plugs, wires, and cap
Tie-rod ends
Oil Pan Gasket
Power Steering Leak
Its a short list but an expensive one. Getting the transmission done will be somewhere in the 2000$(US). I’ve known this was a problem for a while now. I’ve turned 220,000 miles and I think it’s time for a rebuild on the transmission. I have a plan for this. Continue reading “Time to Prepare for S.C.A.R.R. 2015 (Post #524) 2/16/2015”
The Big White Bus has been idling a little rough lately. I will look in to that a little more as we get closer to S.C.A.R.R. This year I plan to swap my spark plugs, wires, and my distributor cap. Getting the correct cap is 99% of the maintenance. Some of the pattern parts are not very well made.
I also still have the torque converter issue. I’m not sure what I’m going to do about that yet. It will be a very expensive repair.
I need to correct the oil leaking from the engine. I will order a gasket set for the oil sump (pan) and for the tappet covers in the coming week. I bought a set of ramps so I can clean off the bottom of the BWB at a car wash.
I also have what is possibly a bad tie rod end. I hit a seam on the highway and the shaking from the front tires was very, very bad. I had to slow down and get off the highway to get the truck back under control. I will be looking in to that this weekend for sure. I’ll need to get Mr. Fisher to assist while I investigate under the Rover.
I’ve gotten a lot of emails and messages this and last week. I really love to help when I can. Unfortunately sometimes I don’t have the answer. That really bothers me because I like to know as much as I can. So if you’ve contacted me, and I couldn’t help, please send me an email back so I can learn how you got it fixed.
I want you to plan on going to SCARR if you are able. I promise you will have fun.
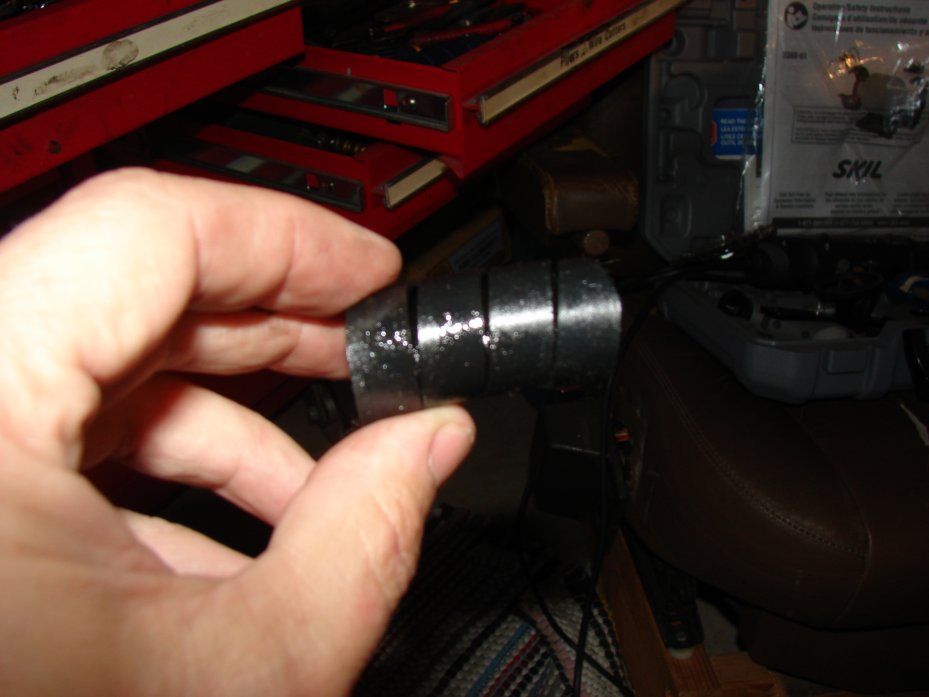
I went out to find my power steering leak on New Year’s Day. It required me to remove the power steering fluid reservoir and several of the hoses. If you’ve ever swapped these hoses you know they come with a factory installed friction protector. It’s a simple piece of coiled plastic.
It is good for the accidental rubbing of the hoses. It will not protect you from any of the high speed rotating objects under the hood for any length of time. They are only plastic.
What they are also good for is HIDING where a leak has sprung in your hoses. Once the magical fluid in the hose escapes it is quickly held against the hose and spreads down (gravity) the hose fairly evenly. This also coats everything near the hose in fluid as well.
I noticed that the wetness of power steering fluid extended nearly to the top of the low pressure hose. This had me worried that the reservoir might have a crack or break. The amount of fluid I’ve been loosing is actually puddling up on the drive at night. So this on the surface seemed pretty bad.
I pulled the reservoir and it was undamaged. I cleaned it up with an old wash cloth and set it aside.
I then went to inspecting the hoses. The high pressure hoses all looked dry. I’d replaced these in the past and I had purchased new ones from Atlantic British thinking the worst. I took the low pressure reservoir to pump hose off from the bottom. In the removal process I noticed the hose was not tightened very well at the pump.
I remember installing this hose and what an absolute joy pain in the ass it was to reach up and tighten the hose clamp on the hose at the pump end. It came off the bottom of the pump without me even getting to the hose clamp. I’m going to go out on a limb here and say some of the fluid leaking could be due to the looseness of the hose clamp. I know it’s a stretch, but I’m just going to put that out there.
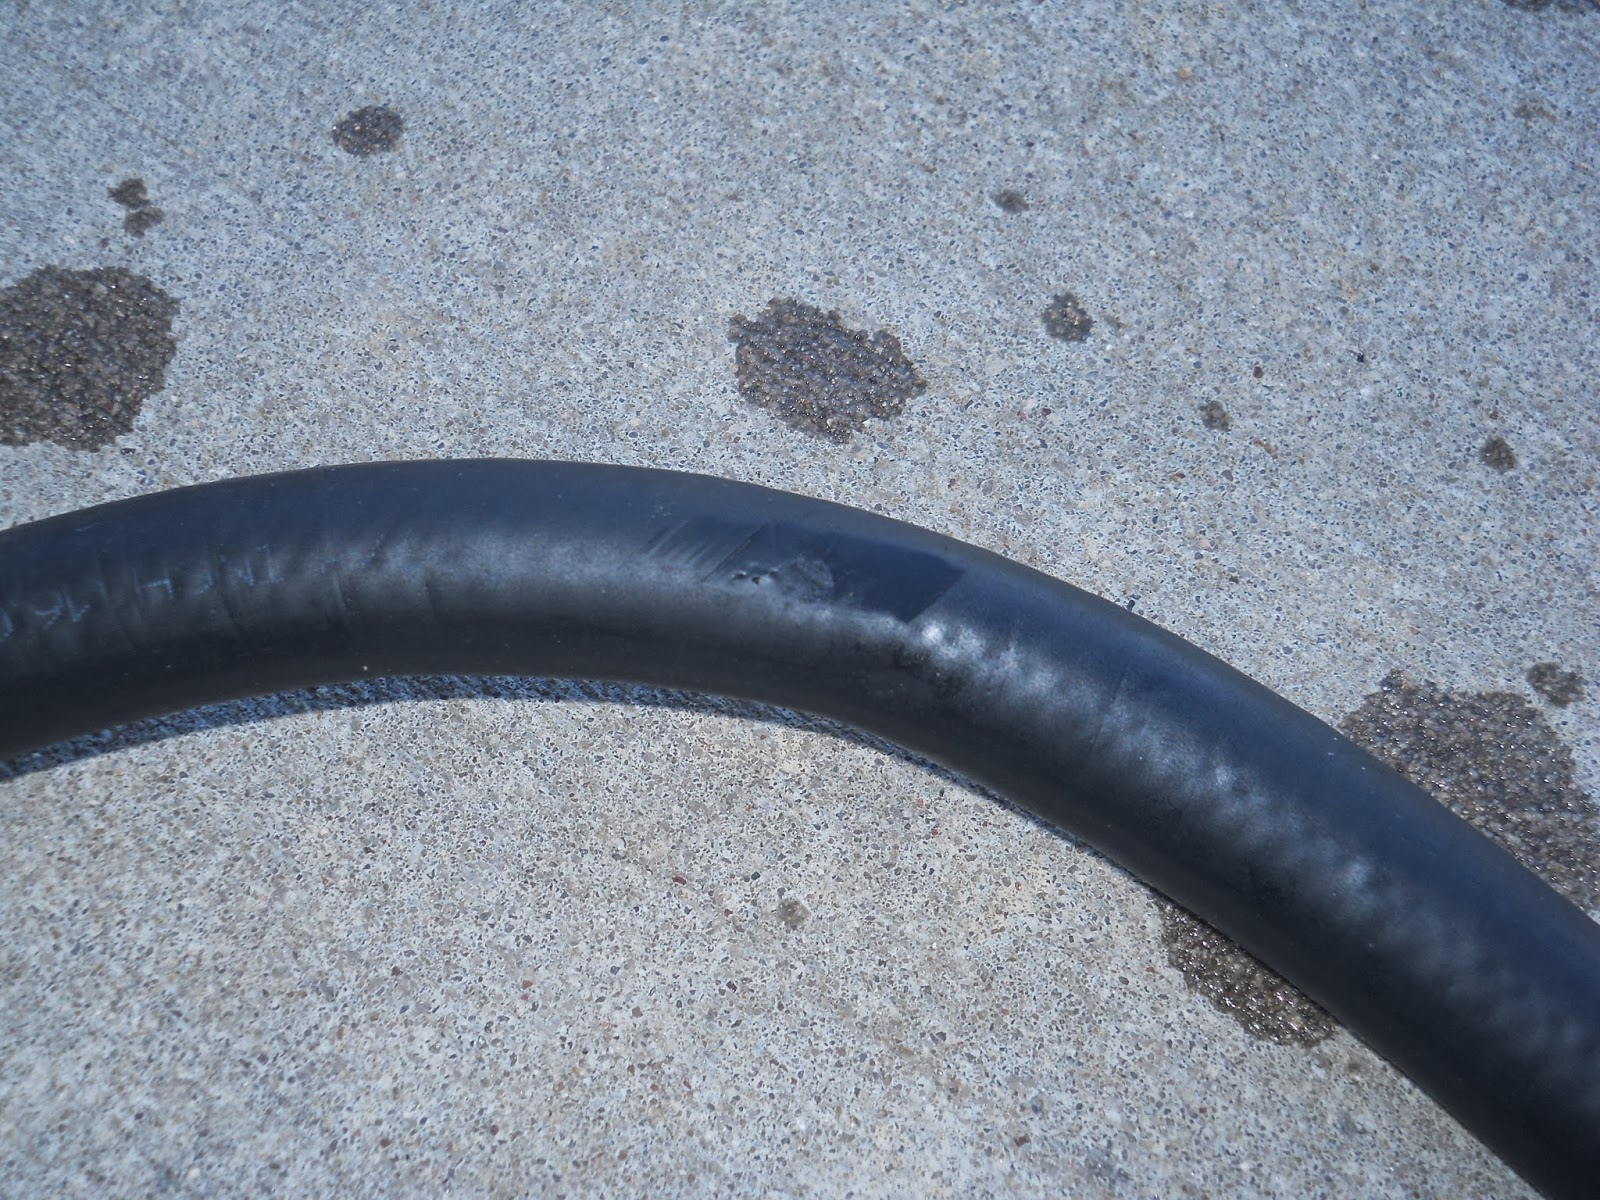
The reservoir end was very wet and I am not entirely sure the hose clamp was functioning within design specifications on that end either. I took the hose and cleaned it up. I did a visual inspection and found what you see in the picture above. A rub spot and a couple of holes.
I couldn’t determine if any fluid escapes from that area. There is no reason to put that hose back in there. If you recall that hose is by my reckoning the cheapest replacement part available for a Range Rover Classic. I will stop by the John Deere dealer on the way home and get a replacement length of hose. I will also stop and get some NEW hose clamps. You’d think I’d learn not to re-use hose clamps but apparently I’m hard-headed that way.
I’ve got a few more items to get and then I’m back on the road. Like other projects when you start one you find another to sort out.
Thanks for reading, don’t re-use hose clamps, and Happy Rovering.