CV Joint and Front Axle Seal (Post #504) 6/23/2014

Here is what will pass for a how-to video on the CV Joint and axle seal replacement. I had trouble videoing it with greasy hands. I also had trouble because the phone ran out of disk space.

That let to some choppy video and you didn’t get to see the assembly. What I do hope you get from this is that it is not as complicated or difficult as it may appear. Take it one step at a time and it will become really easy to understand.

On the Okierover Difficulty Scale this is a solid 3. You’ll need more than your average tool kit. You’ll need some help with the brake bleeding. It is a technical job but relatively straight forward.

I hope you can get something from the video. It was not what I wanted to present. But I also didn’t want to waste all the video and effort.

Thanks for watching and thanks for reading and Happy Rovering.

Garage Day: Titanium Hitch and His New to Him Ford (Post #383) 8/27/2013

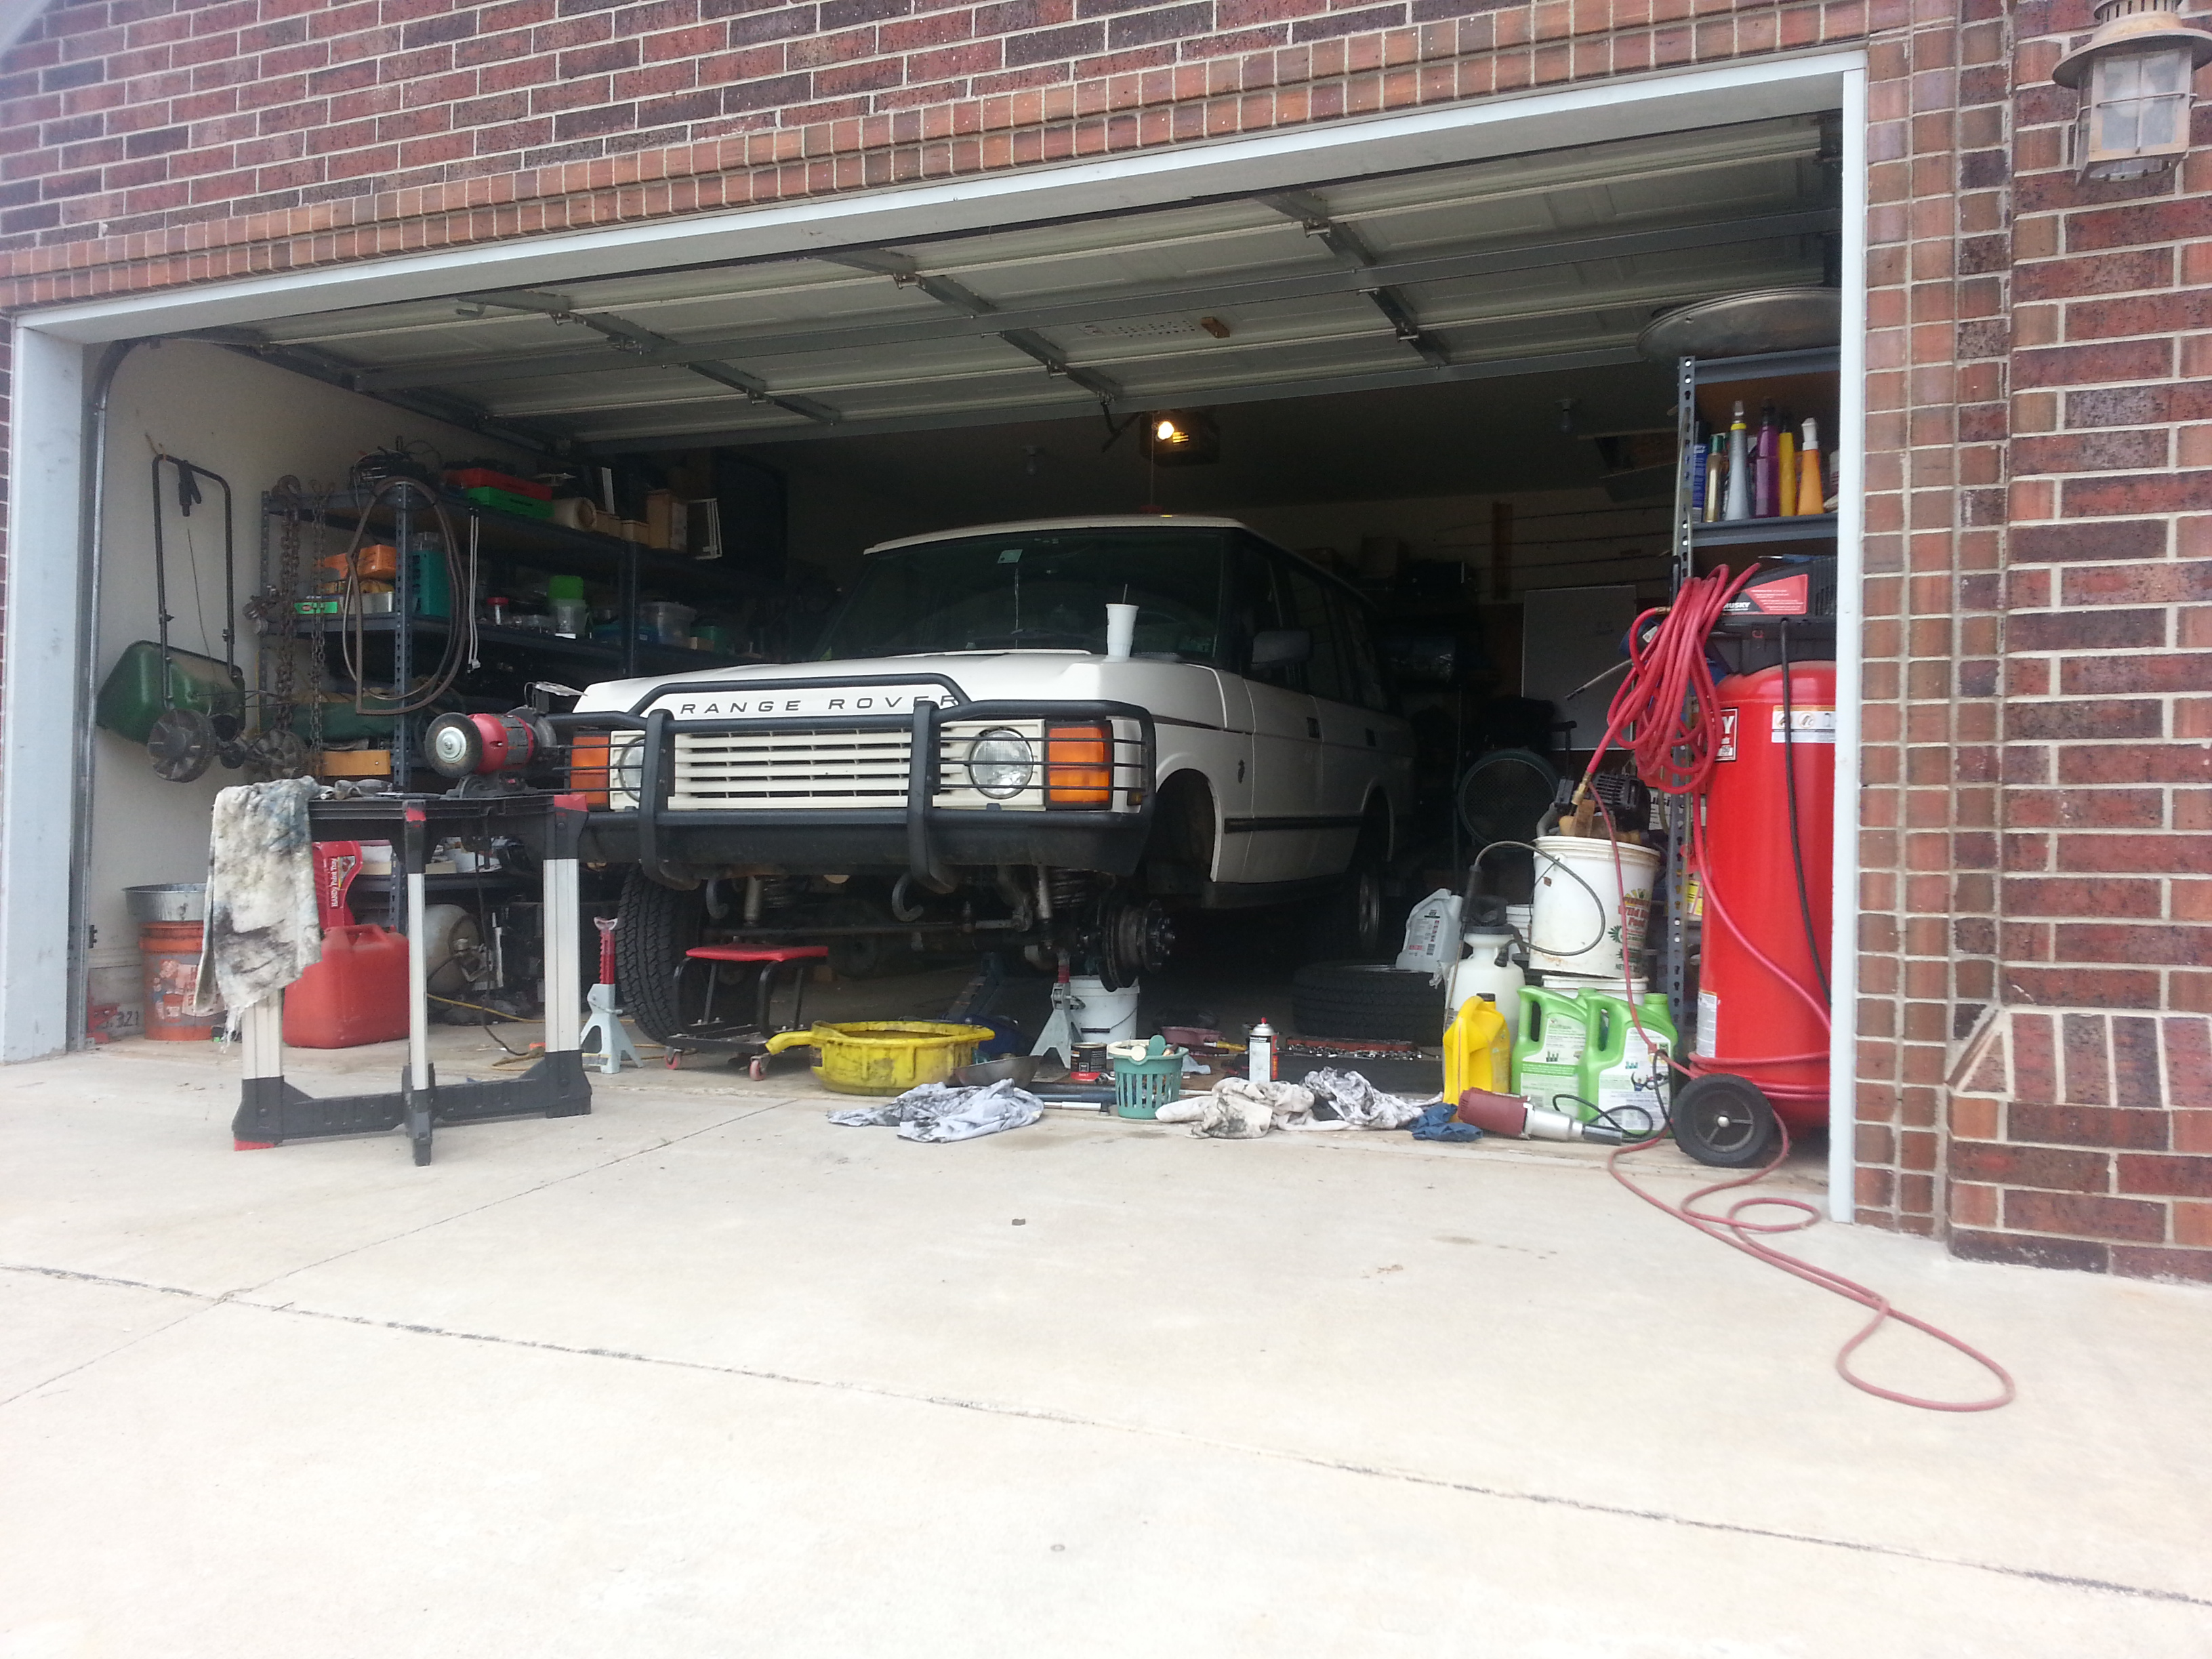
Another Saturday, another Garage Day. Wrenching on a old truck with your best friends in the middle of rural farm country is as American as America gets. This time the patient was Titanium Hitch’s 1998 F-150. According to TH the truck had been running pretty rough. It was in bad need of a tune up.

What started out to be an oil change, a brake job, and to investigate the rough running, became an all day ordeal. When we talk about project creep, this project not only crept, it grew as it did. What finally happened was a plug change, oil change, brake fluid change, two O2 sensors replaced, air filter change, and a final sorting out of the sound system problems from the last garage day.

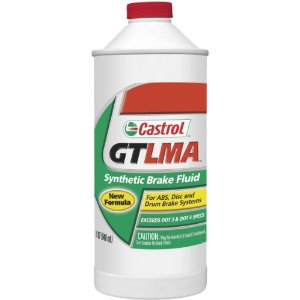
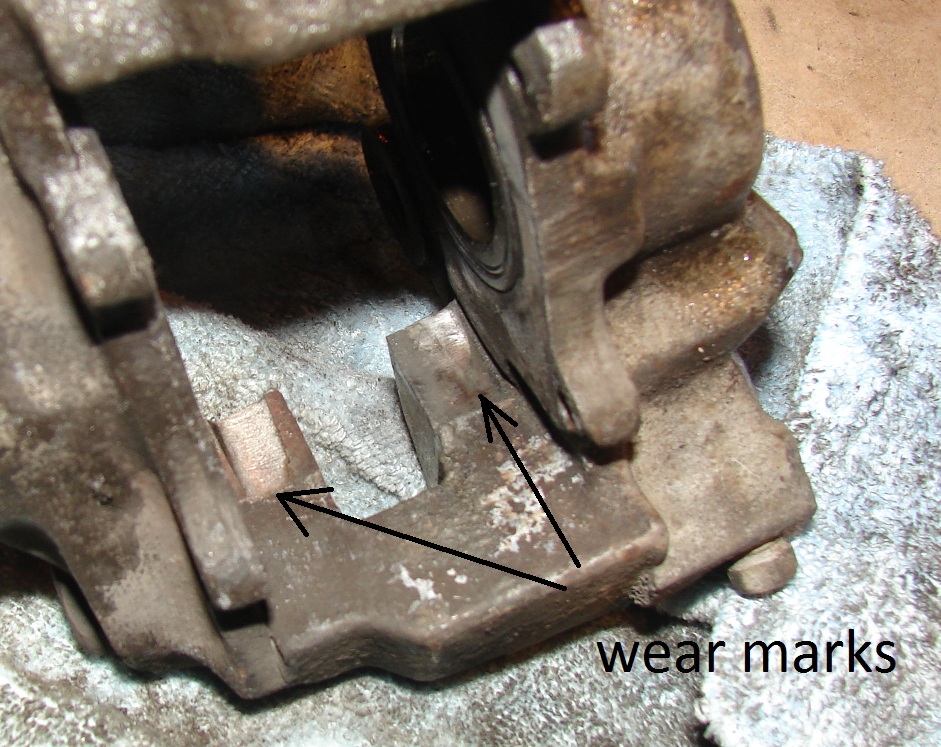
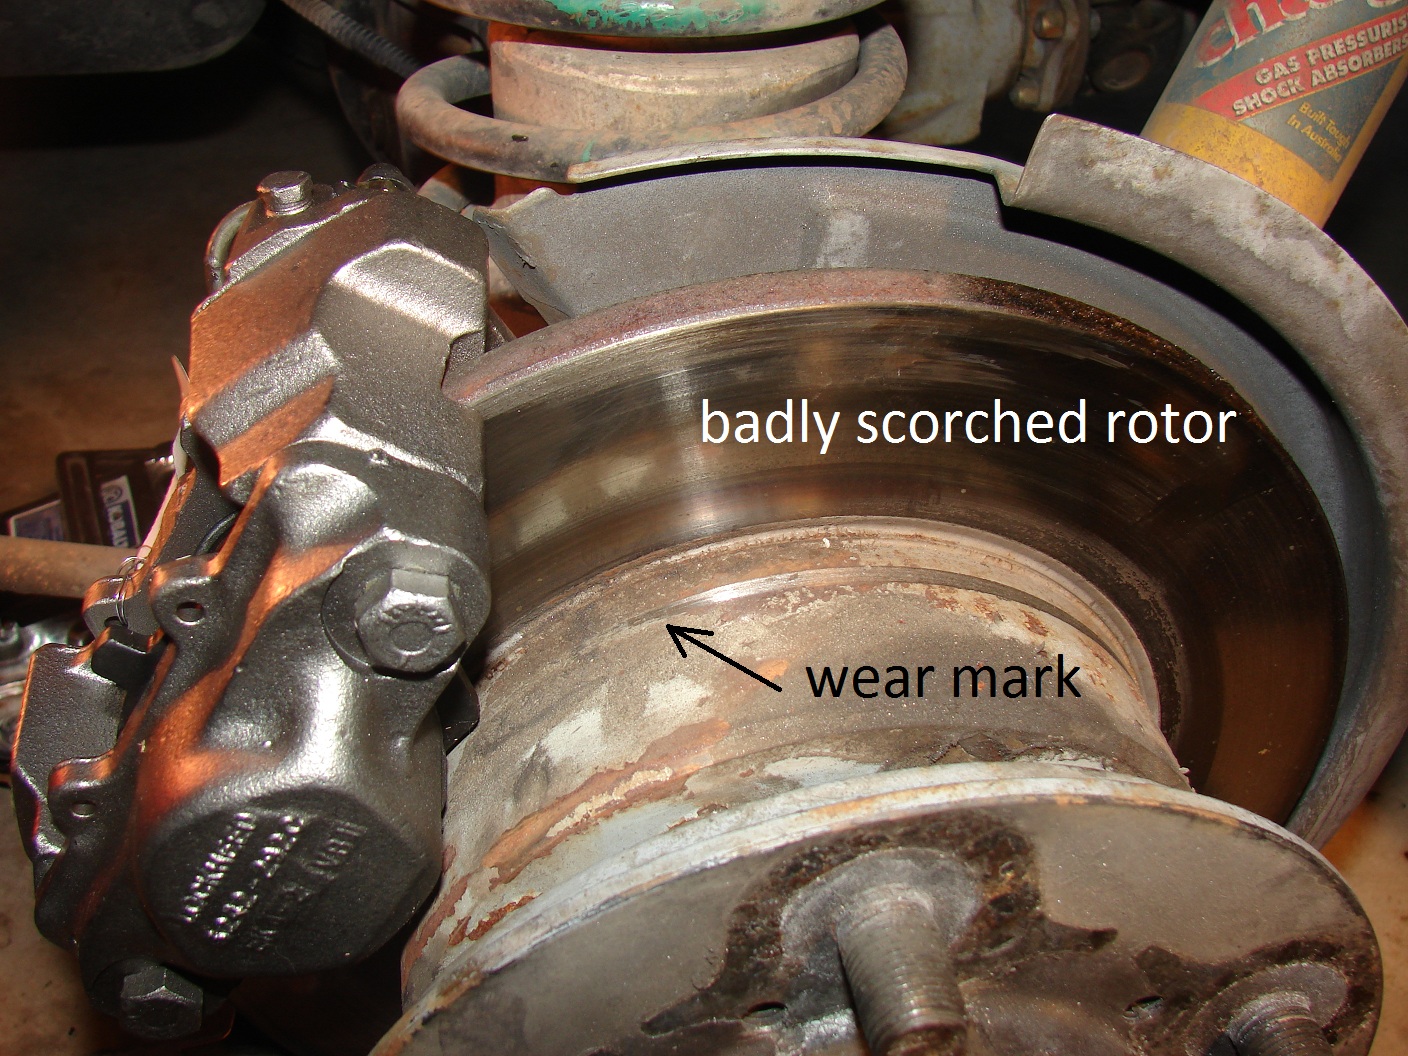
First, the good news, the truck did not need brakes. The pads were deemed to be in satisfactory condition. So TH is going to shelf the pads he bought for another time. The brake fluid was sucked out with a syringe, fresh oil replaced. Then the nipples all got a turn as the bad fluid was evacuated from the lines.

This went exceedingly well with three pseudo-mechanics working on it. +EGD was at the wheels while I filled the reservoir. TH was relegated to pumping. The instructions were pretty tough to follow. Pump the pedal and say when he was pumping. This took a few tries to get perfected. But as with most things TH finally became an expert peddle pusher.

On to the O2 sensors. A lively debate was had betwixt the three of us regarding how many O2 sensors an F150 had. We quickly found what we later learned were the upstream sensors. Only through a parts search did we find out that it had a set for downstream as well. Well hoity-toity for them! We all were surprised and our theories of why it could only have two, like a Land Rover were dashed on the rocks of our hubris.

The codes that were being thrown were thought to be related to the downstream sensors. I’m still a little fuzzy on this but I went with it. Besides the down stream sensors looked to be the easiest to remove. Yeah right!

The driver’s side came out with out much of a problem.
The passenger side was…welded …frozen …rusted WELDFROZTED in.

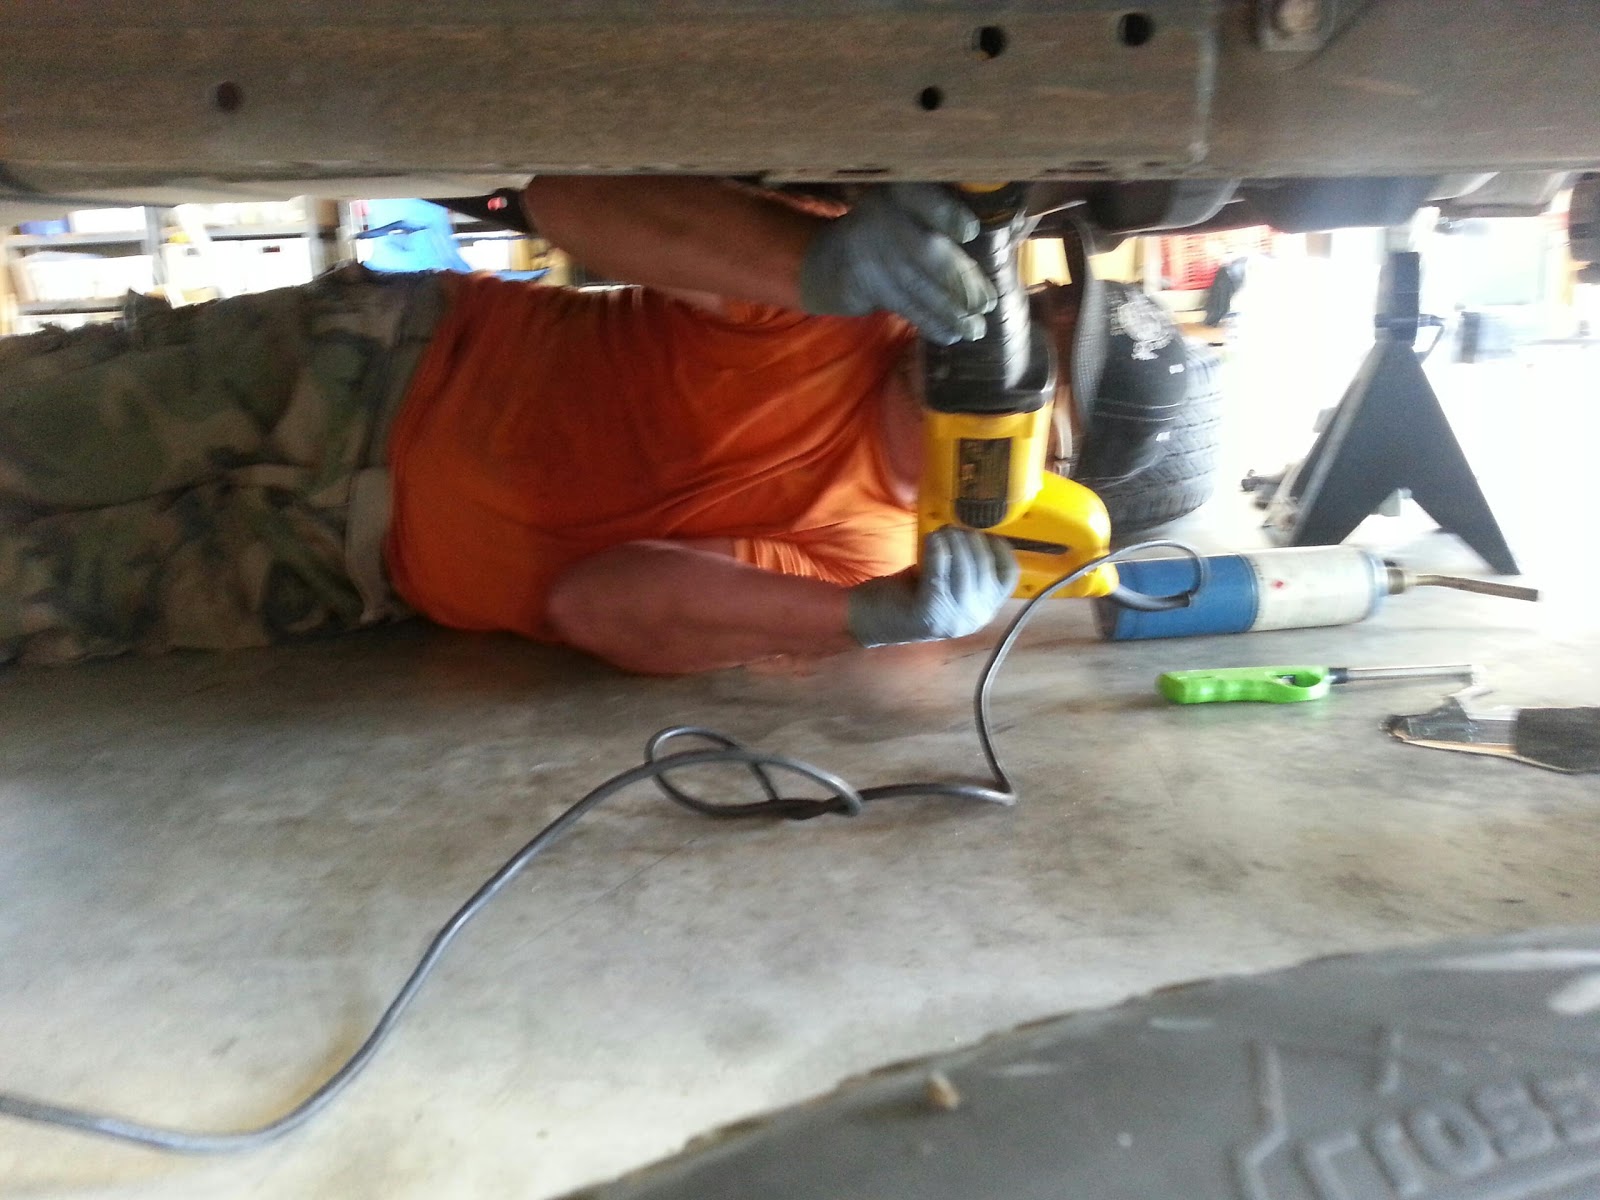
A great many attempts were made with a great many tool configurations.

We first cut the lead so we could use a deep socket,

We then attempted to sawz-all the sensor,
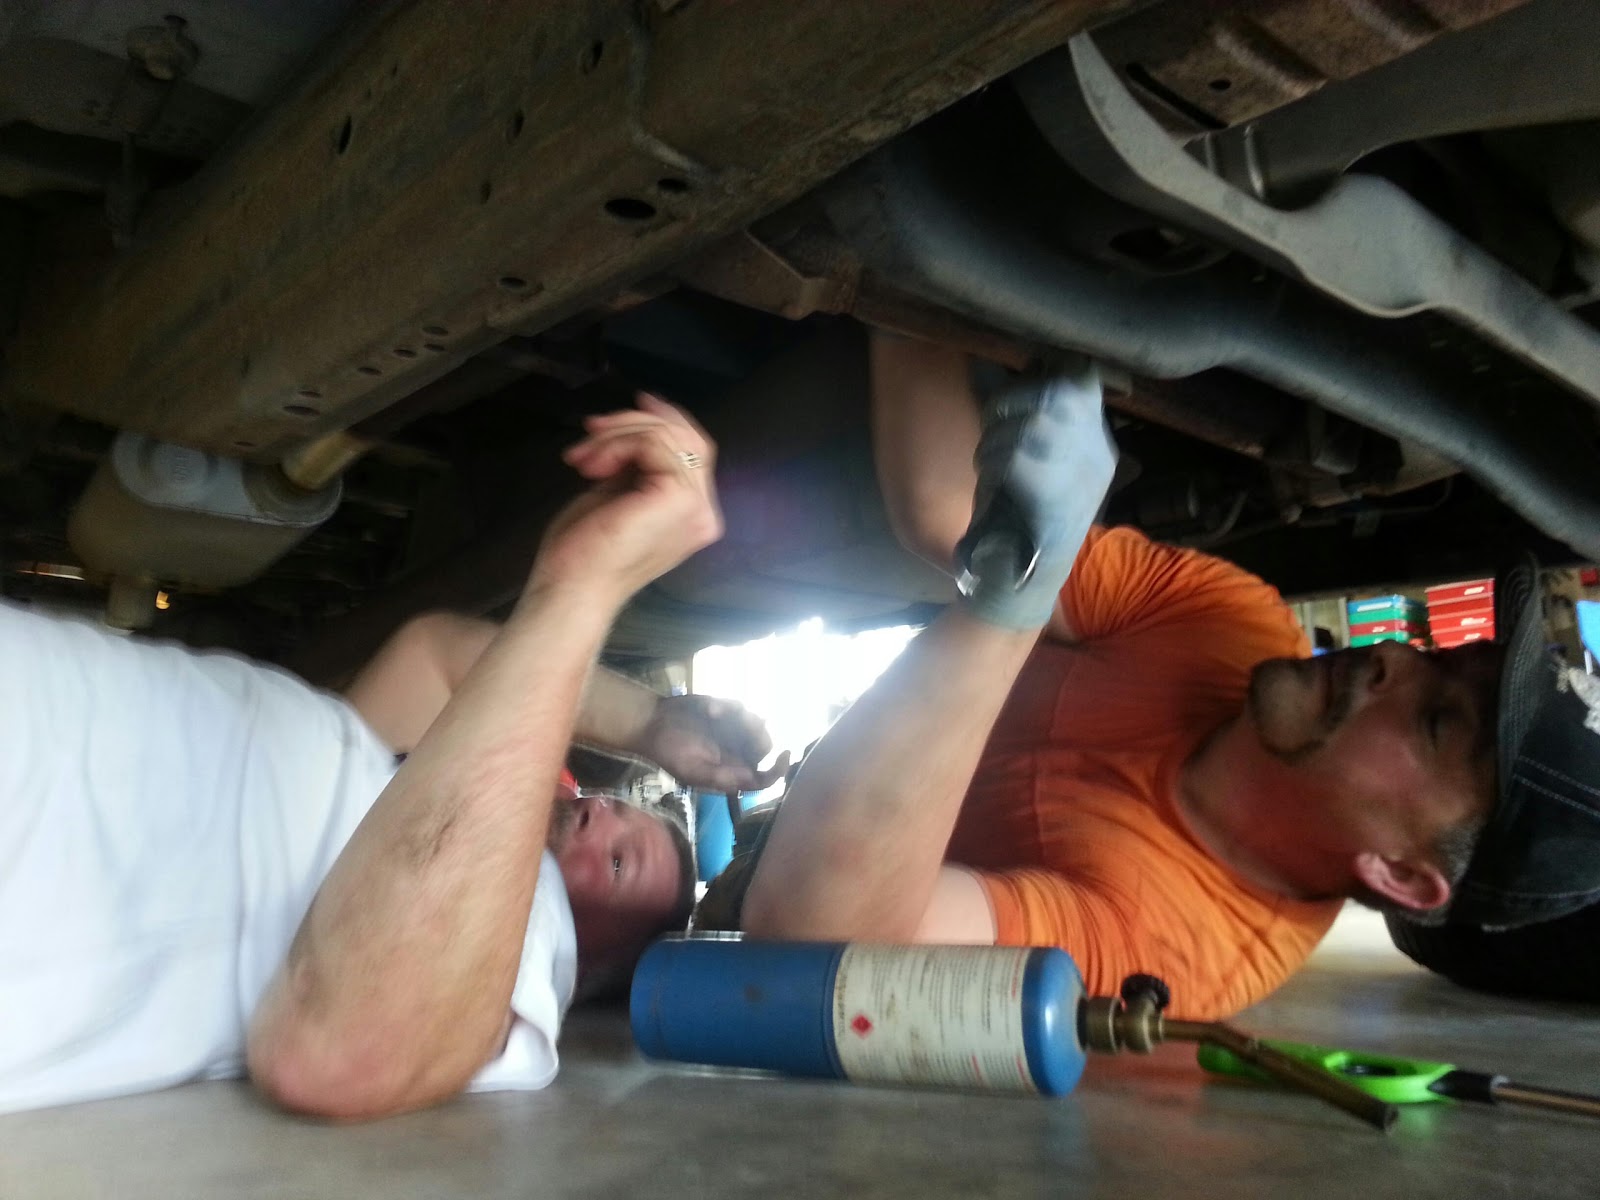
Then a propane torch was tried,

Then the sensor was cut into pieces with a large bolt cutter,
Finally a socket with a large cheater bar was used to tear the threads off. To get the cheater bar in to play the truck had to be lifted up to the maximum height of 5 ton jack stands. I was quite worried about this, as one mistake and the state’s insurance agencies would be writing a bunch of checks to happy sad widows.

I’m surprised I don’t have a picture of the end result of the sensor. But suffice to say brute force won the day. You can well imagine that the threads were trashed. EGD remembered to grab a tap in the correct size when we went to the parts store to spend some more of TH’s beer money hard earned pay on auto parts. EGD managed to get a few threads cut back into the sensor port and the second was installed. The front sensors were looking pretty bad as well. They were probably WELDFROZTED in as well. None of us wanted to find out. Another problem for another day.
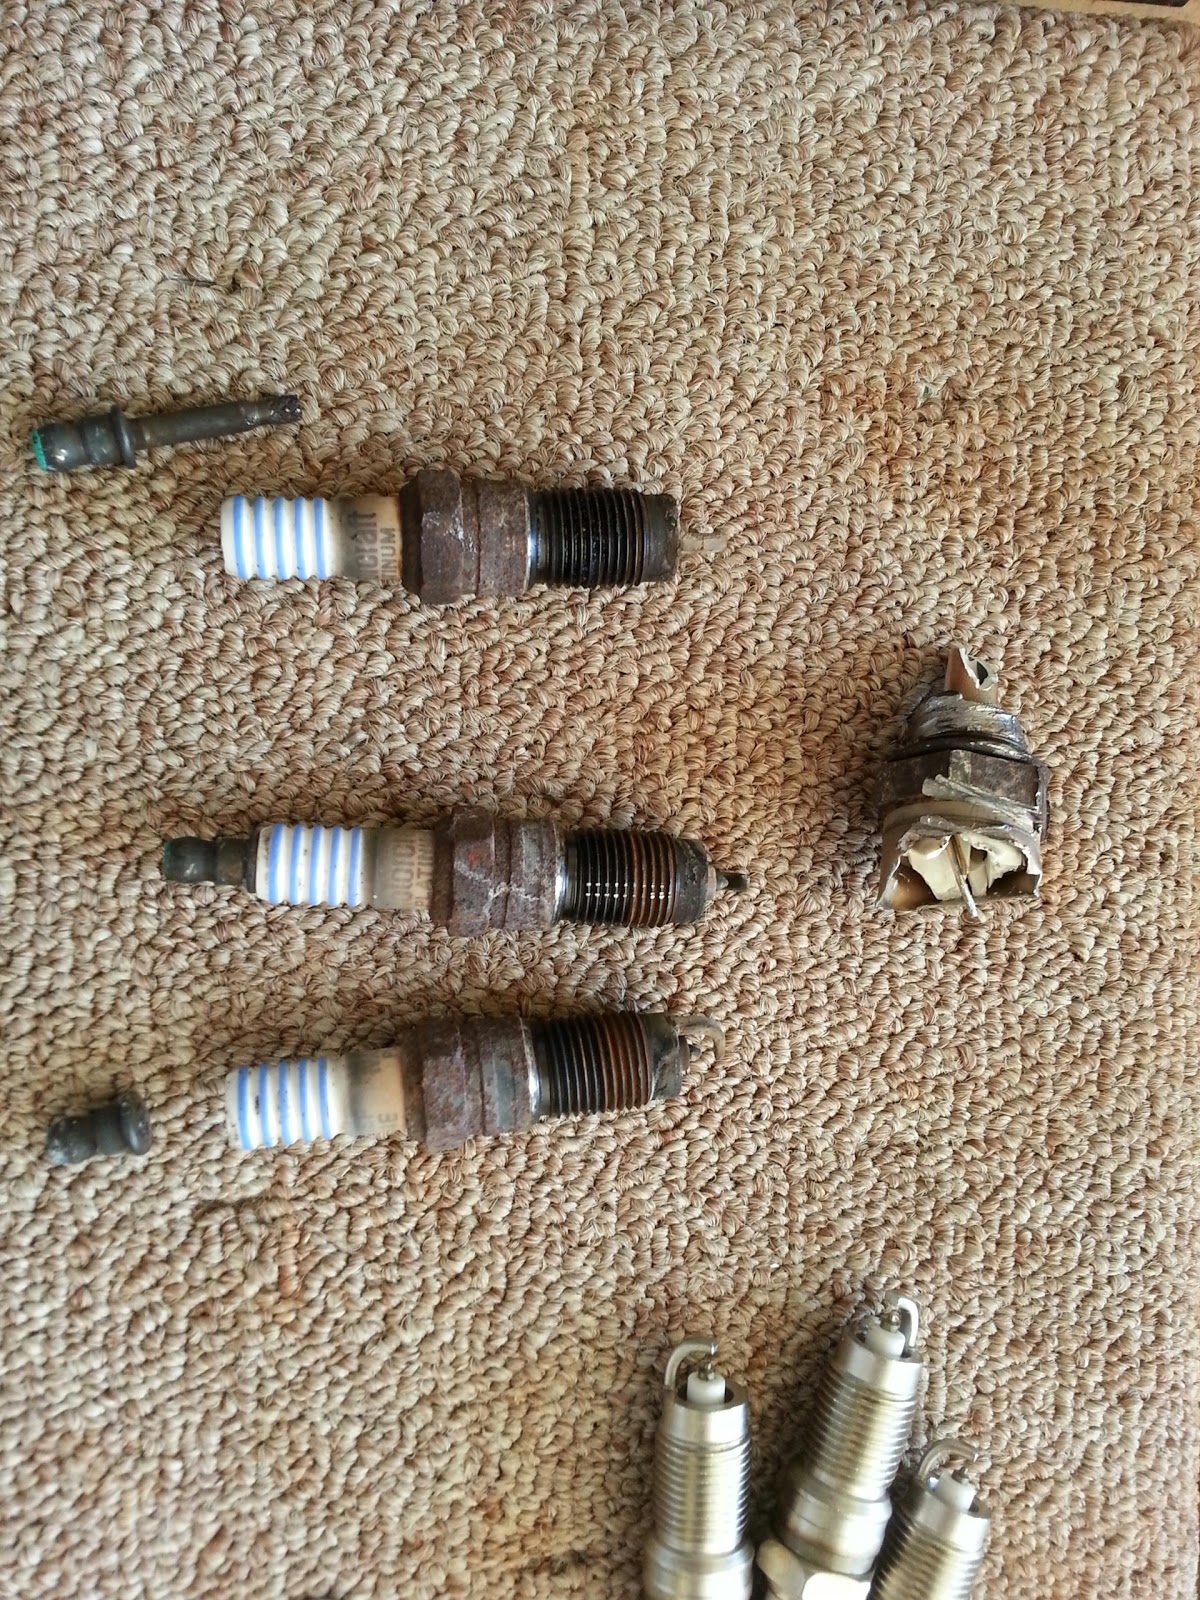
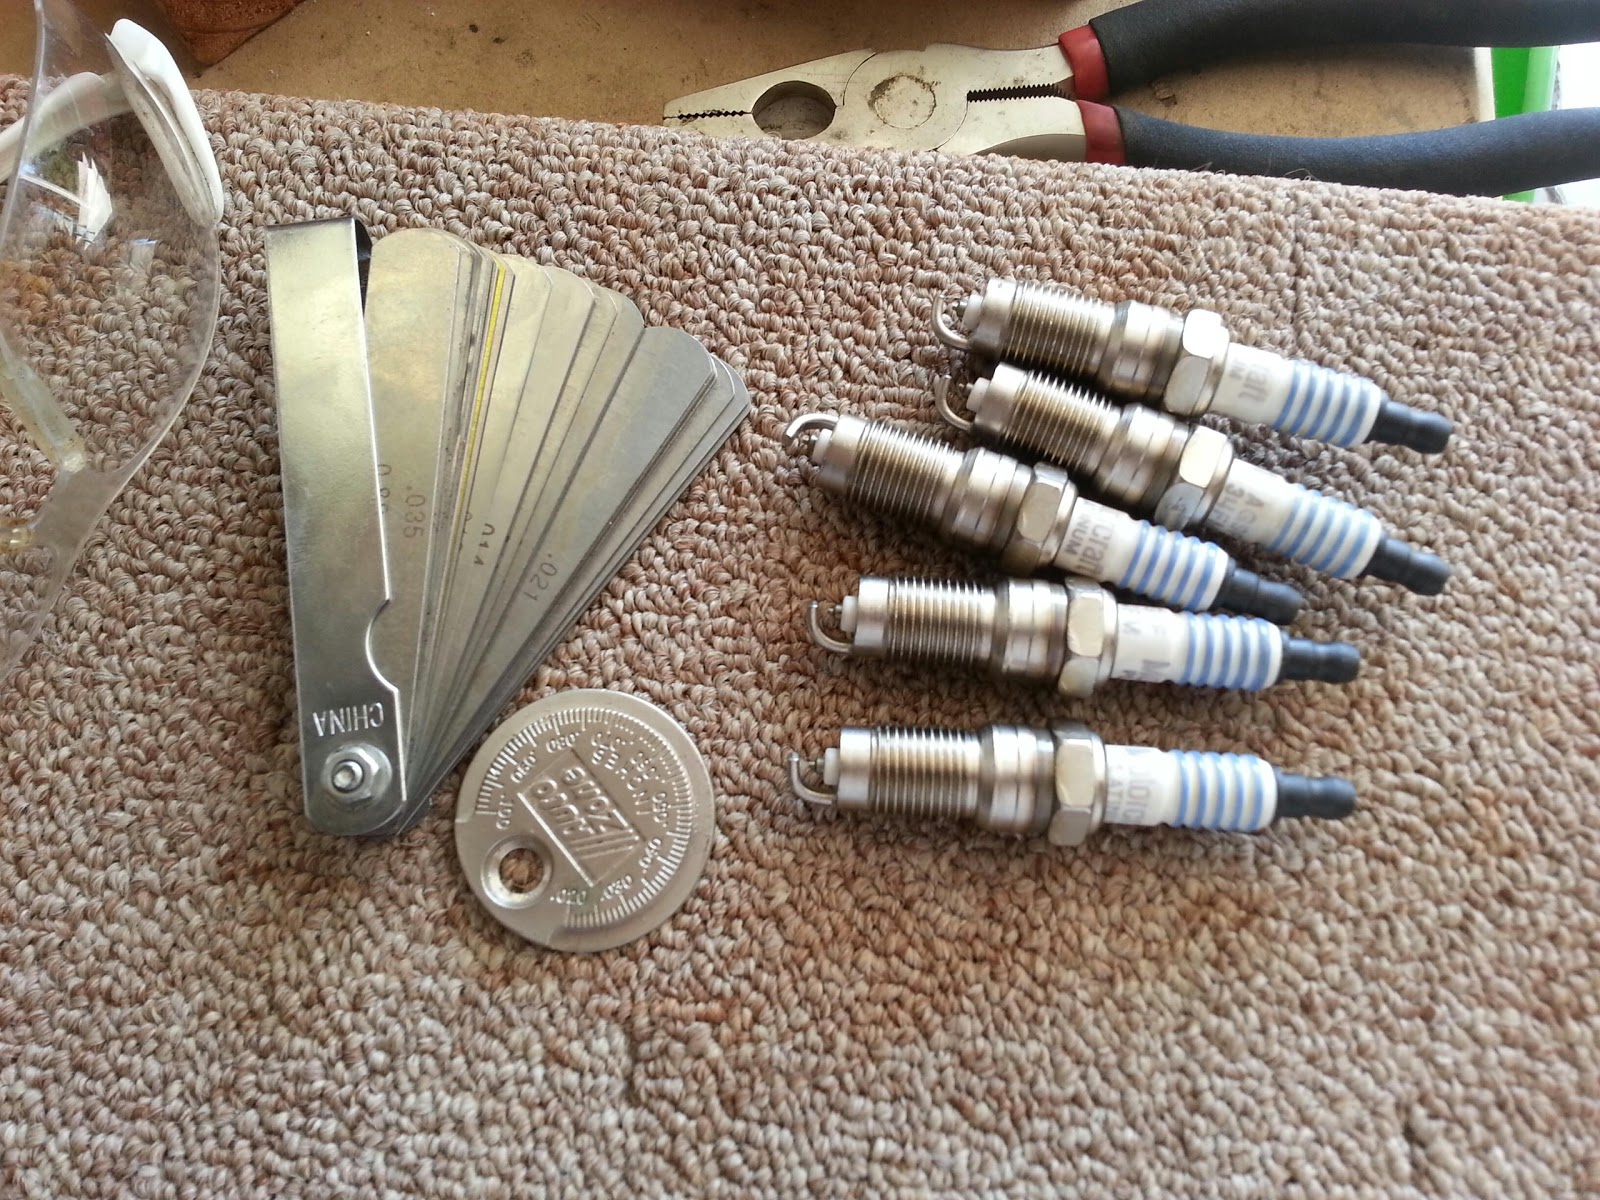
Next was plugs. We should have guessed we’d have problems. The first plug fell apart as the lead was being pulled from it. You can see the center conductor out of its plug in the following picture a long with what was left of the O2 sensor on the right side.
Half the plugs we pulled came apart in one manner or other. After examination of the plugs it was easy to say they were the originals. This was evident by checking what was left of the anodes for spark gap. The plugs were so badly eaten away and the gaps so large I was surprised the truck ran at all. One of the gaps measured .1000. Yes… point 1 thousands. The actual factory plug gap should have been .0560. Two of the plugs measured .0900. I didn’t measure the rest. I hope you can see the ends and how badly eaten away they were in the picture.

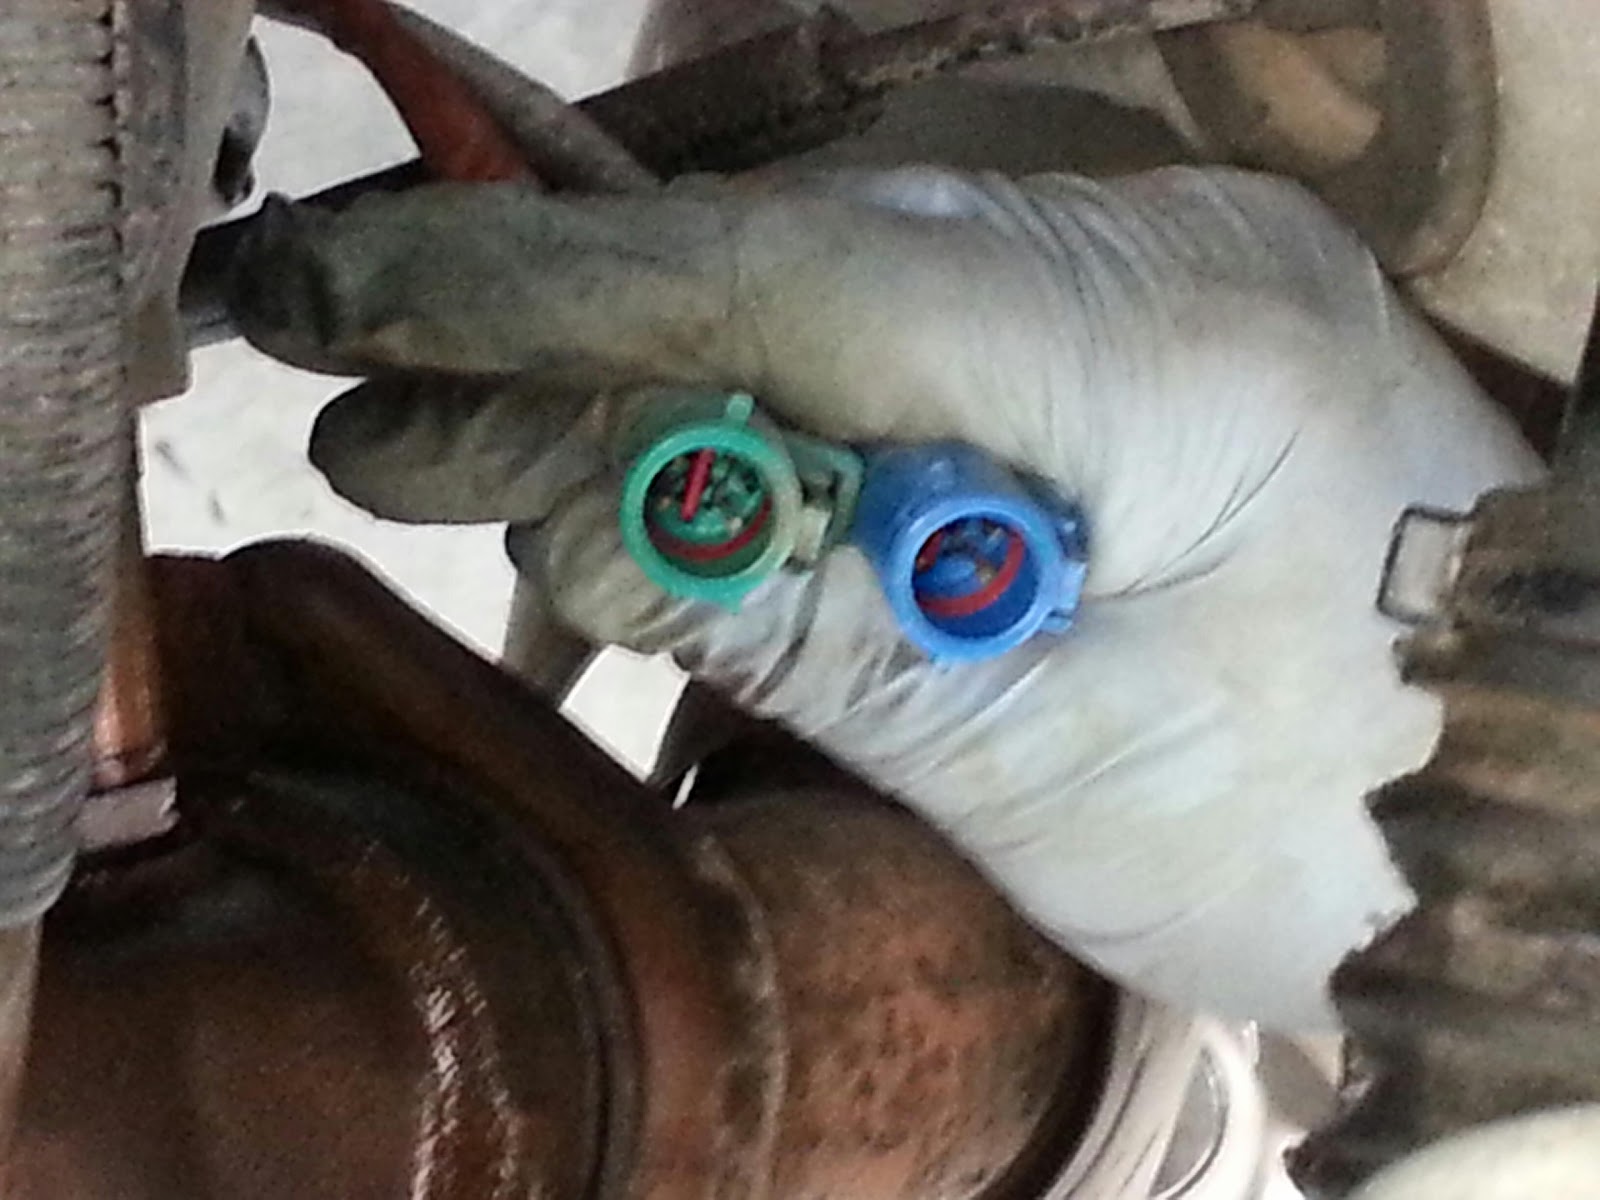
I gapped all the plugs with a feeler gauge and they were installed. At some point here a lively debate broke out about the parts we had just picked up. The replacement O2 sensors did not have the correct key on them. It looked to me what little key was there was half-heartedly cut off/ground down.

We looked at the existing up and down stream plugs for comparison. Then we compared them with the one upstream sensor which we could actually reach with out being a contortionist, the passenger side. Sure enough the replacements didn’t match any of the OEM ends. We installed them anyway, trusting that the AutoZone guy gave us the right parts and they were labeled correctly in the boxes.

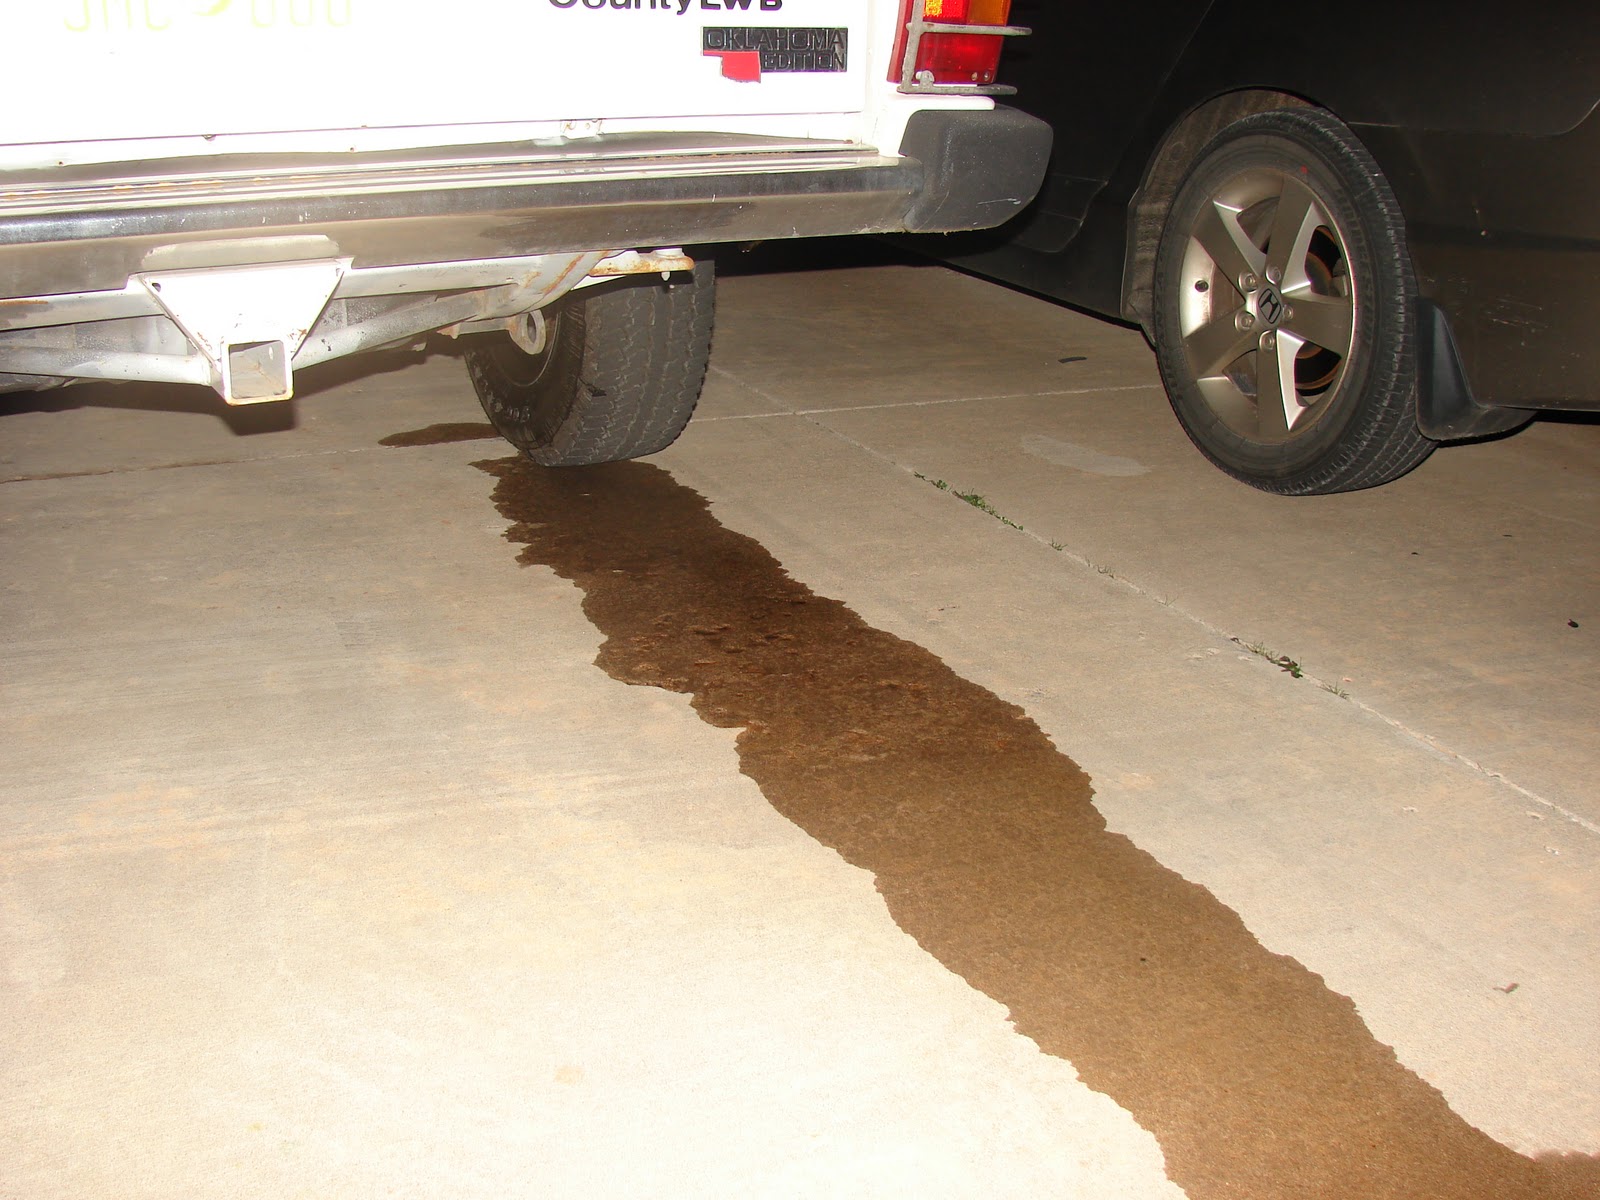
The oil change was completed in short order. The truck was two quarts low on oil as well. The black stuff that was serving as oil didn’t even fill the five quart jug of the replacement oil.

I had to bail out before the speakers were addressed. I waited long enough until I got to hear the engine with all the new bits. They gave me the honor of firing her up. She roared into life and idled like she was meant to. I’m going to guess she gets 3-4 miles more per gallon of petrol.

About an hour after I got home I got a panicked call from TH asking if there was something I could think of that might have made her run poorly. Seems when TH tried to drive home although idle was good, any application of throttle caused coughing and choking and a poor running motor. It was probably dropping to “limp mode”.

I remembered I had pulled the passenger side O2 lead, but I hadn’t reconnected it. I relayed that and he was off to check it and indeed it was still disconnected. It was reconnected and he made it home.

I talked to TH the following Monday and he told me she was still running rough. During the Garage Day festivities we had had a lively discussion about the Air Idler Valve. If it was half as bad as the other parts, it most likely really needed a good cleaning if not an out right replacement.

It was fun to hang out with my old mates and swap stories and wrench a little in the sub-Saharan African hot Saturday in Oklahoma. I wouldn’t have rather been anywhere else, well perhaps in my pool with Mrs. Okierover, but I got that too so I was a winner all the way around.

Thanks for reading and Happy Rovering.

Brake Caliper Problem Solved (Post #282) 1/16/2012

We had an uncharacteristically warm Saturday just in time for me to sort out the problem with the brake caliper on the Range Rover. As you may remember I came home to find this in my driveway.

As you can imagine it was very disappointing. I knew it was behaving like a warped rotor. As I mentioned in my previous post those rotors were brand new. I got the parts in and found brake fluid at a store I normally don’t shop in, Pep Boys. Its good to know someone around here stocks Castrol LMA Dot 4 brake fluid.

As I mentioned Saturday morning came around and I pulled the Range Rover into the garage with only the hand brake to slow me down. I ordered brake calipers for the entire rear axle. I figured if one had failed the other would be near enough to fail as well. My son’s friend “Scuba” wanted to learn about brakes so I told him to come over when he was ready. I started and not long after he wandered in. He is studying mechanical engineering and would like to be a automotive designer/engineer for BMW after he graduates.

So back to the caliper. I got her jacked up and got the tire off and started looking at what might have happened. What I found was very, very disappointing.

I noticed a wear mark on the rotor.

The wear marks are only on part of the rotor. This would account for the whomp, whomp sound. So I looked at the brake caliper. The brake pad was dragging on the rotor. This is not designed to happen. So I looked at the caliper for an explanation.

The brake caliper had two distinct wear marks. With the caliper in place the brake pads were definitely rubbing on the rotor. I showed Scuba how the caliper works and we thought about the design and what might have failed. I decided to fit the new caliper and see if we had the same conditions.

With the new caliper in place we didn’t see any contact between the rotor and the pad. as I was looking at the setup I noticed something not quite right.

There was a gap between the rotor and the hub. There should not be a gap there. I examined it even more closely and noticed the hub and rotor were touching on the opposite side. But on this side they were separated.

This causes rotor to wobble and as it was rotating it was causing vibration and parts that have very tight clearances were now rubbing on each other. This caused a couple of bolts to be shaved off a bit.

I removed the hub and rotor and found even more damage. The ABS ring was also not properly attached to the rotor. That was apparent from the nyloc nuts that were not properly tightened down.

You can see everything the the following picture. How it stayed together I will never know.

It goes without saying, but I’ll say it anyway. The brake rotor was scorched and had to be replaced. The brake pads were ruined from heat. The brake caliper seal had failed and need to be replaced or refurbished. I had sourced that part but the pads and the rotor were another thing.

I went to O’Reilly’s Auto and they told me they didn’t have one in any store or in the warehouse. I went out to the parking lot and called NAPA Auto. The kid there told me they had pads and rotors in the warehouse and could have them brought to the store in Norman by Monday. The good news in this is the warehouse is in Edmond. So I called the kid back and told him I’d just drive up there (35 minutes) and pick them up myself. So I did. Ricky was fun to chat with as they pulled my parts.

I headed home and found myself on the road where my family is buried. I stopped to see the burial plot. I didn’t stay long.

I got back to the garage and started disassembling and reassembling the parts. In the reassembly I used red thread locker on the bolts that go in to the ABS ring. I used blue thread locker on EVERYTHING ELSE.

I had lost an entire quart of brake fluid. I emptied the full contents of the bottle into the reservoir. Scuba pumped the brake peddle as I bled the air out of the line and caliper. We hopped in and took her for a ride around the block. All was well.

Conclusion.
How on earth did those bolts come out? I know for sure that I tightened the bolts. I remember how I rigged up the breaker bar. I remember the reassembly. There was no thread locker on the bolts when I disassembled it. This was the main reason for not putting any on when I initially did the brake rotors.

I will definitely have the driver’s side rear off to check for assembly. If this could occur on the passenger side it could occur on the driver’s side.  Better to find the problem before it destroys that side.

I have had nothing but trouble with that corner (passenger side) of the Range Rover since I did the last restoration. Was I exceptionally tired that day? Was I loco de color that day? It was exceptionally hot that summer.

Well that is all. I have a few other projects that demand attention. First and foremost is the driver’s side door handle. My son Diet Mtn Drew managed to nearly rip it off when he borrowed the the Range Rover while his Scion was in the shop. The main problem is the latch needs adjustment. I will look at that when I pull the door card and sort out the bad handle. I also have to fixed the faulty brake peddle switch.

School starts back on Tuesday. My next free time will be during Spring Break. Let’s hope nothing breaks before then.

Thanks for reading and Happy Rovering.

December 10th, 2002 (Post #15)

December 10, 2002

Garage Day Success

Garage Day was a success.

The Land Rover Bomber Jackets were a big hit.

Got the bad brake fluid changed. There were a great many bits floating in the recovery bottle.
The fluid is translucent now as opposed to the tea colored fluid we removed. There will be a
right up soon. Look for it.

See you at the next one.

November 15th, 2002 ( (Post #12)

November 15, 2002

Garage Day is coming (see below). I will work on one of two projects at Garage Day. Either the “Great Brake Fluid Replacement” or the “Gosh, a light here would be really cool” project. The brake fluid swap is no big deal. Replace the brake fluid whoopee. But the light project is better, more nerdy. The Ditchfinder has a light under the hood of his Chevy that has a real long cord and can be used as far away as the back tires. I went to a junk yard and got one for $10. I plan to install it under the hood. Thusly providing a very nice light for those dark nights on the side of the road.

On the board I have been inquiring about a dual battery setup. In the coming months I will be investigating that possibility. I have a concern about my alternator at this point and it’s ability to charge the batteries. But I will find out more and as always I will let you know what is found.

I am coming around to the final design for the Rover Cupholder (what no reverb). I am pricing lathes and will be to turn some samples out of pine or other cheap wood to work out the bracket to holder relationships. JagGuy had some great input as we blazed along in Edmond to the garage last week and with that advice I think I am ready to “Turn some wood baby”. I have never used a lathe so I may have to have another friend give me a primer first.