Auxiliary Lights for the Range Rover Classic Overland Rig (Post #723-730) Spring 2026

This is a collective post of all the posts for my Auxiliary Light Project.

Part 1

In this post I put the lights on the roof rack. The weather played along and it was the only day this week I could get out there. Last weekend was spent getting Erica and Brian’s house moved. Erica remembered I drove M54 5 ton trucks in the Marine Corps Reserve.
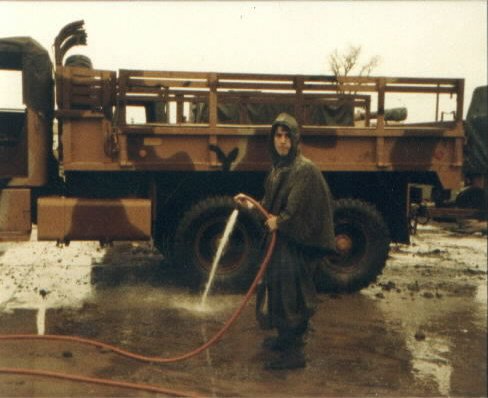
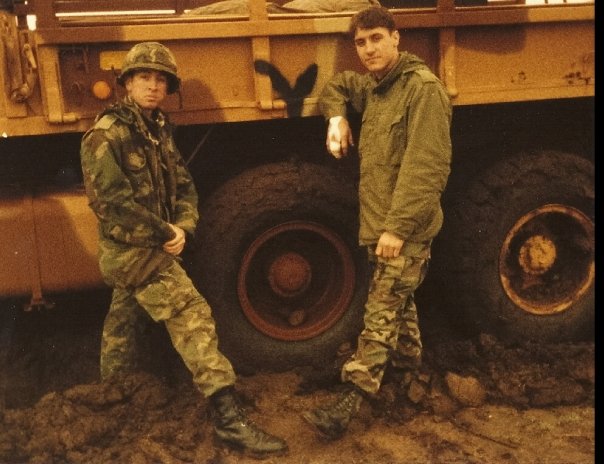
So I got to drive the U-Haul home. The first two hours was driving with the wind on the front right corner with a wicked wind blowing me all over the road with the incredibly vague steering. I also enjoyed a crosswind with that vibrated the left mirror and creating a loud noise. It was brutal.

We got them all load and unloaded in two days. That took a toll on this old man, but I was happy we got it all done.

So on to the lights…

I started with a template so I could get the holes drilled correctly that needed a slight adjustment for the power wire. Once I got them on the roof rack, I realized the power wires were going to need to be secured and out of the way.

I found some metal clips that were designed to hold a tablecloth on to a picnic table. After I broke 4 drill bits trying to drill hole in them, I gave up and went to the hardware store to buy some. On the way I realized the steel was probably spring steel. So, drilling a hole was probably a folly in itself.

The bracket got installed and then I went on to wiring. Nothing special here. I watched a Simon Fordman YouTube video where he soldered his wiring. I decided that would be how I did it. What I learned is I need a wider variety of heat shrink. I had several of the right diameters but not in the length I needed.

What’s next? I’m glad you asked. I need to wire in the switches and relays. This means I need to determine what the box is going to look like. I also need to decide what I’m going to make the inside out of, MDF? plywood? paper mâché? the choices are endless!!!

Part 2

I finished up the soldering on the lights. I didn’t finish one last weekend. I should have filmed it because it was the best connection of the three. Its sad how you lose skills when you don’t use them. Add soldering to the list of perishable skills…

  • Dancing
  • Running
  • Bending over at the waist
  • Patience
  • Firearms accuracy
  • Drinking all day and waking up the next day like nothing happened
  • (New) Soldering

That’s most of my list… I’m sure “cognitive skills” and “remembering why I walked into a room” will be added soon but for now let’s go with these.

I got the wires routed along the roof rack. I bought some ridiculously over designed zip ties. I used those along the rack. I’m not worried about the wires moving.

I was able to run the wires around the rain gutter and into one of the holes in the D pillar that would have been used to hold the beauty panel on. I’m not worried about it going anywhere because the wires are right up against it.

I got the D pillar beauty panel secured and installed the interior trim piece as well. I now have to get connectors and wire and make jumpers for the relays and plan my wiring panel. At this point I’m thinking a piece of wood mounted to the interior back. It would be covered by the box that will be the location of the light switches and the sub woofer.

There will be additional power needs back there. I have a ridiculous list of needs for the rear.

Interior lights, charging batteries for a drone and cameras and flash lights…. Its a ridiculous list and I should probably print it and stick up somewhere so I am always thinking about it when I’m planning.

That’s all for this week. Like and subscribe if you watch the video. Thanks for reading and Happy Rovering.

Part 3

In this video I talk about my terrible planning skills. I also mount the relays on my board for the auxiliary lights on the roof rack for my Range Rover Classic Overland rig.

Part 4

In this video I talk about my terrible planning skills. I also mount the relays on my board for the auxiliary lights on the roof rack for my Range Rover Classic Overland rig.

Part 5

In this video I discuss my windshield issue, deal with a missing Amazon order, and finish soldering the diodes for the auxiliary lights on the roof rack for my Range Rover Classic Overland rig.

Details About “Kit and Kaboodle”

Origin: The phrase dates back to around 1870, with earlier iterations including “kit and boodle” or “kit and cargo” in the 1840s/50s. It is believed to have originated from “kit” (a collection of tools/items) and “boodle” (a, Dutch-derived, word for a group or property).

Russ T Mettle YouTube https://www.youtube.com/@russtmettle

Part 6

In this video I start the cabinets to house the switching board for my lights on my Range Rover Classic Overland rig. I also managed to cut through the handle on my table. Thankfully, I was able to repair it with a little welding.

There were some other issues but I dealt with them off camera. Speaking of cameras, this camera is REALLY pissing me off. I think I’ll be looking for a new camera in the coming year. One that doesn’t overheat and is easy to turn on and off.

I made the hard decisions to skip the subwoofer for now. The size of the one I chose would have taken up the entire space behind the cabinet. It was the Kenwood Excelon P-XW804B.

The search is on….

Part 7

Finishing up the carpentry. No one called me out for spelling it wrong in Part 6.

Part 8

In this part I test my circuit to make sure it does what I planned. Spoiler alert it does. I also fix the bracket by welding a nut on to the brackets. I screwed up getting the fabric to cover the box. I’ll have to make a daytime run to get it so I can wrap this project up.

Part 9

In this video I move yet another step closer to wrapping up the switching board for my lights on my Range Rover Classic Overland rig. All I need is to cover it with fabric and finish out the wiring and mounting of the switch.

Part 10

In this video I wrap up the switching board for my lights on my Range Rover Classic Overland rig. I only burned both index fingers and started a small fire. About normal, and I’ll probably recover.

https://youtu.be/N876ZYask4g

Like and subscribe. Thanks for reading and Happy Rovering.
Random Next Jobs on my Range Rover Classic Overland Rig Part 2 (Post #716) 8/31/2025

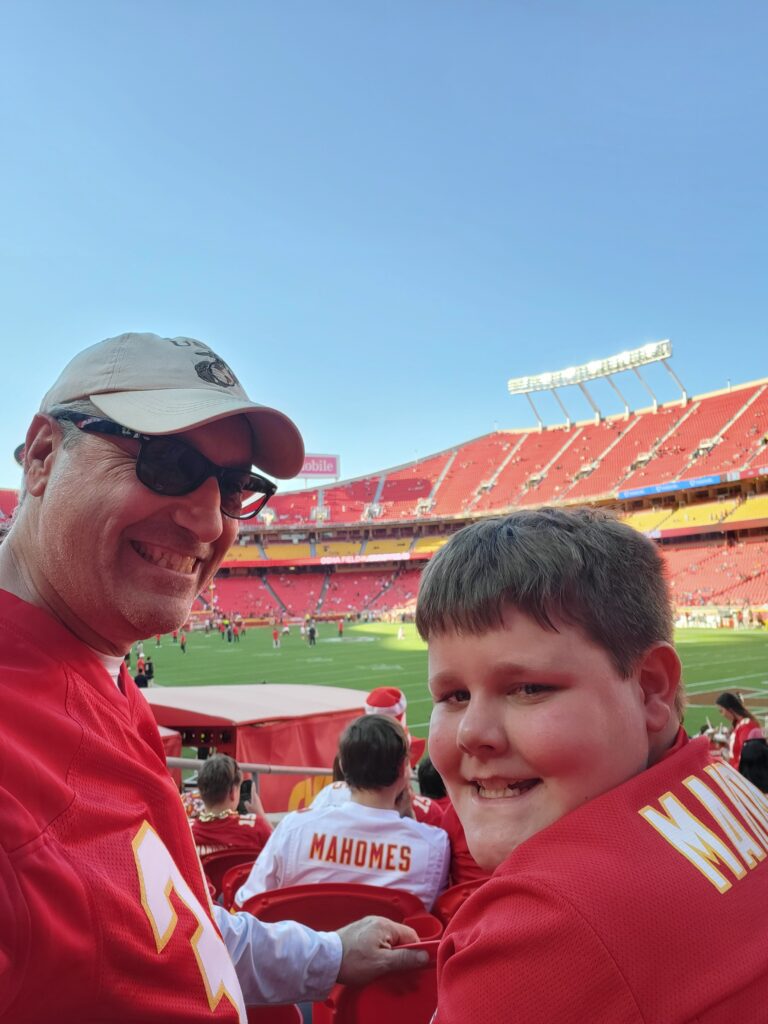
The first thing we did this weekend was drive up and surprise Lucas by taking him to his first pro football game. It was my first too, but we made it all about him. He had a great time.

In this post I worked on the footwell and the rust issues that may come up from melting off the stone chip/bedliner material with my welding. I got underneath and scraped off as much as I could reach with all the exhaust and drive shafts in the way. I also now realize there is a fair amount of leaking oil on this beast.

I found some transmission fluid, obviously engine oil, and I saw some antifreeze too. These are all leaks I can list along with my power steering which is weeping from the lower seal. All very annoying. Some we can fix. Some we will probably not fix. Engine oil could be coming from the valve covers which I think need sorting. Antifreeze is likely coming from one of the heater hoses on top the engine. All of those should probably be replaced based on age alone.

I also used some of the fancy zip ties to lock some stuff down. That was very satisfying. There is actually only one size in the bag and they were too small for some of the holes.

I also found some rust. “NO, how is this possible!!!” you might say. The front differential is really rusty. Flakey rusty. So that will need to be cleaned up and coated in rust converter. Then painted. The other rust I found was on the tube that houses the bonnet release (hood release to my fellow Americans). It looked terrible. I got the wire wheel out and got it knocked down to bare metal. I was pretty proud of myself for not wire wheeling my fingers.

I got it coated in rust converter and will get it painted next weekend. I still have several additional jobs to do. It’s labor day weekend so I plan to spend some quality time out there.

That’s about it for this week. No video last week because I had trouble getting the video to build and by the time it was built it was the middle of the week. So I slotted it for later.

Thanks for reading, like and subscribe, and may the wind take your troubles away.

Happy Rovering.

https://youtu.be/ERO8ZXFW5Q4

Installing the Radius Arms on my Range Rover Classic Overland Rig: Part 4 (Post #714) 8/10/2025

Thanks for coming back. This week I installed the Panhard Rod and got the rear Radius Arms back on the Range Rover. Interesting observation from the install. The suspension had moved due to the poly bushings failing. Probably didn’t help with me driving it.

The new bushing could not be tightened until the axle side had been installed. The was just not enough play in the system. On the first side I first tried to install it with the frame bushing installed. That was a no go. I could not get the axle side to line up the holes for the bush and the bolt.

You may encounter that when you are doing yours. I also had some trouble with the port side bushing due to my use of the cutting disc. It had carved a ridge on the mount that I couldn’t slide the bushing past. That took a little extra encouragement to get it lined up.

I used anti-seize on all the bolts. I feel pretty good about that. I’ll need to replace these at some point and it doesn’t help when they are rust welding themselves together.

The panhard rod still did not want to get lined up when I tried to install the bolt. I used the old bolt and drove it through the bushing to eliminate what ever was keeping me from installing the bolt.

I took her out for a drive down and OH MAN what a difference. This small upgrade fixed a bunch of the issues. She’s safe to drive again.

It was soooooo hot today. I tried to start early but just couldn’t get out of bed and started. By the time I was cleaning up the garage floor it was 105F in the shop and it was really taking its toll on me.

Mrs. Okierover got home from the National Senior Games where she competed in the Women’s 3v3 basketball in the over 60 age division. They did not have big point differentials so they were relegated to the Bronze Division this year. They swept all the teams but the last one out of San Diego.

The ladies of the Oklahoma Wolfpack played well and we were extremely proud of them.

My wife took our oldest grand daughter Cadence along as well as my son Drew. Erica even drove up from Spring Hill, Kansas with the boys so they could spend some time with Mimi and so they could watch her play.

I added a short clip of one of her games on the end of the video I posted.

I had some website trouble this week, so hopefully you didn’t come by and find it down. I got some TERRIBLE advise from Go Daddy’s online chat support (from India) and they managed to get my page hijacked by a restaurant somewhere in Maine(?). I also had no way to make any changes. They just kept suggesting I add products that would help me. It was all in vain because I had no protection after they had me remove my SSL certificate. Idiots.

I called back and talked to two help desk technicians (American) and they were awesome. The first guy was awesome. “Why didn’t they just put it back to the original configuration?” I said, “EXACTLY!” They nearly lost my business over this latest SNAFU.

Thanks for reading and Happy Rovering. May the wind take your troubles away.
https://youtu.be/b23aFdQC_0E

RovErica Got Married (Post #516) 10/28/2014

Rovericagotmarried

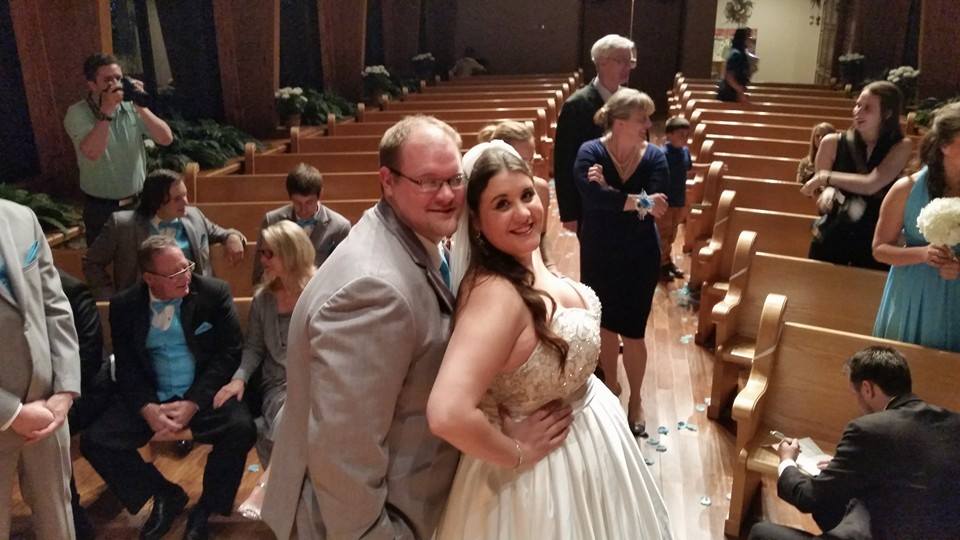
The good people at Lucky 8 are always asking, “”What did you do Roverish today?” Well this weekend I didn’t do anything “Roverish”. I did however watch my little RovErica get married to Brian Trowman. Brian is 6’4″ a former Ball State offensive lineman and Erica is wearing 4 inch heals so I guess she isn’t my little RovErica any more.

Yes the little girl you have watched grow up on this blog is now all grown up and married. If it is a surprise to you, imagine how I feel.

roverica1

She was the first kid in the family to say she loved our Land Rovers. She even drove the BWB for 2 years while in high school. While she was hard on the old bus she could break her more than I could fix her.

If you haven’t priced a wedding lately take my word for it they are expensive. So it will be a while before I do very much with the Land Rover. It might be a while before I do anything “Roverish”. We had a lovely wedding and it was a truly great time with friends and family.

The good news, Brian, our new son-in-law, is a car guy and hopefully will soon be working as a manager for a tire shoppe! Yes!

Welcome to the family Brian.

Thanks for reading and Happy Rovering.
 

Back to the Future (Post #502) 6/15/2014

Happy Father’s Day to all you dads out there.

My son, Diet Mountain Drew, works at the OnCue on Flood in Norman. When he was leaving the other day a special treat rolled up.

IMG_0192

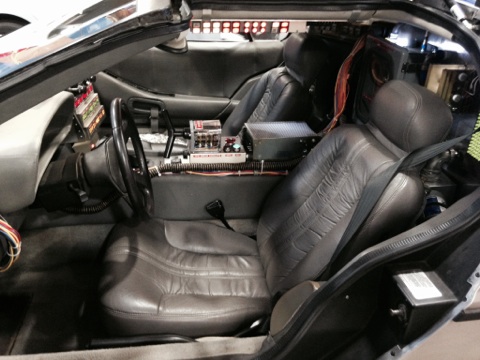
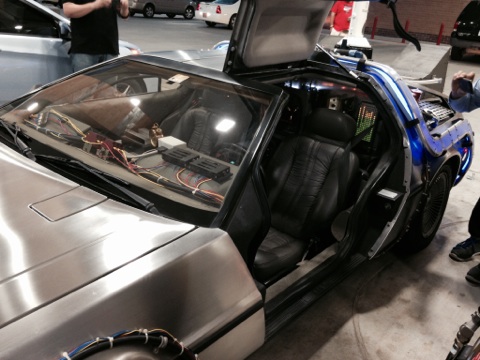
Yes, that is a replica Delorean outfitted like the famous auto from the Back to the Future franchise.

IMG_0200
An obvious crowd pleaser.

IMG_0198
Mr. Fusion

IMG_0197
Rich Corinthian Leather, its not really Corinthian.

IMG_0193
Fuel tank up front? Safety first.

IMG_0196

Diet Mountain Drew said the guy hung out and let people take pictures for almost an hour. That’s great. Sharing your toys with others.

I am a little surprised he stopped for petrol when he clearly has a Mr. Fusion Home Energy Reactor installed. Hmmmmm…..

Thanks for reading and Happy Time Travel.

SCARR – Day One (Post #477) 4/3/2014

The South Central Area Rover Rally was finally upon us. Leading in to it, I have had the worst two weeks professionally in my career. My wife has been my rock through it all and wanted me to get away for a trip. Mr. Fisher’s life recently has not been a cake walk either and Mrs. Fisher was also happy to see him out of the house doing something fun.

I’m going to stop here and thank both of them. You two are the best wives any two guys could possibly have. Your support to us is never-ending and we are very appreciative. Thank you.

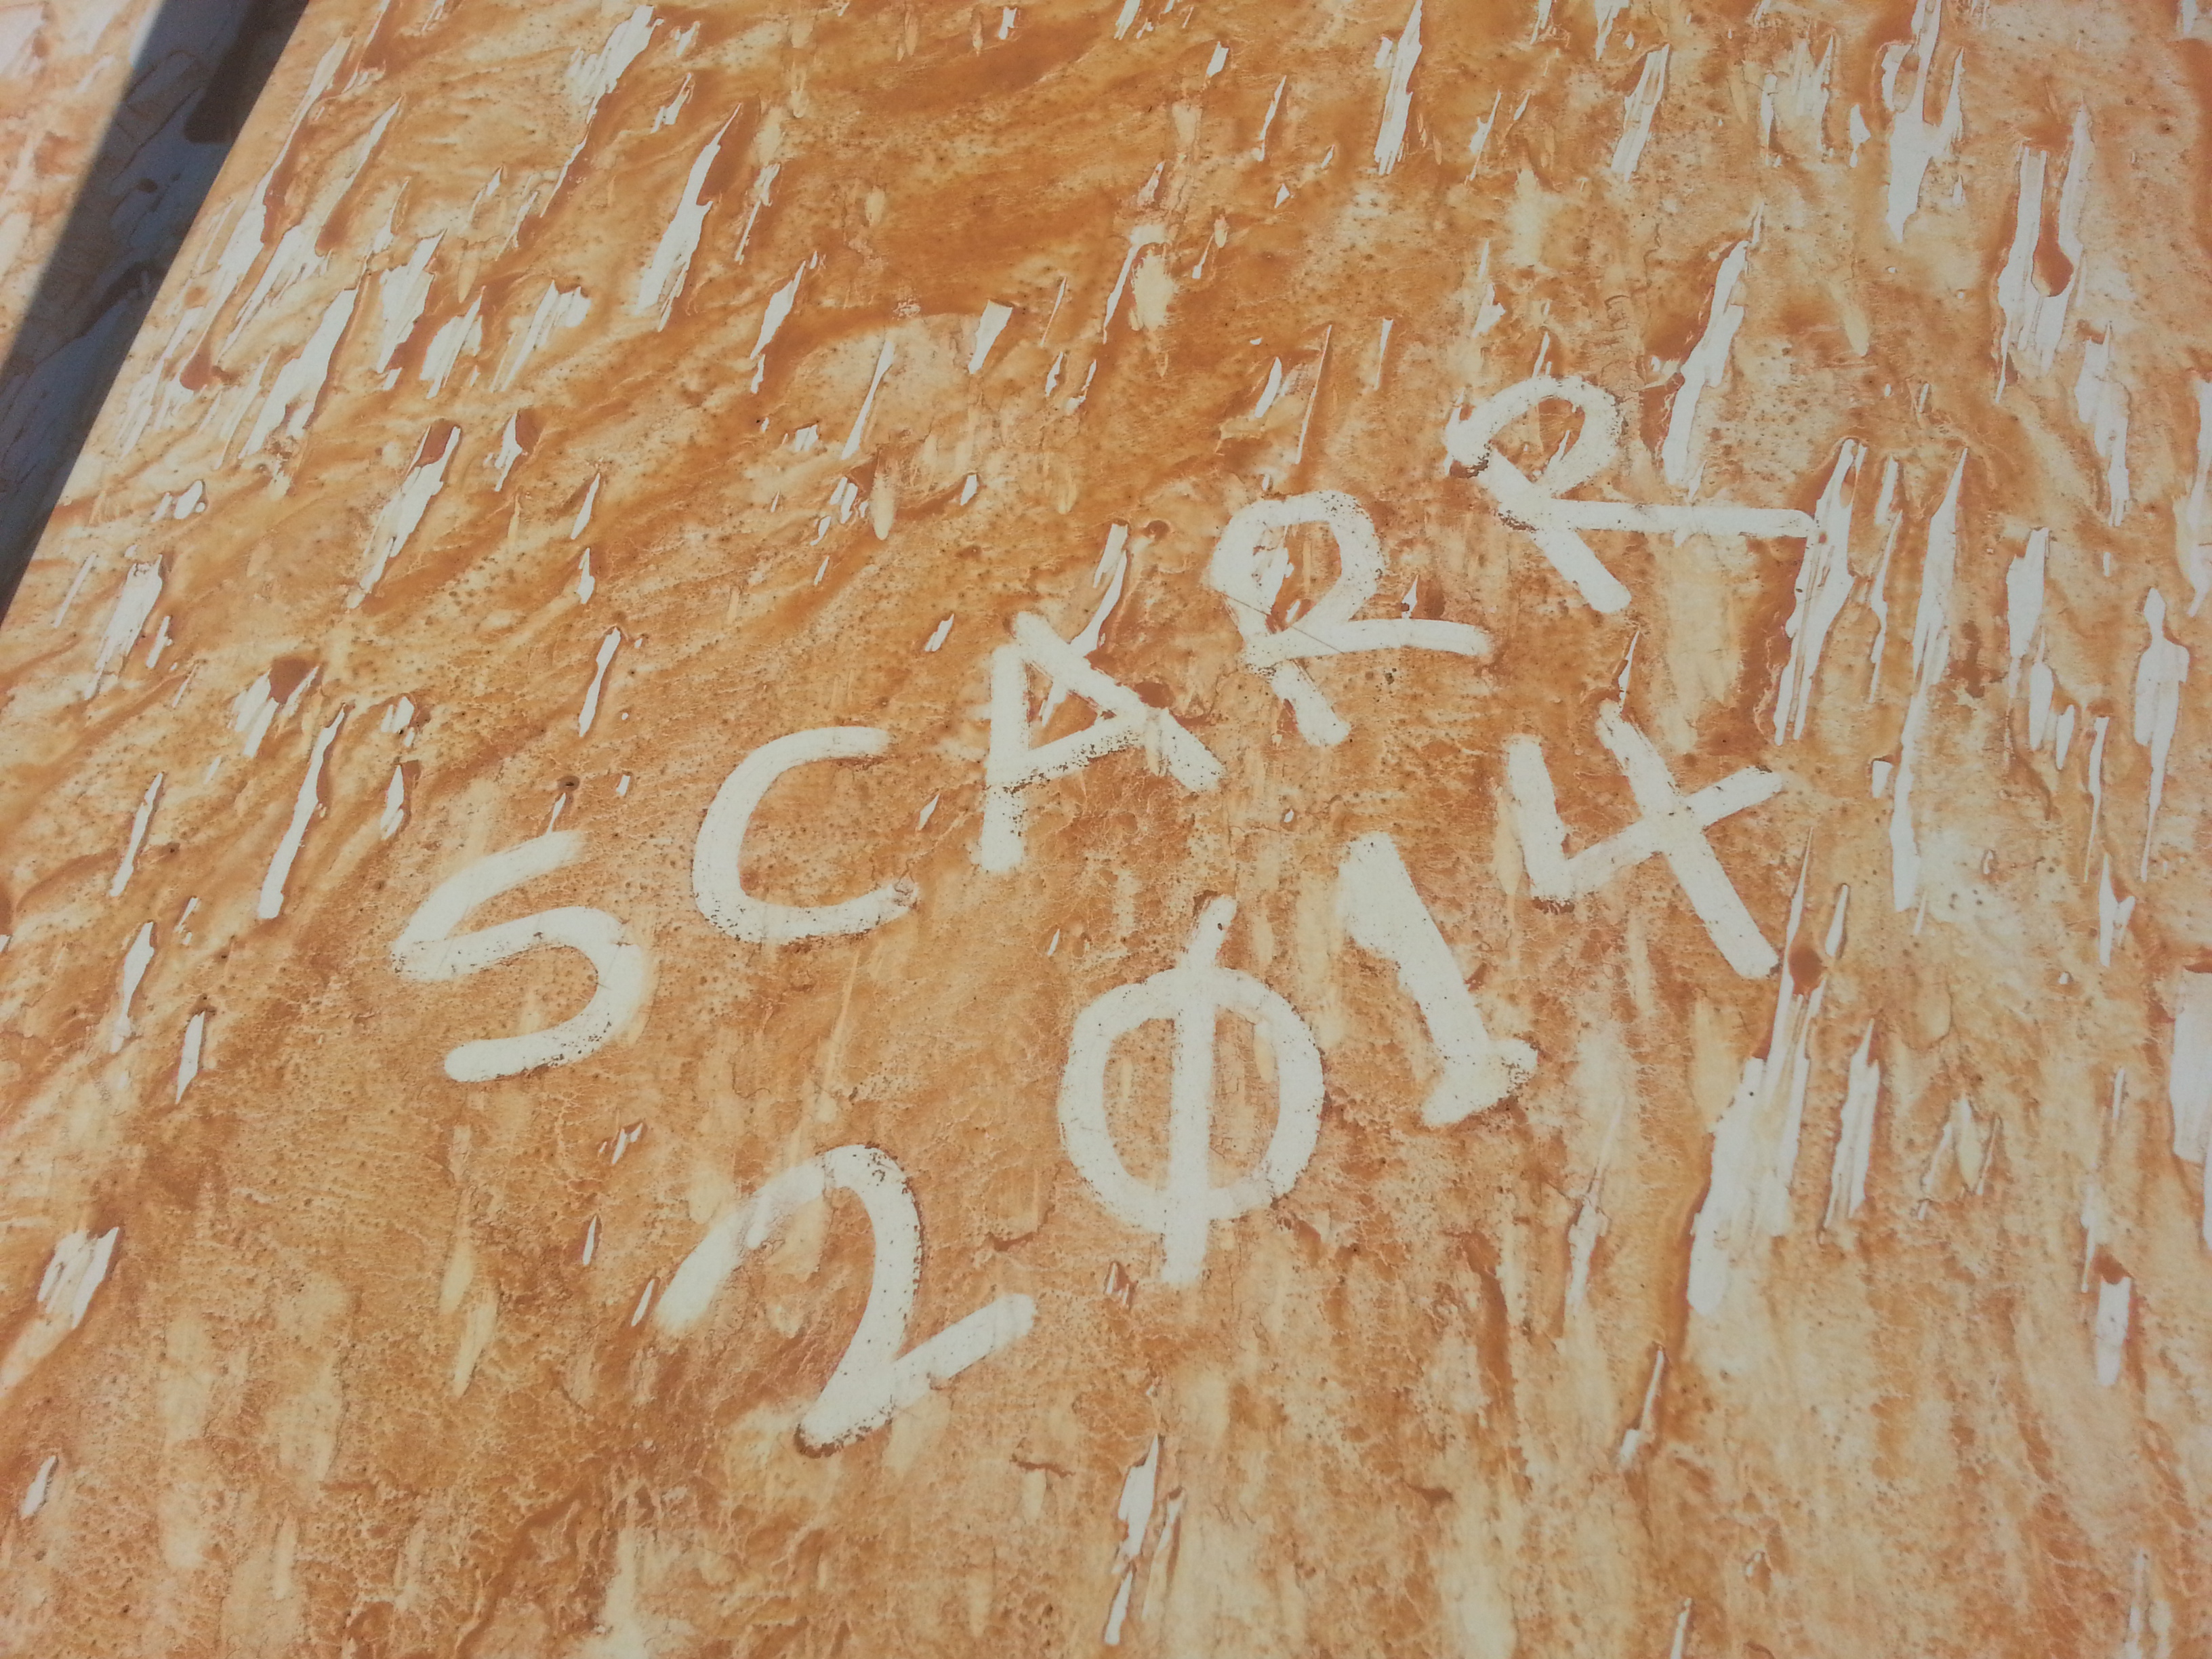
wp-1395932045690Thursday started cold and blustery in Norman. Mr. Fisher and I organized our kit and got it loaded on to the Range Rover. It seemed like a lot of kit for a three-day event but we wanted to be comfortable. Even with all the kit we managed to forget several items: Continue reading “SCARR – Day One (Post #477) 4/3/2014”