The Difficulty Scale (Post #368) 7/15/2013

I wrote this for my original website and a less grammatically correct version of this post can be found in its original location. Many of you have read it before. You may have seen the link and never clicked it. In any event here it is…

This is a brief explanation of the Difficulty Scale I often refer to. I am not the most mechanically inclined person on earth. I would not even place myself in the top 20% of the population.

Obvious questions come up when someone who owns a Land Rover and maintains it himself makes a statement like the one above.

A few of my favorites are…

“What possessed you to buy a Land Rover?”
“You’re not the sharpest knife in the drawer are you?”
“Are you going to buy a Jeep when you get tired of pushing that Land Rover?”
There are others, I’m sure you’ve heard them.

This is my scale. I have some friends that my 5 is their 3, notably The Evil German Dude (EGD)  and JagGuy. The only reason they don’t have home-made nuclear power reactors in their secret evil lairs is the federal government frowns on the private ownership of U-238 and U-235. Guys like them can disassemble and reassemble entire motors in the dark, asleep, and not lose any parts. I’m not one of those guys.

This is my scale that I use to gauge how hard a project might be. It has five levels, Level One being the easiest, Level Five being virtually impossible for me.

Level One
Easy. A talented 5 year old child could do the work. If you can’t do this level, get a 5 year old, they would love to help.
Examples: Single tool jobs. Using a screw driver to replace a light bulb. Oil changes.

Level Two
Technical. You may have to read the instructions. Usually requires more than the Official Land Rover On-Board Tool Kit. You’ve heard…
“It ain’t rocket science.”
or
“It ain’t brain surgery.”
And my personal favorite,
“It ain’t rocket surgery.”
Those are common phrases used for this level.
Examples: Replacing the brake pads. Replacing the battery or an alternator. Replacing belts.

Level Three
Moderate. You are gonna get dirty doing this level. Taking it apart and putting it back together more than once are common. At this level after you render the vehicle undriveable you will find you may need a new or special tool you don’t own, and must reassemble the vehicle to go and purchase it because your wife has taken the kids shopping in the minivan.
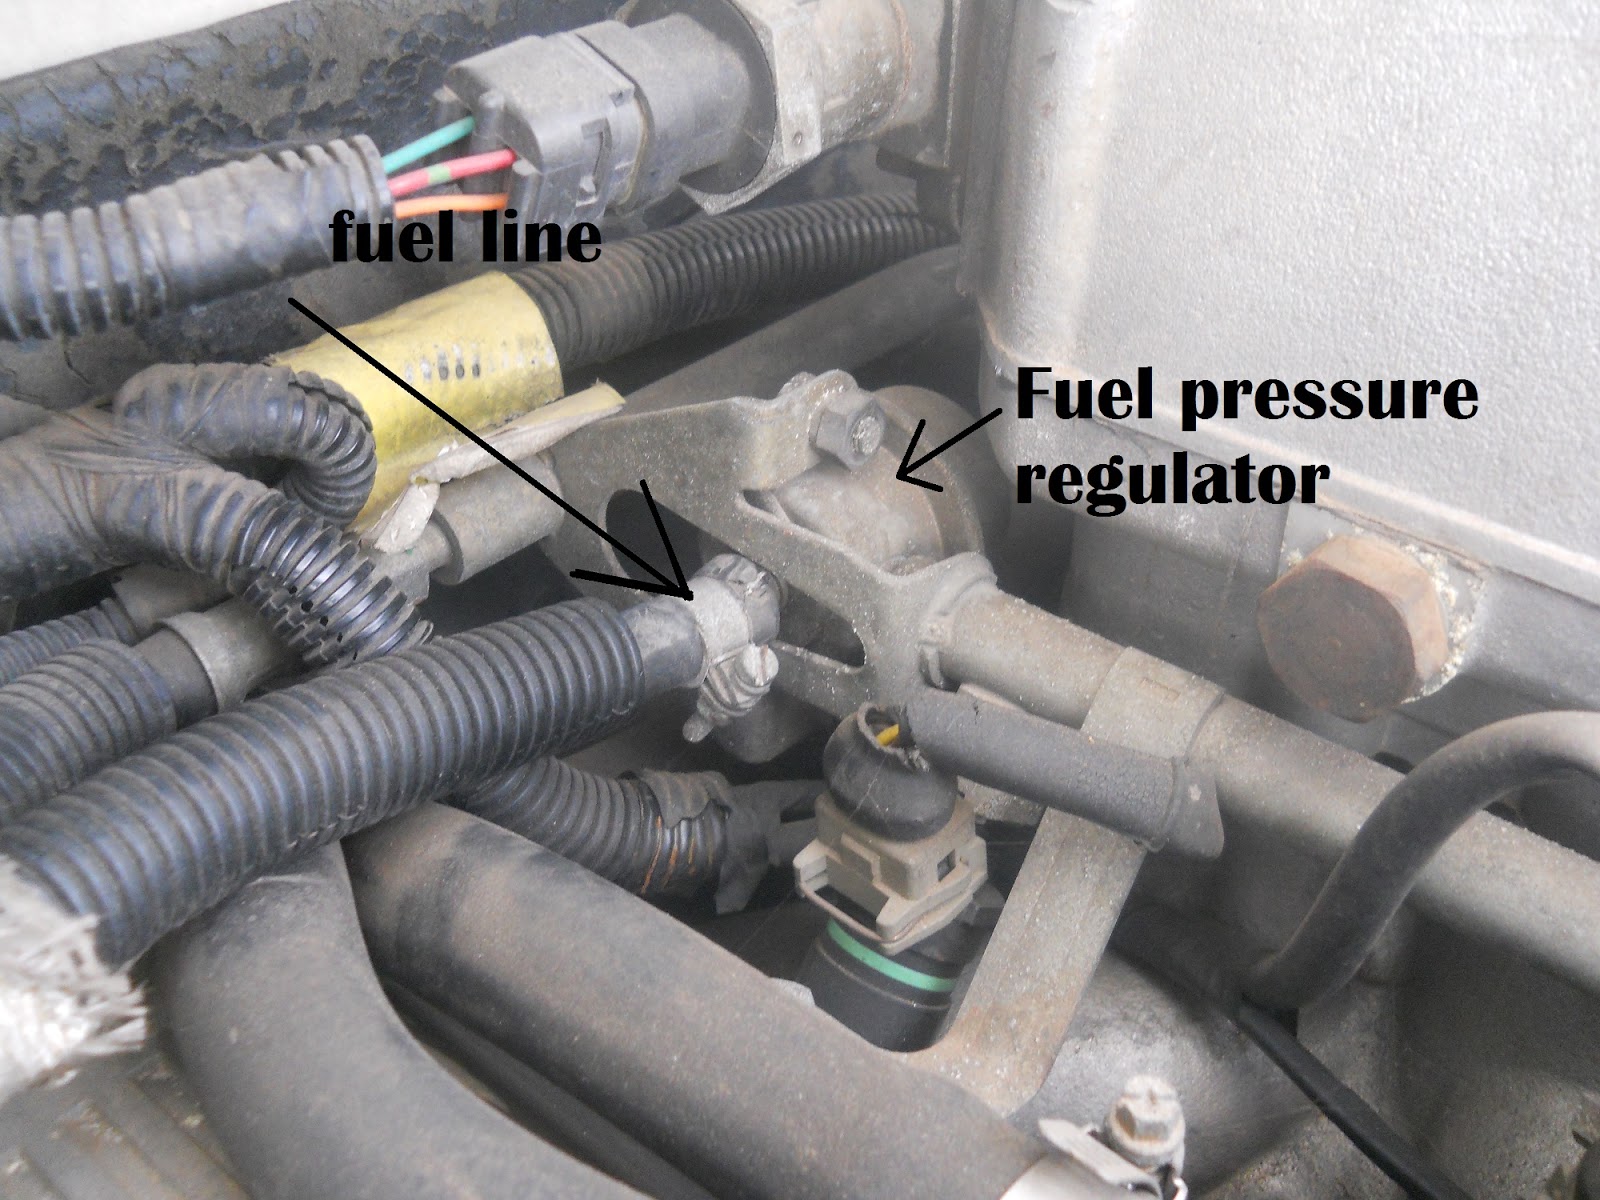
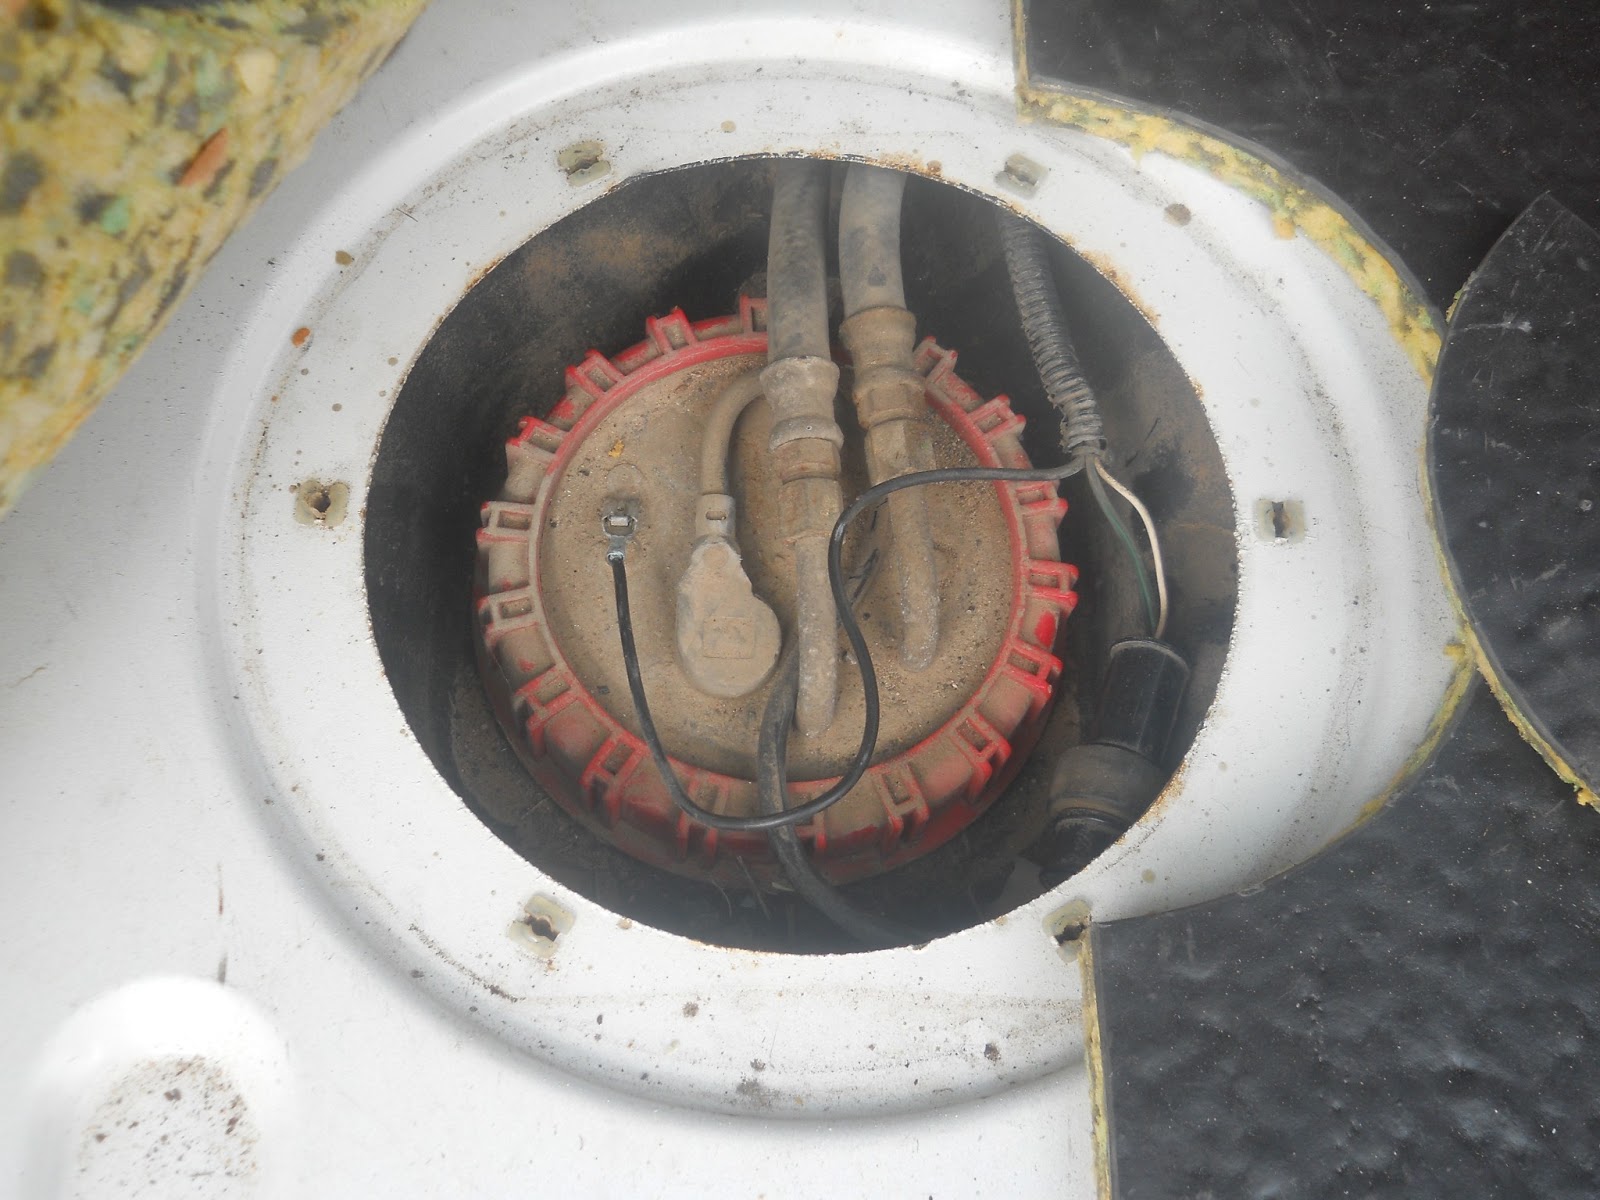
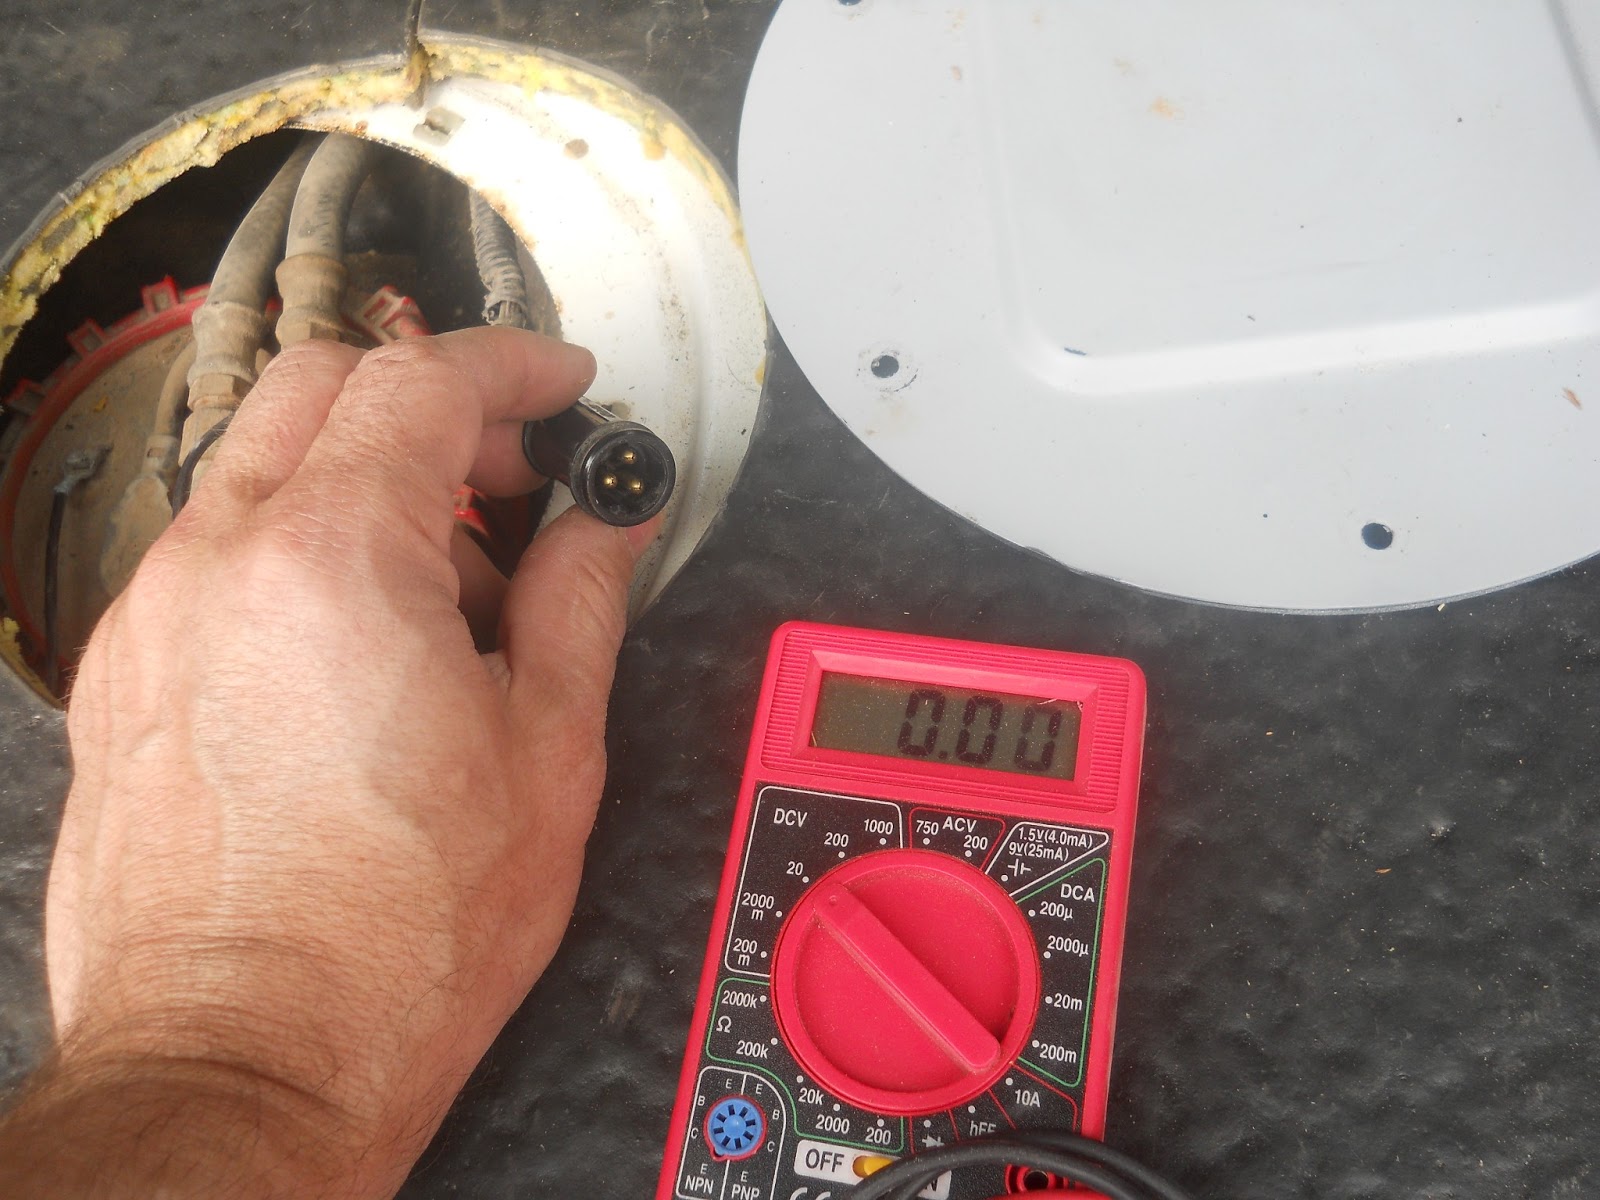
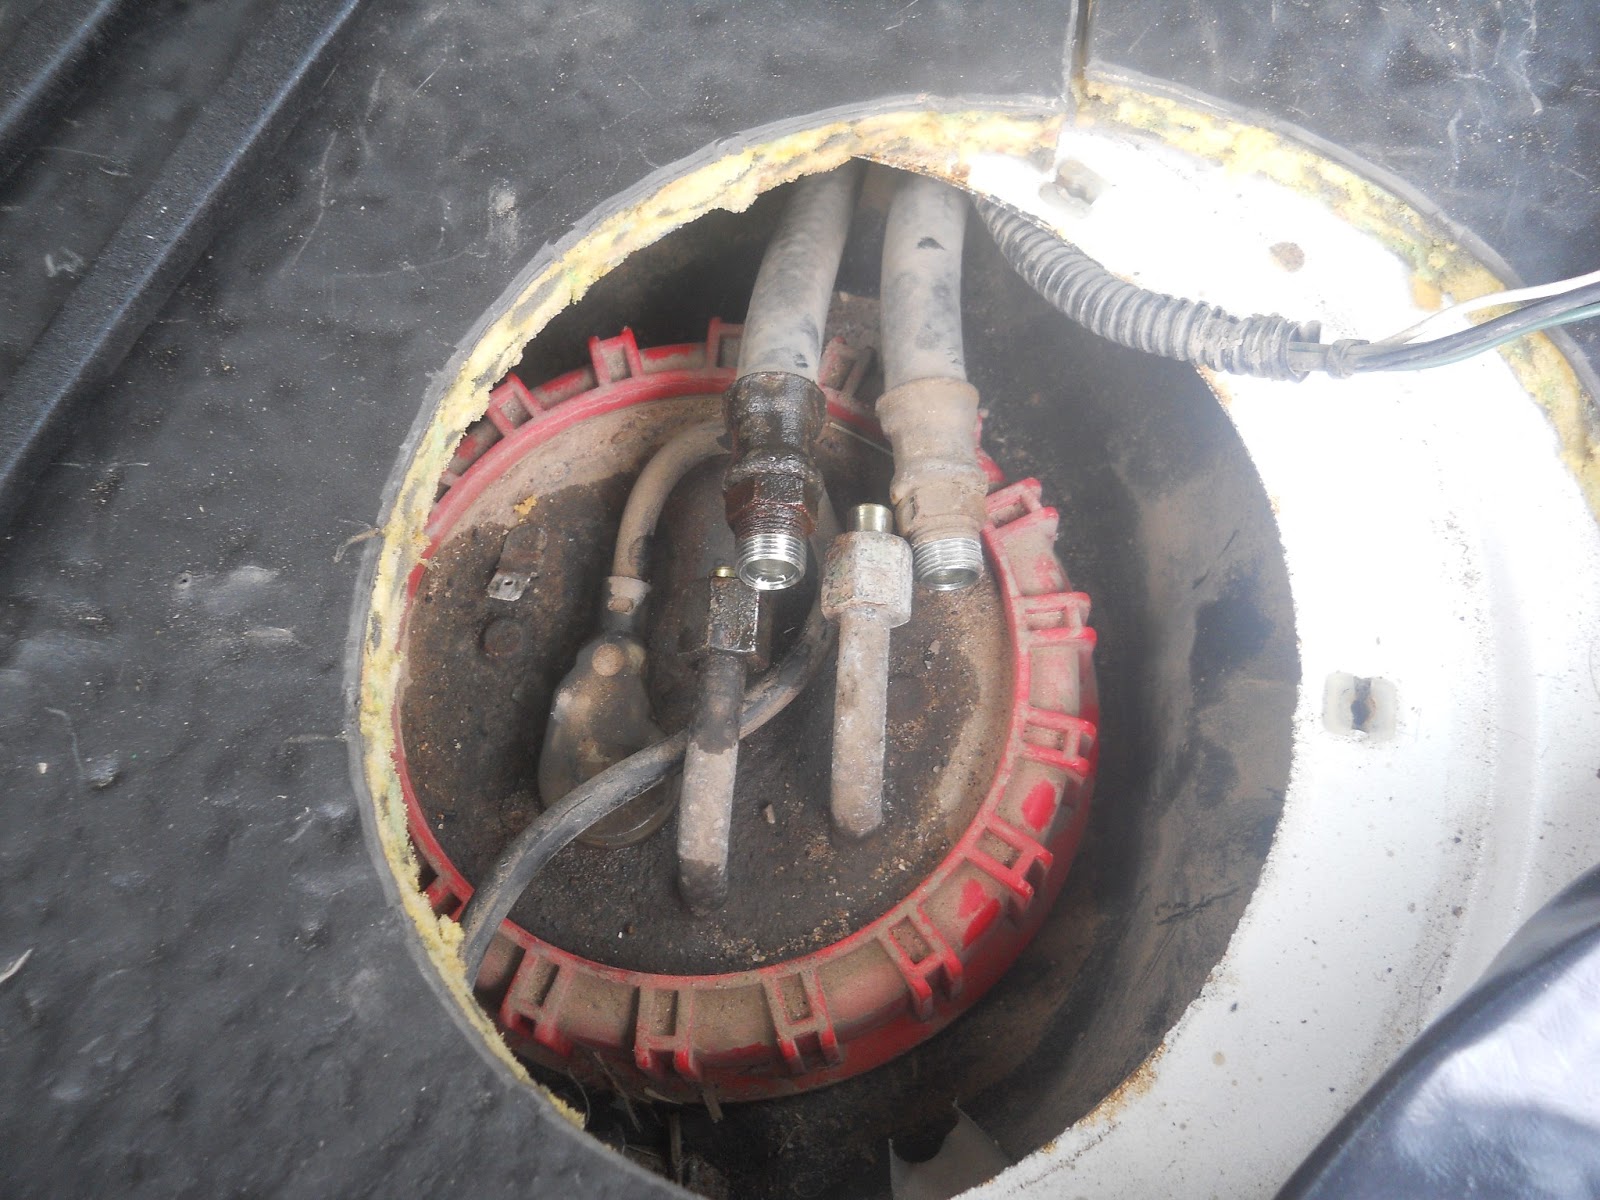
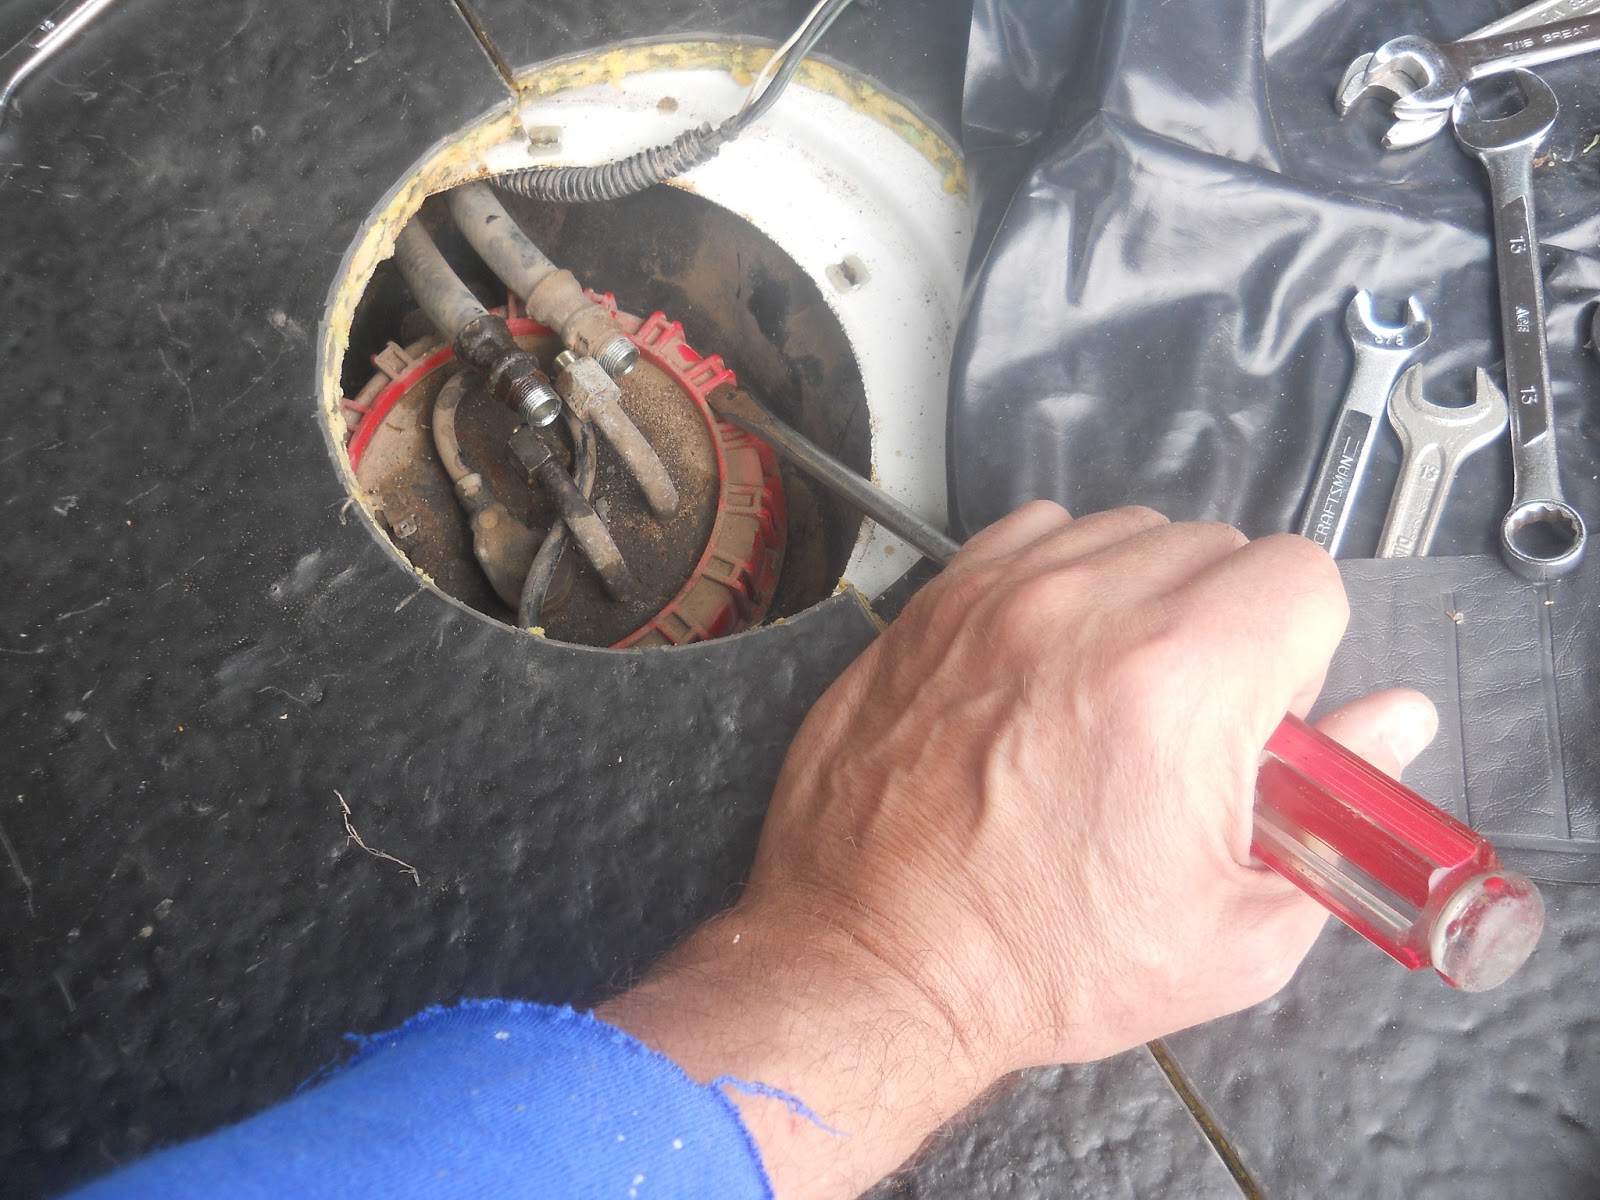
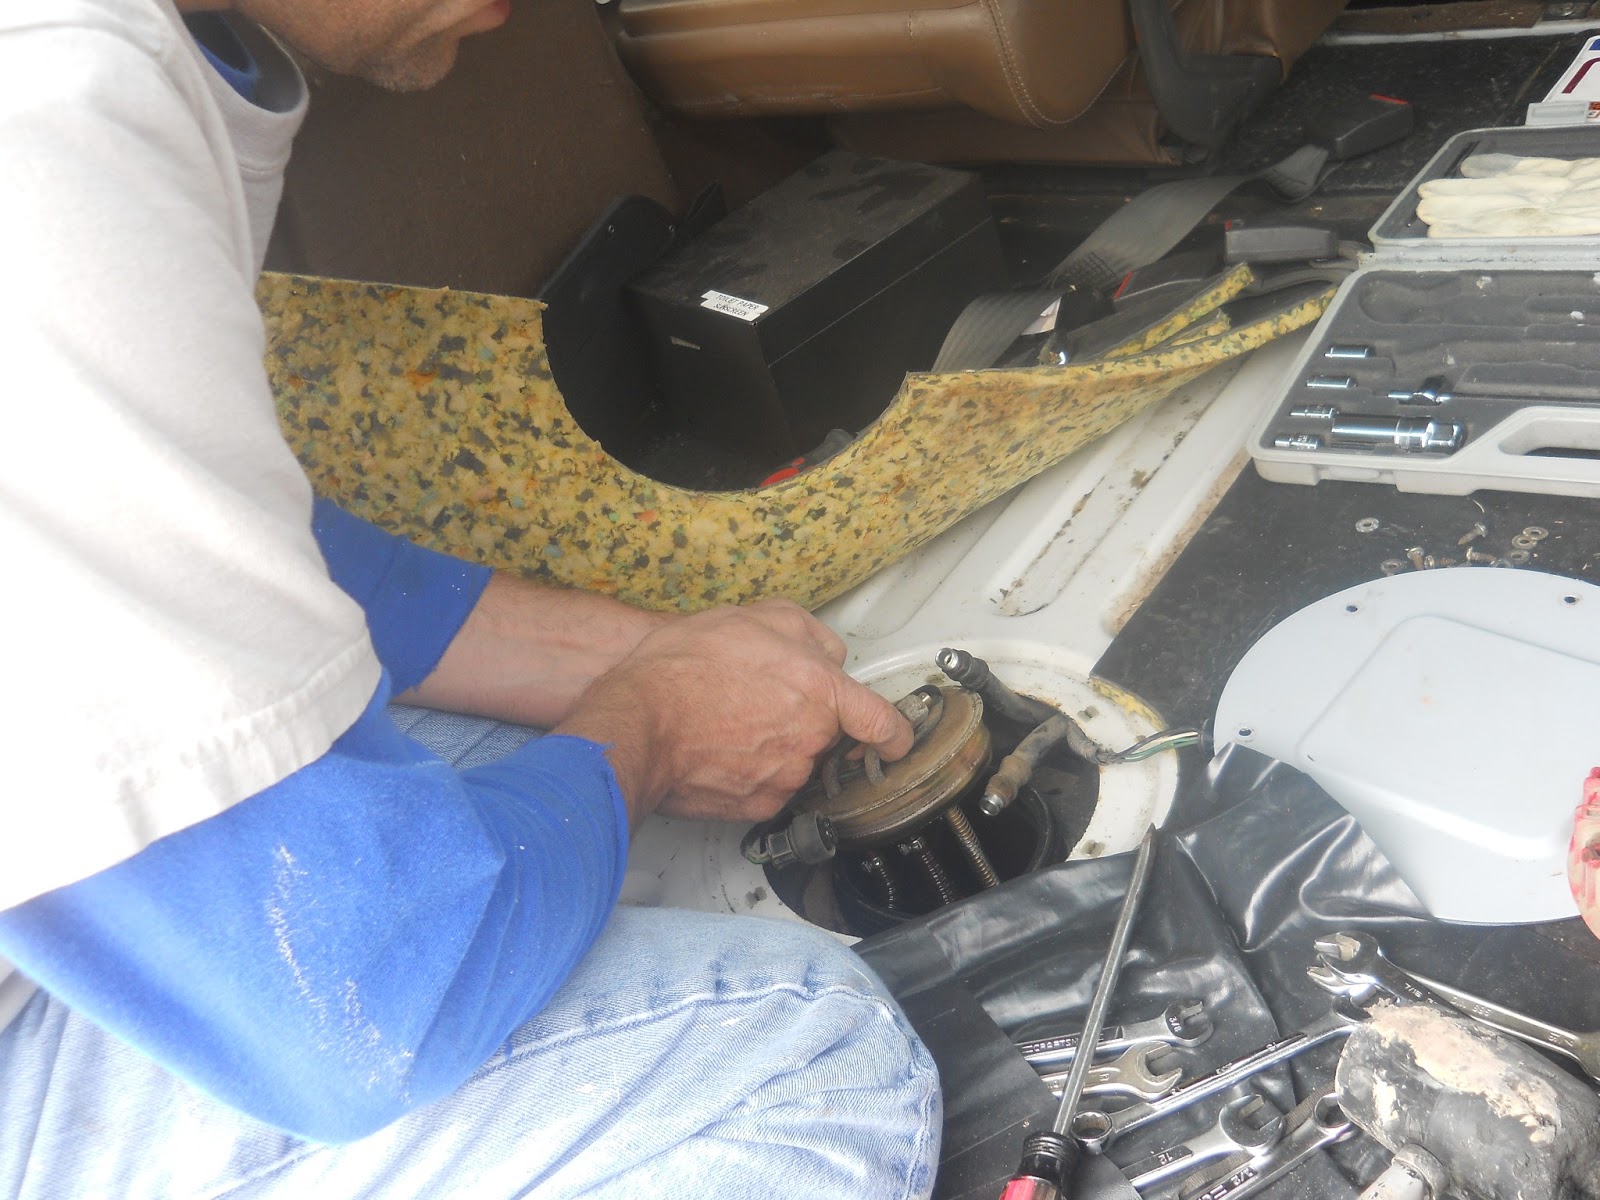
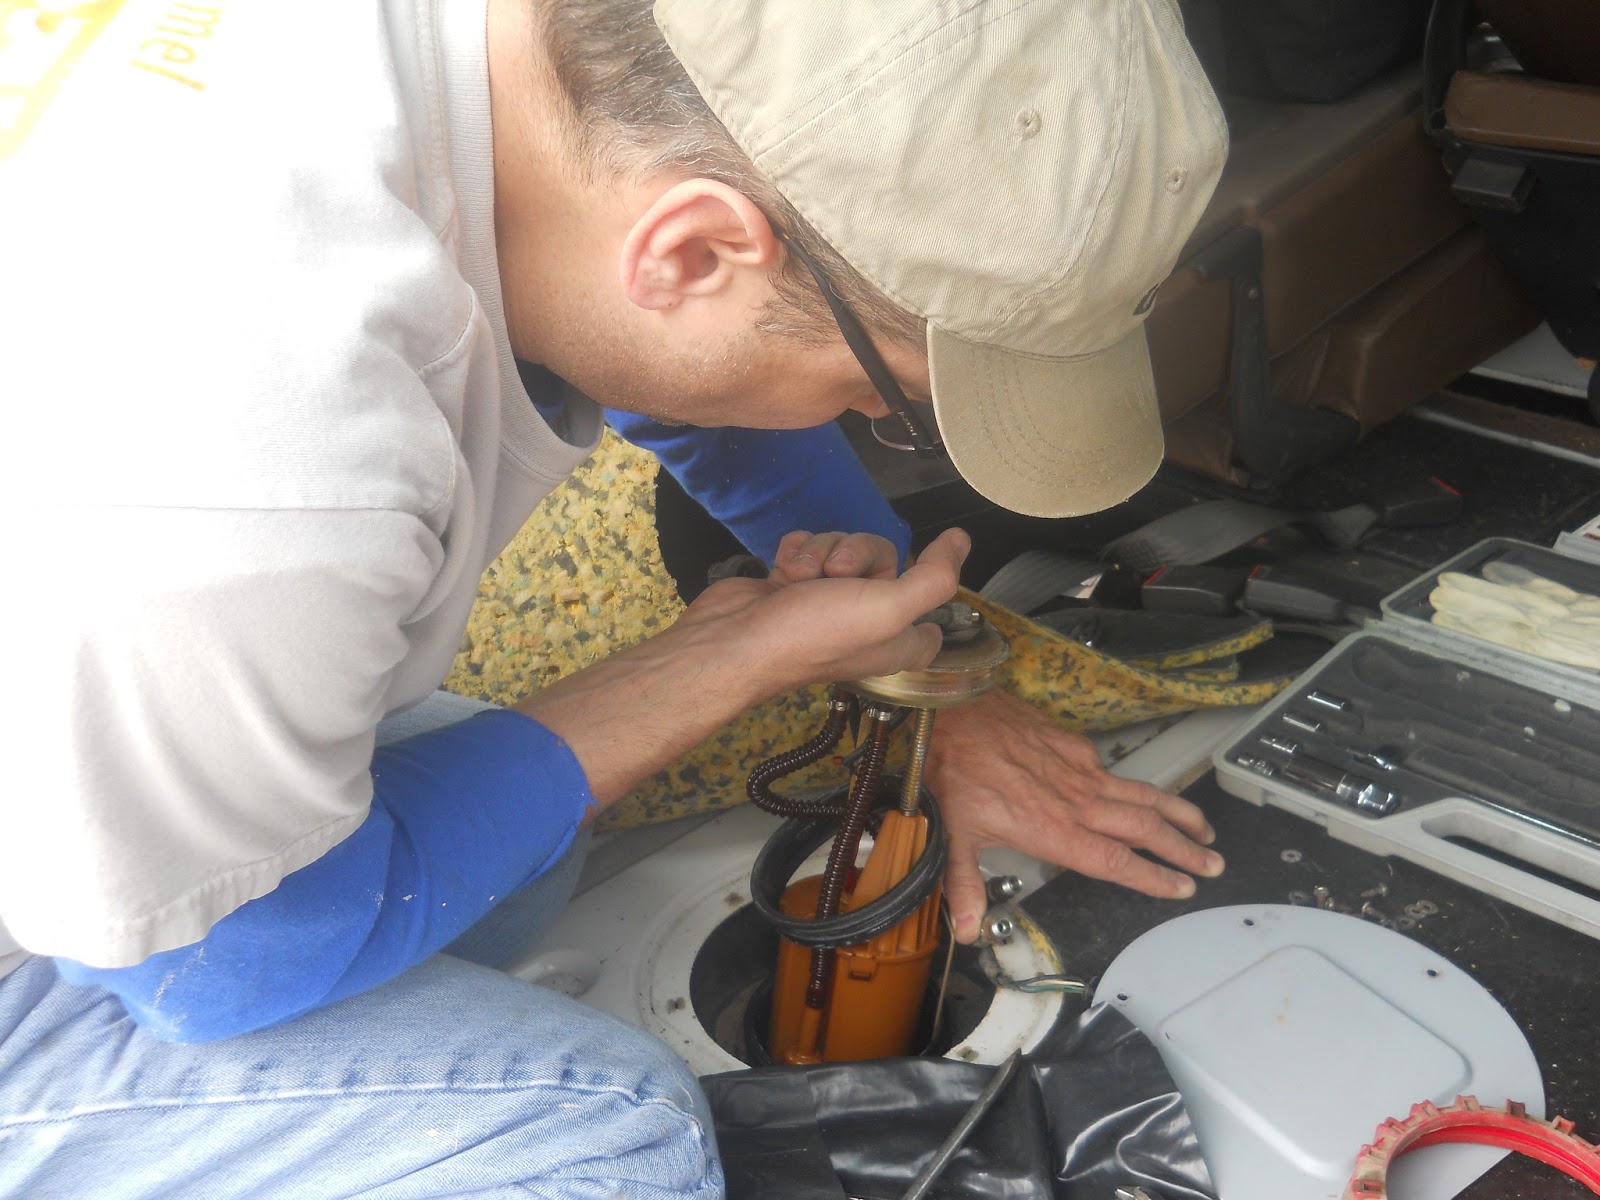
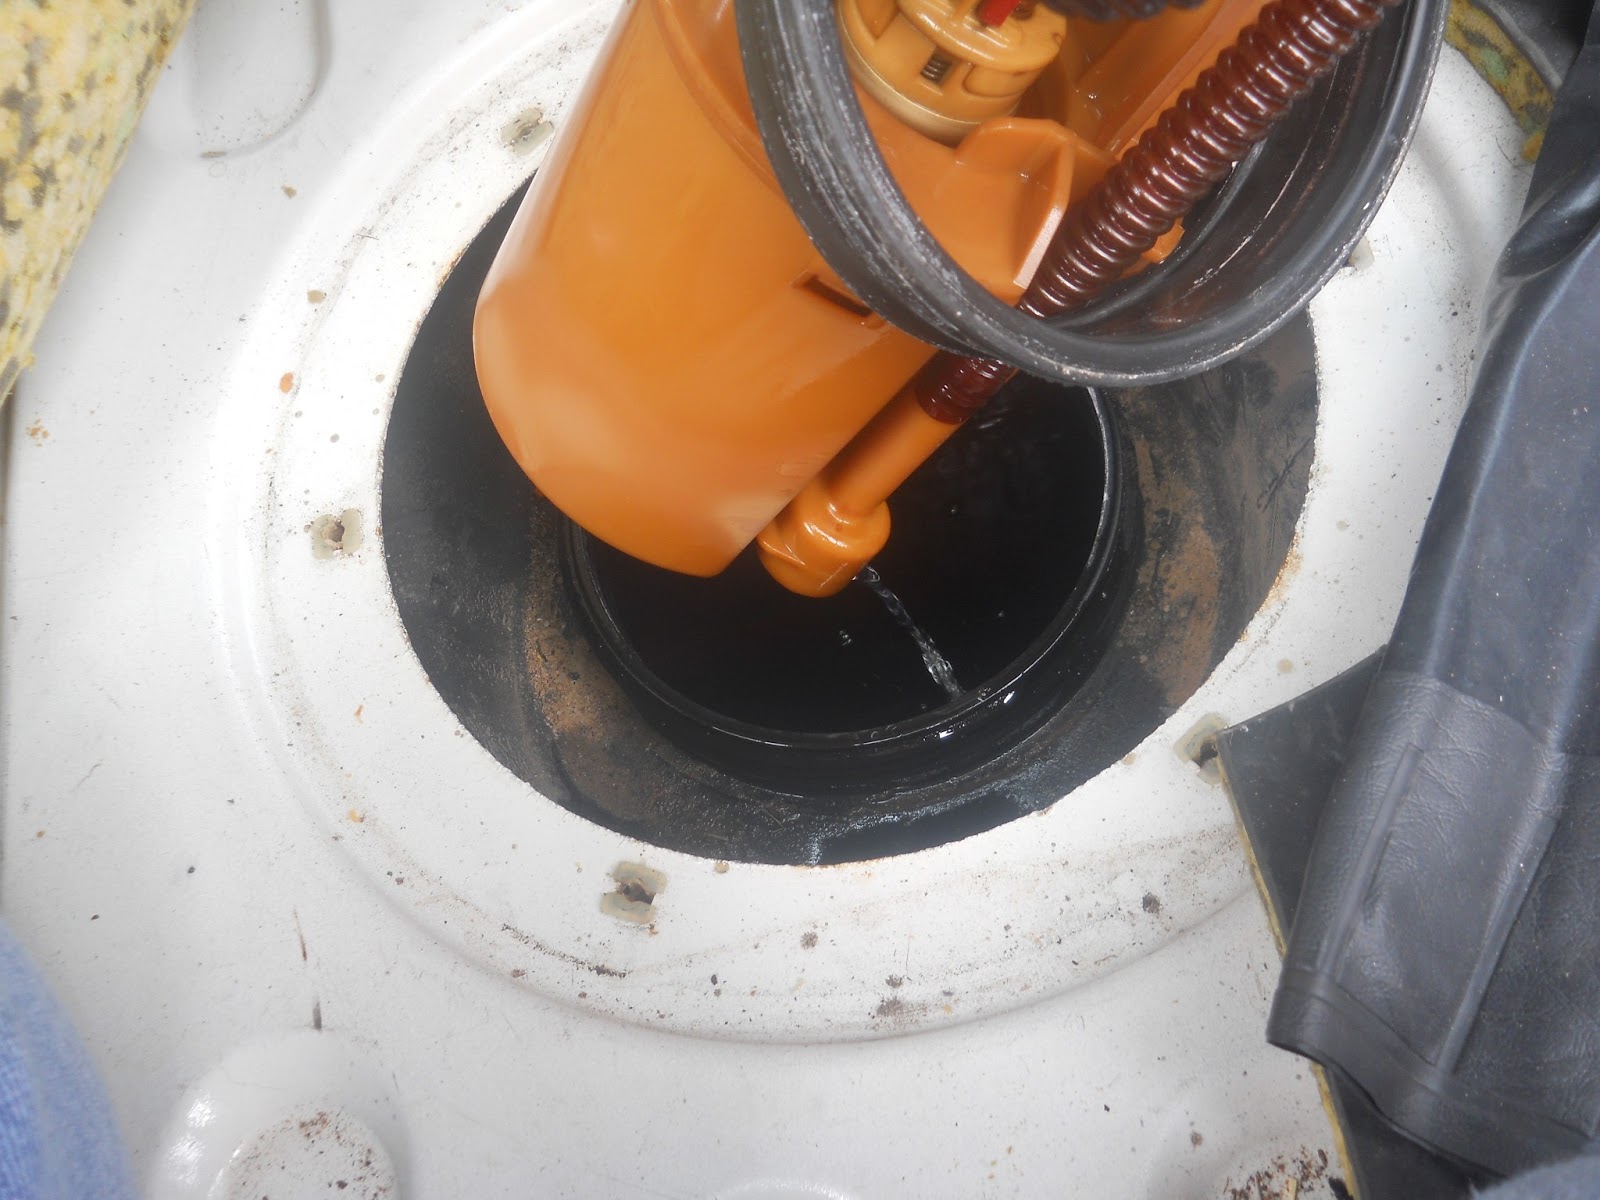
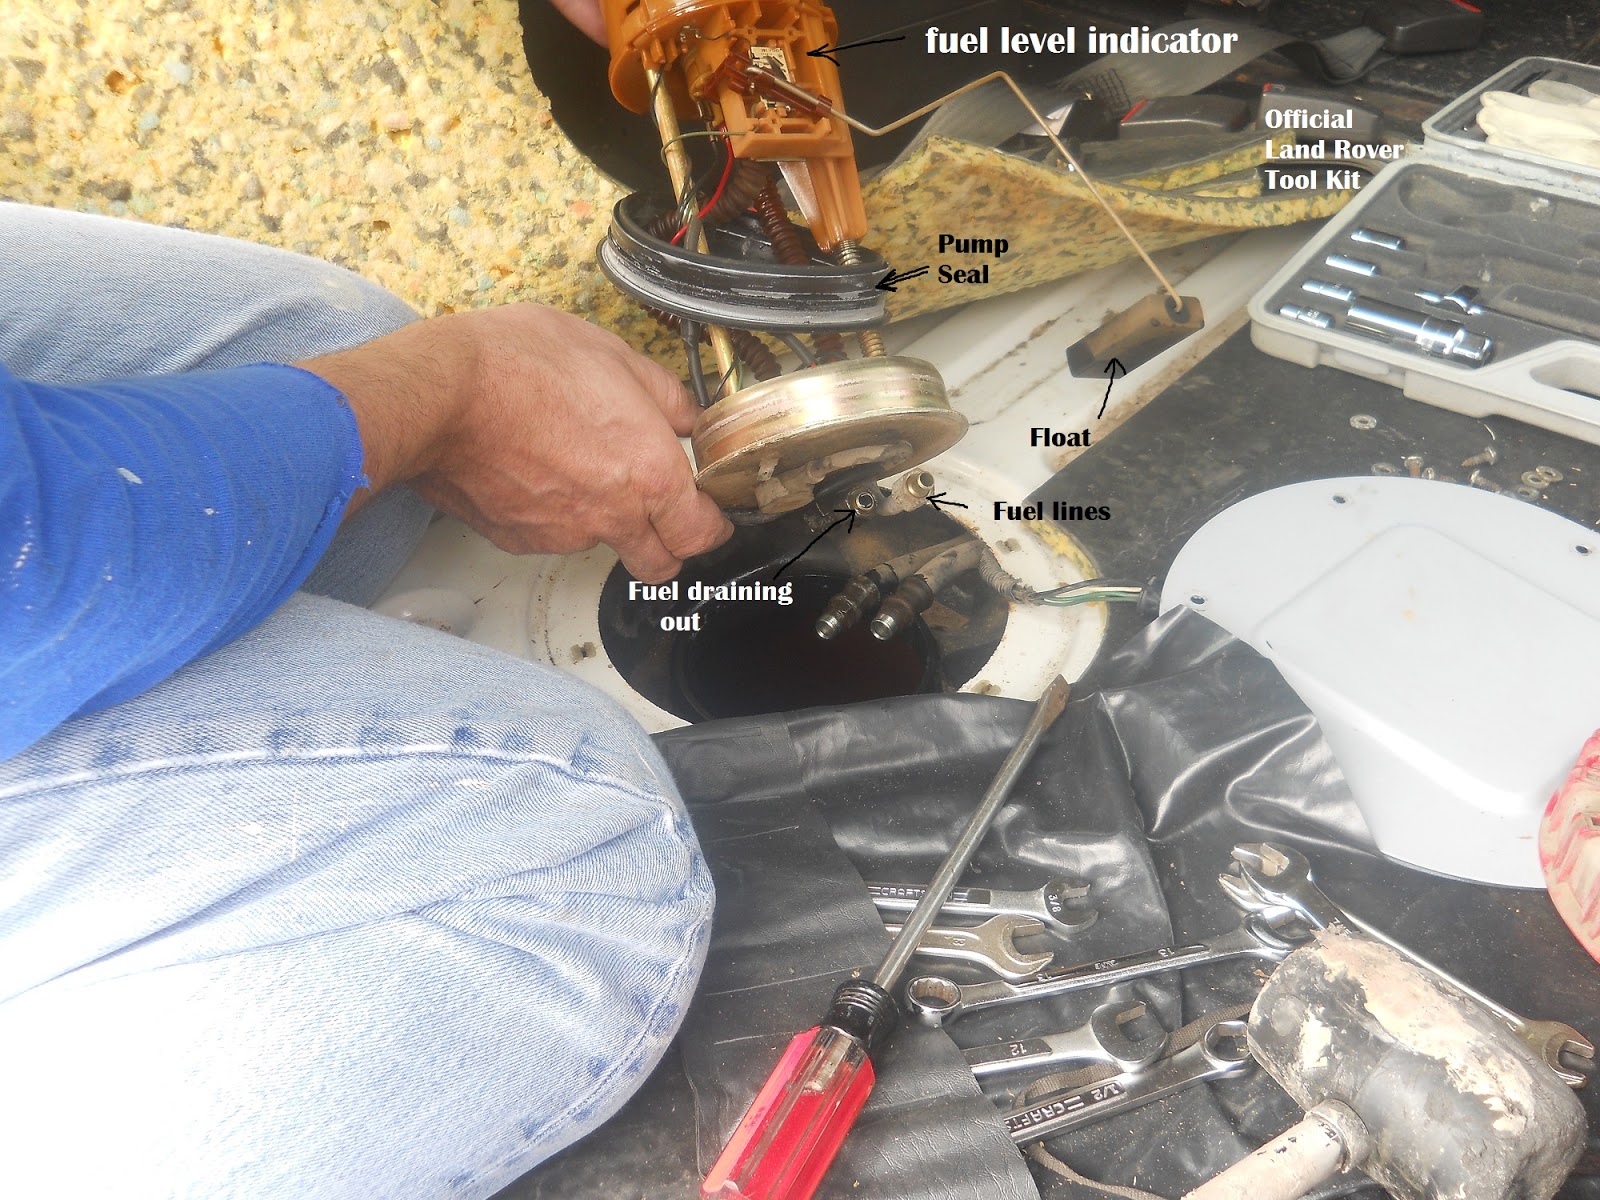
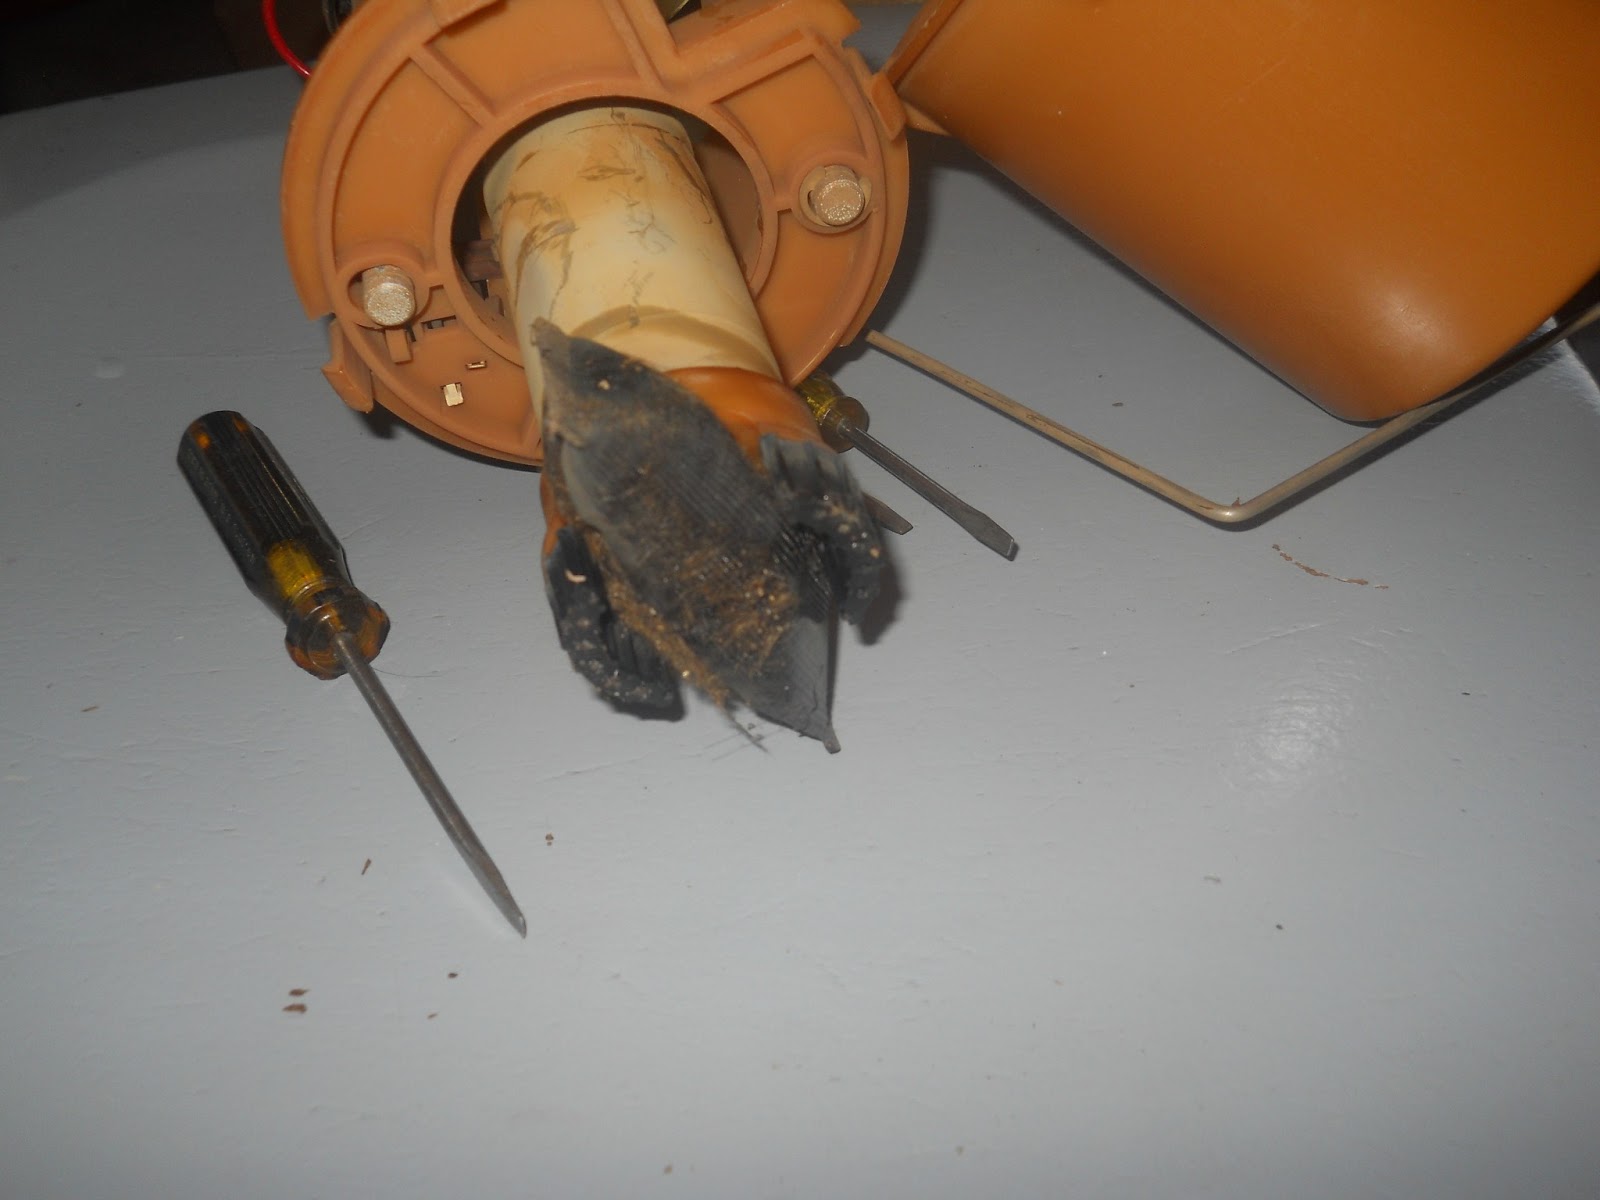
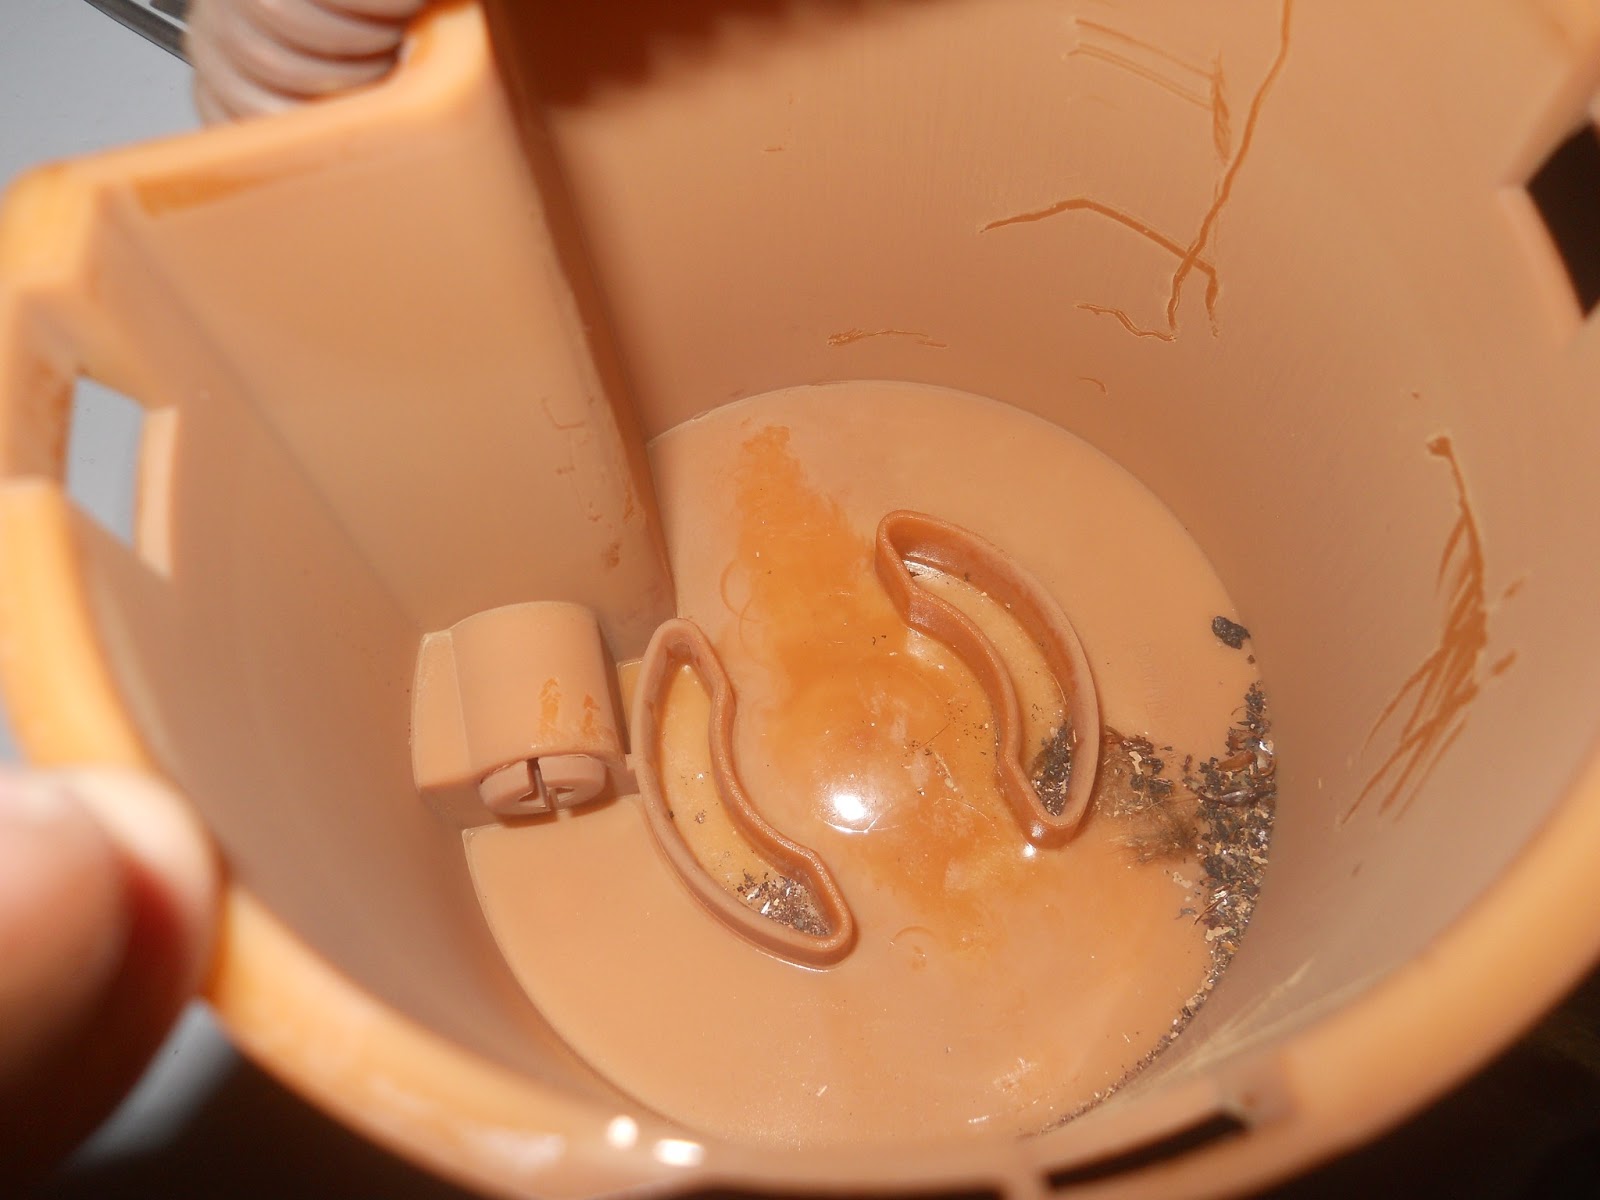
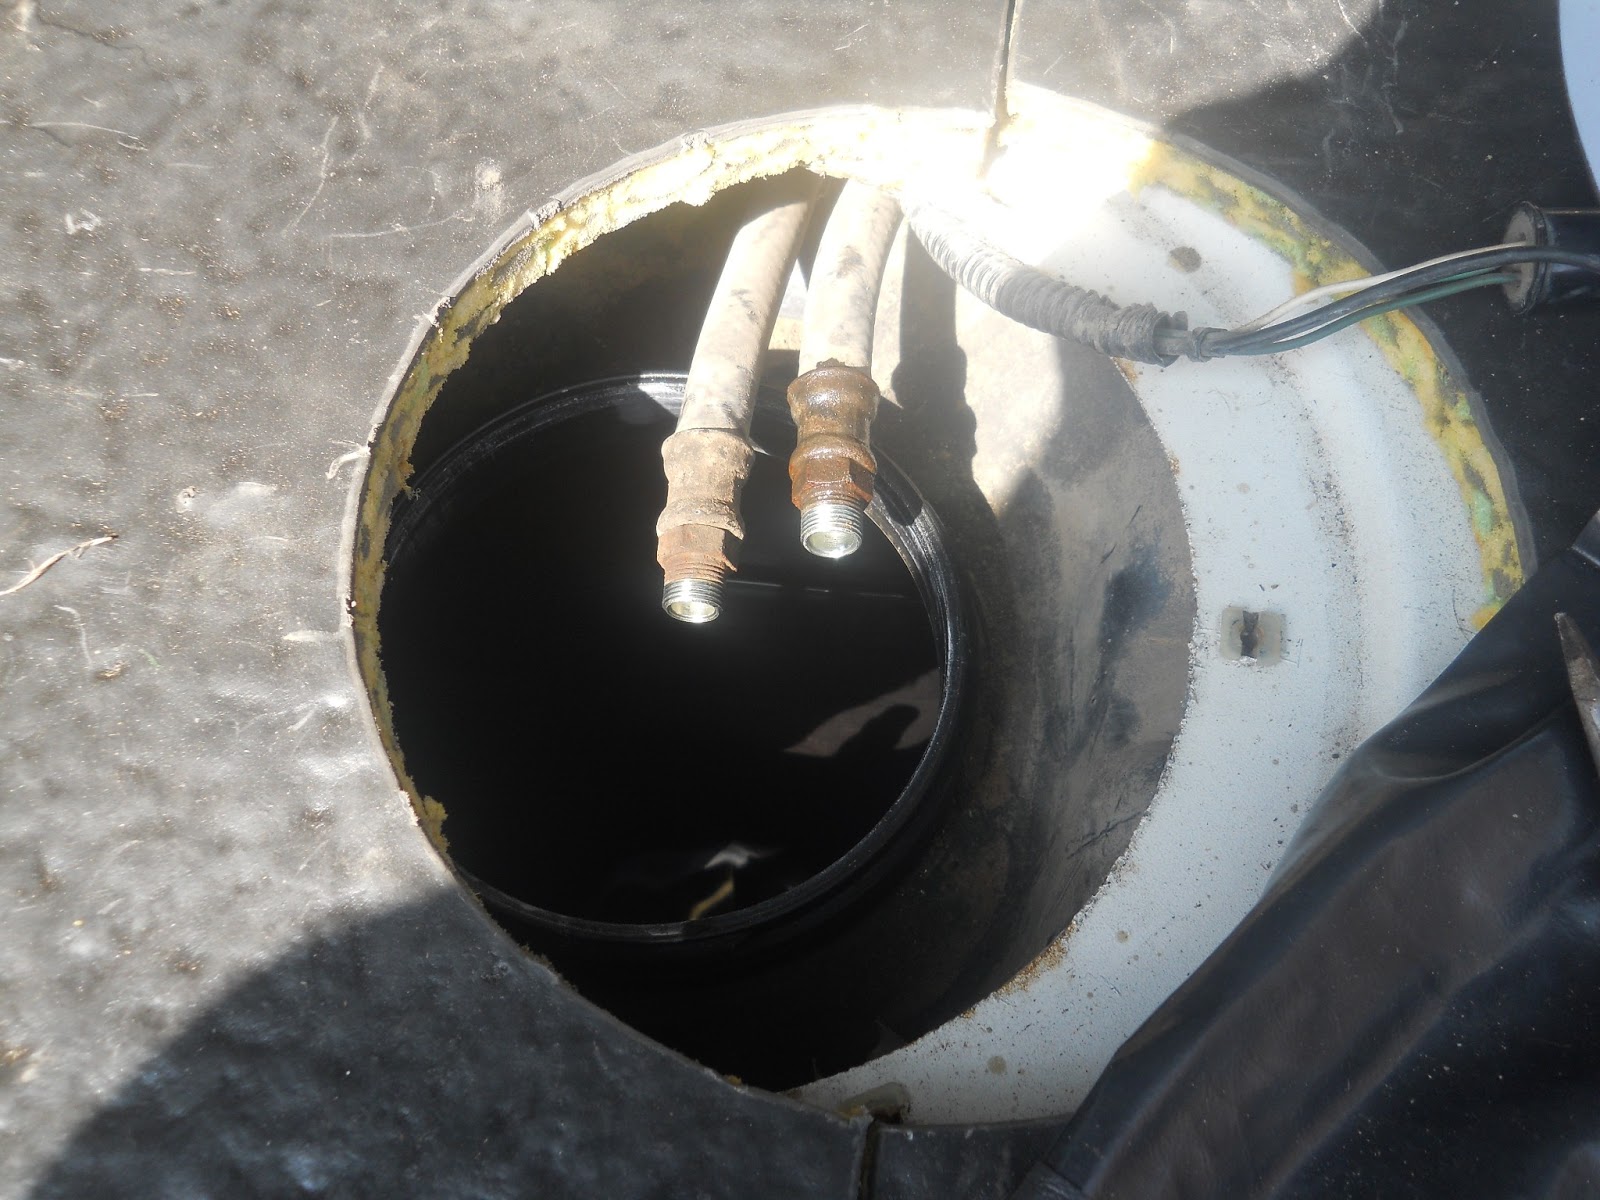
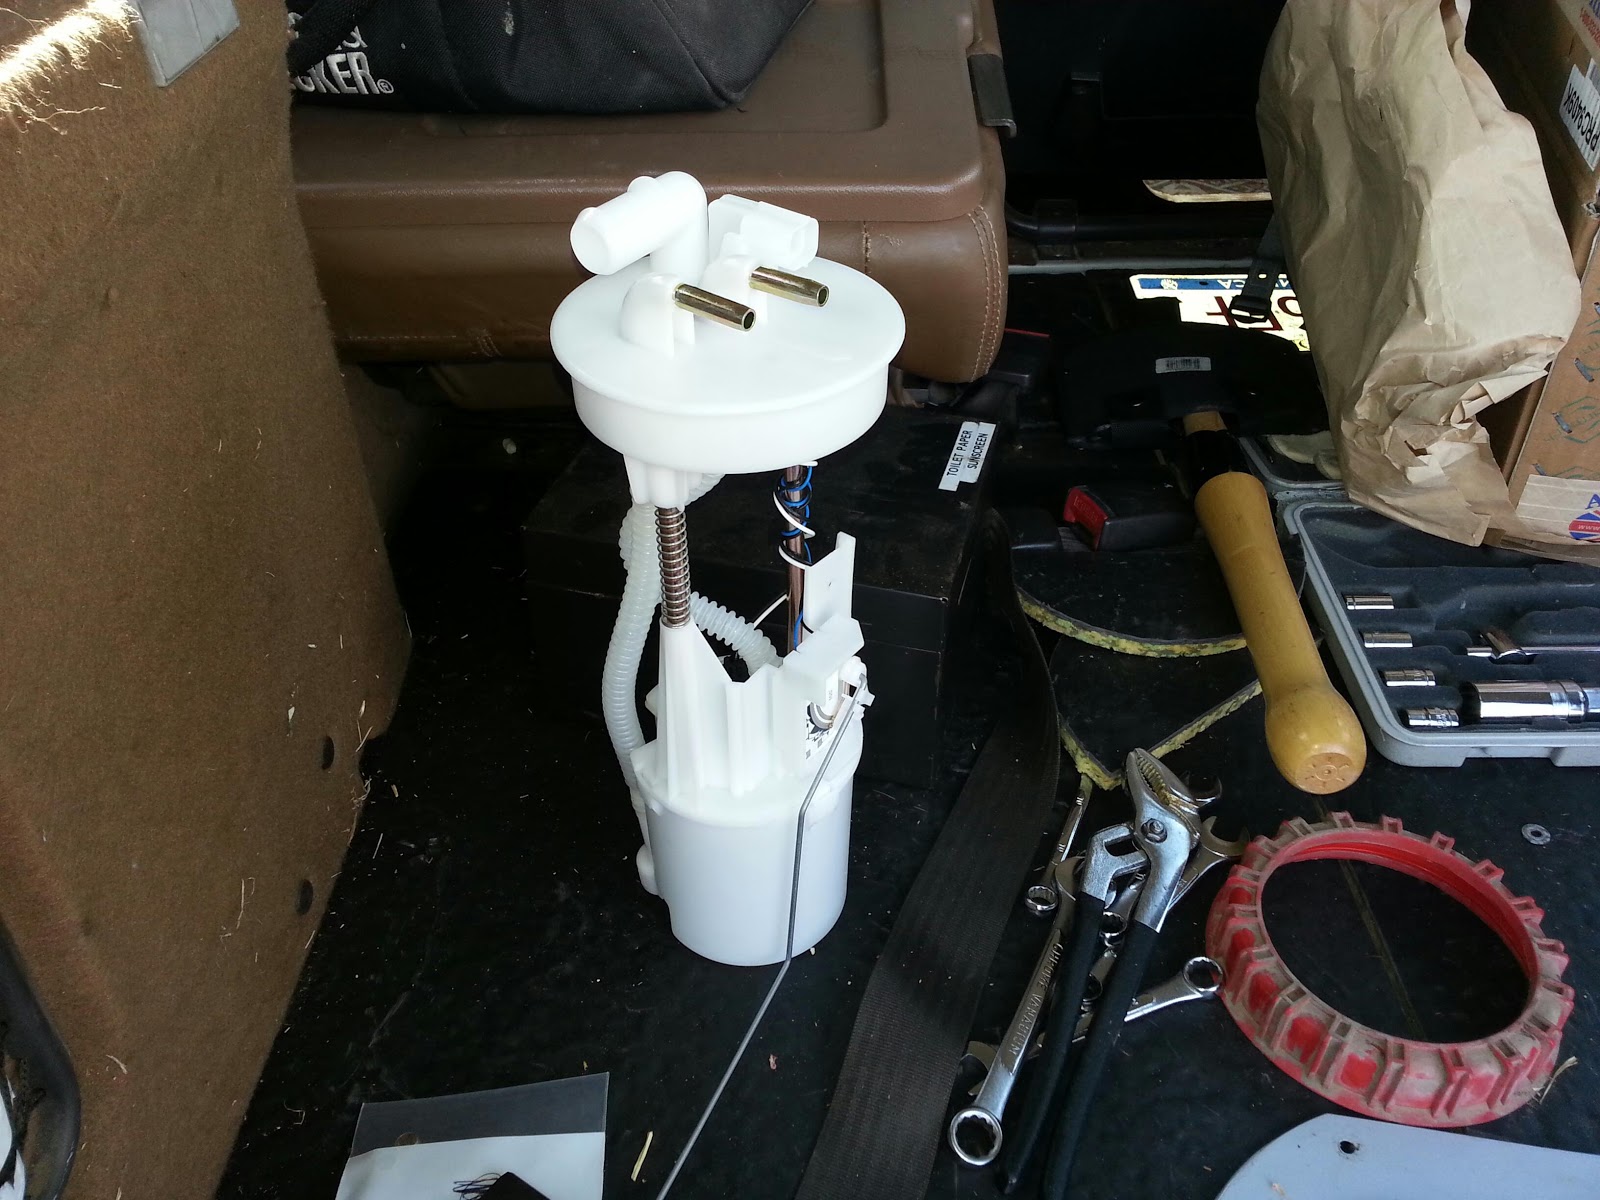
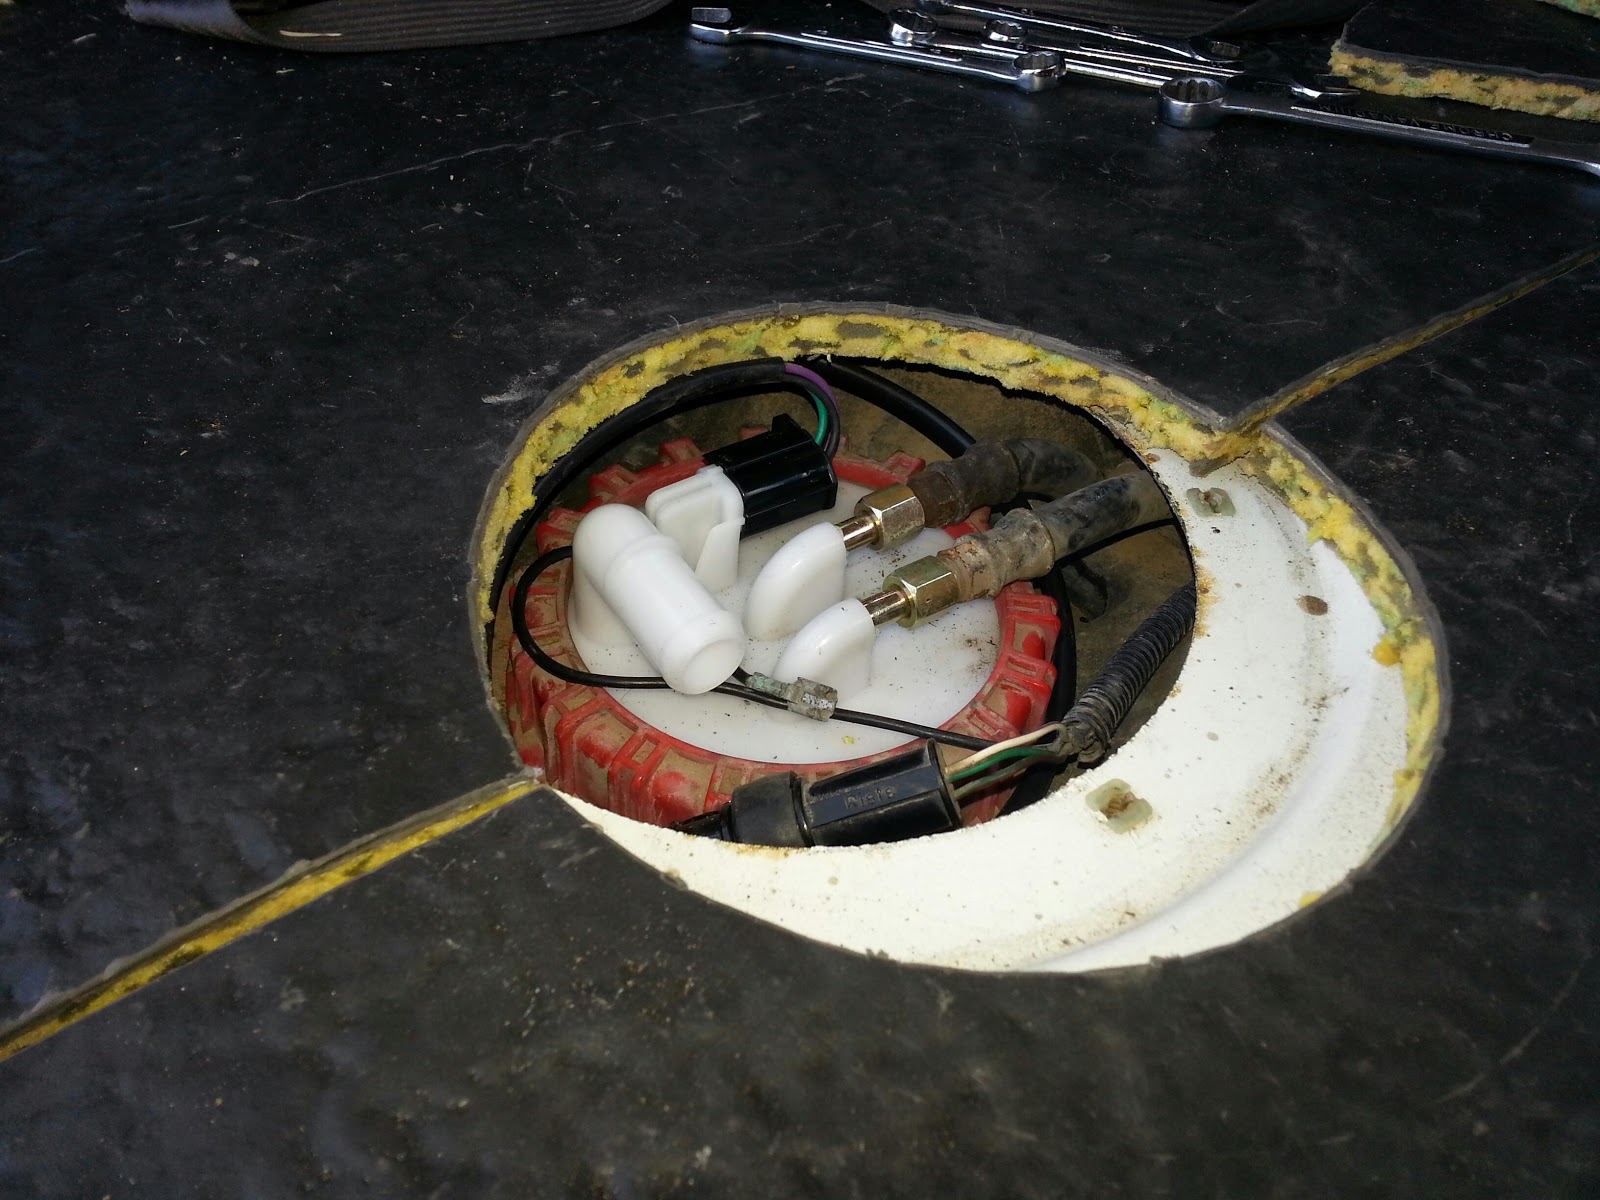
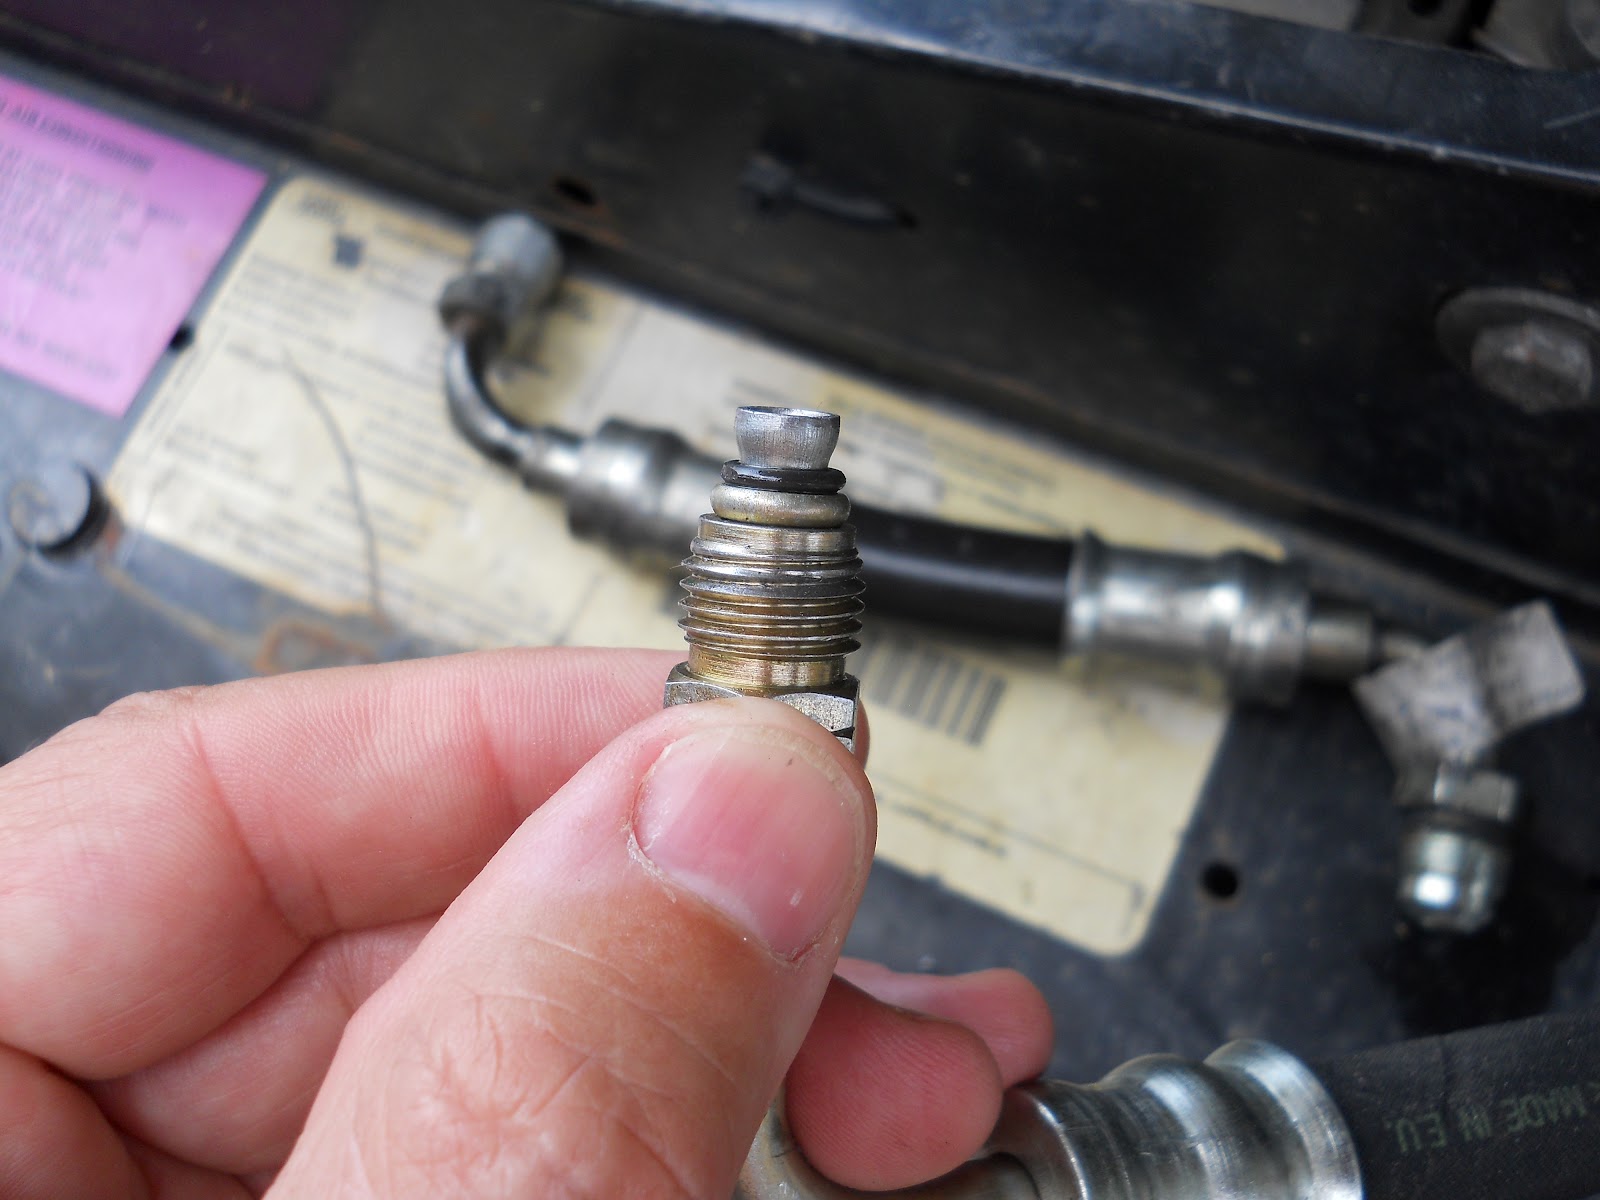
Examples: Radiator removal. Fuel pump replacement. Replacing tie-rods.

Level Four
Hard. Higher math skills desired. You will have the vehicle apart for more than a few hours. Pray for good weather or decent shop where the work can be done in a semi-climate controlled environment. Three-dimensional spatial skills are used at this level. A high degree of praying to the Land Rover gods wouldn’t hurt either.
Examples: Brake caliper rebuild. Tracing electrical problems. CV Joint replacement. Heater core replacement.

Level Five
Impossible. The ability to understand particle physics is good here. Find a mechanic or an automotive Superhero that will work for beer or who owes you money. Common phrases often heard at this level…
“No, I don’t know what happened, send a tow truck.”
or
“That’s not a place I would have expected smoke to come out.”
or
“I think I have a Visa card with that amount available on it.”
Examples: Head gasket repair. Transmission rebuild. Anything inside the engine.

Once again this is my scale. I’ve emailed with gents and ladies that said my Level One was their Level Three. I totally get that. Don’t get frustrated with the job. What might seem complicated gets considerably simpler when you are holding the replacemnet parts in your hand. Don’t be afraid to ask for help. How are you ever going to learn if you are never taught?

Thanks for reading, and Happy Rovering.

Fuel Pump Replacement (Post #326) 4/5/2013

196,000 miles out of one fuel pump. That’s pretty good. But as you have read in previous posts it was time for a new pump. Let’s first sort out the process for testing the fuel pump.
Checking for fuel at the fuel rail was first. I disconnected the fuel line from the fuel rail.
Remove the hose clamp. Place a rag, preferably a large one like a t-shirt under it. You are checking for fuel coming out. WARNING. When you turn the key to the on position it activates the fuel pump. The fuel pump will run for a short burst to pressurize the rail. It will then shut off. A lot of fuel will come out when you turn on the key. It may even shoot out on to the engine. DO NOT DO THIS WITH A HOT ENGINE.
When I disconnected mine, no fuel came out. So that told me the pump did not run. So I climbed in the back and disassembled the back to get to the fuel pump access panel. Some time in the late 1990 models they started manufacturing an access panel to repair the frequently failing pumps.
I wanted to first check to make sure I didn’t have a blown fuse. I couldn’t remember which fuse was the one for the pump. So I pulled all of these and checked for a blown one. I also reseated the fuel pump relay (silver one) located between the green and brown items. All the fuses were good. On to the pump.
Remove the carpet and the dogs from the rear of the vehicle and access the panel.

I don’t know why they think it is okay to get in the back of the Range Rover.
Luna and Paisley
Remove the six screws. Move them to a safe place. Remember you are about to open the fuel tank. If you have something that might fall in the tank…it will fall in the tank. Secure all loose items NOW.
After you are open you are dealing with two fuel lines, a ground wire, and the power connector.
There is also a fair amount of dirt under there. I used a shop vac to get as much as I could to eliminate debris from getting in the tank. Vacuum before you start to remove any bits. Vacuum again after you have knock the wrenches against stuff.
Pull the connector and set your volt-ohm meter to volts. Have someone turn on the ignition. You will see a voltage spike for a few seconds. Remember the pump only runs for a few seconds. I checked across all the combinations of wires. I had power to the plug so….it had to be the pump.
Disconnect the fuel lines and the ground wire.
You are going to use a mallet (I used a rubber one) to hit a large flat-head screwdriver to turn the ring. They make a special tool for this…I didn’t buy it. Take your time and lightly tap this ring until it spins enough times to remove it.
The next series of pictures is me pulling the pump from the tank. 

Holding the fuel supply lines out of the way.

Remember the fuel level indicator is connected to the float. So as you are pulling it out you will angle the pump to slide it out. The lower part of the pump is a sump that keeps fuel around the base of the pump. This way the vehicle is not starved for fuel when the tank is low and you turn a corner and slosh the fuel to one side.

So as you are pulling the pump assembly out. Let the fuel run out of the pump. This will prevent fuel being spilled in the cab.

Fuel draining out.

I inverted the pump and drained more fuel out. You can see the official Land Rover Tool Kit in this picture. I needed to use it due to having an insufficient collection of tools in my tool bag. I remedied this by purchasing a socket set for the on-board tool bag.

Once I was back in my garage I took the old pump apart. Look at the debris attached to the filter. NASTY!

Look at the debris in the bottom of the “starvation tank”. 

While I was sourcing a new part I just placed the access panel over the hole and replaced the carpet.

I ordered a new pump from Atlantic British and paid the up charge for it to be delivered in 3 days. 300$ for the kit. I originally intended to repair the old one. I talked myself out of that due to my schedule this week. Two assignments, a test, and the weather (four inches of rain in four days, thank you God.) made this an easy decision. I will rebuild the old pump with a replacement pump. I expect it will cost less than a hundred dollars to replace the pump portion.

With the new pump in hand, I went about installing it.

I placed the rubber seal in the tank and then fitted the pump through the seal. It was a tight fit. You then screw down with the red securing ring. Use the screwdriver and rubber mallet. Take it easy and take your time. No need to use the mallet like Thor uses Mjölnir (Wikipedia).
Connect the power connector pig tail thing they send in the kit. Reconnect the fuel lines. 
With the access panel still open, I started her up. I watched for fuel leaks. NONE. So I buttoned everything back up.
I drove the Range Rover over to Braum’s in Tri-City to have ice cream with my grand kids (and my daughter and son-in-law). I had a single dip of chocolate chip on a sugar cone. Yummo.
The Range Rover ran great. I noticed the fuel gauge had me at a quarter of a tank. With a new pump and new indicator I thought it prudent to fill the tank and make sure the gauge was working correctly. It was all good and showed a full tank.
I pulled over in the parking lot of the Chickasaw Nation Training facility. This is the old T.G.&Y. building. I really loved that job. I called JagGuy and chatted about lots of stuff and he looked up replacement pumps will we gabbed. I’m lucky to have him, both as an automotive resource and friend.
As I was chatting I saw the state bird of Oklahoma, a Scissor-tailed flycatcher fly by. Spring has officially come to Oklahoma.
On the Difficulty Scale I’d rate this a 2. It is not difficult, just a tad fiddly.
Thank you to Justin and Lecia for letting me maroon the Range Rover in their driveway. Thank you to Lecia for helping me check for electrical continuity by turning the key while I was in the back.
I am heading to Fort Washita for the annual rendezvous this weekend. Get out and support your local historical society this spring.
Thanks for reading and Happy Rovering.

Steering Issues Solved…For the Most Part (Post #297) 8/19/2012

 If you recall, I left off with the last post with a cross-threaded power steering hose. Sorting it out would take a few phone calls and a lot of hope.

First thing I needed to do was find a tap to correct the threads I managed to mangle. There are LOTS of types of taps. And there are lots of names for those taps. It seems everyone has their own name for each type of tap. I’m sure it varies by region too. I did not know that before this project. I also did not know the name of the tap I needed. JagGuy told me I might need a bottoming tap.

Bottoming tap: 1-2 lead threads ground. Used for continuing to thread a blind hole close to the bottom of the hole. It’s difficult to start threading a hole with this tap.

Looking at the taps its easy to see the bottoming plug was best. Why? Well that is a good question. There are only 5 or 6 threads in the hole. If you use a taper tap you might not have enough threads make contact. Same issue with a plug tap. I needed the bottoming tap.

As it turns out, that was pretty easy. I just visited the amazing J&E Supply and Fasteners. I have sung their praises before. Finding the bolts and nuts for this project required me to visit them twice. Twice because I didn’t have a list of all the nuts the first time. The tap had to be a blunt or

In any event I took the “test fitting” with me and we matched it up to a tap. I was shocked they had it, but they did. I was so stoked or chuffed or happy, maybe all three at once. This tool saved me several hundred dollars American in replacing the steering box.

Having NEVER successfully tapped anything in my life…I chose to call JagGuy and ask for some sage advice. he was full of all kinds of advice for this. First bit of advice, pull the steering box. It turns out I probably would have been able to tap it in place. But, pulling it made it easier and I was able to clean it up while it was out. Second bit of advice, keep the shavings out of the unit.

To do this he suggested dipping the tap in grease. The grease captures the shavings and you just have to wipe it off to eliminate the shavings. This was easy enough.

With the advice in mind, I lined up the tap, and started it and gave it a turn. I backed it out and turned it again, like I had seen on countless TV shows. I turned it all the way to the stop and backed it out. I took the sample fitting and screwed it in. My awesome neighbor Mr. Fisher had walked over and was witness to the successful tapping. I have never been so excited. This was really awesome.

I took the new hose and threaded that as well. I was convinced now that it would not leak and I was ready to clean it up and give it a coat of paint.

Following my habit of painting everything I pull off the Range Rover and replace I gave the steering bits a couple of coats of primer gray.

I managed to get her all together. I filled her with power steering fluid. I turned the steering wheel to the bump stops in each direction three or four times to clear out all the bubbles. I saw that on the TV as well, in fact Mr. Edd China from television show “Wheeler Dealer showed me that.

Okay, now that the steering box is all back together. Where am I on all this? As it turns out the steering box probably has some damage from running with low fluid. There are “spots” when I turn the wheel where I get some negative feedback from the steering. It is either this or an in accurately aligned steering shaft. The shaft has two universal joints and if you don’t have it “just right” it binds a bit. I might be having this. To sort this out I will have to get back under the hood and see if I can adjust the bind out.

On the OkieRover Difficulty Scale, this job is a three. I say three because the job is actually removing the steering box. So if you are going to swap your steering box this is a difficult job and there are lots of things to get back in place correctly.

Thanks for reading and Happy Rovering.

Fat Mat Installation (Post #295) 6/8/2012

If you’ve been reading along like good little minions dis-interested onlookers followers you know about the rust issues in the front floor pan of the Range Rover. You also may have read that I was looking for sound deadening products in my post back in September 2010, Shhhh!  Last month I decided to do something about it….again. I purchased some Fat Mat sound deadener. I had two thoughts when installing it. It would…

  • Reduce heat and sound
  • Cover the floor pan
The reduction of heat and sound is a simple one. The Range Rover shipped new from the factory has a pad and carpet installed. If you pull that up you will find two small pads to reduce vibration and thus sound. The first thing you learn about the factory pad is IT IS A SPONGE. The second is it smells. And lastly it holds water and increases the rust chances for those metal surfaces.
The second to cover the floor pan, is simple, reduce water coming in contact with at least one side of the metal. I thought if I could coat the floor one more time and then cover it with this material I might minimize the rust. For certain, I won’t ever see rust there again as the Fat Mat material is very difficult to remove.
Once I began to prep the surface with grease and wax remover I noticed…the metal was already beginning to rust. Frustrated, I got the angle grinder out, too the surface down to bare metal. I then wiped the surfaces with the grease and wax remover and sprayed the surface with acid etching primer and after letting it set up. I covered the floor pan with pickup bed liner.
Over this I placed the Fat Mat.
All I can say about the install is follow the instructions. And put it on in small sheets. It would be impossible to cut the sheet correctly, peal the back, and get in place, and rolled down. As I type that I’m sure someone out there has done it or will do it. 
I was careful to cover the floor in such a way as if water DID get in there it would not seep through the Fat Mat and sit on the metal. I know the floor will rust again, I just don’t want to see it.

Over the Fat Mat I placed the OEM floor pad and then reinstalled the carpet AND all the plastic trim! Yes! The floor project is complete.
Once I had completed this I also installed a Fat Mat bonnet kit as well. This was to reduce the sound as well. I got an added bonus light is reflected from its surface down into the engine bay.

The worst part of the bonnet install was leaning over the engine bay to wipe the surfaces and to place the mat.
After everything was done I took her out for a road test. I wish I had taken readings so I could have compared them. Over all I think it is quieter. I can safely say the heat in the leg area has been significantly reduced.
Over all I’d give the Fat Mat project a 1 (one) on the OkieRover Difficulty Scale if you are just putting the stuff in sans rust abatement. I’d say this job was a 2 (two) if you have to grind any rust and spray any paint or surface covers.
Thanks for reading and Happy Rovering.

Why Children Should Not Drive Your Toys, Part 2 (Post #283) 1/21/2012

If you have read this blog for any length of time, you know that Part 1 of “Why you should not allow your children to drive your toys” was the two years RovErica drove the Range Rover Classic and the four hours I let her borrow the Discovery 2 one fateful April afternoon her Senior year. Two years of RovErica driving the Range Rover resulted in an entire summer up on jack stands and dozens of hours of restoration. Four hours of her driving the Discovery resulted in a totaled vehicle.

Part two of this story is why you should not let your son drive your Range Rover to eat lunch while his Scion is in the BODY SHOP. “BODY SHOP” should have been my first clue why DietMtnDrew should have his wings clipped. This image of my door handle will suffice as the second clue.

Yes that is a cast aluminium door handle torn in half. I blame myself. I should have taught him the trick to opening the door. Instead he just “pulled a little harder”. When it failed to open the door he just crawled over from the passenger side.

The doors on the left side have a nasty problem I have yet to solve. They are not set correctly and require you to push on the door to cause the latch to trip. All this while you are pulling the latch. Its tricky to say the least.

Finding door handles to replace the broken units is getting very difficult as well. The last time I was at Rover Cannibal he only had three total in the entire warehouse. At some point one of us enthusiasts will need to send a functioning unit to a machine shop for them to make out of steel or aircraft aluminum. I can’t imagine what that would cost.

Last Sunday we were experiencing some more of the “I can’t believe this is January in Oklahoma weather”. Temps around the state got up to 72 F degrees. Our normal is closer to 45 F. I took advantage of the beautiful day and swapped out my driver’s side front door handle.

This is a relatively easy job. The good news is both the left side and right side door handles are inter-changeable. The fronts obviously have locks built in to the handle assembly, while the backs do not. The handle fits in either. I had two rear door handles. So using a punch I freed the hinge pin and the handle just slips out.

You must remove the door cards first. I purposefully bought some of the plastic friction pins just in case I break some in the removal process. On the last Wheeler DealerEdd China had a lovely tool I haven’t found yet, to assist in the removal. I used a big screw driver with a nice large flat head. After the door cards are off and the plastic is out of the way you can see what you are up against.

You can now remove the handle assembly from the door. It requires an 8mm socket for the nuts.

Simply remove the nuts and the bracket and the lock comes away from the door. This is fairly simple. I don’t recommend you dropping any of the nuts. You might not find them again.

Once the handle assembly is out of the door, use a common punch to remove the hinge pin and swap the handles. This model has heated door locks so you will have to work with the assembly hanging from the door, unless you want to cut the wires and splice them back later. I opted not to do that and just worked on it from the door.

Here’s a look at the assembly. The new handle is in place. Not pictured and sitting on my bonnet is the actuating rod and spring. It is held in place with a pin and clip. Nothing to worry about. You can see the retaining bolts and you can imagine how badly I wanted to brush off the rust.

I marked the “C” clip because the trickiest part of this job is getting the rod clips loose. They are held in place with a friction spring clip. The one located secured to the unit with the “C” clip was difficult to remove in the door. So I removed it by loosing the “C” clip. You may find your self more dexterous. The last trick to loosen the rod clips is to just use a screw drive and flick (for lack of a better term) them off the rods.

Reverse the dis-assembly and you are back in business. The system of rods and loose fitting wobbly clips is really a poor way to do things in my opinion. There is a lot of room for wear and failure of parts that are probably impossible to find. Once you learn how the door locks are actuated with the electric units, if this doesn’t disappoint you nothing will. Its not elegant or even very clever. Its a nightmare waiting to happen. Again this is my opinion. Its hard to believe the same race that put the brilliant Spitfire in to the air to win the Battle of Britain designed that.

On the OkieRover Difficulty Scale this job is a one. Edd China would call the internals fiddly bits and that is a perfect description. They look intimidating but they are not.

The passenger side front handle is also tearing and I’ll be using my last spare to fix it. I’m still trying to figure out what to do about the doors not functioning correctly. Most of the internal door parts were made by GM. I’m wondering if I can buy new door latches and solve my problem. Another solution is to just take it down to a body shop and have them “adjust” the doors. If I knew what to do, I’d do it myself, but I don’t and haven’t seen anything on the interwebs to tell me.

Thanks for reading and Happy Rovering.

December 15th, 2003 (Post #38)

December 15, 2003
O2 Sensors Solved
O2 sensor problem is solved. I replaced the Left side (driver’s side O2 sensor) sensor and cleared the error 44 code with little or no effort. It was a snap. Really it was. Then as you should I replaced the right-side O2 sensor. After I was done the truck ran terribly. It missed, backfired, and stumbled and generally ran poorly. Eventually a code 45 showed up. What on earth could be the problem? Error 45 is the right side (passenger) sensor.

Well it turned out I did a bit of wiring wrong and swapped a pair of wires. The truck was running extremely rich. The sensor was covered in carbon when I pulled it confirming this theory. And there it was a swapped set of wires. I am guessing that I swapped the pair in my haste to put heat shrink on the wire and dropped the pairs several times.

I have some tips. I posted them in the forum but I will post them here also.

Lesson one: Part A: Don’t settle for second rate stuff. If the slug type of crimps are what you need, wait and get them. If you need good heat shrink get it before the job and don’t settle for “what they had”.

Lesson one: Part B: Get more than you need of the repair items. Don’t buy six crimps if you need six. Buy a full additional set. What if you wire it wrong? You only have enough to do the job once and seldom, in my experience, do you do it right the first time. My dad always took four nails up the ladder for a two nail job. I asked him once why he took 4 when you only used 2? He said, “What if you hit your thumb and drop your nails?” Of course this is the same man that broke off the eraser end of the pencil and threw it at me saying, “I don’t make mistakes.” So it’s better to be safe than sorry.

Lesson two: Check your work. Once your done, check it again. I failed to do this. It was cold, I was cold, and I was in a hurry and it was getting dark.

Lesson three: Don’t get in a hurry.

Lesson four: Do your work in a hospitable environment when able (i.e. indoors with heat in the winter and a cool breeze in the summer.)

So as I close this episode I have learned a good many things about my truck.

Closed loop and open loop sensors. There is not really a lot to the oxygen sensors when you think about what they actually do. You can reset all the error codes with just disconnecting the battery.

On the Difficulty Scale this project was a 1. Maybe a 1.5 considering the crimping and heat shrink.

The next big project is a suspension overhall. I hope to replace my springs, shocks, tie-rod ends, and put a set of poly bushings on in one day. I have everything but the poly bushings but in a couple of weeks I should have them. I’m hoping for a couple of weeks after the new year is in to begin. Rogers has offered his lift and his garage for me to work on all this so I’m thinking of something nice to buy him. Any suggestions?

If the camera has good batteries that day I’ll take lots of pictures.