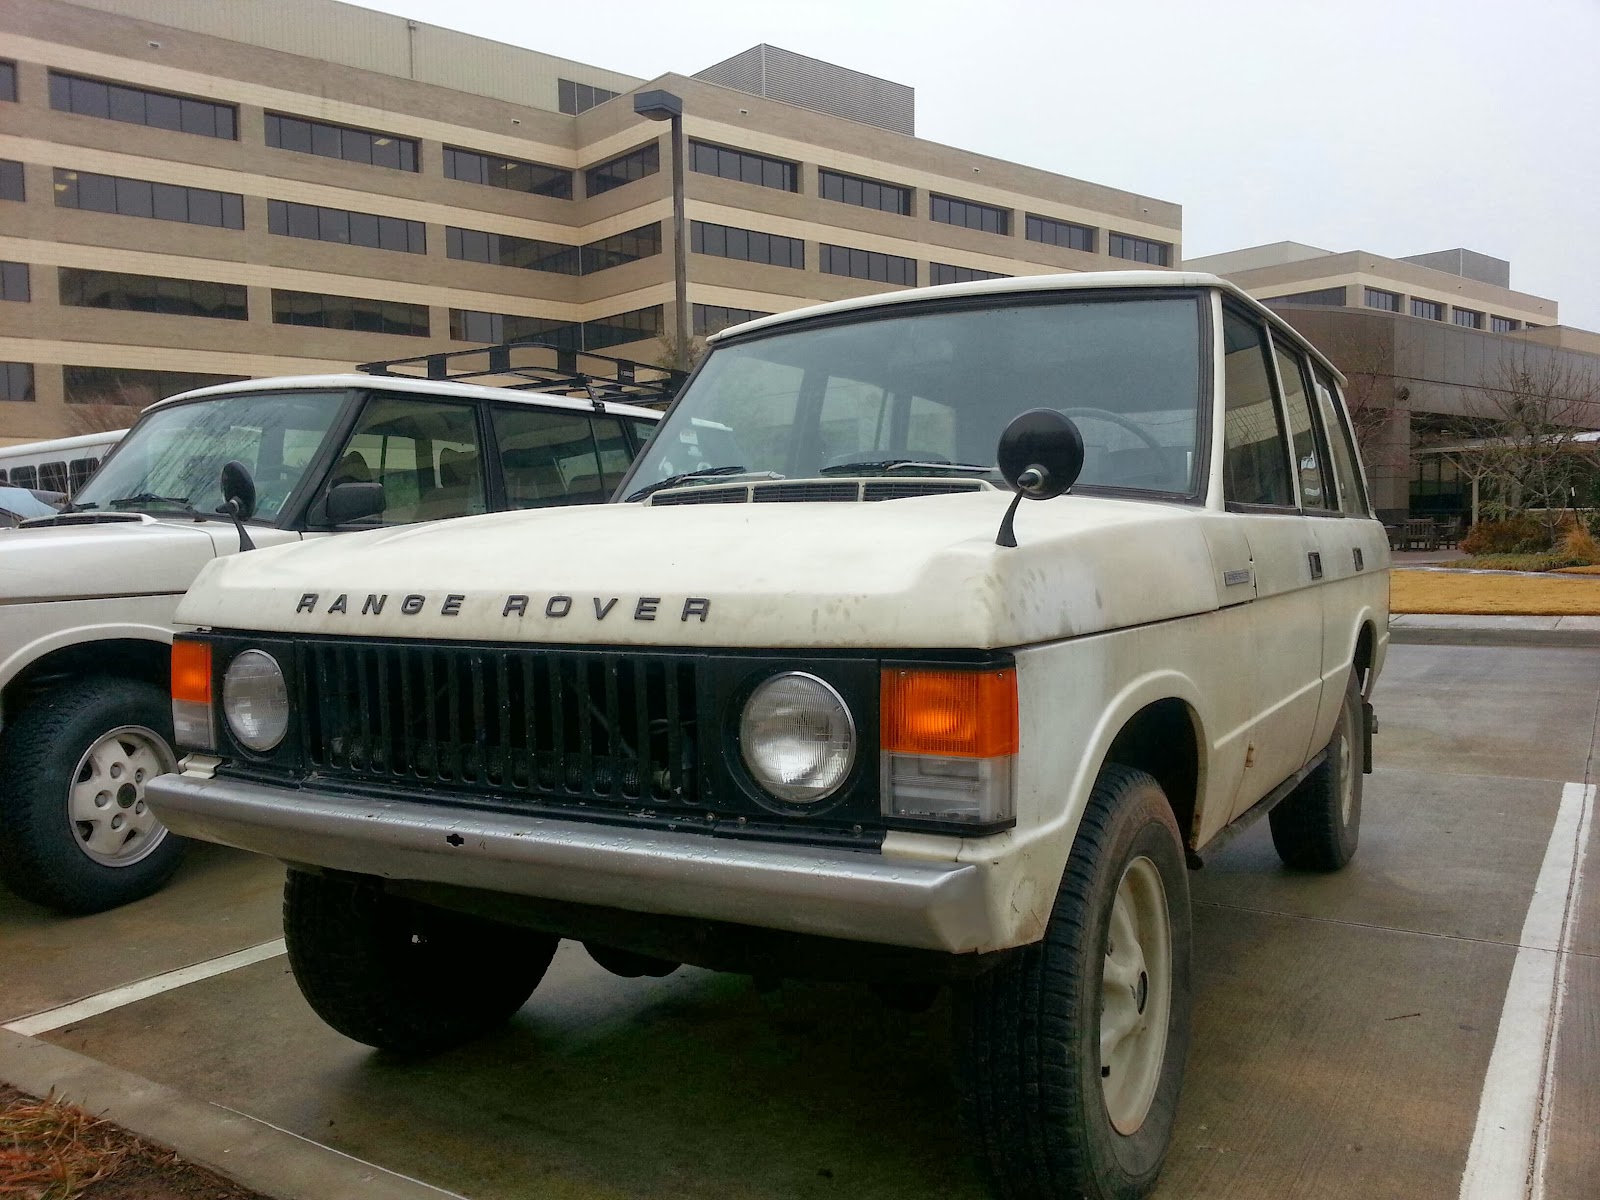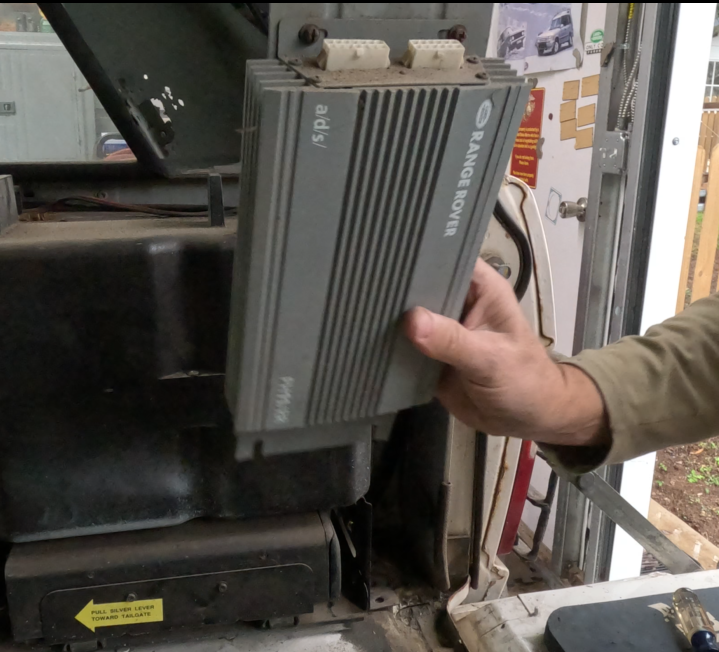
Ever wonder what is inside of that gigantic custom-fit subwoofer box in the back of your Range Rover Classic…well wonder no more. I had to pull all the parts of the sound system out of the Big White Bus to investigate my rust issues.
It takes a few bolts to get it out but everything is easy-ish to get to and you don’t need any special tools. Take the amplifier off the subwoofer box. Then tackle all the bolts. Once the subwoofer is out you can get to the antique CD changer. Actually in 1993 a six disc CD changer was straight up gangster. My CD changer worked for a few years. It then got a little buggy. You could get it to work if you slid it out and slammed it back in. Most of the time it started to be available at the head unit after that.
It all has to come out. I have a new head unit. I have new speakers. I don’t know if the amplifier still works. I will have to sit down at some point and try to figure out all the plugs and see if the amplifier will be part of the equation. Having a working subwoofer would be a nice addition.
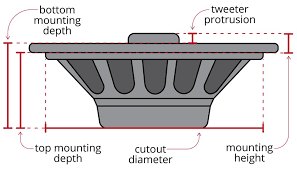
Once the subwoofer is out it takes 10 screws and a little gentle encouraging and the box will come apart. It’s a relatively simple setup. There is a dual cone speaker inside and that’s it. Mine as you will see in the video is toast. the cone has disintegrated. It is at least 30 years old probably closer to 33 considering assembly line technology of the day.
So the speaker will need to be replaced. In the video I speculate about the size but it turns out to be:
- Cutout Diameter 6.5 inches
- Top Depth mounting 3 inches
- Bottom Depth Mounting 3.25
There are a LOT of speakers to choose from online. I went to Crutchfield.com. They don’t sponsor me, I wish they did, but they don’t. They have great customer service and the spec’s for everything are easy to find on their site.
I found a speaker that looks like it will fit.

That’s not a lot of money and 4 people think it’s pretty awesome. Mounting that is still a question, but I’m not worried. I will figure it out if that is the direction I go.
There is some debate going on in my head about replacing the old one with a NEW subwoofer. I found a Kenwood on Crutchfield that was not all that expensive.
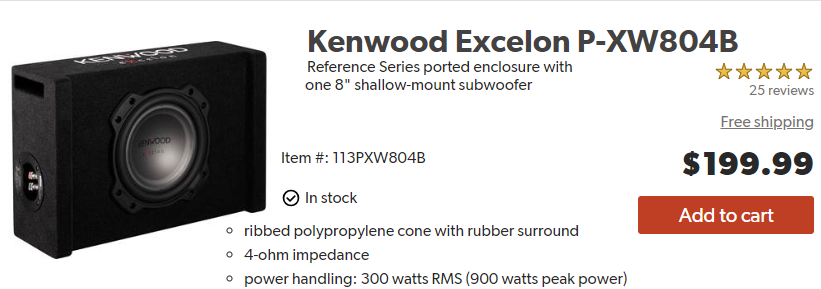
It’s pretty small too. Just a little under 18x12x6 inches. I’m certain I’d have to cover the speaker cause it would almost certainly get damaged if I didn’t. I am confident it would fit in the space. But the real question outside of would it be better is…. am I really saving enough space to matter? I’m not sure I would gain anything. The space would have to be VERY creatively designed to take advantage of a few inches more here or there.
This gives us the cheaper option of just buying the speaker and figuring out how to wire it to the old AMP and the new head unit. Another plus of this operation was the elimination of the CD player gives me 12 volt switched power line back in that corner. That might come in handy, who knows.
I like tunes as much as the next guy. I even have a playlist named, “Can’t Be Too Loud”. It’s got some songs that you turn up until your ears bleed.
- Van Halen’s Eruption
- AC/DC Back In Black
- Living Colour’s Cult of Personality
- Beastie Boys Sabotage
- Black Sabbath’s Iron Man
- Wagner’s Die Walküre (Ride of the Valkyrie)
- Carl Orff’s O Fortuna from Carmina Burana
There are more, but you get the picture…you probably have a list of your own. Whenever I hear these songs I turn them up to maximum volume.
Mostly today…I listen to audio books. Sooooo many audio books. It’s not uncommon for me to just drive, no music, just the window down and the sound of the engine and the tires on the road. That recharges my batteries almost as just sitting in the woods next to a fire.
There is a lot left to do to get the sound system installed. I’ve got to sort out the plugs and get everything wired up. The dash is still not installed. There is an order to putting the BWB back together…and the windshield needs to be first. I’m almost certain there is water leaking in and the last thing I want is to get his all put back together and still having water coming in.
That’s it for this week. As soon as I make a decision I’ll post it up and when I starting putting the sound system together.
Your sponsorship on Patreon would be appreciated if that is in your budget. Otherwise LIKE and SUBSCRIBE to the YouTube channel. Leave me a comment…I love talking to people about Land Rovers.
Thanks for reading and Happy Rovering.