Passenger Side Rear Wheel Well Rust – Part 1 (Post #631) 11/14/2023

rats

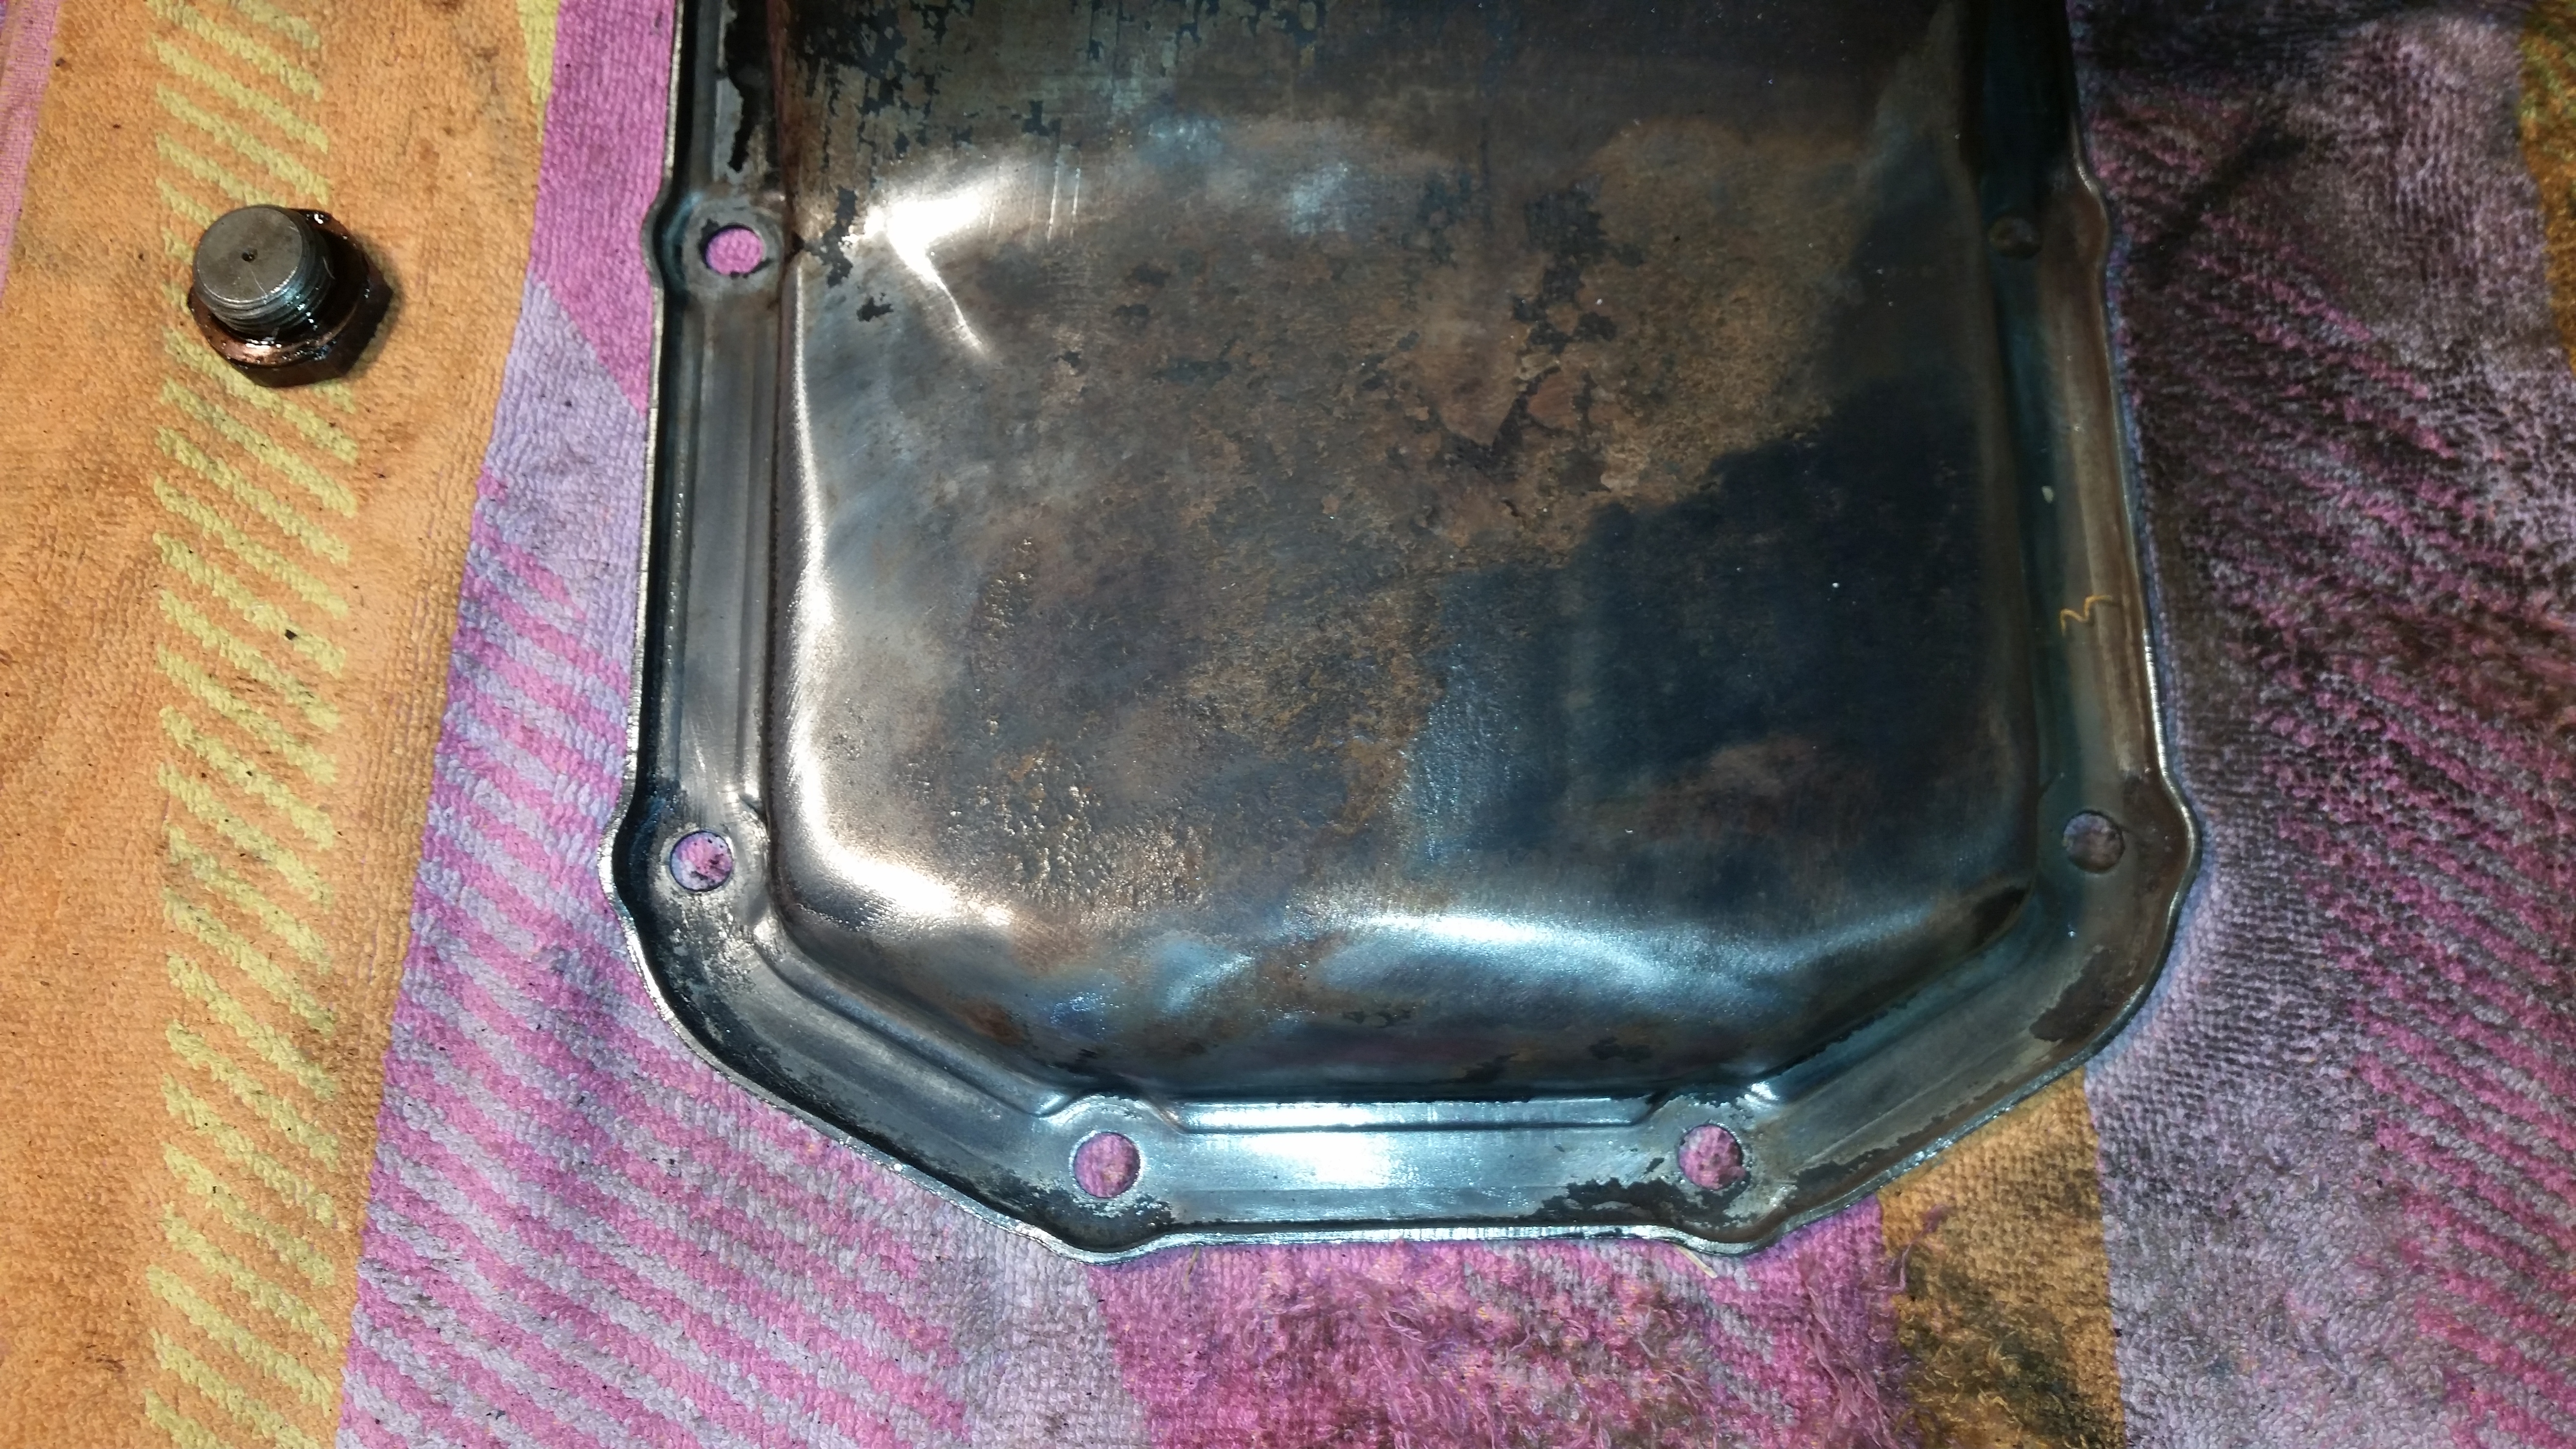
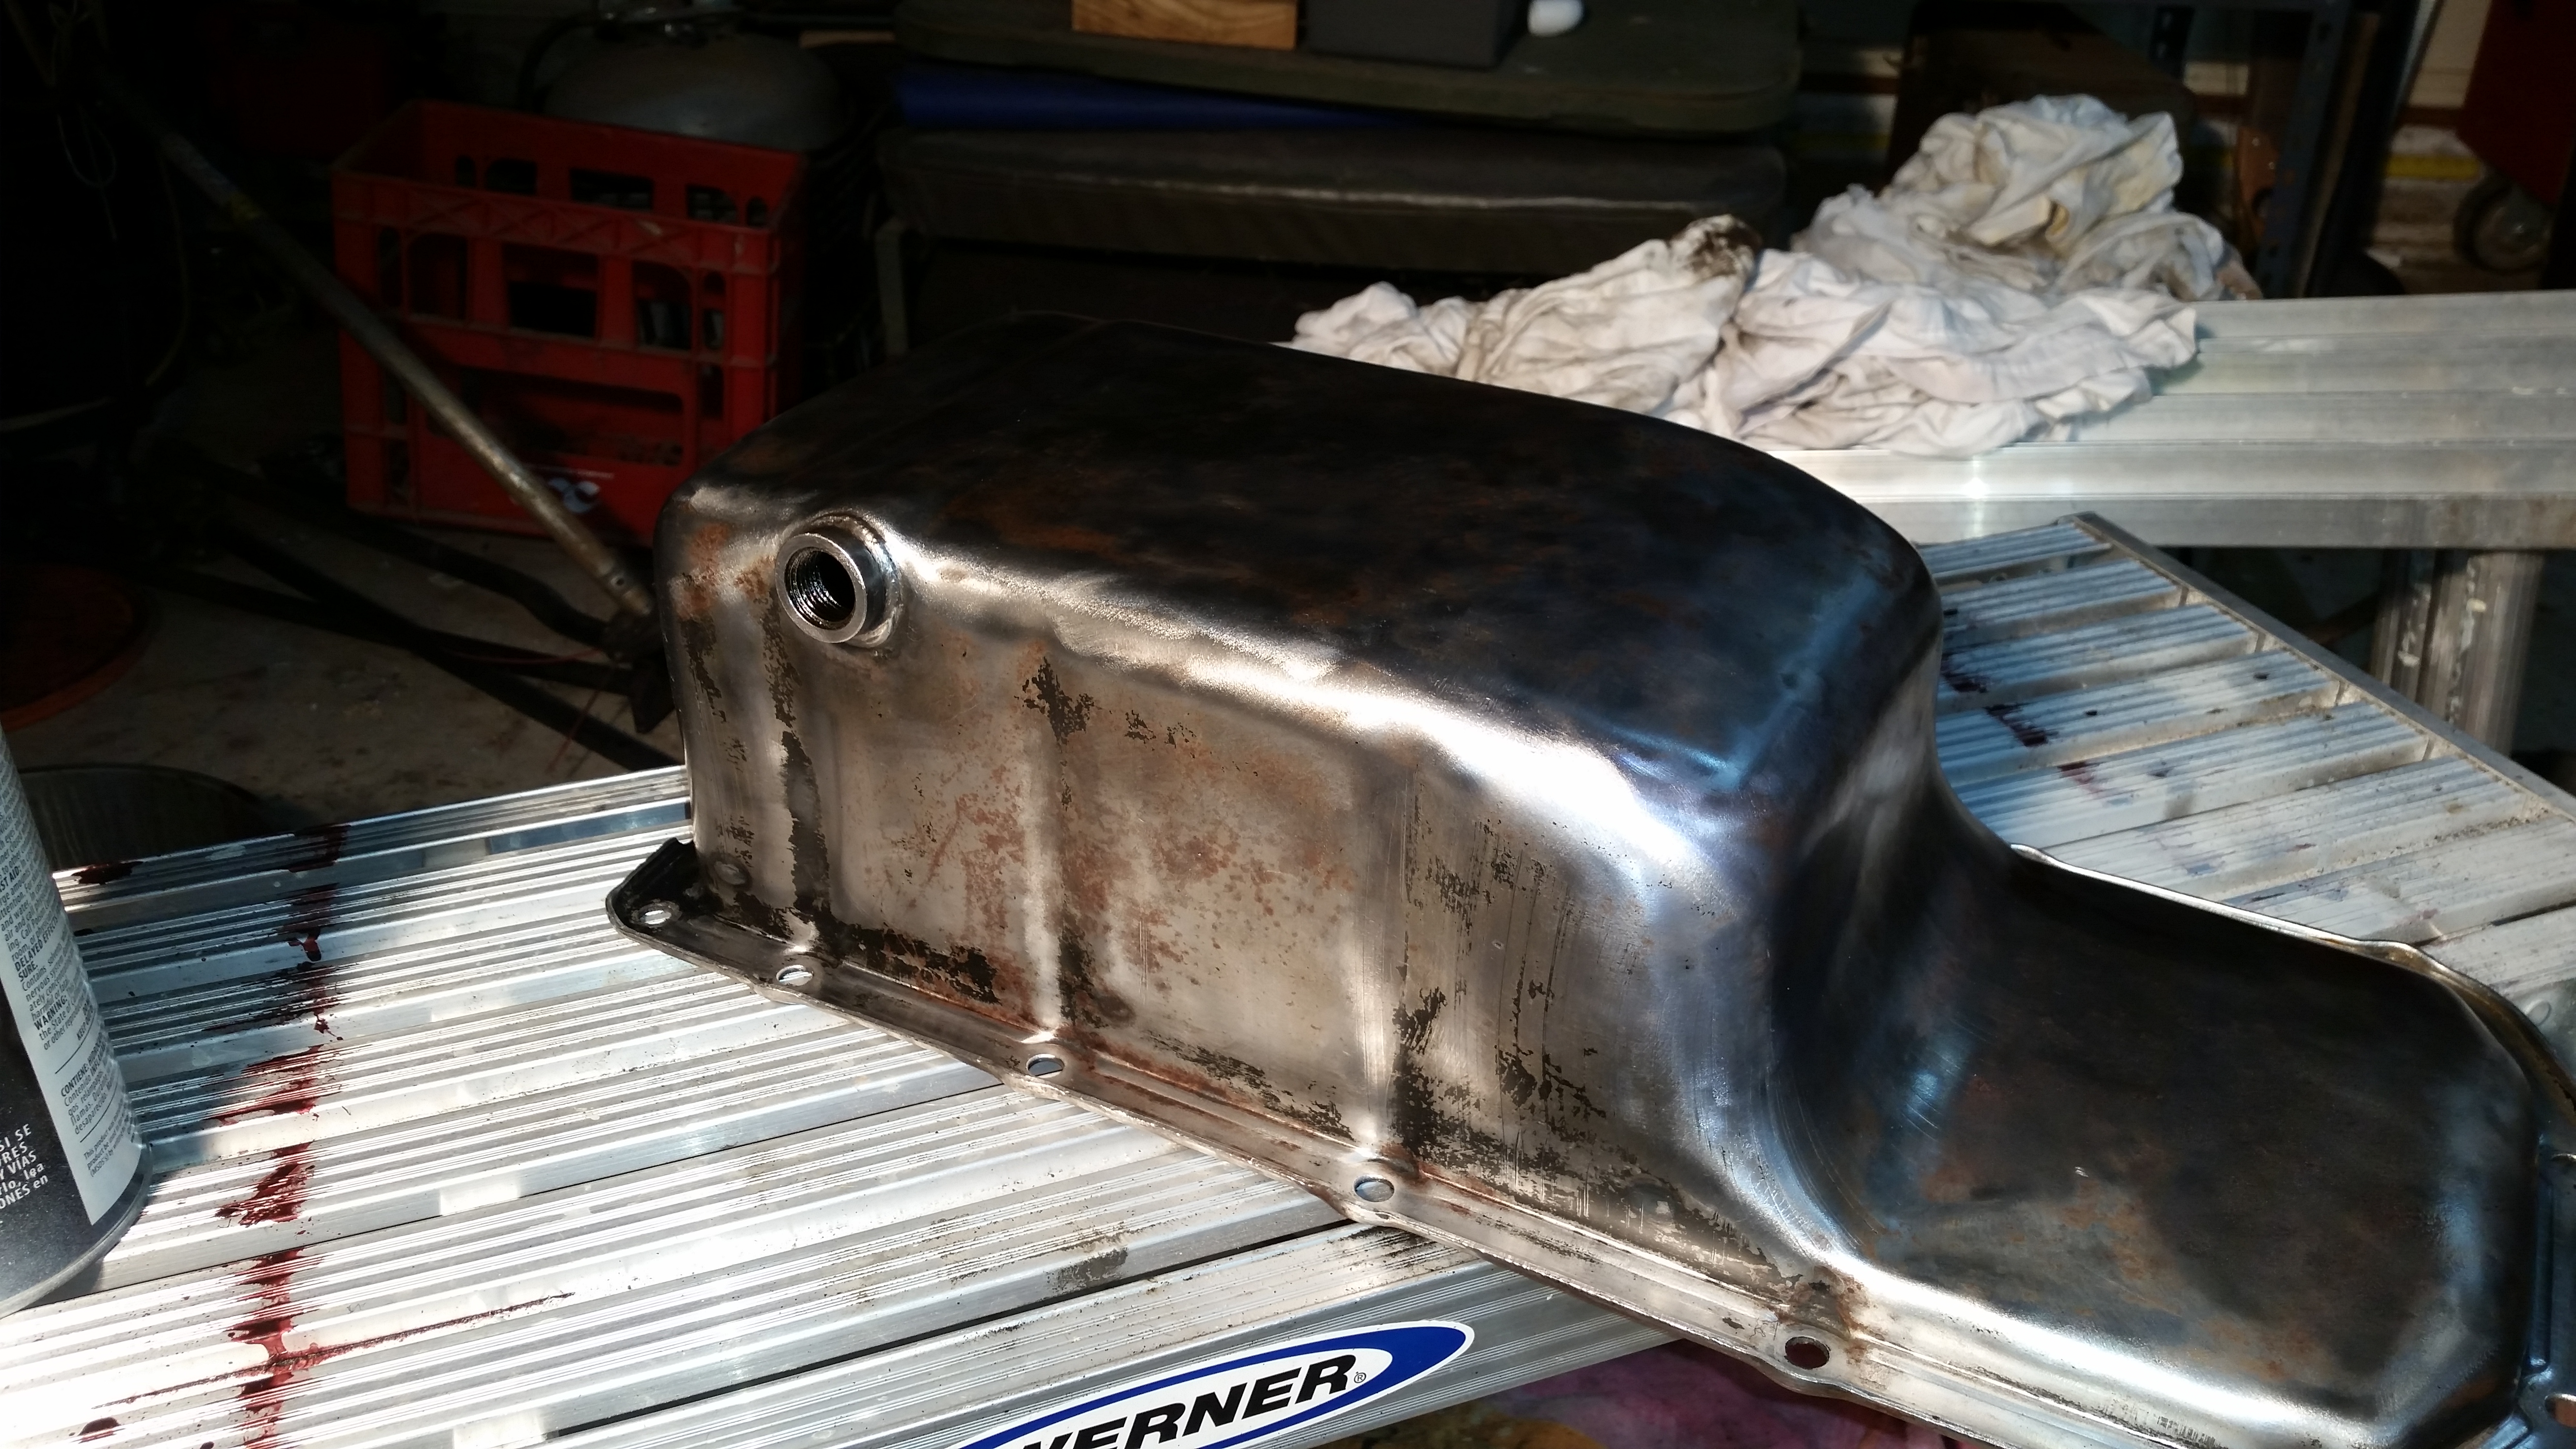
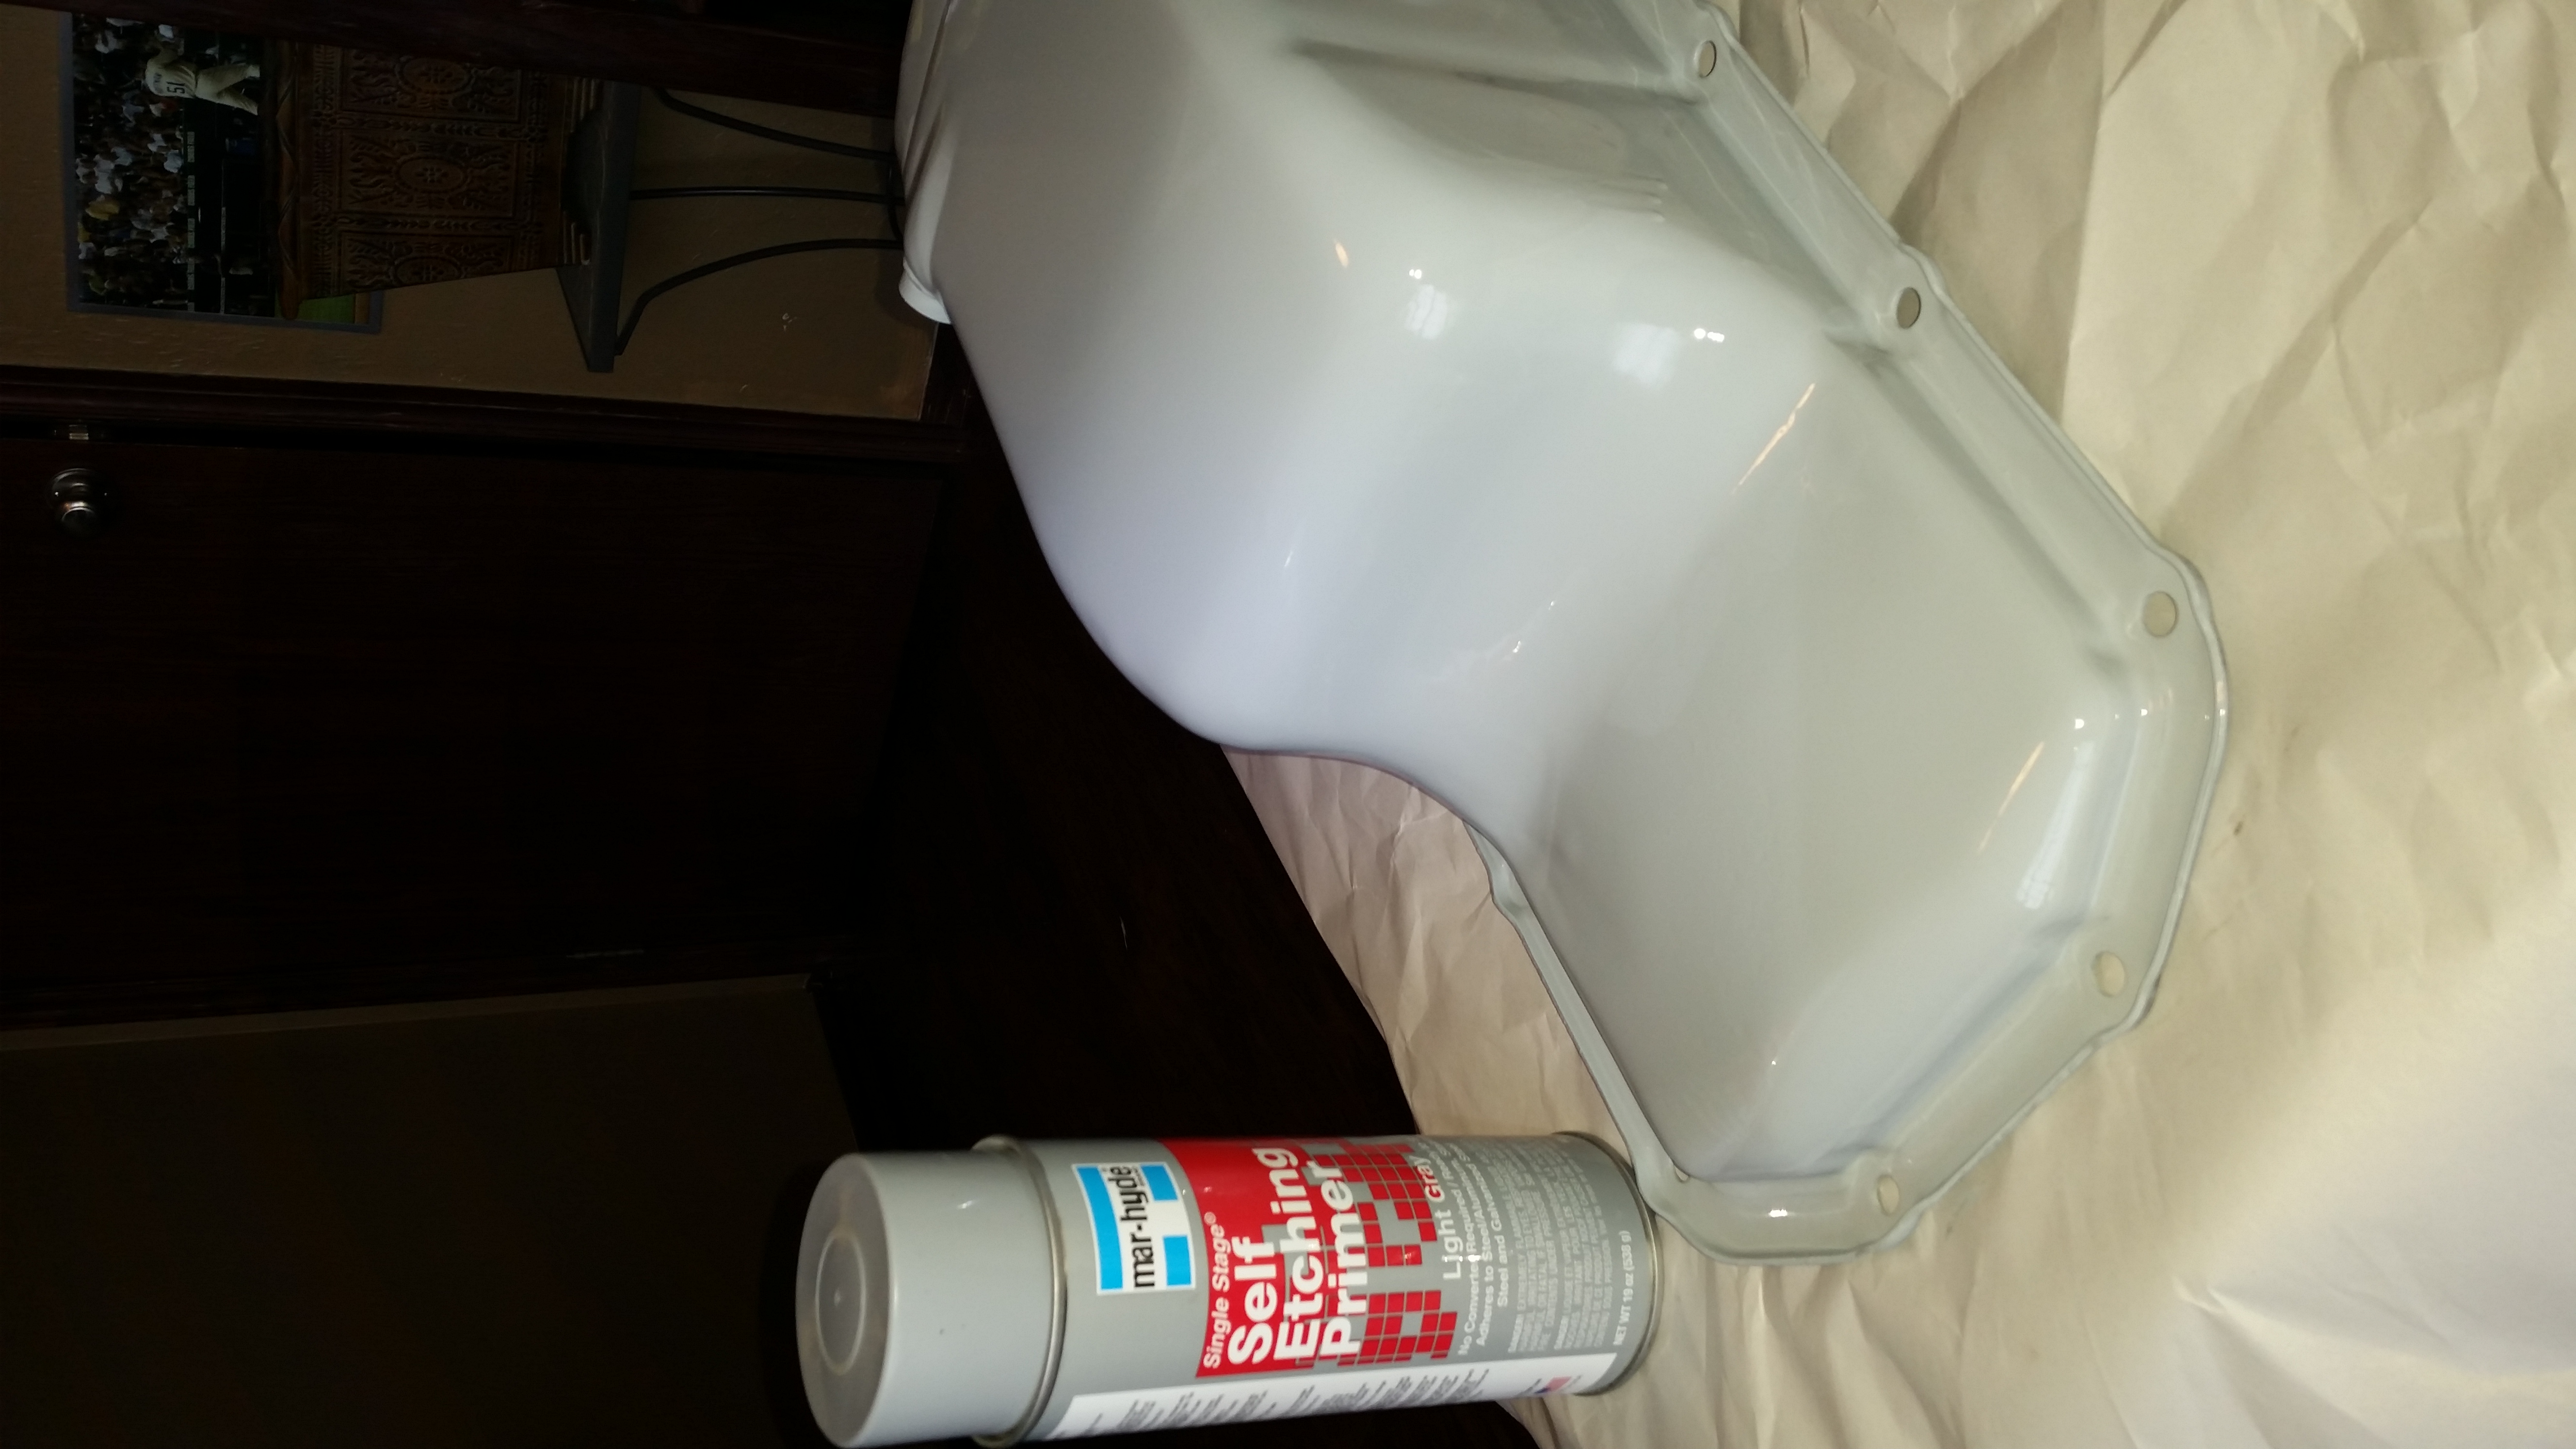
Now that I have the Range Rover flopped in the shoppe I can start on the rust abatement. But first, I thought I should get some oil and some other fluids and do some fluid refreshing. That was a great idea if I had done that BEFORE I started the Big White Bus. But the fact I was doing it AFTER I ran the engine, -2 points.

I loaded up one 5 gallon barrel of oil and headed to my favorite O’Reilly’s. When I got out of the truck my folly was apparent. I had successfully done an Exxon Valdez [Wikipedia] imitation. The metal barrel had rusted through the bottom and dropped 5 gallons of used oil all over the back of my F-150 and on to their Prince William Sound parking lot. I ran in and bought two bags of kitty litter/oil soaker stuff and with the help of one of the guys we spread all that all over their parking lot. I haven’t been that embarrassed in a long time.

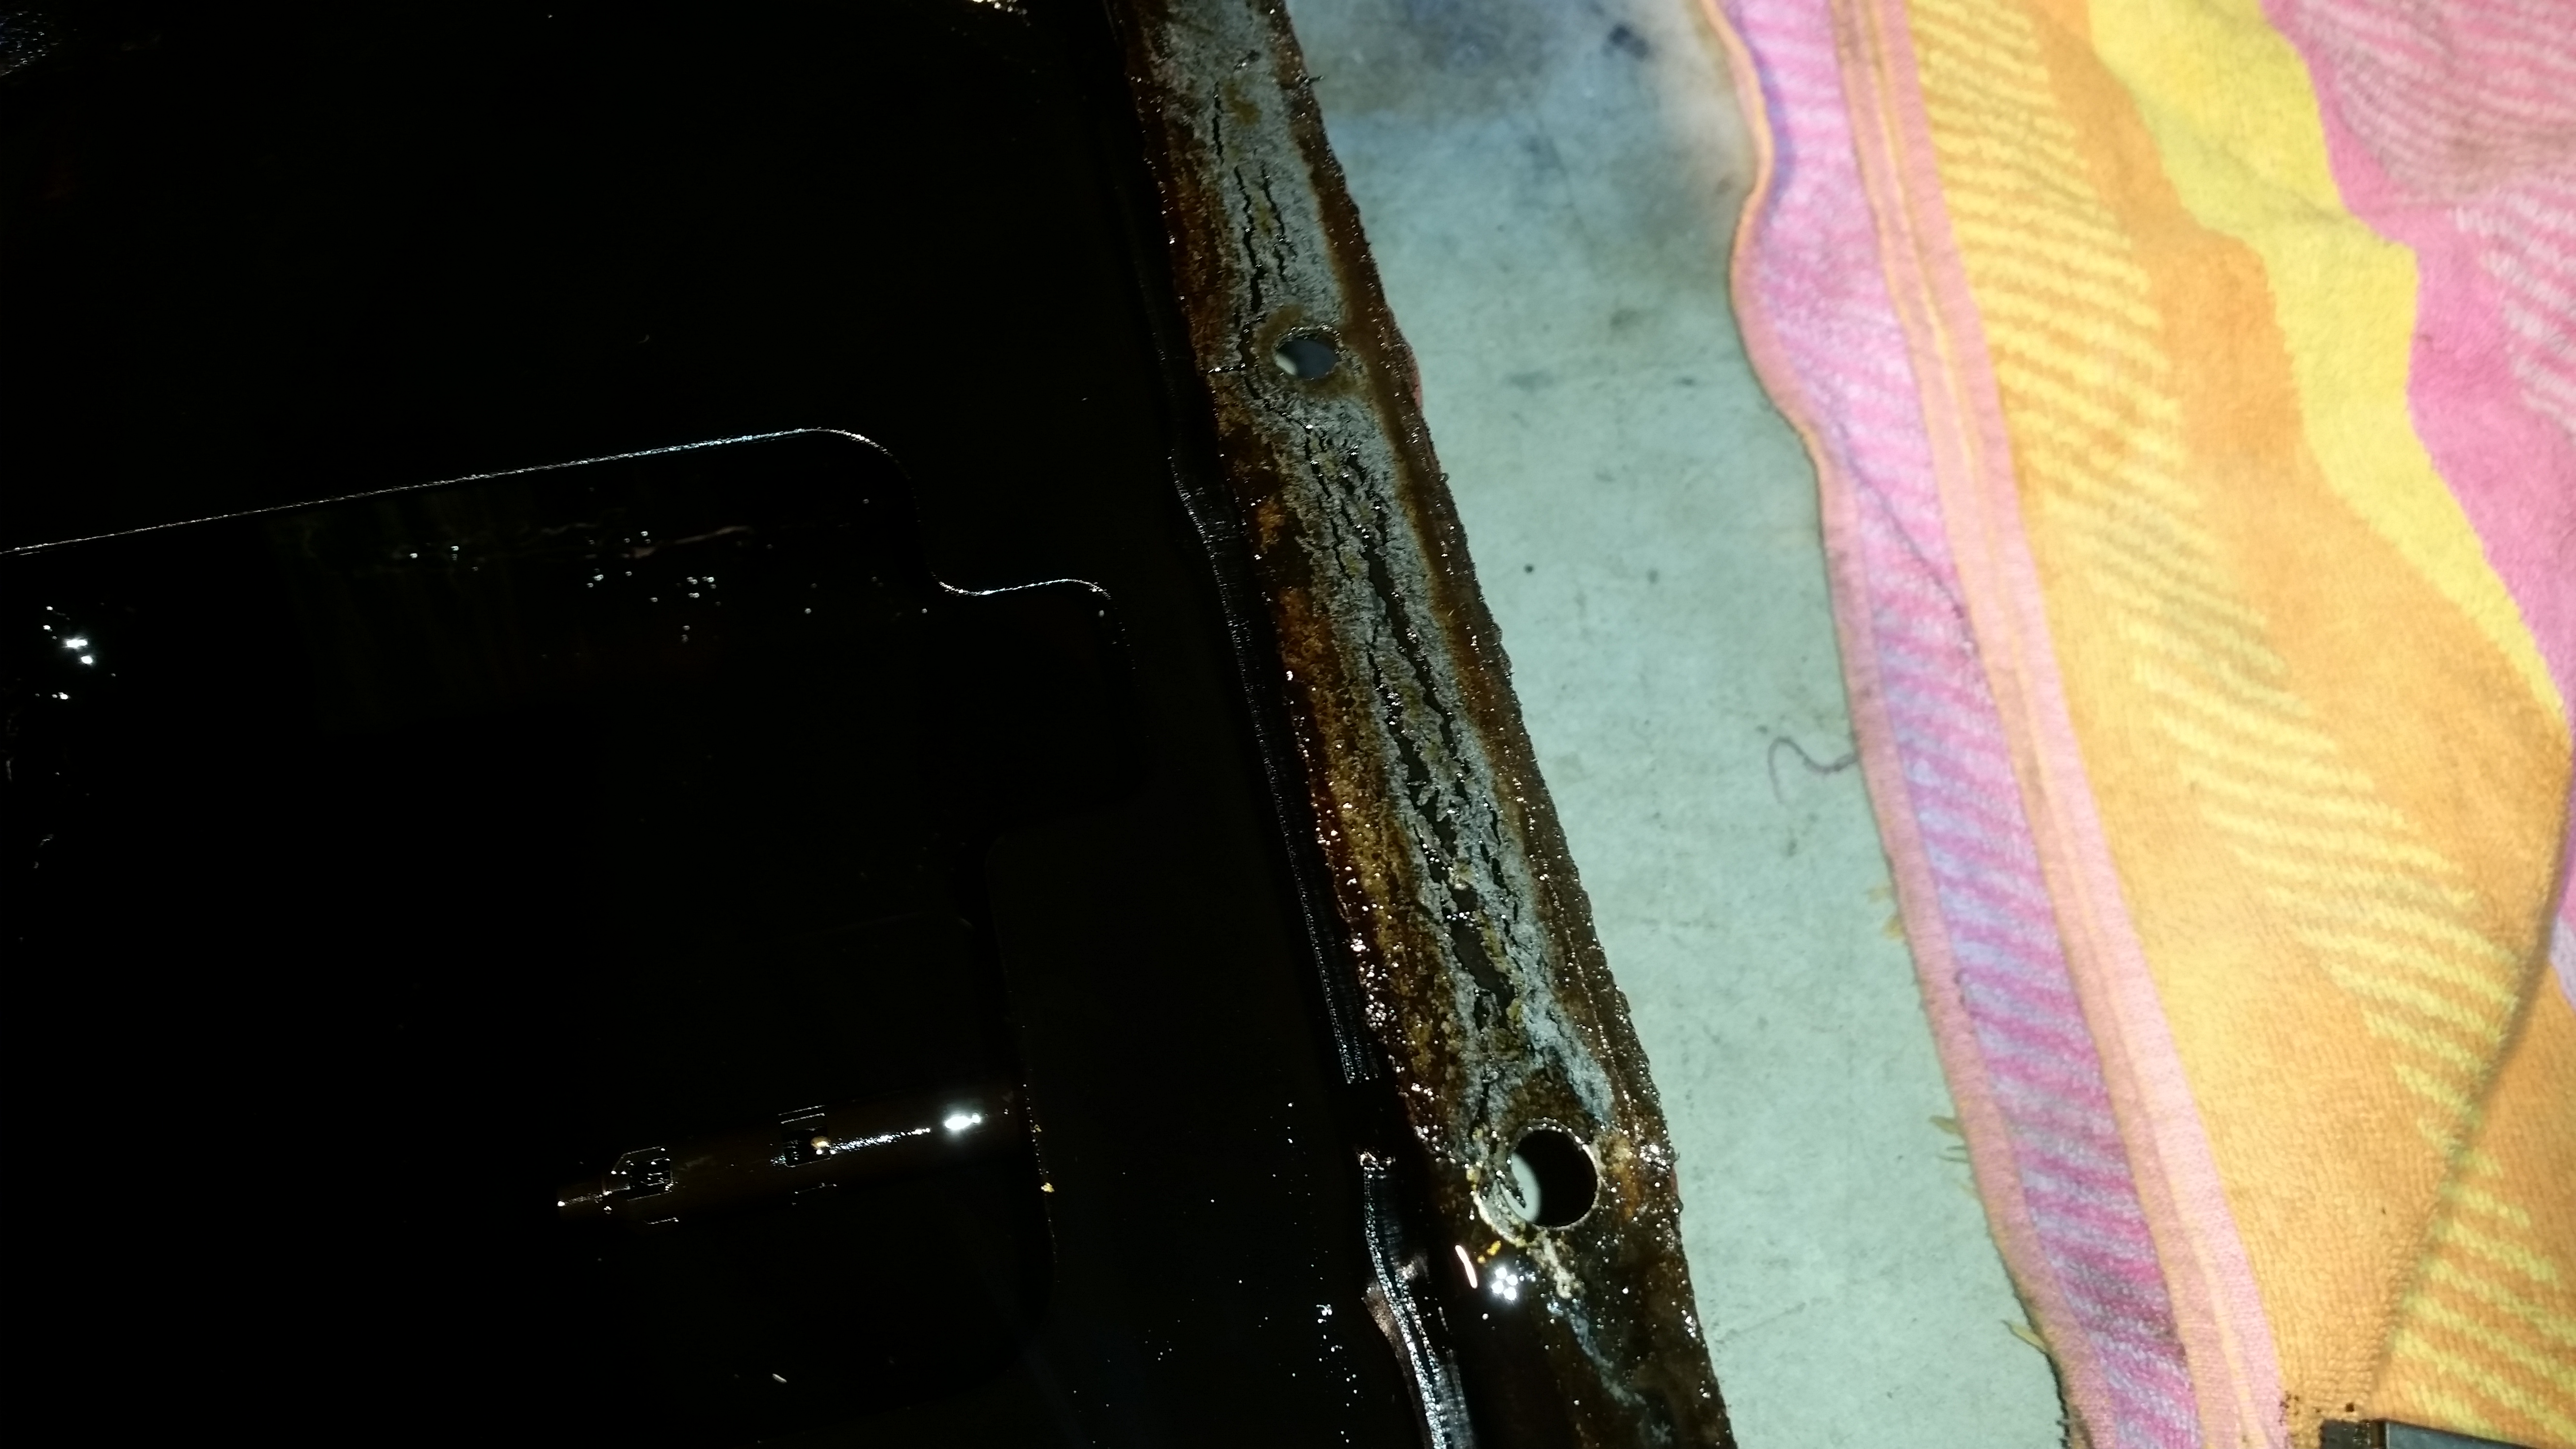
I finished up the clean up of the back of my F-150 when I got home and started getting the rear passenger wheel off to start the investigation. The video shows I had a mostly optimistic view when I started scraping the rust. In comparison…the passenger side is no where near as bad as the drivers side wheel well. The rear window is another issue entirely but let me attack these one at a time.

I’ve got two holes SO FAR. I still have to get the wire wheel out and take the rubber back to metal where there are brown spots. The worst looking SO FAR is the bottom of the C Pillar is rusted out. The reason for the rust there is the sunroof drain hose exits there and the crappy plastic grommet did not keep water out. And it is entirely likely that there was nothing inside the C Pillar that would pass for paint. So that was an obvious place for rust.

I’m going to replace the sunroof drain tubing and possibly fit a “Hose Barb Thru-Bulk Head Hex Union 90 Degree L Right Angle Elbow Barbed Brass Fitting with Flat Washer Gasket Water/Fuel/Air” fitting. Something like this….

I’ll add a rubber washer to assist in keeping the water out. I’ve got to measure the tubing and get the right one ordered. They can be found on Amazon.com. Not sure if they are using ID (inside diameter) or OD (outside diameter) to determine if I get 3/8″ or 1/2″.

This may be complete folly but what the hell right? If it works, I’m a genius. If it doesn’t work, I’m still a genius, just a terribly misguided one. Half of me says extend the drain line to behind the mudflap. It would not be that hard to add a little more distance to the hose and NOT put it back in the same poorly designed place. I mean seriously, lots of water and ice and mud and road salt and roadkill chunks (mostly opossums and armadillos and skunks) and all kinds of crap fly off the tires at extreme tangential velocity [Study.com]. The fact that plastic gromet is even able to not be dislodge is a miracle. So…let’s try to make it better!

The headline came out also so I could get the sunroof drain. It had to come out anyway, because it needed to be replaced…again. This will be the third and final. If this is needed again while I own this rig, it will be painted and forgotten.

More next week. Like and subscribe my Youtube channel. Send me a comment too…I love to converse with you.

Thanks for reading and Happy Rovering.

patreon.com/okierover

Oil Sump Gasket Replaced (Post #552) 1/10/2016

nogasket

If you follow me on the Okierover Facebook Page you read that I needed to replace my oil sump gasket. And as I predicted the weather did NOT cooperate. It stopped snowing at 1030 that morning but the wind was blowing 20-30 mph all day. It was very chilly in the garage.

If you are from Oklahoma or drive a domestic automobile (Chevy, Ford, Dodge, just kidding no one drives a Dodge) you can translate oil sump to oil pan.
I had trouble with the term too. Try Googling “oil pan gasket” when your British motor car has all their parts listed as “oil sump”. The same thing happens when you are searching the RAVE manual looking for an oil pan. Thankfully when I ordered the part from Rovah Farm it was easy to find.

Back to the leak, the Big White Bus has recently been leaving a nice puddle of oil when she comes to a stop. I know all the jokes about British cars and leaks. If you don’t see a leak, it’s probably dry. Well, I don’t care for leaks. I do my best to find the leaks and eliminate them. Like the steering box, it leaks like a sieve. I should have a rebuilt unit next week. And I will have it installed by the end of that Saturday. That will be the last of the petroleum based fluid leaks. It only took me 3 (three) years!

sumpoff
The sump dropped away from the block. Labeled for your reference.

The source of the leak? the oil sump gasket or to be more specific, the LACK of a gasket. I am the second owner of this motor. As you can see below, someone used Permatex Ultra Gray for a gasket. First, Ultra Black should be used, not Gray, and there should be a cork gasket completing the seal. If you have done this I’m not criticizing, I’m just pointing out now you probably know why it’s leaking.

badseal
That is a bit too porous to hold oil back.

My oil pan sump had to be removed and serviced. There was rust and chipped paint and what was left of the “gasket” had to be removed prior to putting a new one in. I was surprised that something that has had so much leaked oil on it could rust, but it did.

pittingrust
The oil sump with a bit of the rust removed (on the right).

I got the trusty angle grinder out and hooked up a wire wheel and scraped off the rust and the factory paint (black). The challenge was getting the oil and grime off. I used brake cleaner, a lot of rags, and in the final stage before painting I used some pre-paint grease remover.

stripped
Ready for paint.

While I had it off I cleaned some of the grime and muck out of the sump. I used a flat razor scraper. I was careful to make sure I left no “chunks” in there. Short of a sand blaster there was no way to get all the baked on muck out of there. My sand blaster cabinet is not big enough.

The sump was ready to be painted. I got the Mar-Hyde Self Etching Primer from inside the house where it was being stored at a temperature that allowed it to be used. I painted the pan with the first coat and then brought the pan into the house and into my office to dry. I gave it an hour to dray and when back out to clean up the underside of the motor. I also swapped out the last poly bushings on the radius arms.

painted
I don’t know why WordPress won’t let me rotate this picture. Fresh paint looks good.

I put the second coat of paint on and after some waiting I started to put it all back together. The first thing that is required is getting the Permatex Ultra Black gasket maker on and letting it set up. I did this in my office. I wasn’t even sure if it would setup in my garage at 30 degrees Fahrenheit. Once it set up I put the cork gasket on and lined it up. The Permatex acts like an adhesive at least enough to secure the gasket from moving during install.

The next challenge is to get the sump back in place and bolted up to the block. Take your time and don’t rush. The cork gasket can slip and if you break it, you are done. After it is in place you bring the bolts up to snug. The manual calls for you to tighten it to specific torque settings. The idea here is that you don’t crush the gasket.

torque

From the manual you can see that is not a lot of torque needed. I don’t have a torque wrench that I could get my 13mm sockets on. You have to use narrow walled sockets, etc… in short my tool chest is inadequate for this. So I was careful when I was tightening them. A note here, the rear bolts are not labeled but I assumed it was the ones on the row nearest the transmission tunnel.

I finished up the oil change and and then the moment of truth came. I got the oil up to temperature and watched for leaks. None were found. I drove the Big White Bus to church the next day and still no leaks. I’m going to mark that down as a success. I will of course be watching it for the next week.

On the Okierover Difficulty Scale this job is a 2 (two). You will have the oil sump off, you will get oily and dirty (and not the good kind). You also have to remove the sway bar to get the sump out. If you aren’t going to clean it up you can skip the removal and just clean it up while under the engine.

Thanks for reading and Happy Rovering.

PS the Oklahoma Land Rover Group is still on track to #Hibernot and take on a section of the Oklahoma Adventure Trail. If you are interested check out the details on the Oklahoma Land Rover Group on Facebook.

Front Half Shaft Oil-Seal Failure (Post #493) 5/1/2014

How many of you remember this commercial?

So the problem I’m having is exactly like that commercial, except that it’s not delicious, I haven’t bumped into a cute girl, and there’s no creepy old man helping solve the problem, there isn’t a happy ending, and it’s 2014 not 1982.

You got swivel housing grease in my differential oil!

No you got differential oil in my swivel housing grease!

Continue reading “Front Half Shaft Oil-Seal Failure (Post #493) 5/1/2014”

Gearing Up for SCARR, Part Three, Maintenance (Post #463) 3/13/2014

A big part of not breaking down on the trail or on the highway for that matter is maintenance. Most Americans neglect maintenance. It’s easy to forget about maintenance. You go out to the driveway you jump in you turn the key and you drive. Our Land Rovers become “magic boxes that take us places”. If you don’t see a light blinking nothing is wrong, right?

Well partly, nothing is wrong most of the time, but that doesn’t mean something isn’t GOING WRONG. Let us take tonight’s maintenance. Grease zerks needing grease. If you let these go dry you lose your drive train. Universal joints can fail and then you have large heavy objects spinning very quickly. JagGuy lost his Range Rover Classic due to a failed u-joint. The drive shaft went through the side of the transmission. You don’t want that. Thankfully I have a storm shelter drive bay in my garage now and that should make greasing an easier task and it did.
There’s more after the jump…

Land Rover at Lowe’s and a New Muffler (Post #461) 3/11/2014

20140308_155449Over the past weekend I stopped at Lowe’s to pick up paint for my Coleman Stove Project which was part of my gearing up for S.C.A.R.R. When I came out this Discovery was sitting next to me. With the parking lot nearly empty parking directly next to me meant this guy must be an enthusiast. So I scribbled a note inviting the driver to check out my blog and to keep in touch as we were forming a Land Rover Club, Red Dirt Rovers, and invited them to check out our Google Community.

Later that day I got an email from John Joyce the owner of the Discovery. He has reached out to me with a couple of emails and I look forward to meeting him at S.C.A.R.R.

His rig looks well used. Seeing this Discovery next to me in the lot has told me I’m pretty sure if I ever get another Land Rover it will be a Discovery I. So much awesome in such a little package. Like anyone I’d love to have a classic Series 2a but for a daily driver that is probably not a realistic nor practical option. There’s more after the jump…

Oil Change and O2 Sensors for the Disco (Post #93) 6/8/2008

Today I was able to get the 81000 mile oil change done. It was uneventful as always. I did have to get some oil and a filter from O’Reilly’s as I didn’t have enough. Got the Wix filter and another 4 quarts of Castrol 20w50.
As I was under the Disco I noticed that I’m loosing what can only be transfer case oil. This might explain the recent noise coming from that unit. So I guess next weekend I’ll be getting some additional synthetic transfer case oil and once again getting it filled up.
I also installed the new oxygen sensors. It was also an easy job. No major snags. You can read about that here.
And some additional good news…Janie got a 100% on her ACLS test this weekend. So a hard week of studying and cloistering herself in the bedroom and tying up my computer studying paid off. Good work dear.