Passenger Side Rear Wheel Well Rust – Part 2: Investigation (Post #632) 11/20/2023

thumbnail

I have official started the rust abatement on the passenger side rear wheel well. I’ve looked at it and took the stone chip back and overall, it’s not nearly as bad as the driver’s side.

I think it will not take too much to get this side repaired. Just 8 small spots of rust that will require patches.

I should have done more research. I didn’t account for the fuel filling hoses when I took the fender off. I didn’t need to remove the hoses. The top of the filler was only in place by a rather badly deteriorating rubber gasket. Which, as of this post, I have not found a replacement for. Also in doing this, I’ve decided it would be easier to replace the filler hoses than reinstall. They are 30+ years old and quite hard.

I found one hose on Rover’s North but the second smaller one I did not find. I may just take a sample of each and go down to O’Reilly’s and find the equivalent size hose from the “WALL OF HOSES”. They are usually pretty good about letting me go back there and matching up. If I secure hoses with this method I’ll put the part numbers in this post.

Next up will be cutting and welding the bits. I took the subwoofer out as it was in the way. The speaker inside was perished. I looked on line and found some comparable speakers. They look to be 6.5 inches in diameter and 3.5 inches in depth. I think I can replace it for as low as $90.00(US). I could spend WAY more, but I don’t see the point. I mostly listen to books on tape, books on CD, audiobooks when I drive. When I overland, more often than not, I just listen to the wind and the engine while I’m bopping down the backroads.

Thanks for reading and Happy Rovering.

okierover.com/patreon

Like and subscribe if you find this content entertaining and informative.

More Trouble with the Coil/Ignition Module/Whatever (Post #586) 9/14/2019

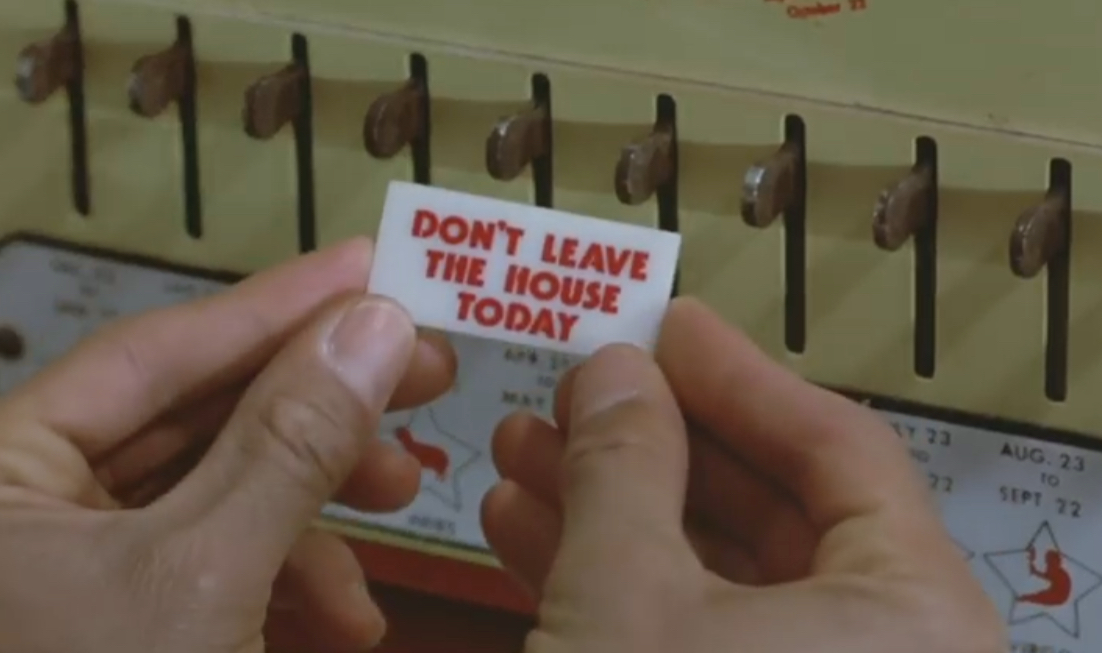
DontLeaveTheHouseToday

Ever jumped in your Land Rover and gotten this prediction?

Such a classic picture from  Pee-Wee’s Big Adventure (1985).  Before Pee-wee took his bike out for a ride, he checked his fortune. You know the rest of the story….there’s no basement in the Alamo, Pee-wee’s prophetic words (YouTube), “There are things you wouldn’t understand, things you couldn’t understand, things…you shouldn’t understand.”

As Dottie (played by 80s icon Elizabeth Daily) replies “I don’t understand.” I know EXACTLY what you mean Dottie, I don’t understand. I don’t understand what’s going on with my ignition system. I’ve tried many…many solutions to solve this problem.

The problem, when the engine gets warmed up the ignition module does something that causes the coil to overheat. And when the coil overheats, the engine stops getting spark and the engine dies, leaves you stranded, and frustrates you to no end.

At the time of this video I jumped on RangeRovers.net forum and saw several posts of guys dealing with very similar issues. Some of them have gone to replacing the distributor and dealing with all those issues. I’m not afraid to swap to a new replacement distributor.

Atlantic British lists the Pertronix Flame Thrower for 459.95$(US). Summit offers a Davis Unified Ignition 96920 in four colors. I’ve never even heard of this company, or anyone ever using their distributor. At 575.99$(US) I’m not sure about that.

I installed the relocation kit about 15 years ago when these issues raised their ugly heads the first time. I ran that setup until about 3 years ago when we tried the GM replacement experiment and the Lucas Ignition module Part Duex experiment (both failed). Three years before that, I replaced the stock coils with PerTronix Flame-Thrower Ignition Coils. I got good service out of those but ultimately they failed. I damaged the distributor so much sorting this out I had to have it replaced. A used distributor was installed. Mostly due to cost right at the same time I was trying to close a house and move back to my hometown.

I was chastised in some forum posts when I posted I’d just chuck the whole thing and replace it with a motor from a LR3 (Discovery 3, elsewhere in the world). There are thousands of Range Rover Classics motoring about on original ignition systems. So why am I getting these failures?

I’ve consulted people WAY, WAY smarter than me and we can’t come up with a reason for the failures. The frustration of not being able to take my Range Rover more than 2 miles from Okierover Base Camp is super frustrating.

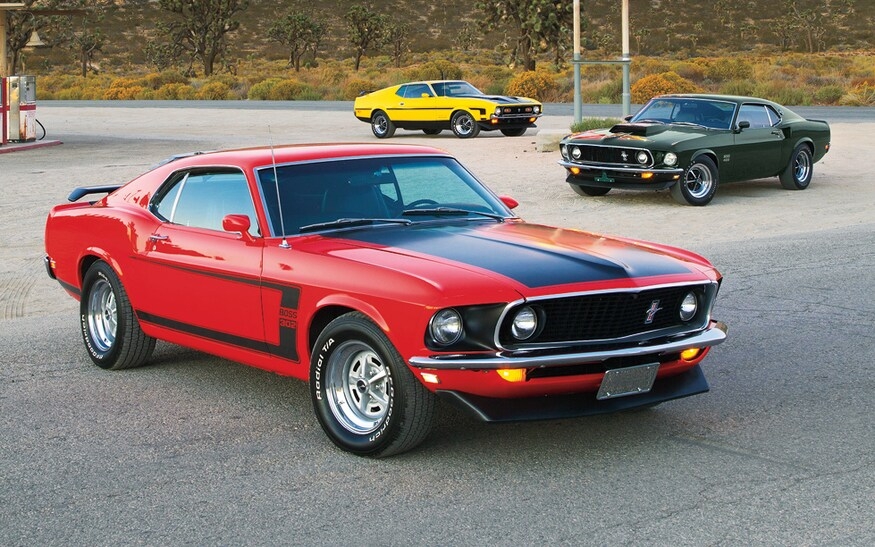
I’m going to try a coil with high resistance next. I understand the coil for a 1971 Ford Mustang 351 Boss. 25$(US) at O’Reilly’s Auto has a high resistance. The 351 is a points ignition. And it’s a cheap test. If that fails…I’m looking at a Pertronix swap, or perhaps a diesel engine swap…I’m pretty sure either of them will be equally frustrating to get in place.

Ford-Mustang-Boss
Maybe one of the sexiest cars I’ve ever seen

As always your comments are very much appreciated.

Thanks for reading, and Happy Rovering.

Gearing Up for SCARR, Part Four, More Maintenance (Post #465) 3/14/2014

8150025_cst_06812_pri_largI can’t be the only person who gets that special warm feeling inside when all the tick boxes are filled in on maintenance. I love it when I’ve gone over my Land Rover and done all the maintenance.

Fluid and filter swap for the transmission. Also a fluid swap for the transaxle and viscous coupling this weekend. I bought 20 quarts of Castrol® Transmax™ High Mileage – Automatic Transmission Fluid. I had never heard of it until I went to research my options.

It was cheaper than the first fluid I was considering. Royal Purple MAX ATF® was 14.99$(US) a quart. Royal Purple got rave reviews online but at twice the cost I don’t believe it will be 100% better than Castrol. I’ve never been let down by Castrol and I will continue to use it until someone can give me a solid reason to stop. The Transmax was just 6.39$(US) a quart from Advanced Auto Parts. O’Reilly’s did not carry it even though the Castrol’s website said they did.

My new oxygen sensors should also be in today so I will be putting those in as well. As near as my crappy record keeping can determine the last time I swapped O2 sensors was 6 years ago. So with 205,000 miles on the clock it’s time.

I am also installing the new power steering pump this weekend. This is going to be a very busy weekend. I should have probably scheduled a Garage Day with The Evil German Dude and Paparazzi Ford. Paparazzi Ford’s dad is not well and this was EGD’s “on weekend” at work. I don’t have any more time before S.C.A.R.R. so I’m going for it.

This is part four(-ish) of my Mega-Maintenance Month. I’ll pop some pictures up on the individual jobs as I have time to complete blog posts.

Gearing Up for SCARR, Part One
Gearing Up for SCARR, Part Two
Gearing Up for SCARR, Part Three

Thanks for reading and Happy Rovering.
Brake Caliper Problem Solved (Post #282) 1/16/2012

We had an uncharacteristically warm Saturday just in time for me to sort out the problem with the brake caliper on the Range Rover. As you may remember I came home to find this in my driveway.

As you can imagine it was very disappointing. I knew it was behaving like a warped rotor. As I mentioned in my previous post those rotors were brand new. I got the parts in and found brake fluid at a store I normally don’t shop in, Pep Boys. Its good to know someone around here stocks Castrol LMA Dot 4 brake fluid.

As I mentioned Saturday morning came around and I pulled the Range Rover into the garage with only the hand brake to slow me down. I ordered brake calipers for the entire rear axle. I figured if one had failed the other would be near enough to fail as well. My son’s friend “Scuba” wanted to learn about brakes so I told him to come over when he was ready. I started and not long after he wandered in. He is studying mechanical engineering and would like to be a automotive designer/engineer for BMW after he graduates.

So back to the caliper. I got her jacked up and got the tire off and started looking at what might have happened. What I found was very, very disappointing.

I noticed a wear mark on the rotor.

The wear marks are only on part of the rotor. This would account for the whomp, whomp sound. So I looked at the brake caliper. The brake pad was dragging on the rotor. This is not designed to happen. So I looked at the caliper for an explanation.

The brake caliper had two distinct wear marks. With the caliper in place the brake pads were definitely rubbing on the rotor. I showed Scuba how the caliper works and we thought about the design and what might have failed. I decided to fit the new caliper and see if we had the same conditions.

With the new caliper in place we didn’t see any contact between the rotor and the pad. as I was looking at the setup I noticed something not quite right.

There was a gap between the rotor and the hub. There should not be a gap there. I examined it even more closely and noticed the hub and rotor were touching on the opposite side. But on this side they were separated.

This causes rotor to wobble and as it was rotating it was causing vibration and parts that have very tight clearances were now rubbing on each other. This caused a couple of bolts to be shaved off a bit.

I removed the hub and rotor and found even more damage. The ABS ring was also not properly attached to the rotor. That was apparent from the nyloc nuts that were not properly tightened down.

You can see everything the the following picture. How it stayed together I will never know.

It goes without saying, but I’ll say it anyway. The brake rotor was scorched and had to be replaced. The brake pads were ruined from heat. The brake caliper seal had failed and need to be replaced or refurbished. I had sourced that part but the pads and the rotor were another thing.

I went to O’Reilly’s Auto and they told me they didn’t have one in any store or in the warehouse. I went out to the parking lot and called NAPA Auto. The kid there told me they had pads and rotors in the warehouse and could have them brought to the store in Norman by Monday. The good news in this is the warehouse is in Edmond. So I called the kid back and told him I’d just drive up there (35 minutes) and pick them up myself. So I did. Ricky was fun to chat with as they pulled my parts.

I headed home and found myself on the road where my family is buried. I stopped to see the burial plot. I didn’t stay long.

I got back to the garage and started disassembling and reassembling the parts. In the reassembly I used red thread locker on the bolts that go in to the ABS ring. I used blue thread locker on EVERYTHING ELSE.

I had lost an entire quart of brake fluid. I emptied the full contents of the bottle into the reservoir. Scuba pumped the brake peddle as I bled the air out of the line and caliper. We hopped in and took her for a ride around the block. All was well.

Conclusion.
How on earth did those bolts come out? I know for sure that I tightened the bolts. I remember how I rigged up the breaker bar. I remember the reassembly. There was no thread locker on the bolts when I disassembled it. This was the main reason for not putting any on when I initially did the brake rotors.

I will definitely have the driver’s side rear off to check for assembly. If this could occur on the passenger side it could occur on the driver’s side.  Better to find the problem before it destroys that side.

I have had nothing but trouble with that corner (passenger side) of the Range Rover since I did the last restoration. Was I exceptionally tired that day? Was I loco de color that day? It was exceptionally hot that summer.

Well that is all. I have a few other projects that demand attention. First and foremost is the driver’s side door handle. My son Diet Mtn Drew managed to nearly rip it off when he borrowed the the Range Rover while his Scion was in the shop. The main problem is the latch needs adjustment. I will look at that when I pull the door card and sort out the bad handle. I also have to fixed the faulty brake peddle switch.

School starts back on Tuesday. My next free time will be during Spring Break. Let’s hope nothing breaks before then.

Thanks for reading and Happy Rovering.