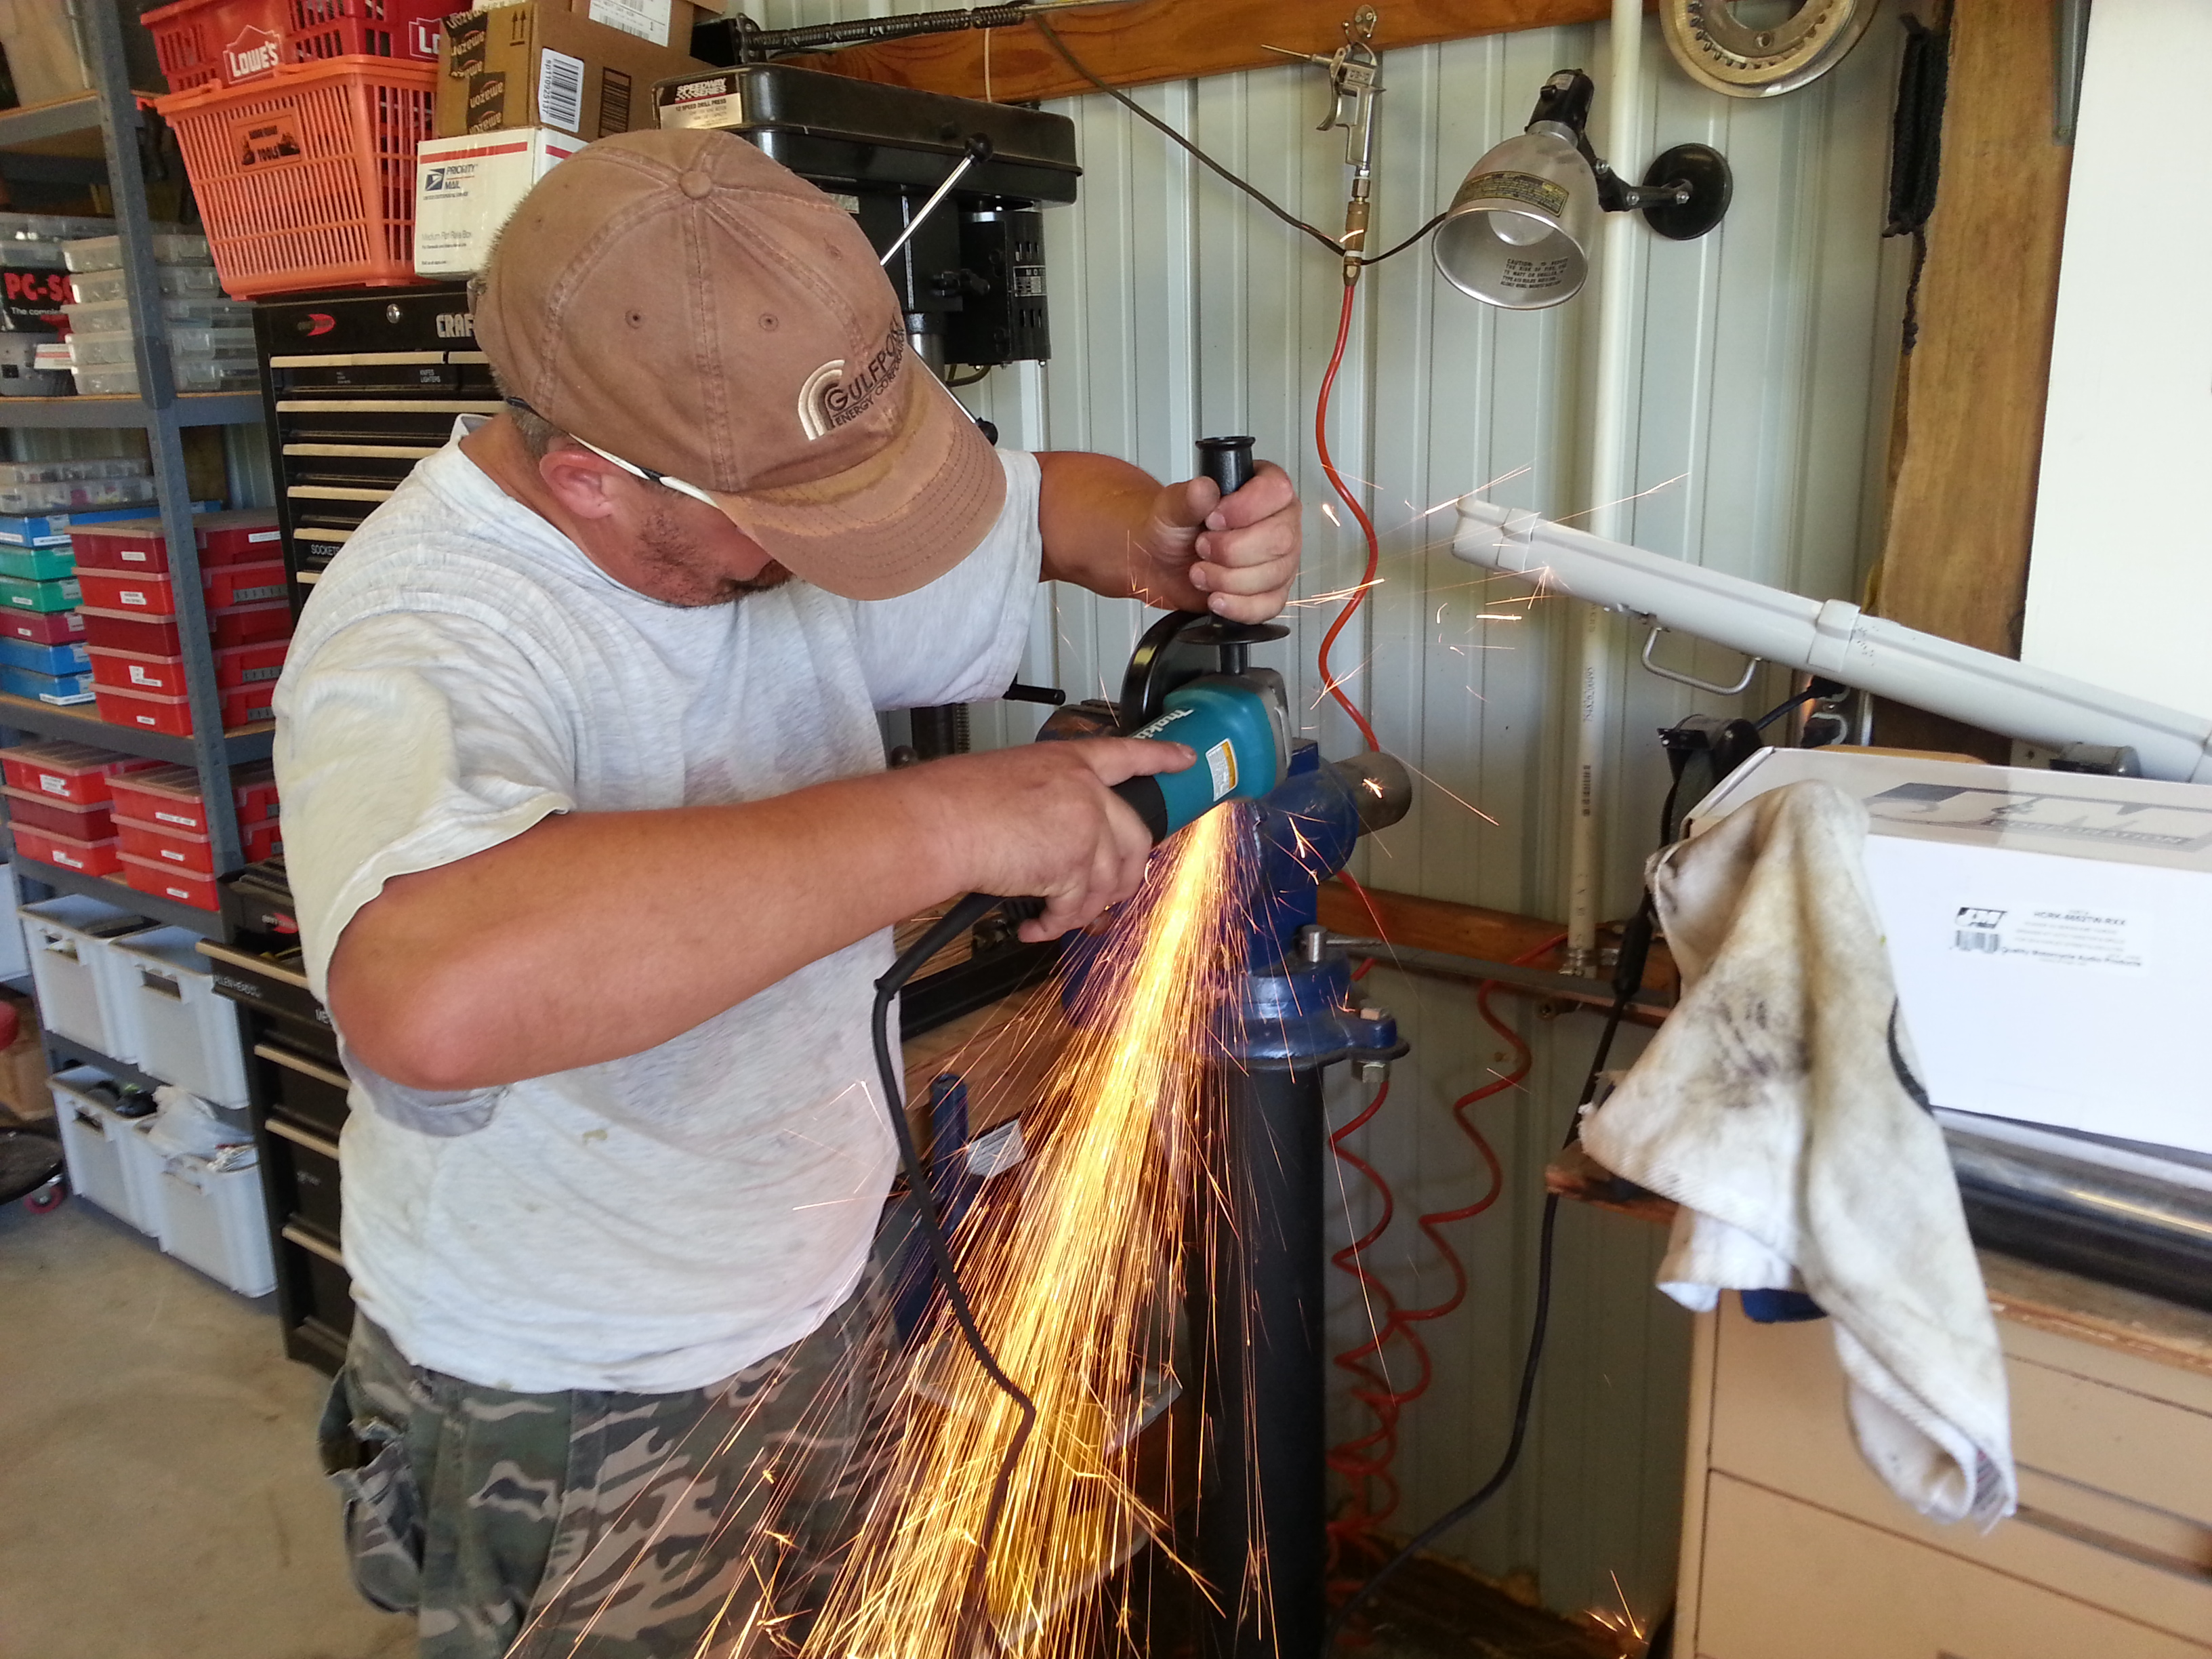
In this installment I apply seam sealer to the most recently welded “L”. Seam sealer was not how I wanted to seal this joint up. I wanted it to be welded closed. That is just not possible. It wasn’t originally built that way. I can only hope the seam sealer I’m using will last long enough for me to quit this Overlanding Hobby.
I also look at the floor patch I’m going to need to build. I talk about the two structural bends in the panel. I saw the guy on Make It Kustom [Youtube] build a jig and a tool to make these kinds of bends. You can look through his videos to find it. I’m going to think long and hard about this before I tackle this problem.
It might be fun to build the jig. I will need to buy a router bit to get the jig in the right shape. I’ll probably need to build a special air hammer bit like he did too. It would be a one off fix. I don’t think I will ever tear this apart again.
It’s a short video and I know it’s über riveting content watching me smear seam sealer. In my defense I didn’t have time to produce anything else this weekend. Saturday we visited the Evil German Dude and his lovely wife. Paparazzi Ford was there too. The Evil German Broad made brunch for us and we all got to catchup on the latest happenings and see their almost finished “cabana”. That’s what the county commissioners called it for tax purposes.
It’s an amazing space and it took a lot of forethought, planning, engineering to make it as awesome as it is. Several things I saw had me comparing how much time I’ve spent thinking about the future state of the Big White Bus. I know I’ll have some great ideas that will need additional thought and probably re-engineering to get them right.
I picked up a parts washer from EGD too while I was there. So that’s pretty cool. That’s all for this week. Like and subscribe to the blog and the Youtube channel.
If you’ve been following for any time you’ll have read about my problems with the suspension on the Big White Bus. Mr. Fisher helped me swap out all the tie-rod ends. I thought I blogged about that but I guess I didn’t. In any event, I swapped out the tie-rod ends in an effort to find my death wobble problem.
Death Wobble: \ˈdeth\ \ˈwä-bəl\ noun. Death wobble is an exaggerated slang term for extreme steering vibration. This typically occurs when driving your vehicle and due to loose steering components or alignment issues the front end vibrates excessively. In extreme cases this has caused the driver to lose control of the vehicle.
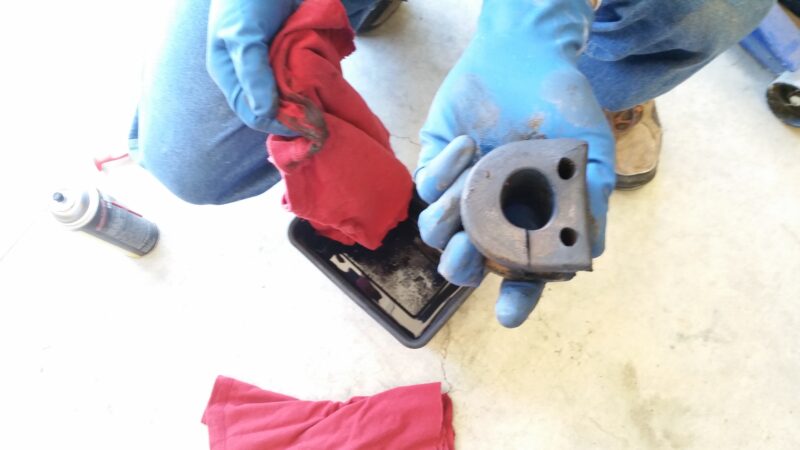
Electrical problems have punctuated the winter this year with the Big White Bus. I’ve had a lot of trouble electrically speaking. The engine has run rough for a few months now. The tachometer has been exhibiting the bouncing needle problem indicative of a failing alternator. A glowing battery charge light when the headlights are on. And of course as you read in the last post my ignition switch has been acting up.
I got the ignition switch problem sorted out and now it was time to upgrade the battery cables. And there is only one man you go to when it comes to electricity, The Evil German Dude. His evil liar has all the tools and he has a supreme understanding of the dark art of electricity.
Other than “replace the cables” there really wasn’t a clear and concise plan when we started to swap the original OEM battery cables for an upgraded set hand-crafted by the Evil German Dude. The plan is pretty simple:
Remove the old cables.
Build new comparable cables.
Install the new cables.
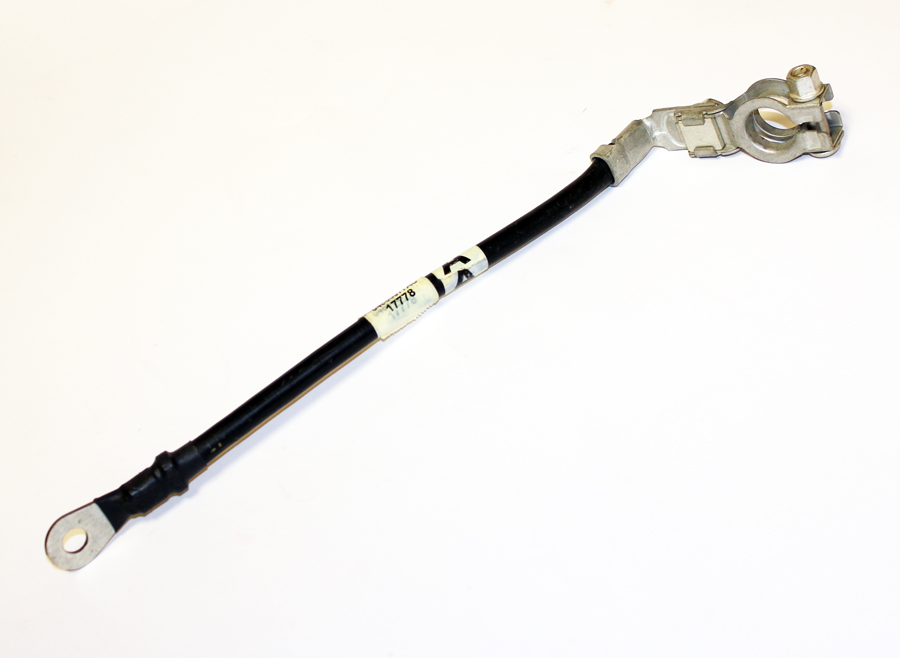
There are four battery cables of concern on this project. One goes from the positive battery post to the starter. One goes from the positive battery post to the alternator. One goes from the negative battery post to the frame. And the last is a fresh ground connection to the fender from the negative battery post.
We also upgraded the battery post connections to industrial grade. The ones they sell at the auto parts store are just…INADEQUATE.
It was another hot Saturday in Central Oklahoma. The temperature made it to 102 F in Norman. Even with the temps as nasty as that we don’t stop work because we might get a little sticky and sweaty. We just turned on the fans and opened up the doors.
The Evil German Dude had us all over for some electrical fun. I know you’re thinking, Land Rover…Electric…sweet! Well not this weekend. The modifications were for Magnum Mike and Paparazzi Ford. Both of them had some seriously unimpressive factory wiring.
First was Magnum Mike’s Dodge Magnum. The work was to upgrade the ground. On this model of Magnum the battery is located in the trunk. That’s Mike sitting and sweating in the back of the very impressively modified Magnum. It is a true hot rod. He drove us to lunch one day. I’ve never been so scared and excited since Eric Kammerlocher took me for a spin in his Corvette back in the 1980’s.
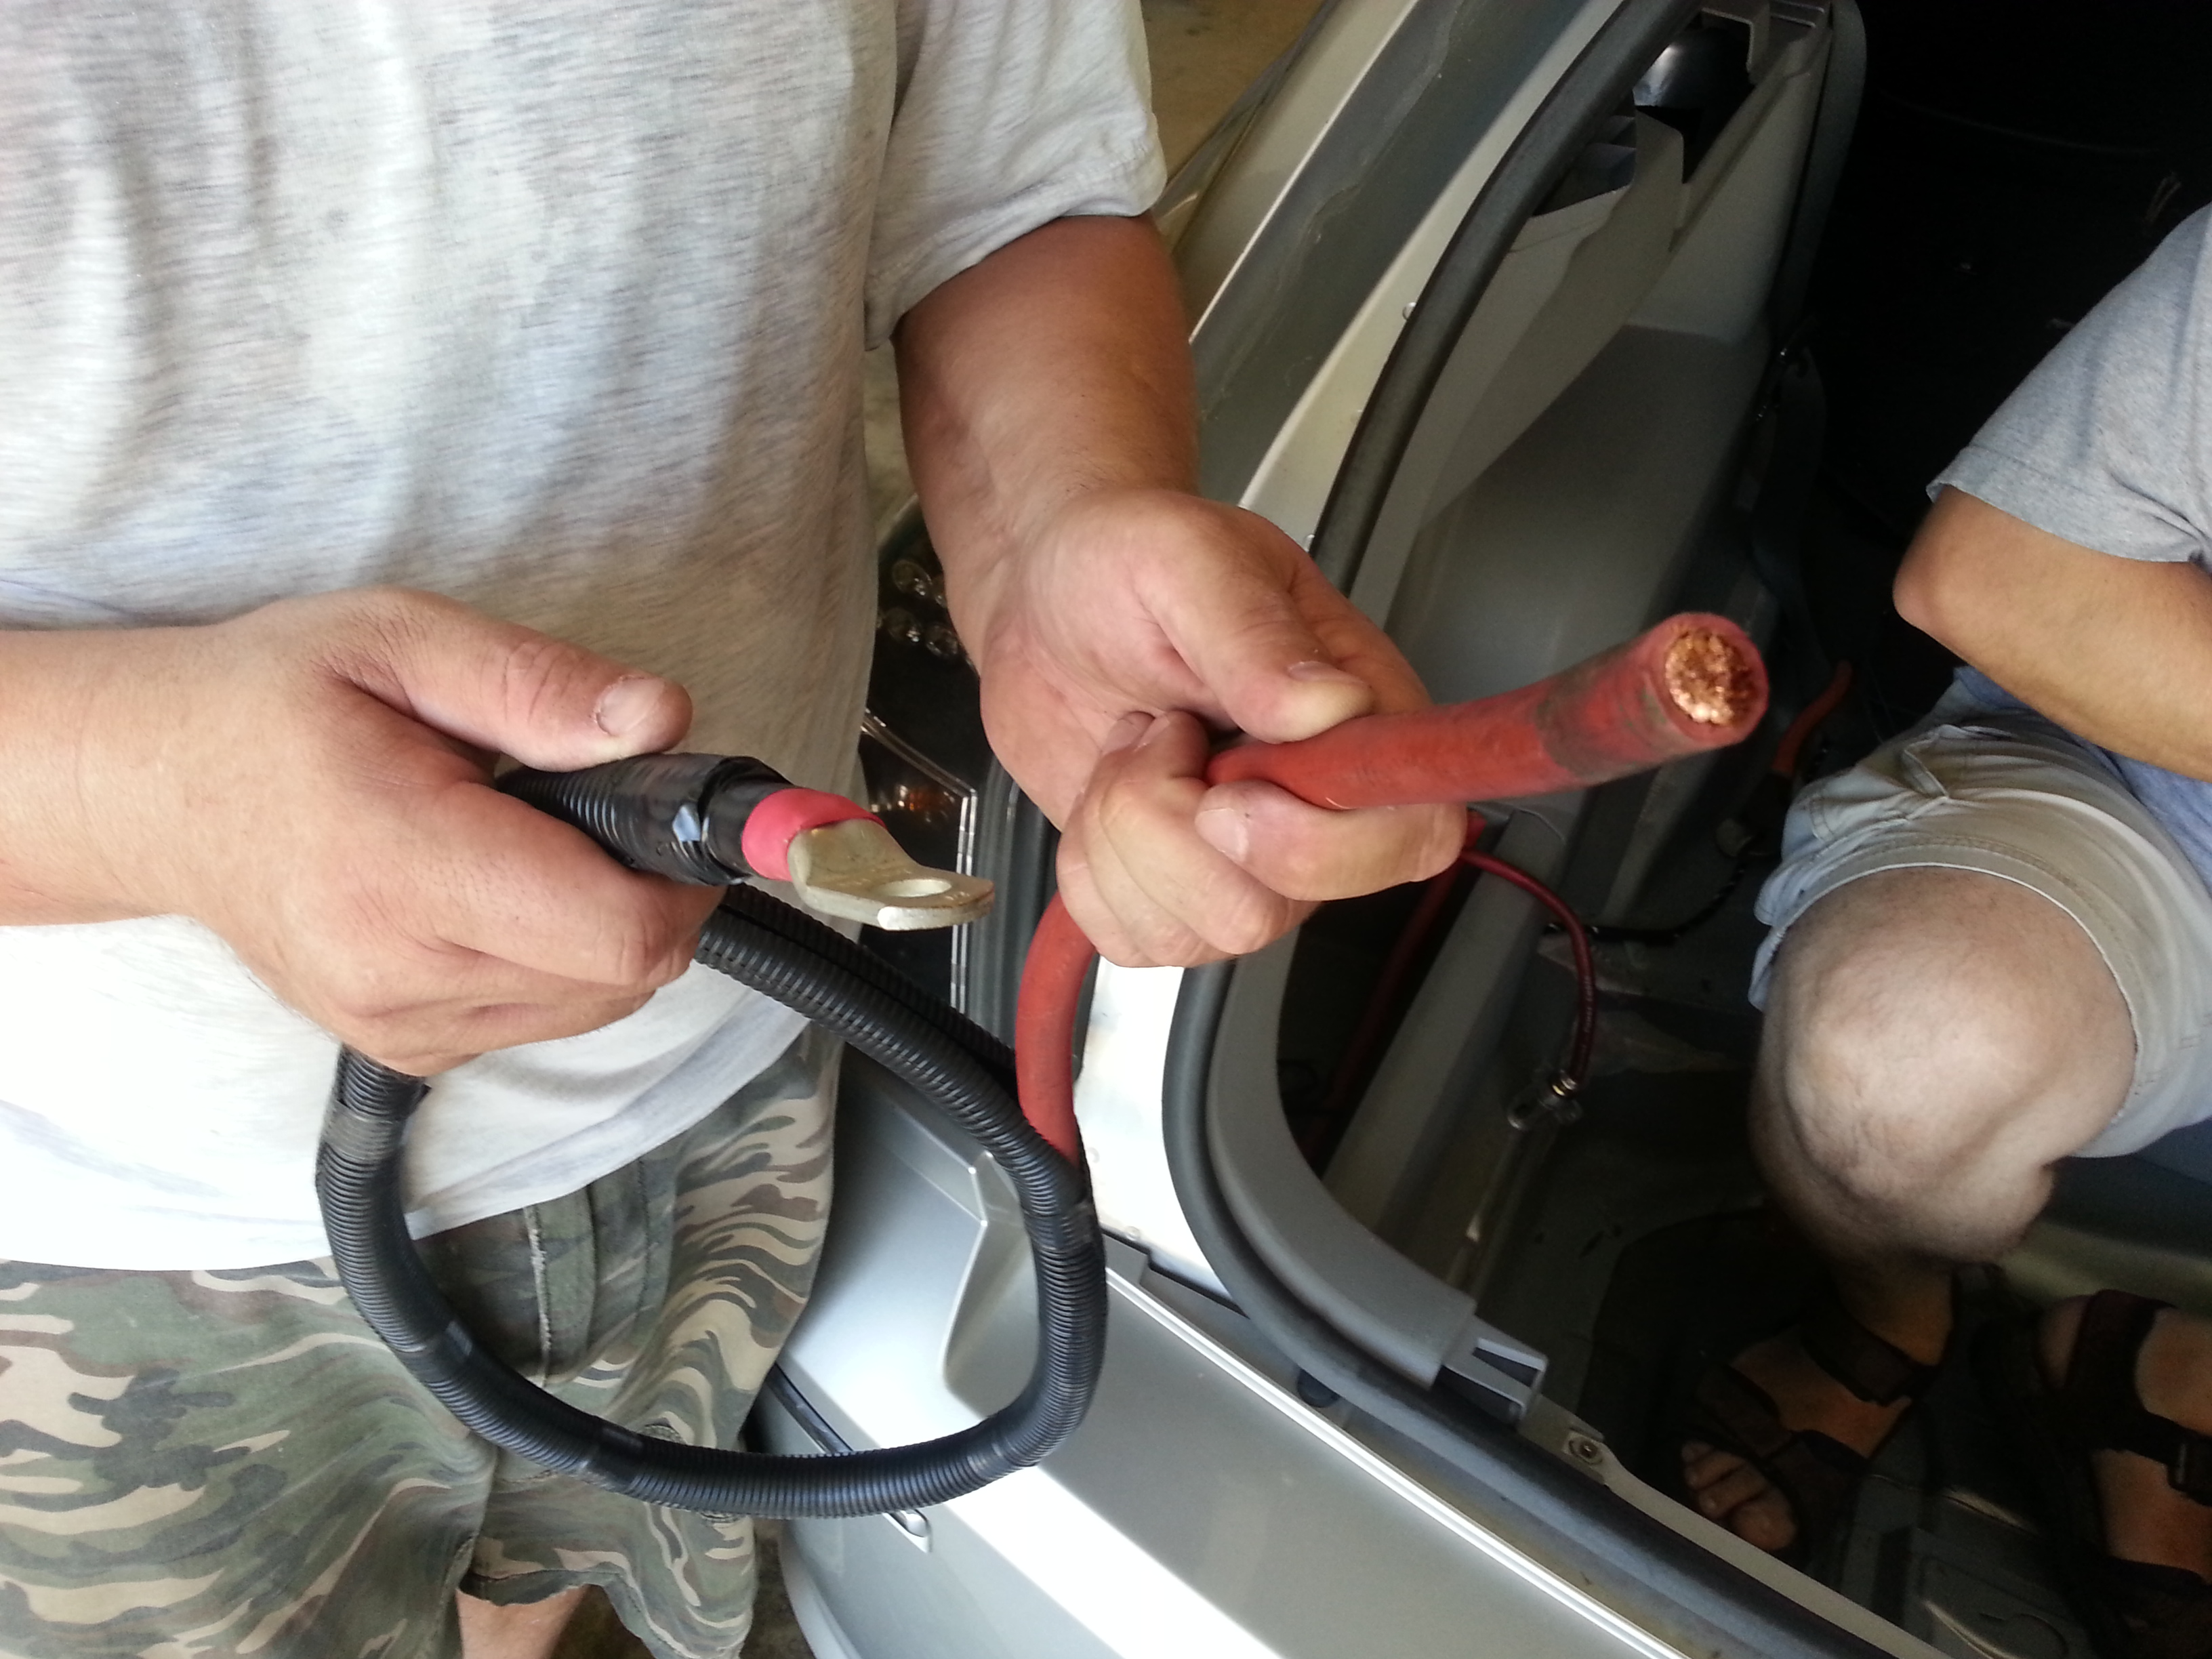
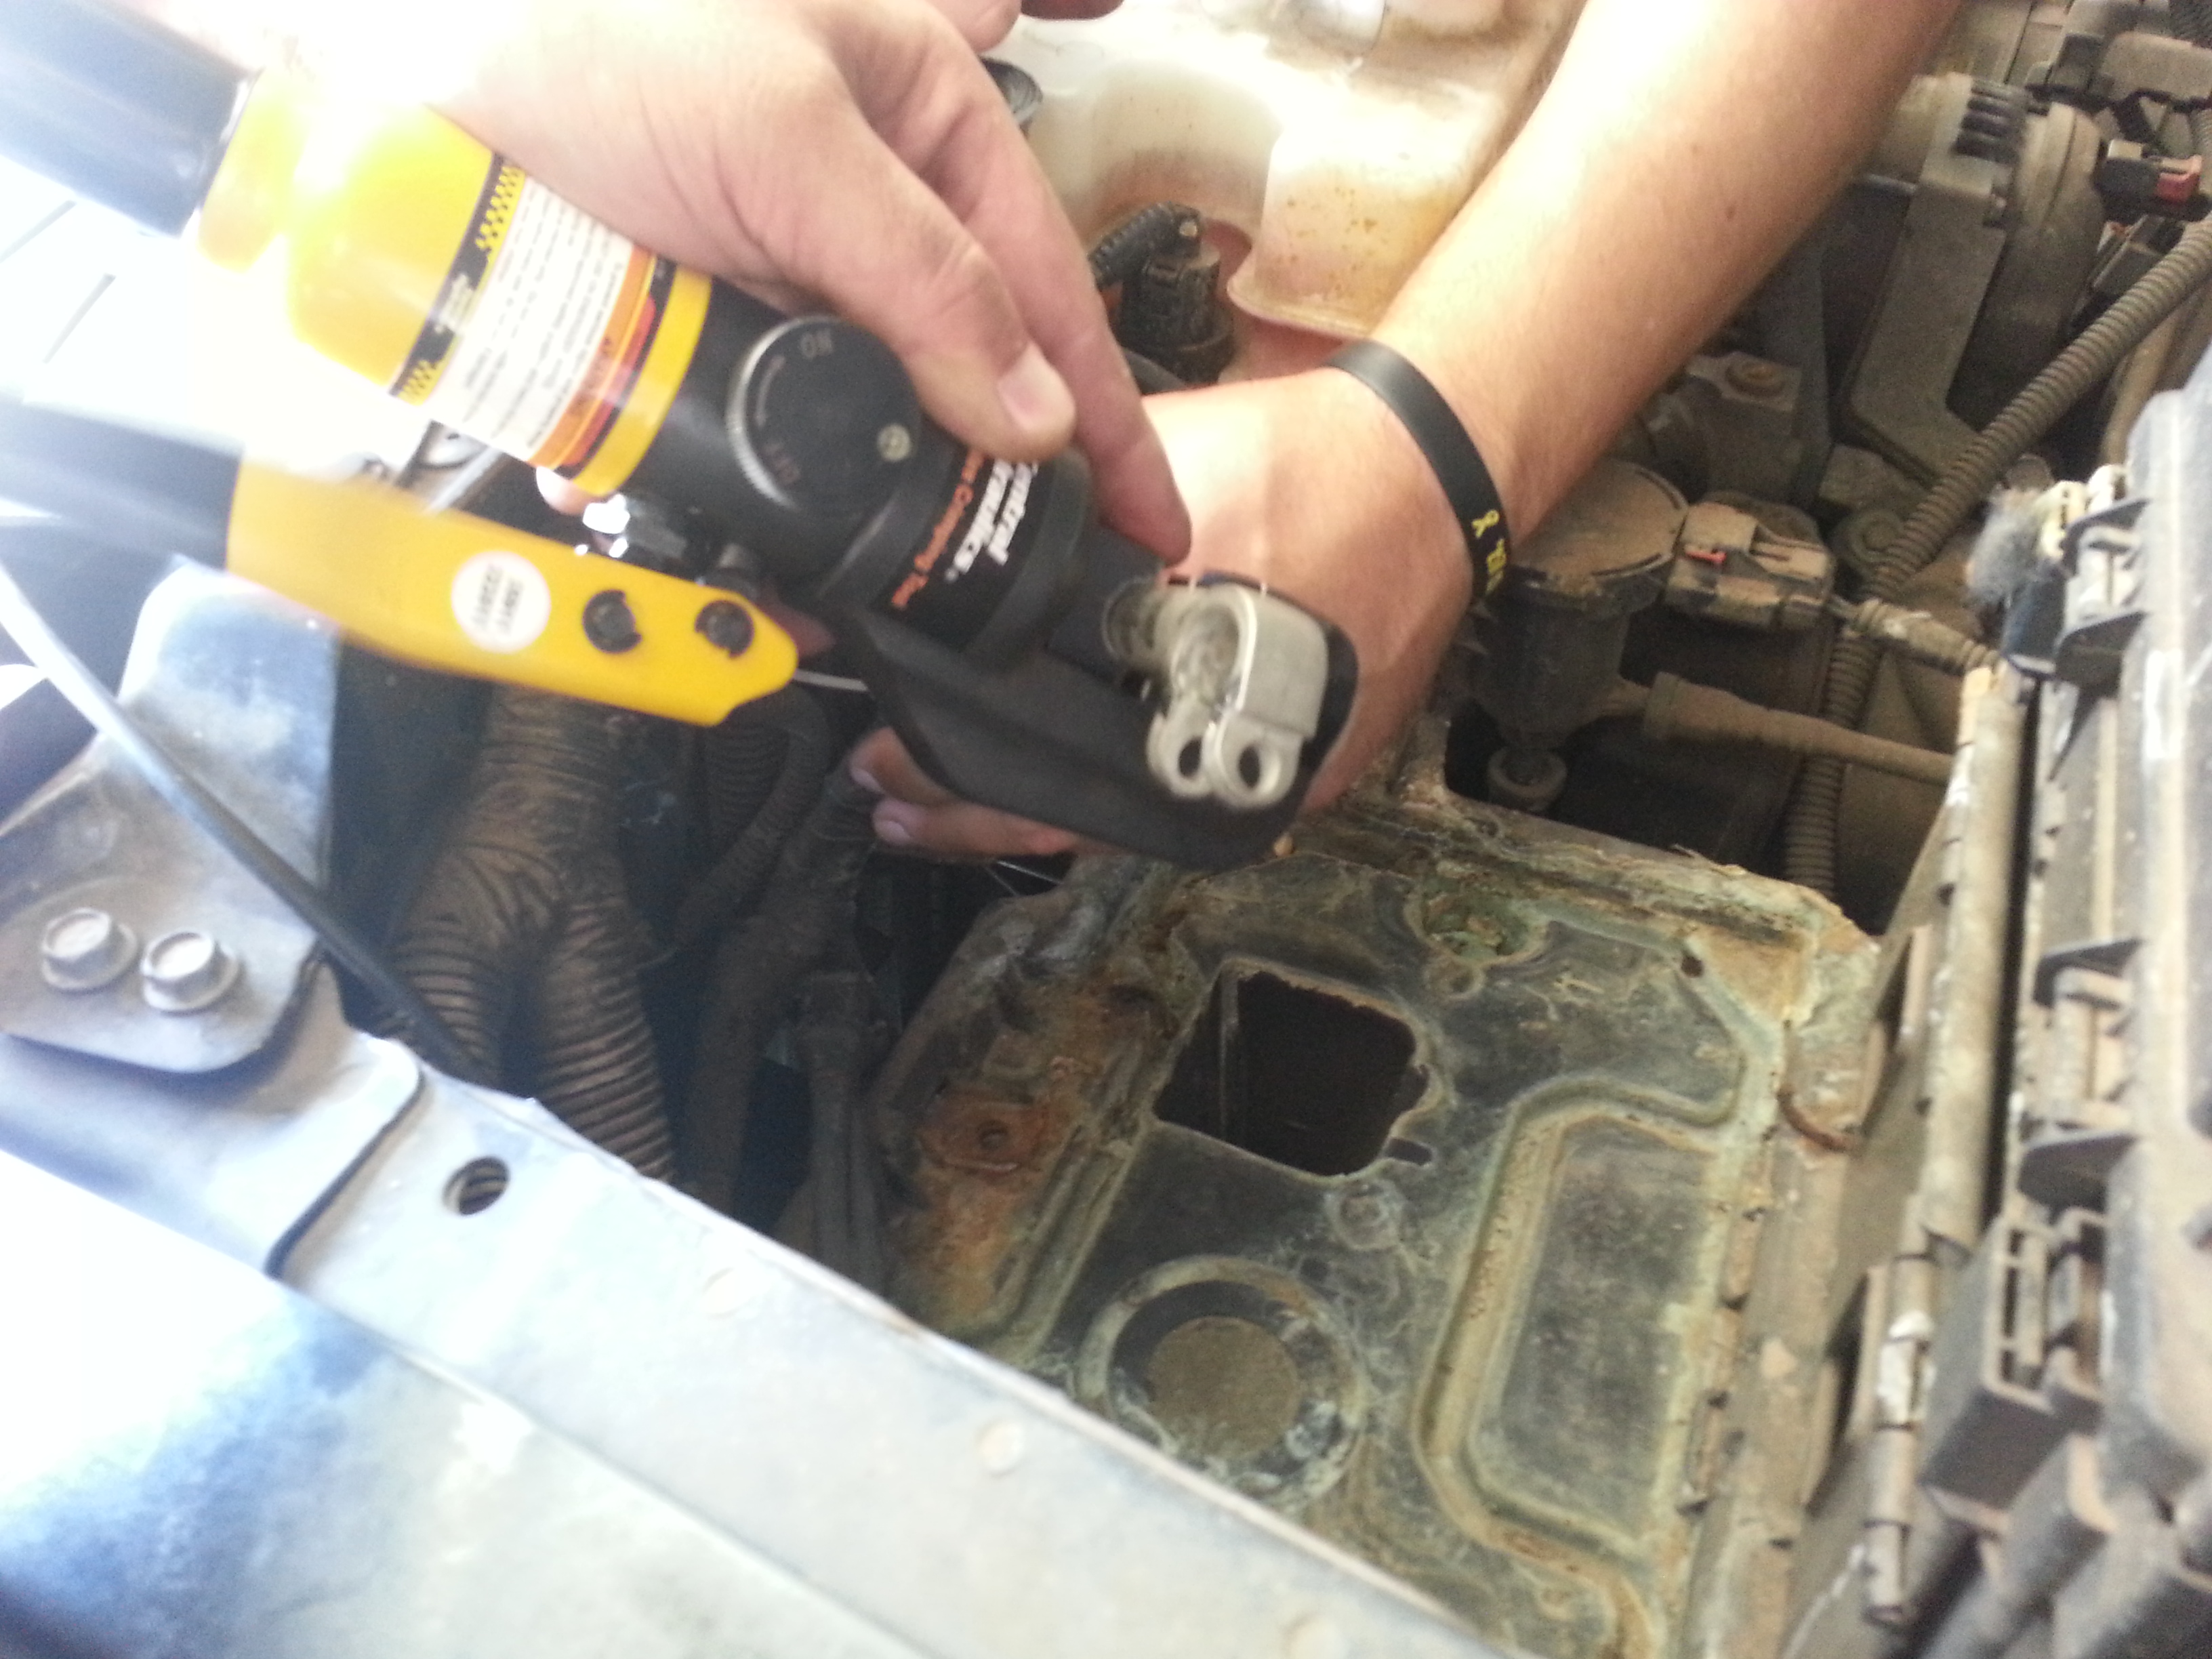
The standard from the factory ground wire was a very small wire maybe 8 AWG. Compared to a normal battery cable the ground is about a fourth of the size it should be. The battery terminals are a simple flat metal. Not nearly the beefy terminals EGD uses normally.
You can see the flat metal and small wire in this image.
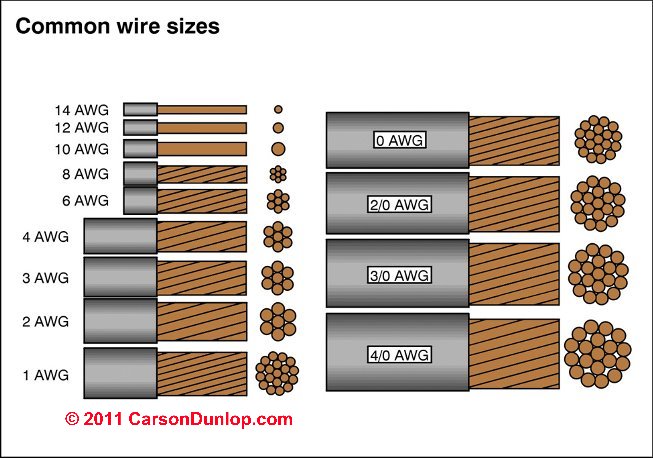
So the plan was to swap out the cables. EGD doesn’t do anything “half-assed”. The new cables were 2/0. Yes…two aught.
This wire chart should give you a great comparison.
We tease EGD but he knows his electrics. He has all the tools and always has the fittings, connectors, and heat shrink wire just about anything. The hydraulic crimping tool is pretty impressive too. So when you hear me talking about upgrading my battery cables you know why I am taking the Range Rover over to the evil lair.
The crimping dies had to be modified. Here EGD makes another minor correction to the tool’s die.
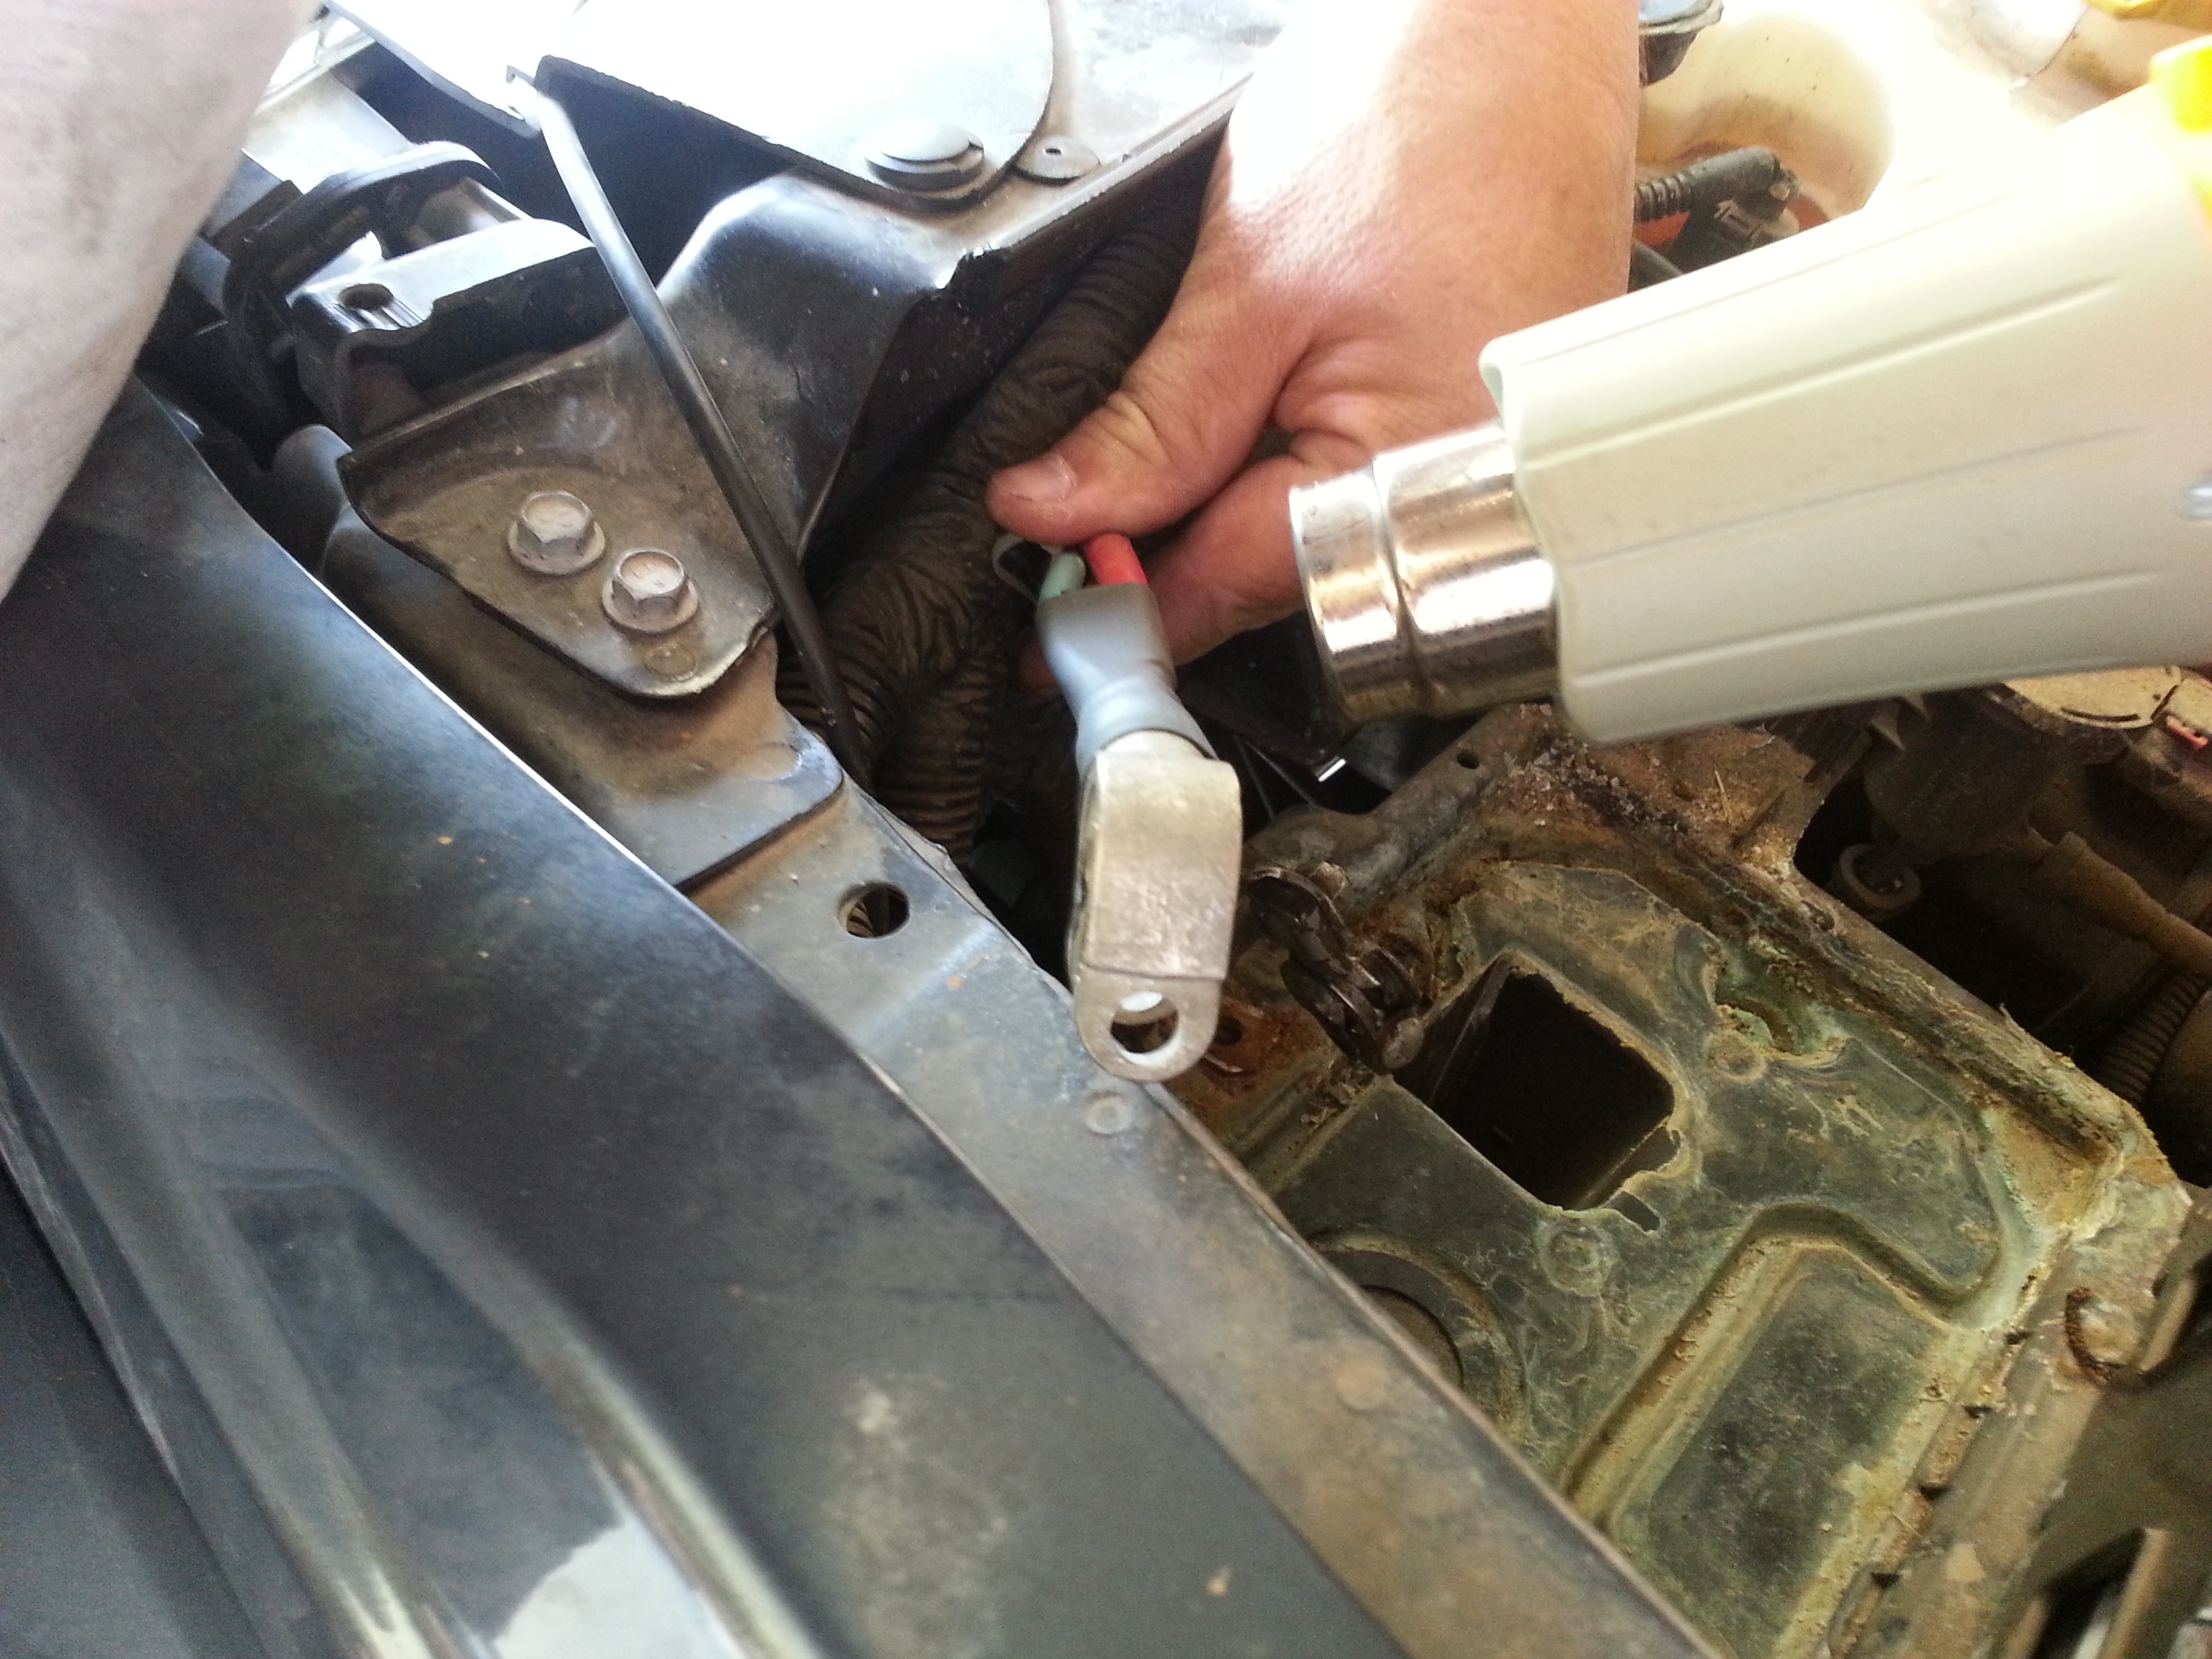
You can see in the next picture that they got the cables in place and the battery strapped back in.
Paparazzi Ford brought his Jeep Commander over with a very persnickety start problem. Basically something was wrong with the battery cables that would disable the vehicle. He would futz with it, the Jeep would start for a few days then quit him again.
He drove to EGD’s evil lair but when his turn came up the truck would not start. He popped the bonnet and I simply twisted the positive battery cable just a bit and the Commander started. Being as Jeep is now owned by Chrysler/Dodge the same type of battery terminals are being used.
Upon further inspection it turned out to be a very corroded connector. Swapping the terminals out had to be done. Here the crimping tool is used to marry the cables to the terminal.
Heat shrink is moved into place.
And here the heat gun heats the shrink wrap.
I couldn’t stay longer. JagGuy promised to take a look at my air conditioning. As you have no doubt read or have seen in my video blog my A/C is out. I’ve been chasing fully functional air conditioning in my Range Rover for years.
So JagGuy mentioned at lunch on Friday that he had a freon sniffer. Such a handy device.
He was keen on my idea to swap the AC compressor for a more common unit from a Chevy. The hoses would need to be custom-made. Before making all the effort to reinvent the system he said we should find out what has failed. Is the hoses? Is it the compressor? Is the radiator leaking? The only way to find out was to test for leaks.
I didn’t take a picture of the sniffer in action its sensor is an audio one. We sniffed the system and found that the front seal on the compressor had failed.
Freon going in.
JagGuy suggested I go to the company that bought out Oklahoma Auto Air. They do all manner of compressors and hoses. The compressor on the Range Rover is basically a Sanden 709. So next week I’m going to drop by their shop and get the details. Hopefully I’ll have some air conditioning the week after I get back from my 25th wedding anniversary trip.
The weather is going to cool off this next week so my daily commute won’t be the 35 minute drive in an oven. Mrs. JagGuy has told JagGuy that she wants to drive a Land Rover Discovery II. They are looking for a good one. I can’t wait for them to go with us on a jaunt.
EGD is working with a company that has some pretty cool lighting solutions. I’m looking at them for some possible trail lighting. I’ll get back to that when I investigate further.
And in other news…he was only kidding about buying a Dodge.
Here is my second attempt at a video blog. Its probably a tad long at 7:20. And I haven’t figured out how to close yet. I did make notes so I wouldn’t ramble. Let’s go with 88% non-rambling.
Sorry for the post drought lately. I finally have a new job and haven’t had much time to do much of anything Land Rover. I ordered a CV joint and some other bits to sort out the axle problem that I referred to in Front Half Shaft Oil-Seal Failure. I thought they’d be in this weekend. Rovers North told me the CV joint was on a container ship last week. I thought for sure I’d have it by this week. By Saturday morning it had not arrived.
So Saturday I took the long drive up to Jones, Oklahoma to help the Evil German Dude. The sunroof was open and the windows down and I had a Mexi-Coke. Life is good. EGD has had some trouble with his swimming pool of late. The original liner failed after a few years and a new liner that was installed a couple of weeks ago required yet another new liner. Many hands make light work. Porsche Mike and his sweet wife Mel came out to help as well. Mel is keen to do some “off-roading” with us and very much enjoyed the comfort of the Big White Bus when trying out the seats. I hope to see more of Porsche Mike in the future…like maybe at a Garage Day, hint, hint.
We were thinking of Paparazzi Ford who was unable to attend due to the loss of his father this past week. My buddy Mr. Fisher lost his sister this weekend too. She succumbed to a long battle with cancer. Our thoughts are with both of their families in this difficult time.
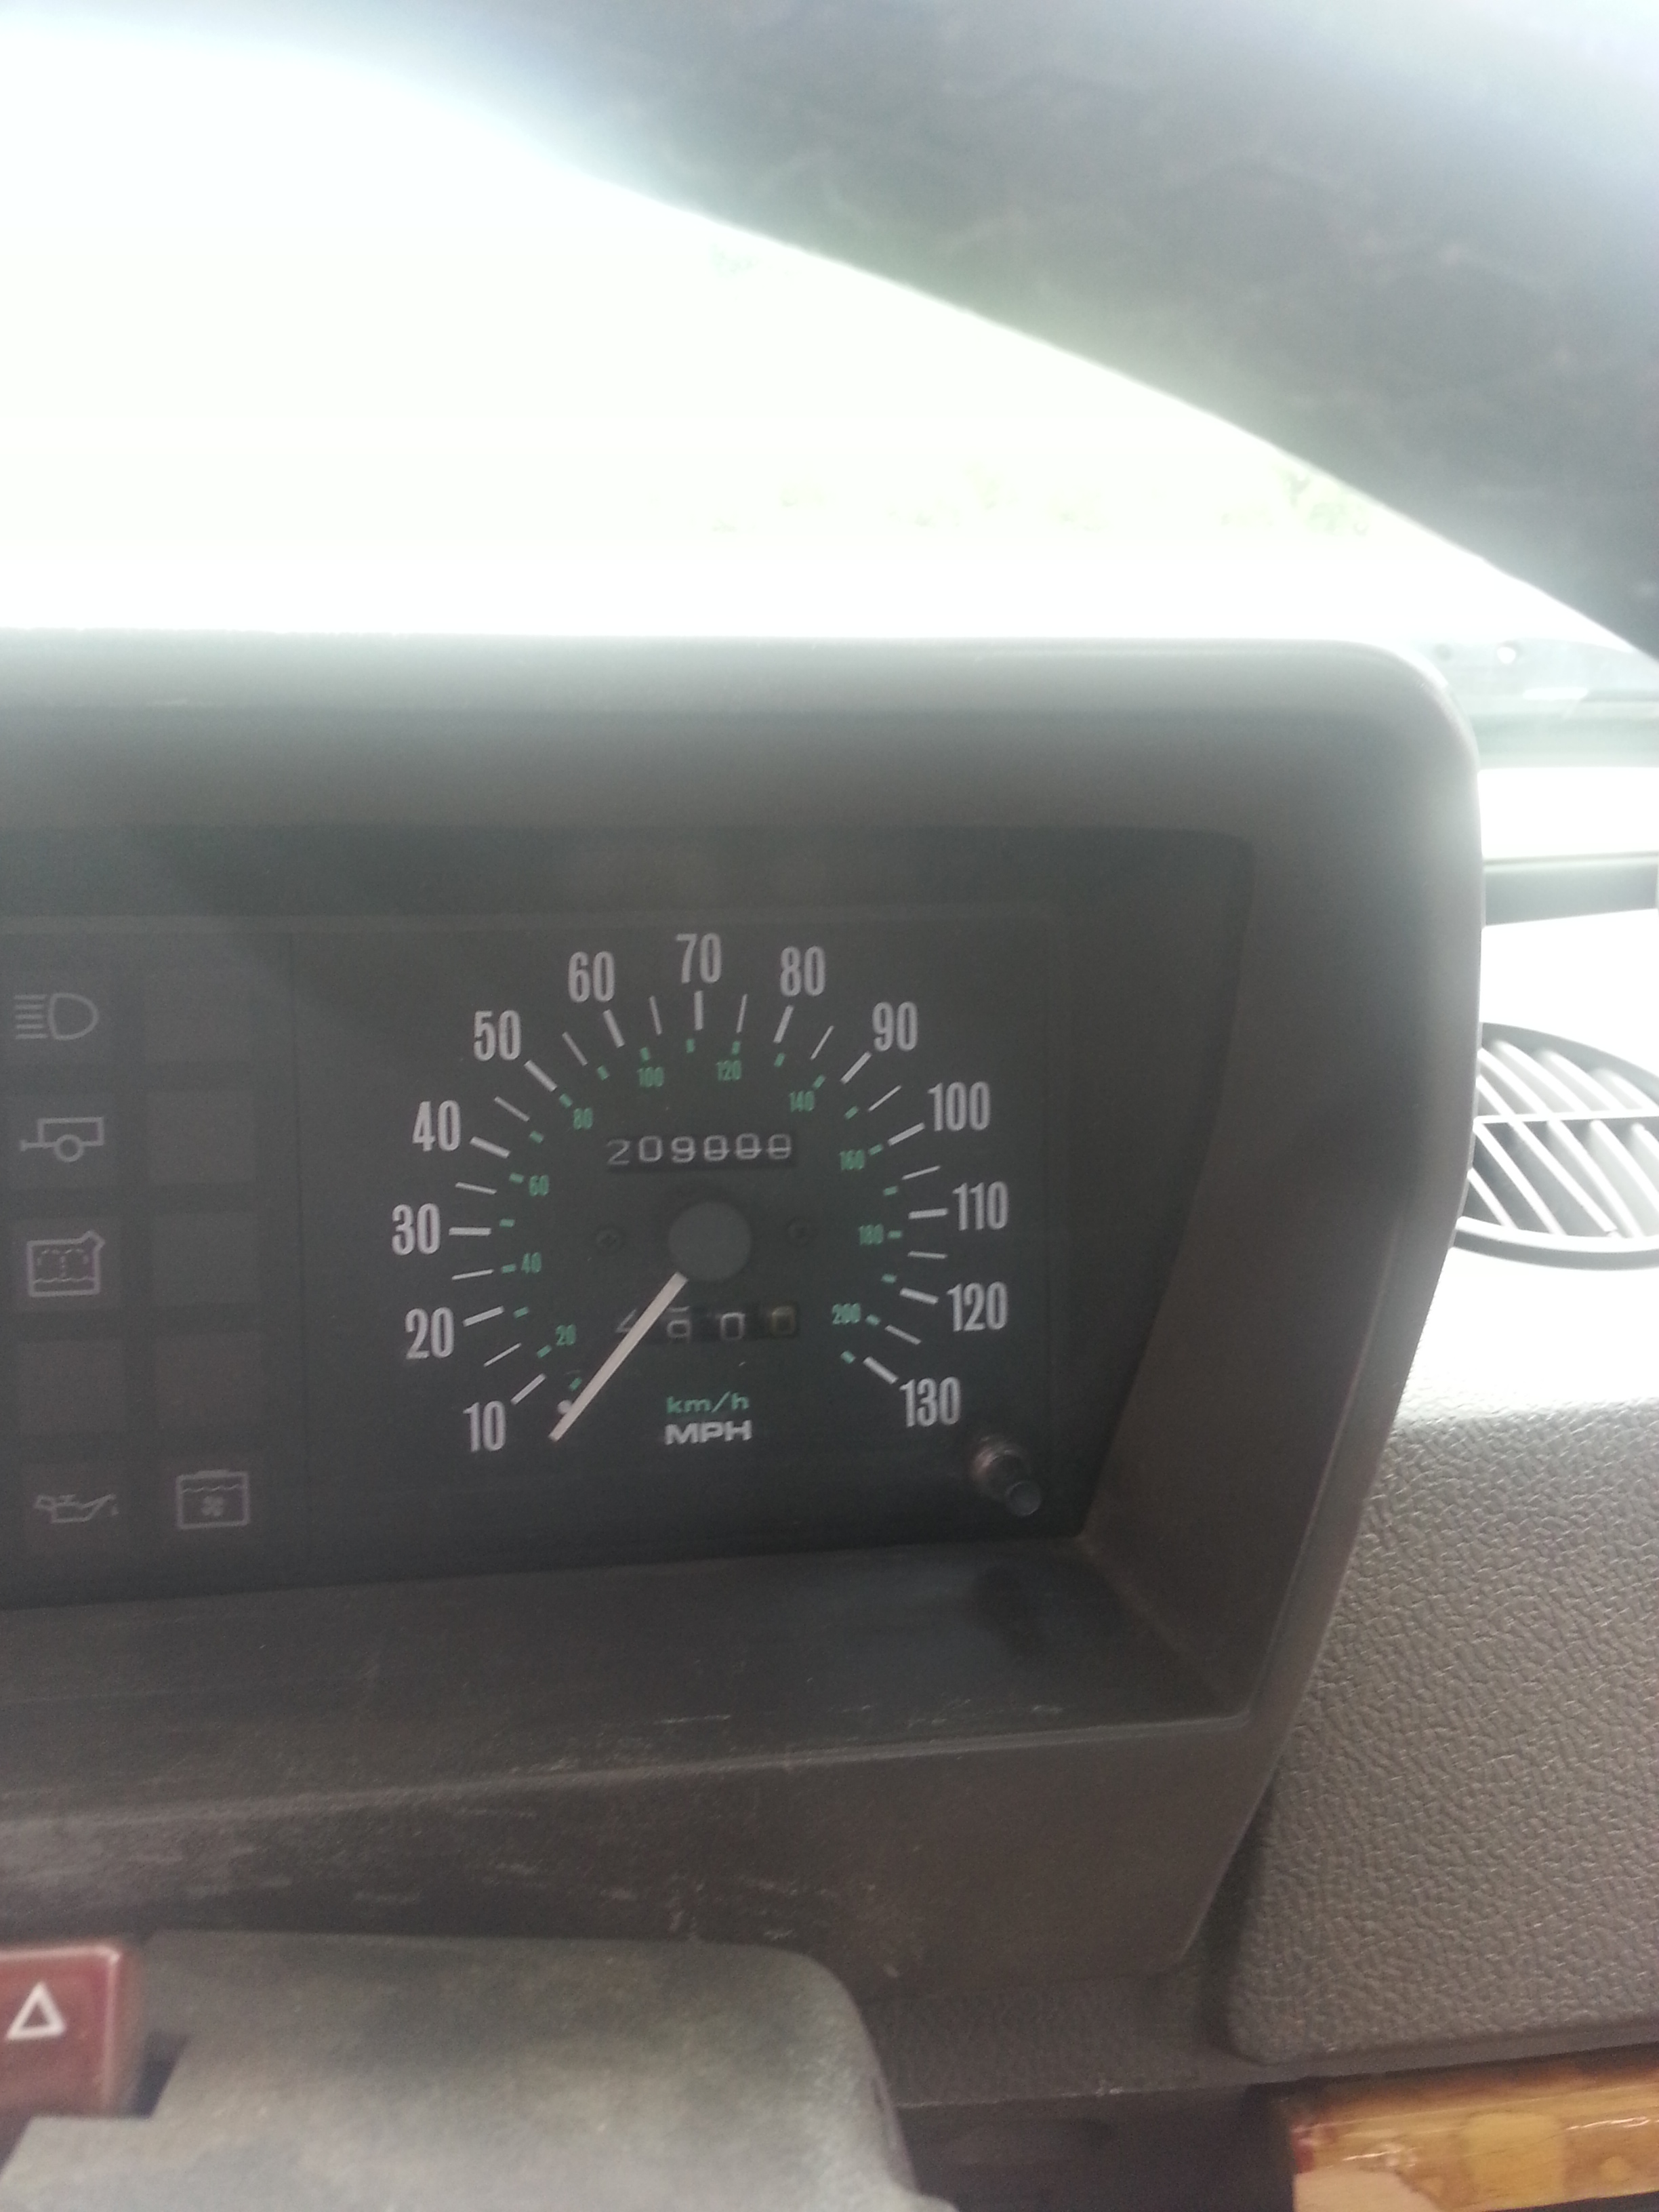
209,000 miles
We finished everything we could do and all that was left was to watch the water fill the pool at 6-8 gallons a minute. I drove home and stopped on the way home for some petrol and the BWB’s odometer was sitting on 209,000. The now twenty-one year old Range Rover has shown us some great miles. I managed to get 15 miles per gallon out of this last tank full. That really surprises me because my new commute has a lot more stop and go traffic due to the new hours I have at my new employment. I am stuck in “five o’clock traffic” on the way home and that is usually terrible for gas mileage ratings.
I guess I’ll schedule next Saturday for an axle tear down. I’m almost reluctant to swap the CV joint. The sound I’m hearing is not there very often. The noise could also be explained by the wrong fluid being in the reservoir. If I do swap it, the old CV would be an excellent shelf spare if it should ever be needed.
That’s all I have for now. I’ll be videoing the axle tear down and will post it all up when I have the time.