Panel rust and rust in the cargo area (Post #189) 7/20/2010

Welcome back dear readers. Multiple post in one week? What is wrong with me?
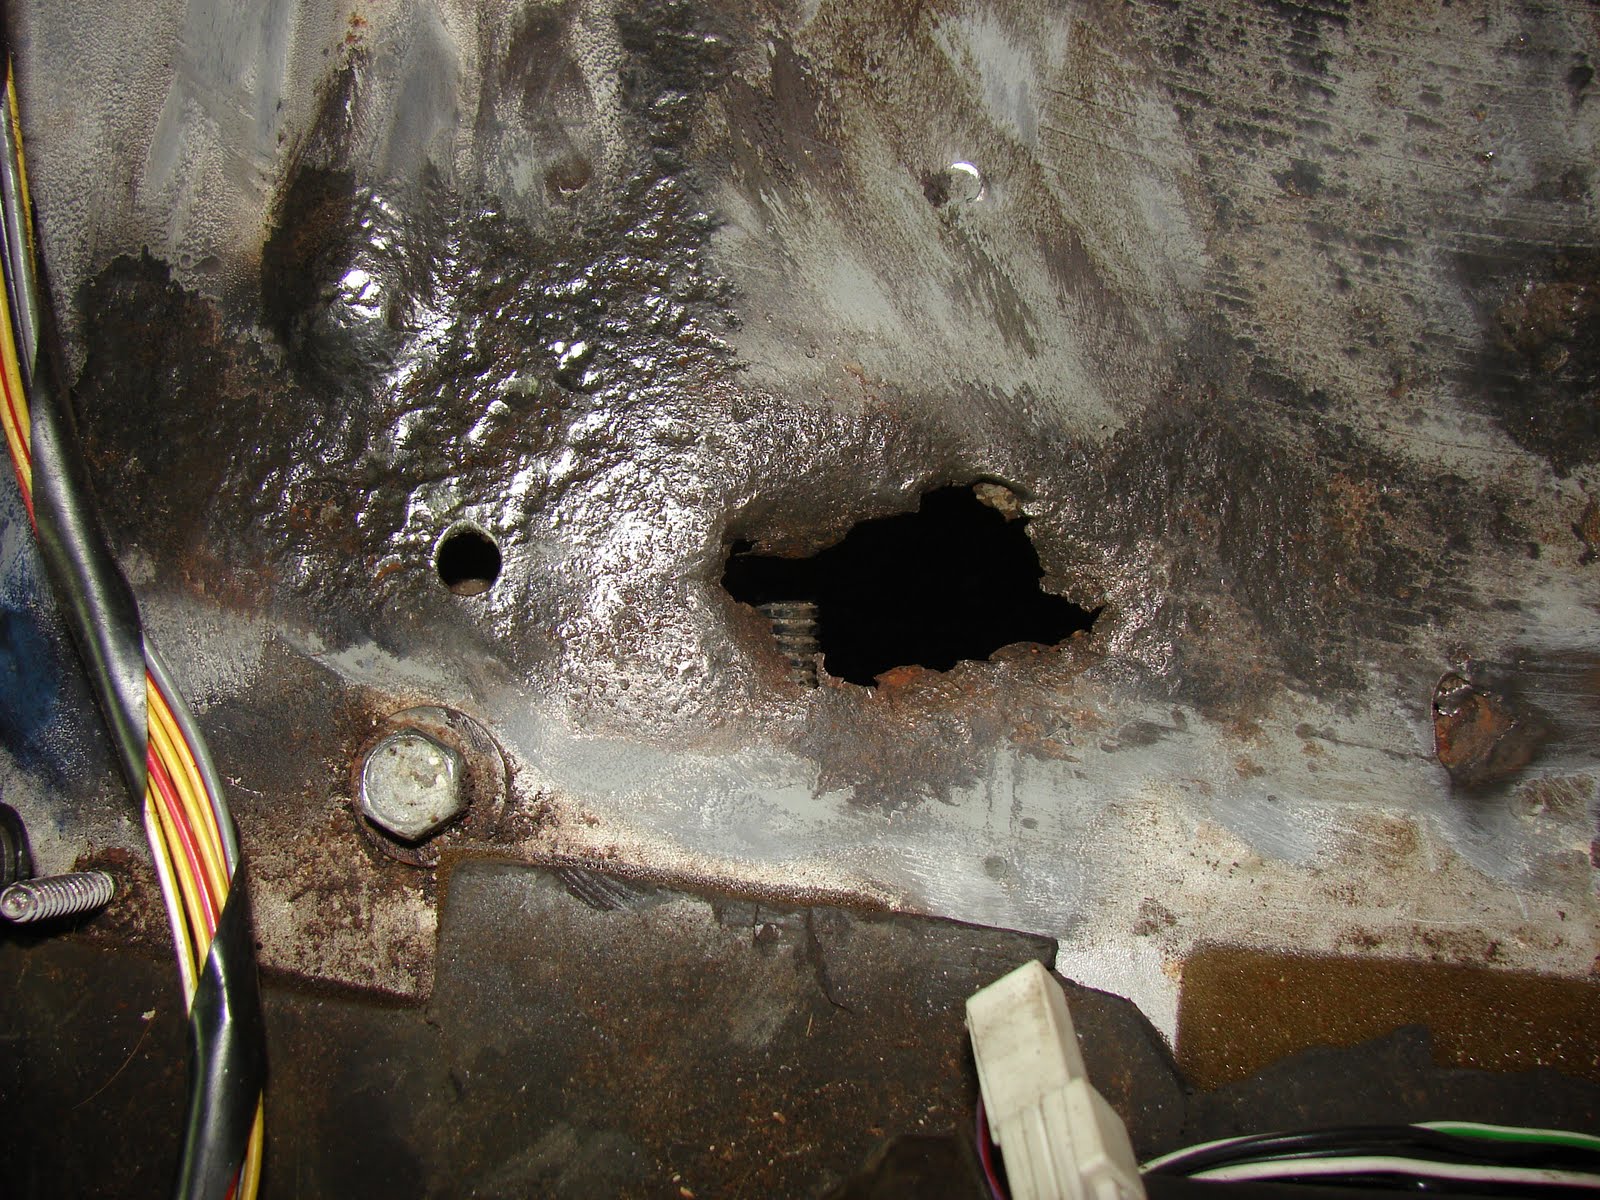
As promised in yesterday’s post I said I’d come back with the pictures and descriptions of the rust in the rear of the Range Rover. So here it is.

I have always seen the rust bubbling up on the rear of the Range Rover. I vowed I’d get to it eventually. Eventually is here. If you see rust in one place, its a good idea to look for it in other places. That couldn’t be more true on a Range Rover Classic.

A note here about quality. I find it entirely unacceptable to produce an automobile that is as capable of off-road adventure like this…

…and then to fail to use materials that protect it from the elements. The rubber pads and bits and pieces that cause water to be trapped against metal and allow rust to take hold is unforgivable. If you intend to use your Land Rover for these kinds of activities, take it apart and coat the entire thing in some sort of water proof bed liner, like Line-X or Rhinoling. You’ll save yourself hours and hours of frustration later.

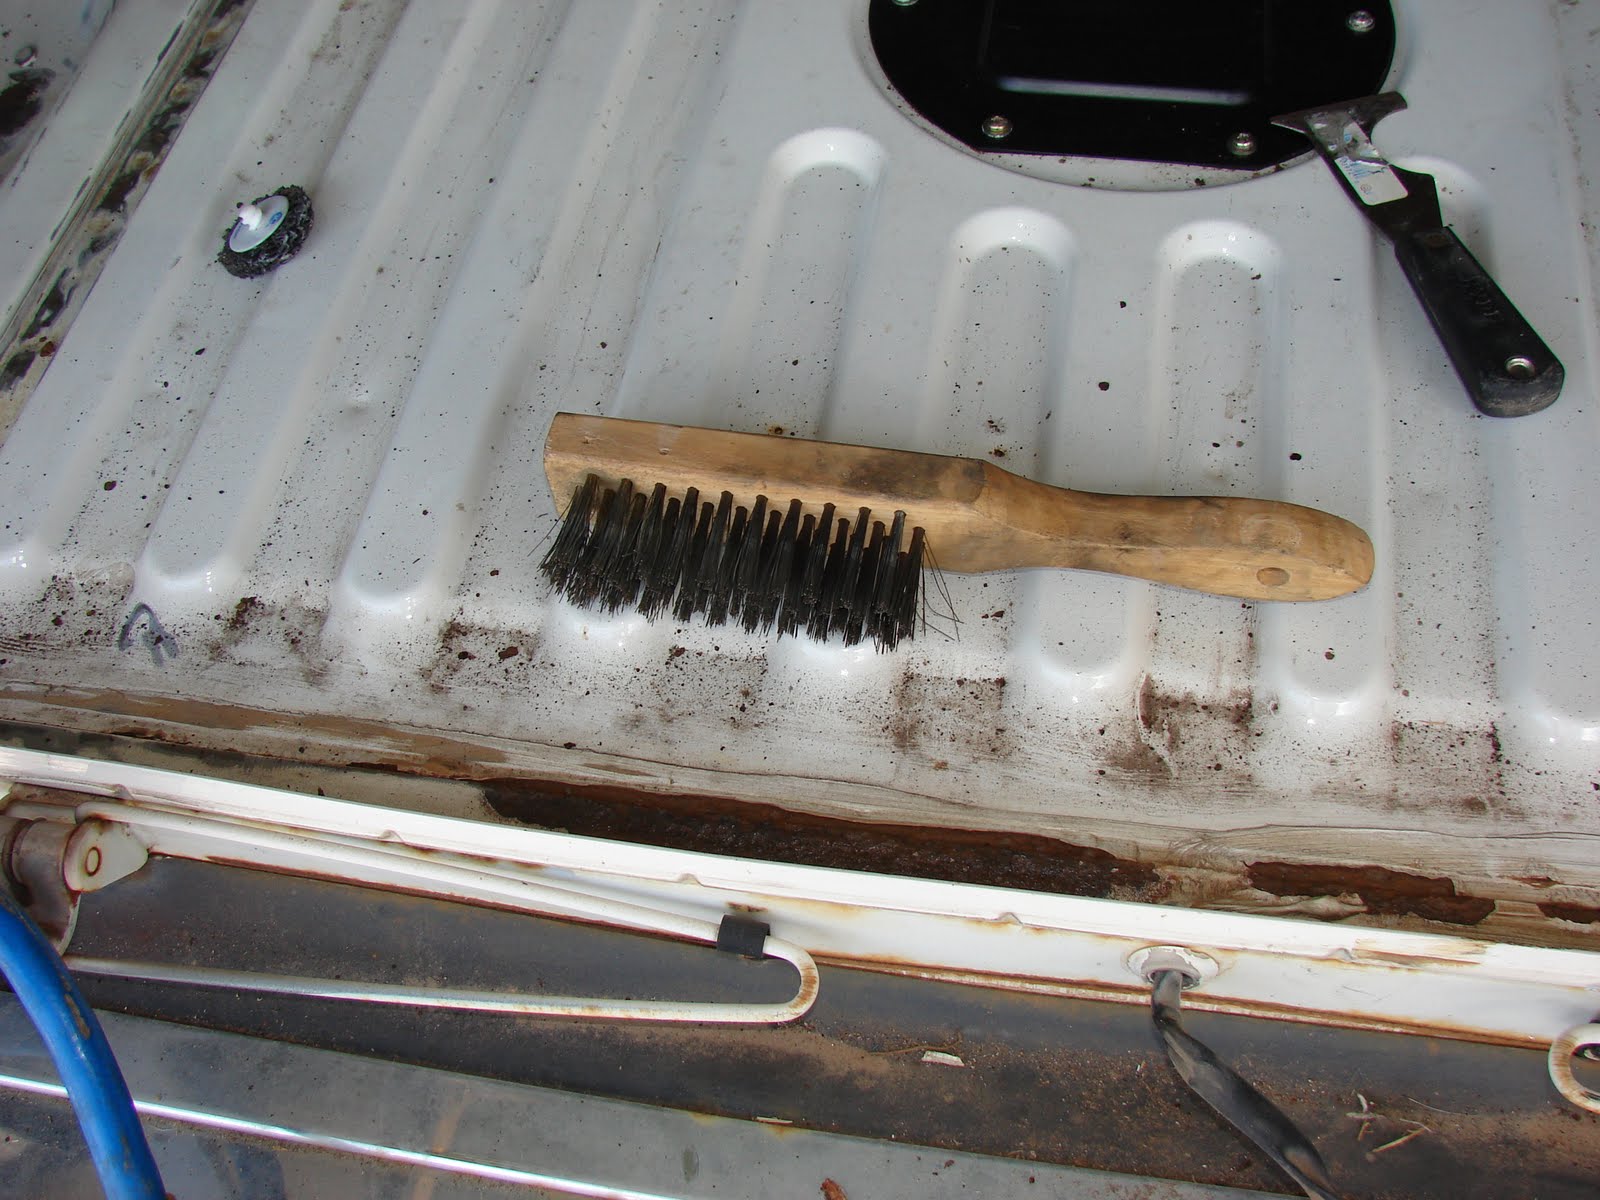
Back to the tailgate rusting. I decided, if there was rust on those parts, what on earth would I find if I pulled the carpets off. Well I’ll tell ya, more rust. Rust on a scale I did not expect to be quite honest. The rear tailgates of the Range Rover are not noted for their water tight seals.

What I found under the carpets disappointed me greatly. The good news is that as I posted yesterday, my best friend JagGuy said, “…that ain’t rust.” His observation was a comparison to the rust he finds on his Jaguars and M35 trucks. Compared to them I was mostly rust free! We know that is not the case.

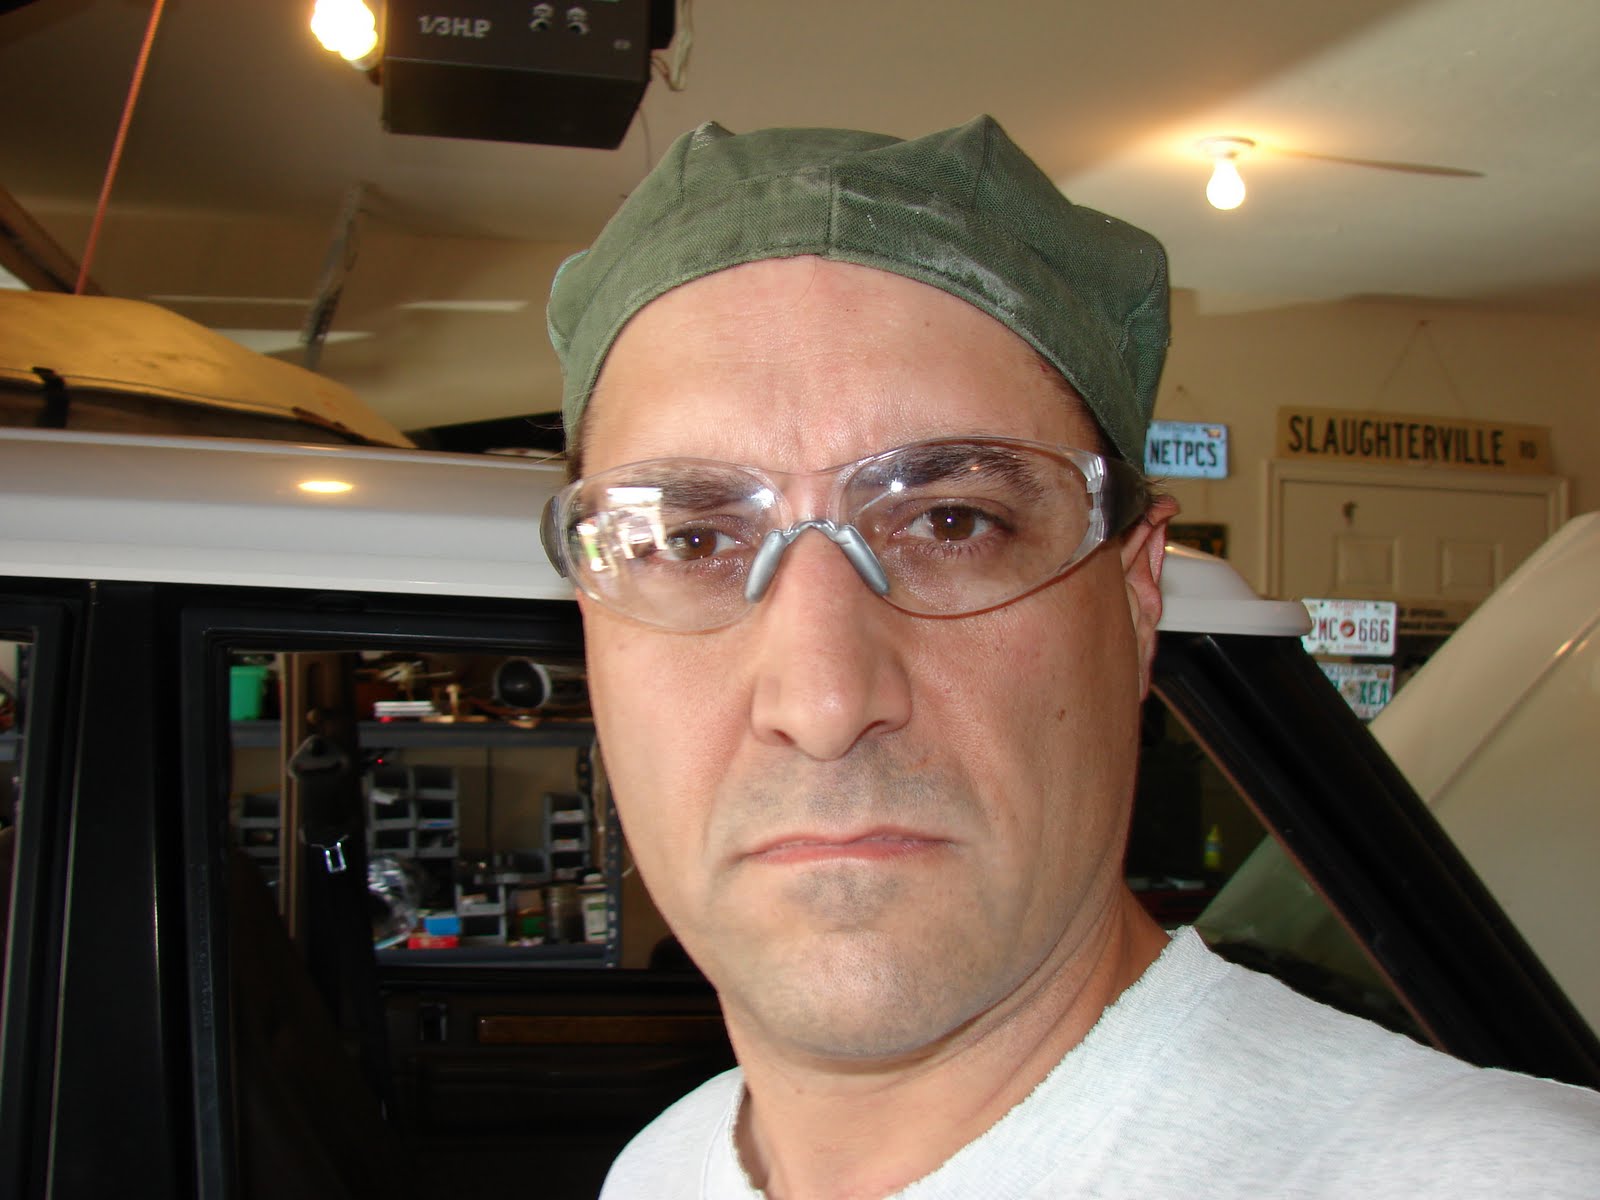
The treatment for rust is to remove it with extreme prejudice by all means in your power. For that I bought an angle grinder and some aggressive wire wheels. On advice of the Evil German Dude I got a Makita from Home Depot. You can see the ear plugs in the lower portion of the picture and wearing more or less protective clothing is a must. As always, wearing goggles is key to not wearing an eye patch pirate style for the rest of your life. Patches used to cover your empty eye socket are albeit very cool and interesting conversation pieces do not help you gauge distance while driving.

The angle grinder has more than paid for itself in time already. After getting the discs for cutting and the wire wheel, I’m out about 75$(US) for this time saving device. The honest truth about it is, I don’t have the patience to use a wire brush vigorously enough to bare metal.

JagGuy suggested I get a brillo pad like wheel and just use that. I have a new air grinder and attempted to use the brillo pads. They worked pretty good but they were not getting me down to BARE METAL. Besides that I could only use the air tool for about 5 minutes and then I had to wait for my compressor to catch up. My Campbell Hausfeld air compressor is louder than its small size would indicate. When it is running you can’t hear The Clash belting out their motivating sounds. In defense of the other rust removal methods, you can’t hear the music with any of the power tools in operation. My air compressor was hot enough to melt the plastic covers when I retired it at the end of the first day.

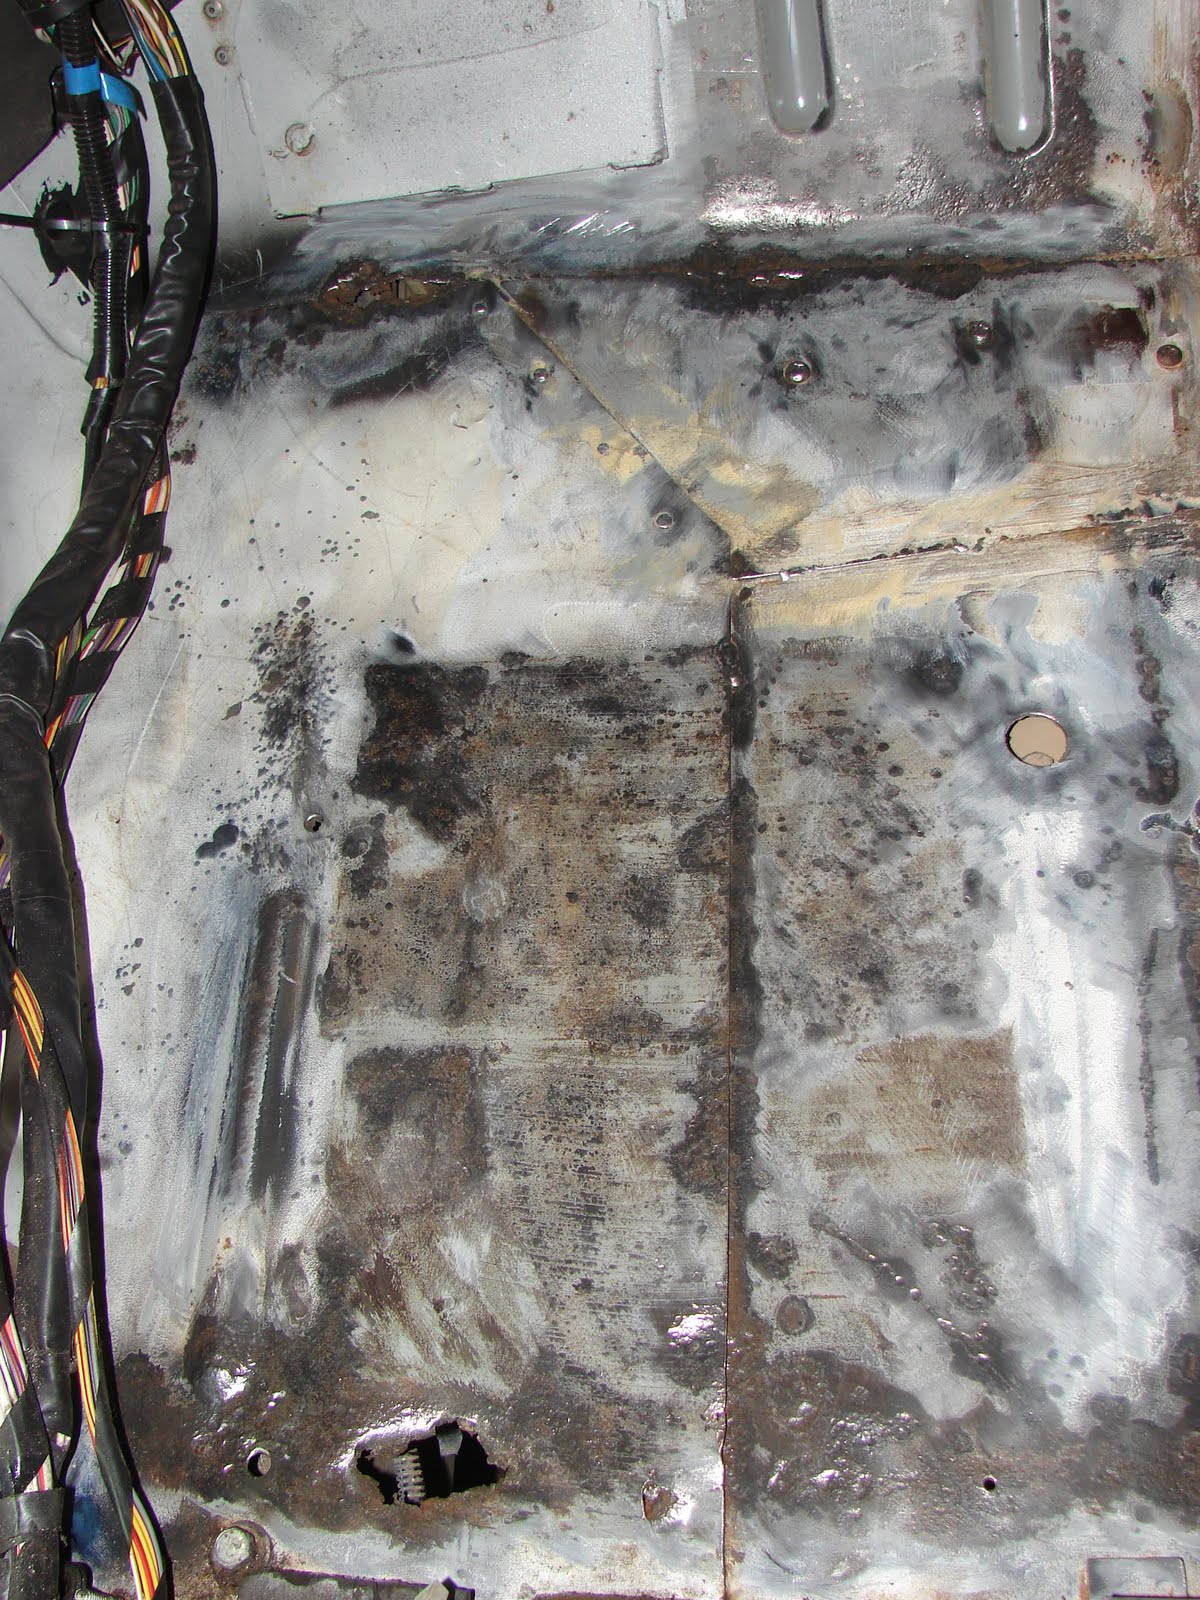
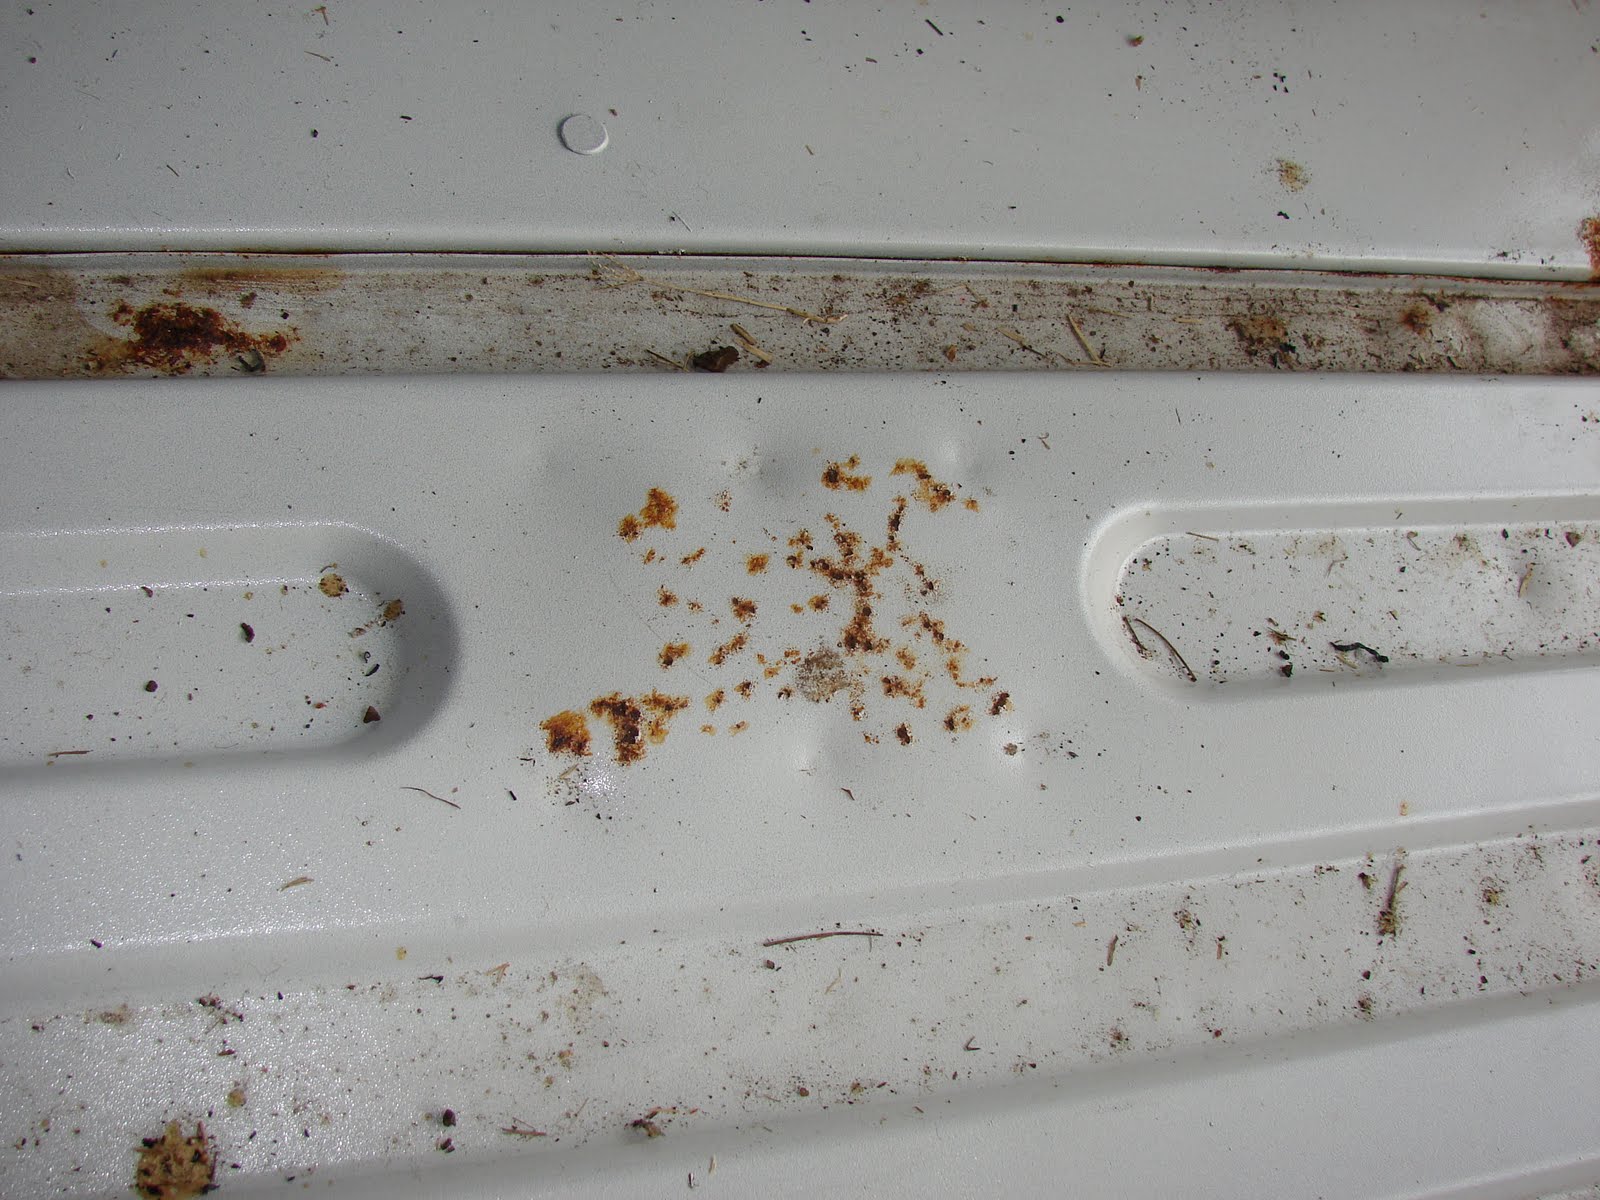
As before there is a pre-picture and a post-picture of each area. Keep in mind I will hit everything one more time with the grinder for good measure before painting with acid etching primer. The flash lights up rust nicely and you can see the parts I missed in some of the pictures.

The question remains, which product to use for the rusted through parts? Waxoyl or copious amounts of Rustoleum? This is where you have to apply serious amounts of patience. The Rustoleum approach is using ridiculous amounts of paint, to the point it drips off the parts and then waiting at least a week for it to dry. Waxoyl is not a product I’ve used before so further research is required.

My plan is to remove as much as possible with tools and use acid etching primer. On those parts I can’t get tools on or paint directly on, are the parts that require the products listed above. There is a healthy amount of “how much of this is seriously necessary?” going on as well. It is a 17 year old Range Rover. As all cars do, it will rust. Eventually you have to get to the “this is silliness” level of labor and move on to “thats good enough”.

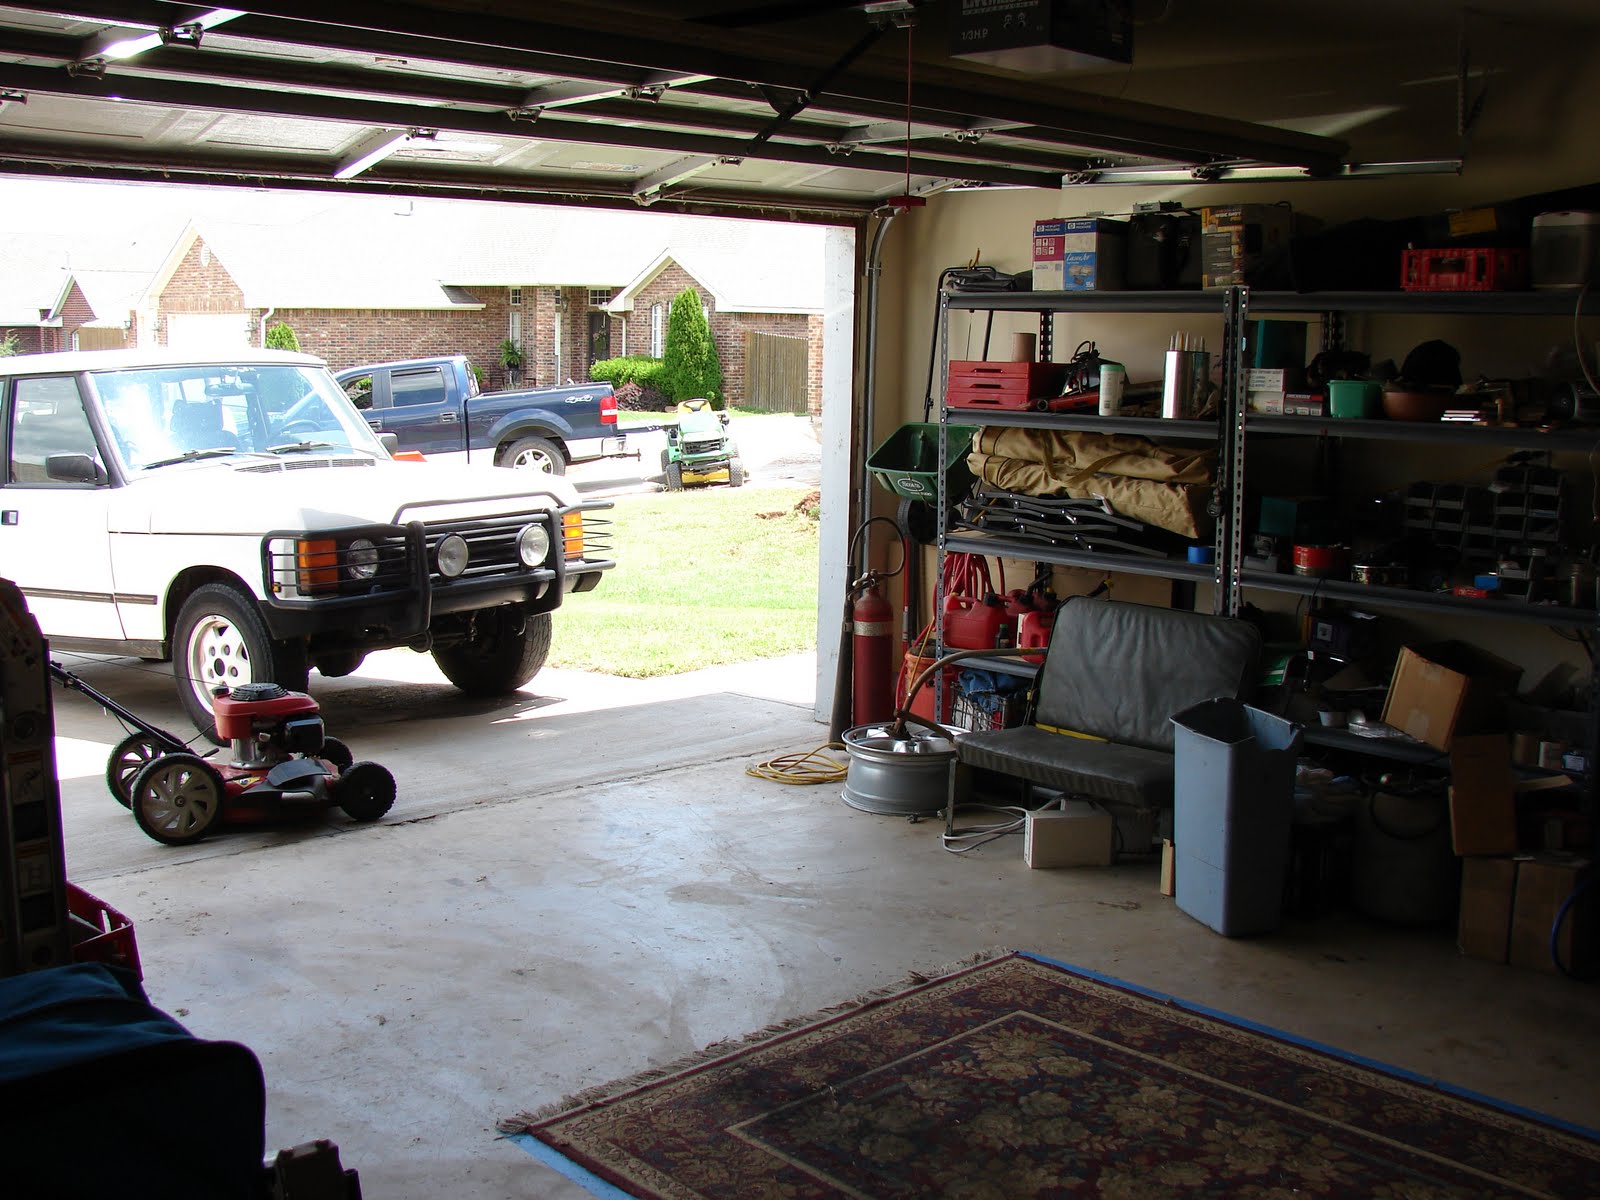
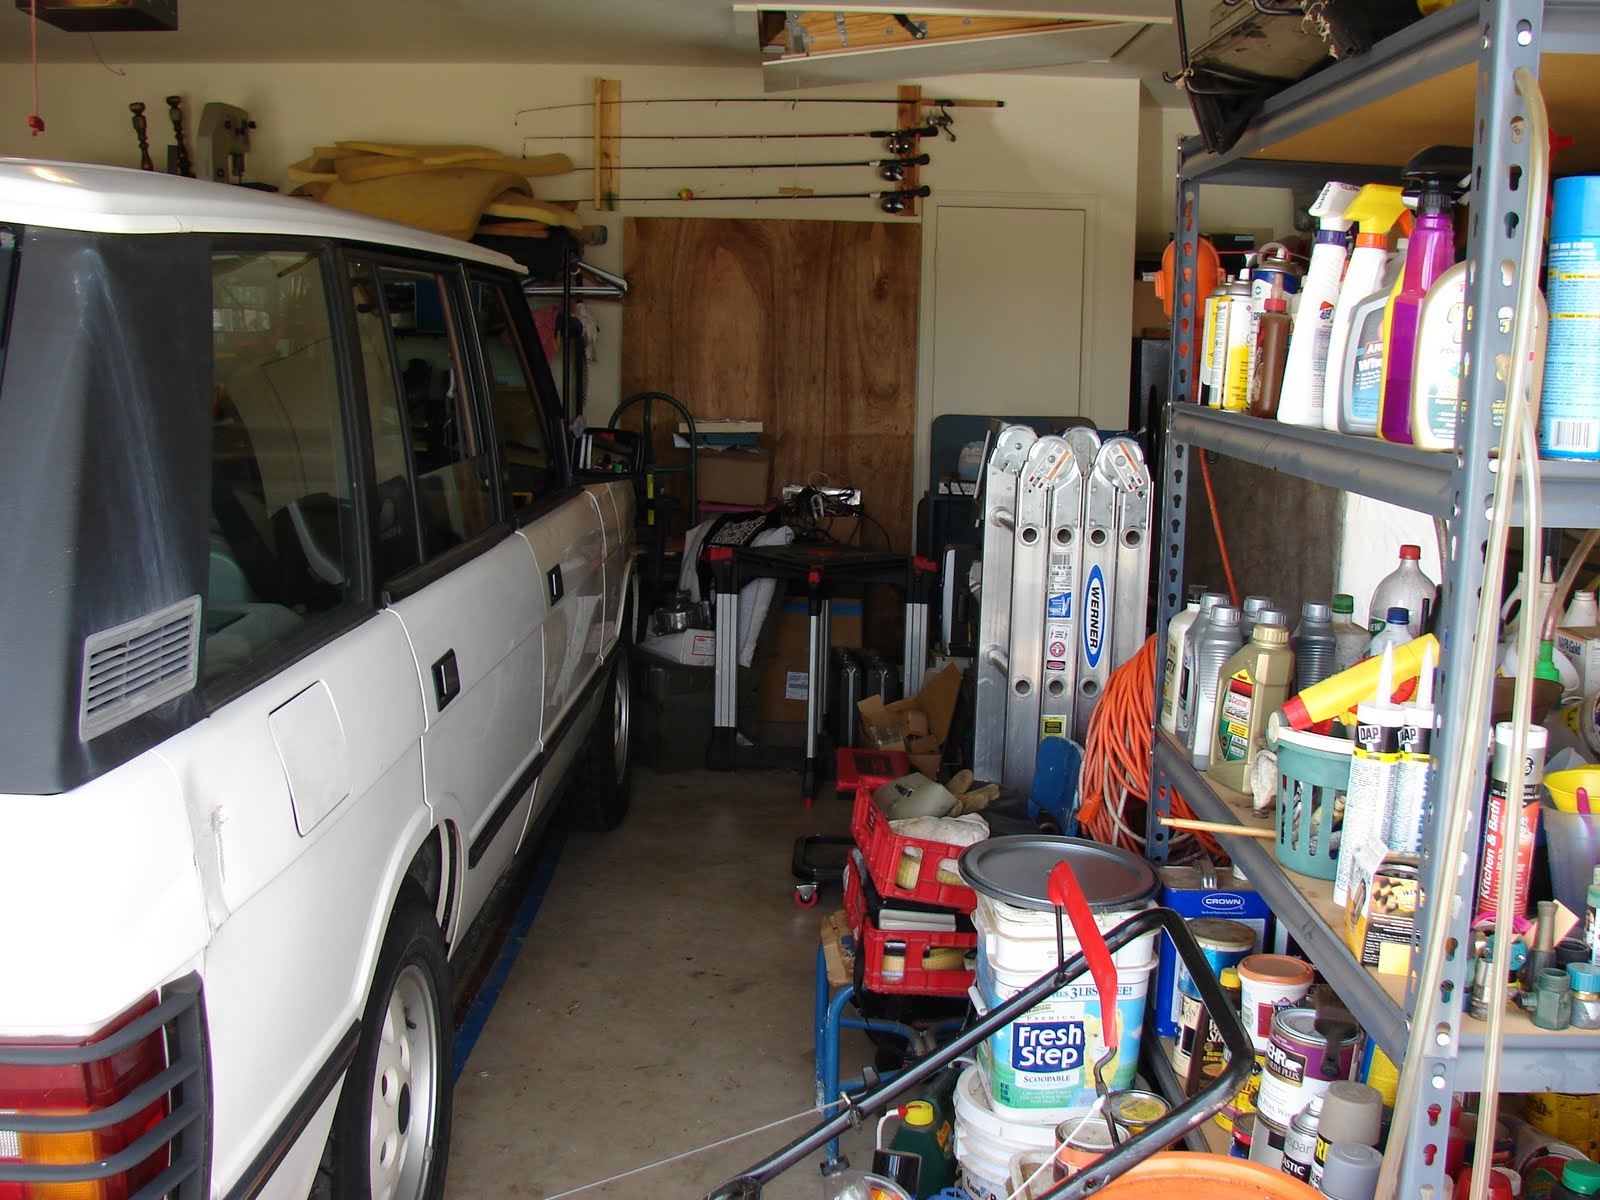
So from that you can conclude that I’m probably not going to do this job again. Anything short of me putting my foot on the floor board and it extending through the floor Flintstone’s style I’m most likely not going to be doing this level of project on the beloved Big White Bus. This vehicles function is to haul stuff. Primarily to haul me, to and from historical events and hopefully my family on a couple of camping trips this coming fall or spring. The mechanicals are far more important than the cosmetics. Momma likes her air conditioning if you know what I mean.

After all the primer is applied I have sourced a company in Norman to buy matching the white paint of my model year and they have a clever method of getting it on to the metal. More on that when I get to that stage.

Lets look at some rust!

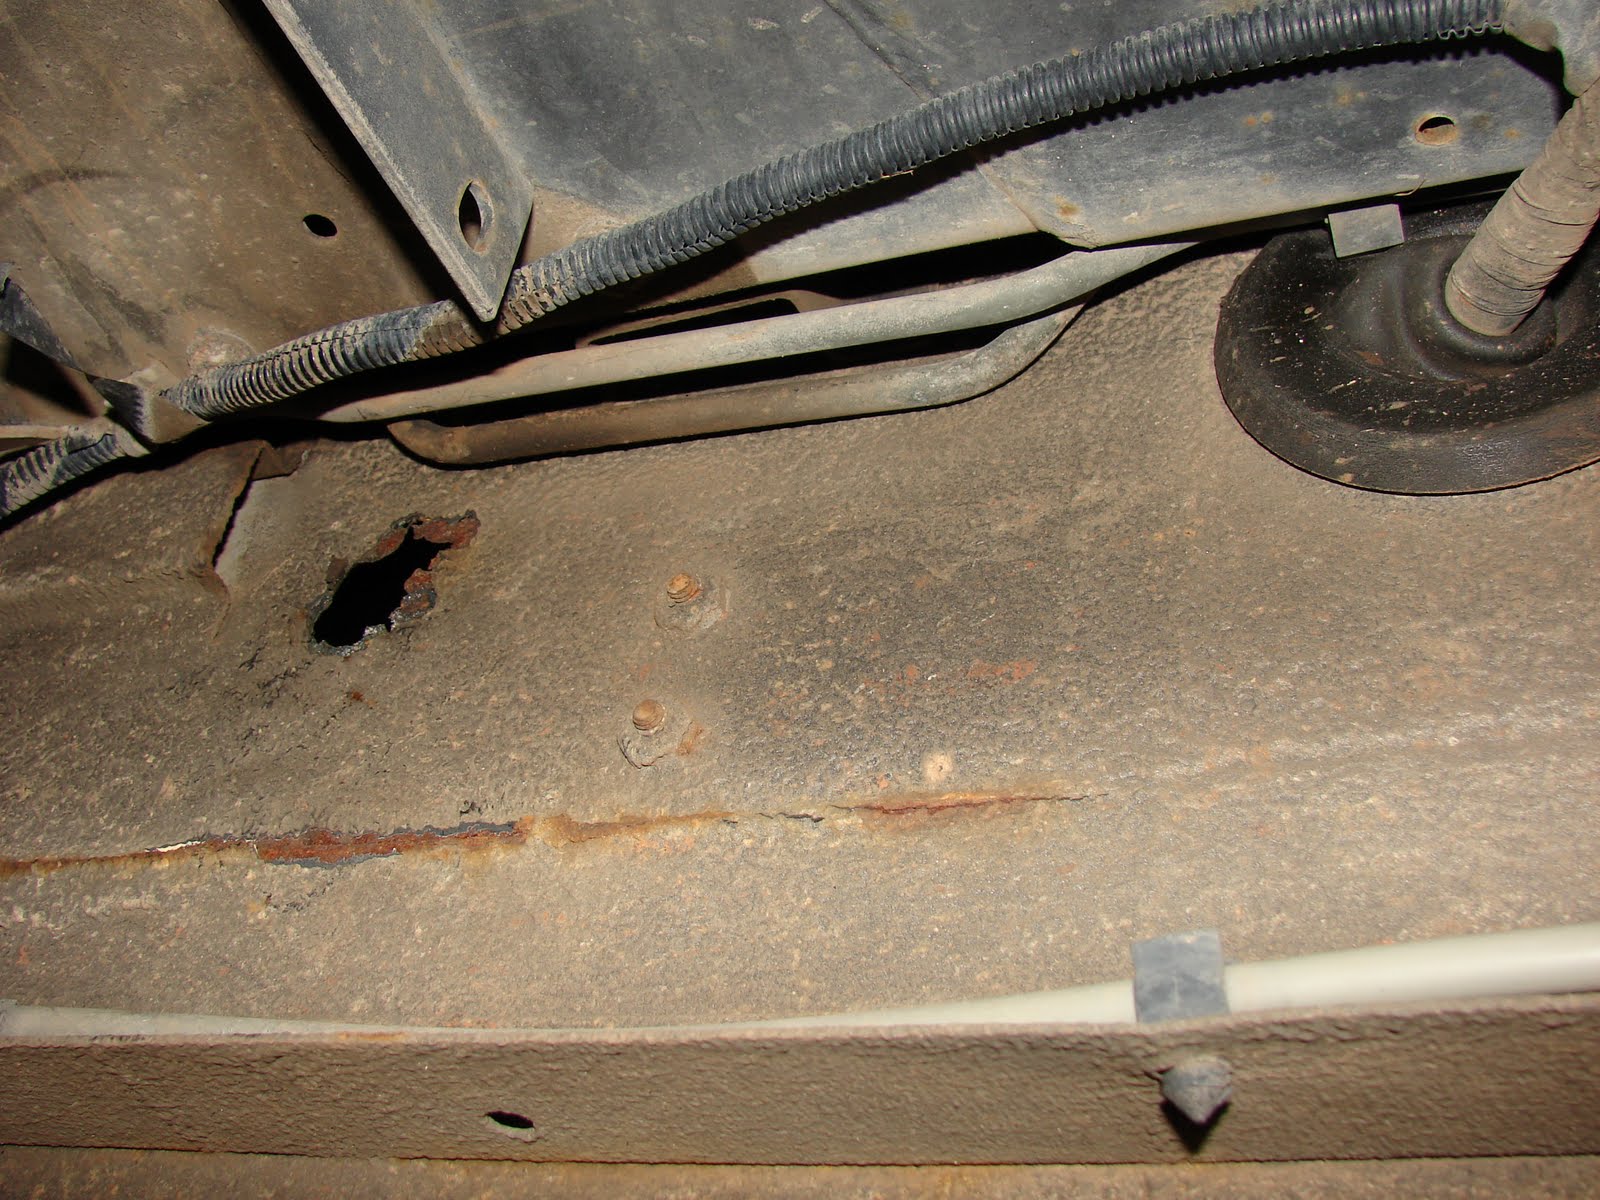
Bed rear from the driver’s side to the passenger side.


I cut back the pitted and rusted metal parts on the gutter portion seen above. I will just paint this and clean up the edges a bit when I’m done. None of this is visible after the carpet is put back in.

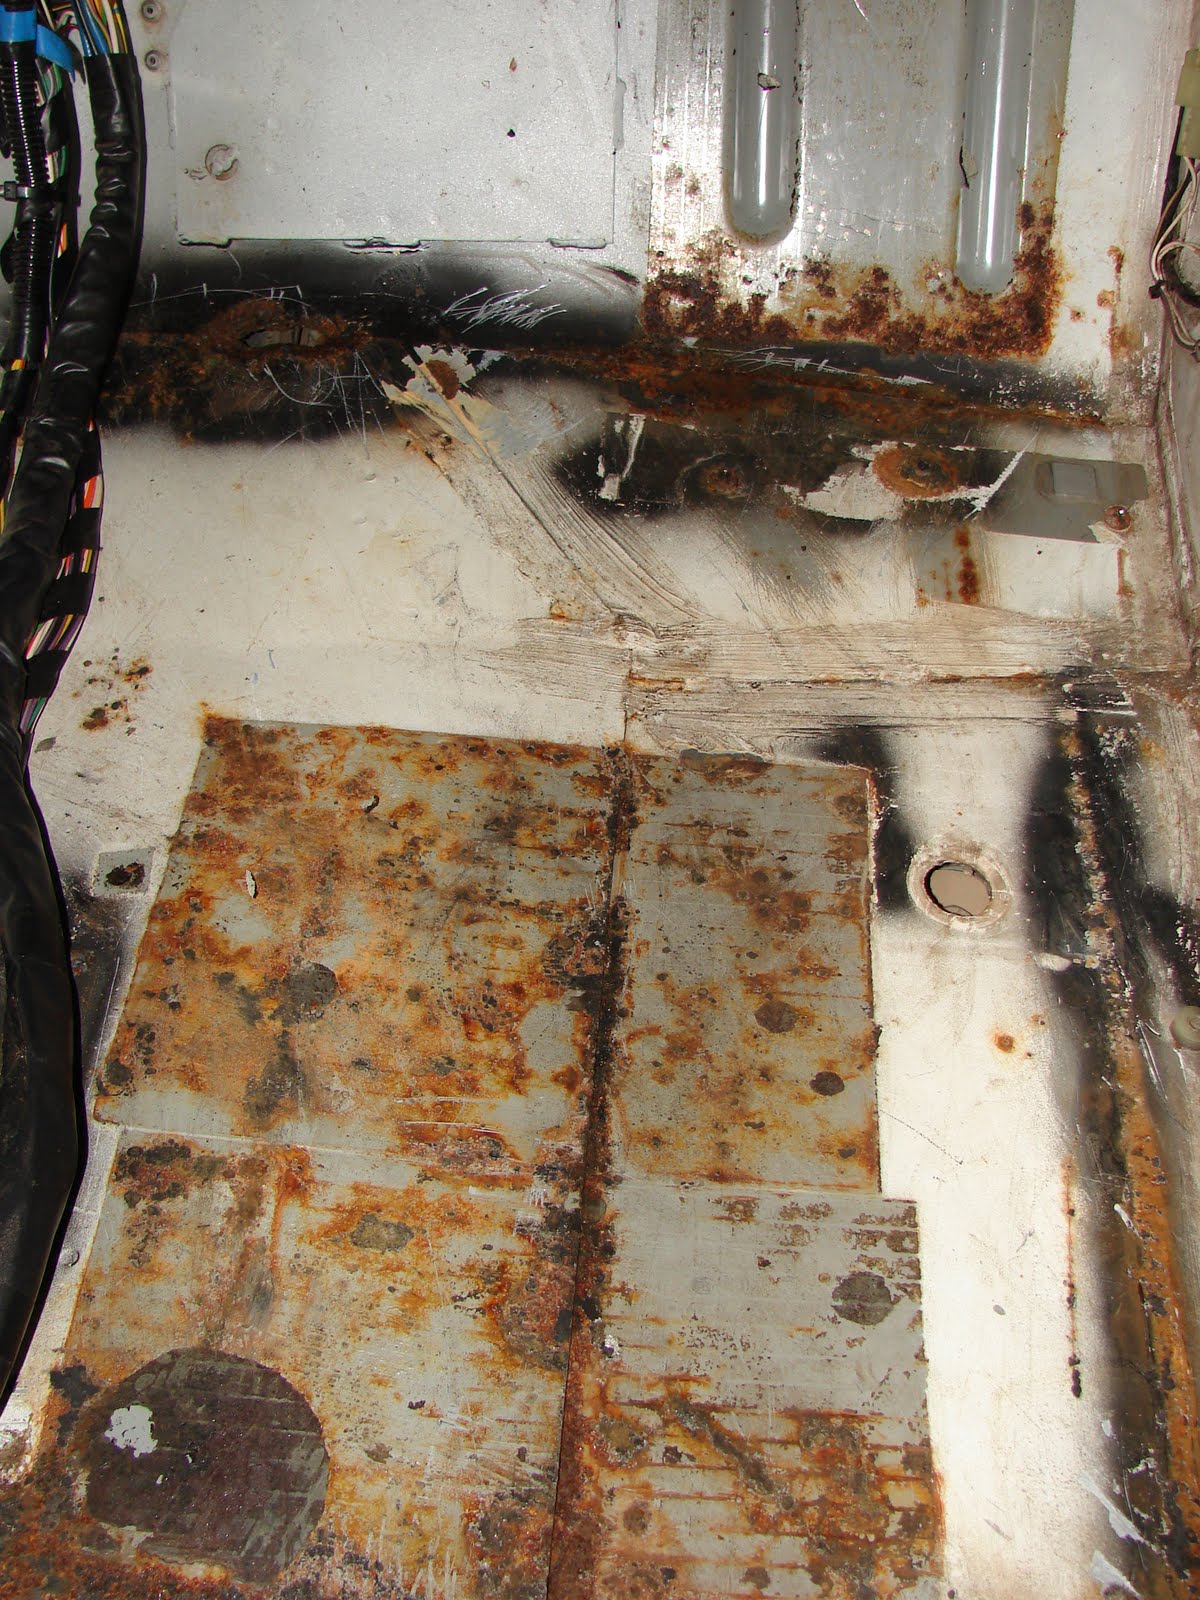
Inside the cargo area.


Oxidation from the roof and the outer panels

The oxidation will be taken care of with a buffer and some Meguire’s. I also found some mildew under the rear bench on the bed. This is not surprising from the amount of wet gear we packed in the back during the second consecutive Fourth of July rain out at the Norman Day celebration. I have made it a habit to wipe everything down with paint thinner before continuing. So there will be no organisms living back there when I’m ready to paint.

The next post will get me totally caught up with the pictures and work I have done so far. I will show the work I’ve done on the tailgate, which you are all aware is a famously rusty bit of trouble for Range Rovers Classics. When Edd China was restoring the Range Rover for the Wheeler Dealer show he just replaced the entire tailgate in leiu of wasting the time to get the rust out and off.

You can catch the rest of the episode if you are interested by using the links on the right side of the YouTube page. This is from part 2. He (Mike) sources the tailgate and door from a breakers yard (how quaint) at 7:20 and replaces it in the ninth minute.

Well that gives you a ton of material to look at and roll around until the next post.

Thanks for reading and Happy Rovering.

So much information, so little blog posts (Post #188) 7/19/2010

I am progressing at a leisurely pace on the Range Rover Restoration Part Duex. I have run out of funds for now and have changed gears a bit. I am now working on stuff that doesn’t require any supplies. Its also kinda hard to be motivated to “bust it out” when the temperature is 100+F in the garage. As RovErica said to me the other day when she came home after a long drive around town in her unairconditioned Ford Taurus, “I’m sweating balls out there.” As she said that, I remembered the good old days when I didn’t have air conditioning. Ahhh memories. Nothing motivates a kid more than suffering.

I have started to organize the pictures so the tasks can be broken down in to manageable pieces. This hopefully will prevent me from having novel sized posts about rust removal. I know WTH! I know how you all love to read about grinding rust but I’m sorry you will have to get your War and Peace sized fix of minutia of rust removal from some Jaguar or Jeep website. 

With some new tools, I have decided I could proceed with the rust portion of the project and pull the carpets in the front of the Rover and see what kind of damage is up there. I was NOT surprised to find rust. I was surprised to find holes. The good news is it was only two holes. The bad news is they are not in easy places to work. I also believe before long another seam will begin producing holes.

This is a picture underneath the passenger side seat. You can see the hole in the floor and the rust along the seam there. There is a bit of rust a little further back that is even worse than this. Therefore the entire passenger side seat and electrics will need to be removed to get to the problem spots. If I don’t, its only a matter of time before my passenger is ejected through the floor board. I only allow people I ACTUALLY LIKE to ride with me in the Range Rover so I should really try to fix this correctly. While I’m at it, I think moving the engine management computer to place higher up would be prudent. We’ll see how that all pans out when I get closer to reassembly.

I pulled the carpets and mats and to my surprise they were still wet two weeks after the last rain. We have had 90 plus degree heat for over a month and except for a drive during the flash flooding on July 4th she has just sat in the driveway. We did have quite a bit of rain during the early part of the month so I have to assume this rain is coming from somewhere above the rust. My first guess is the windshield seal. So add to the list of things to do, pulling the windshield and replacing the seam. More expense and more time. This will have to be professionally done for I have no way to pull the windshield. The guys across the pond on the TV show Wheeler Dealer hire this out and I will take their lead and do the same. If it’s good enough for Edd China, its good enough for me.

So with wet carpet and very, very wet sound pads coming out, are we at all surprised there is rust on the floor boards? Rhetorical question! Lets get a look at it.

In these pictures there is a pre and a post picture. The PRE pictures are before any grinding was done. There were some pads glued to the floor and they were very rusted underneath. The goal was to get to bare metal and remove the rust. I will probably hit all this one more time before the acid etching primer goes down and the entire area is covered in new sound deadening material.

Driver’s side

Passenger’s side

I mentioned two holes. It was somewhat comforting to find the stainless steel screw that holds the seat facia firmly embedded in the rusty metal. Here are the pre and post pics for each hole.

I think perhaps it looks worse than it really is. I stopped by JagGuy’s shop on Saturday to show him the pictures of all this rust. He said, “That ain’t rust.” He proceeded to show me a Jaguar with rust so bad entire sections of the body were gone. The surface rust I had was not even to be concerned about in his eyes. He says a liberal application of Rustoleum paint will slow down the rust. Even better would be some Waxoyl or the like. I’m still investigating which one I will go with.

So overall I felt pretty good about that. But he had not seen the footwell pictures yet. He had only seen the pictures from the rear of the Range Rover. And those my friends, will be in the next blog post.

Stay warm and Happy Rovering.

Garage preparation complete (Post #187) 7/14/2010

I set out on Saturday to get started on the now infamous Range Rover Restoration Part Duex. Hopefully it will be slightly more popular at the box office than the first restoration. Sometimes sequels don’t have near the success of the first episode.

I can site a few examples…

  • Breakin’ 2: Electric Boogaloo
  • Caddyshack 2
  • Highlander 2: The Quickening
  • Grease 2

So with those stinkers out of the way, I’m hoping this sequel will be very successful, much like these sequels, that were better than their respective originals.

  • Christmas Vacation
  • Mad Max 2: The Road Warrior
  • Star Trek II: The Wrath of Khan
  • Star Wars: The Empire Strikes Back
  • The Godfather: Part II
  • Aliens

So to get a production like this off the ground and guarantee success we have to hire great actors, we have to have a really great script, we have to prepare the garage for the beloved Range Rover.

I needed to move a lot of items to make room. I took the giant rocking chair back to mom’s house. I moved the historical reenacting stuff back up to the attic. And I basically just organized all the rest.

Now I know you are looking at that picture and saying, “You call that organized?” Here’s the deal, I couldn’t afford a “garage system” when we moved in. I wasn’t even sure what I needed and wasn’t about to drop a few grand for the fancy cabinet systems and have them under utilized. So I got some shelves and made due. I don’t even have a work bench. That is definitely one thing I miss. So with that said, there is a method to the madness, lets just hope I don’t have a stroke and forget where I put stuff.

In my neighborhood people use their garages as second living rooms, especially during the football season. I started to add some furniture so I could “entertain”. But me, being me, I just couldn’t have any furniture. So I made a chair out of an old Range Rover seat.
I also added the bench and driver’s chair from an M35. I have many fond memories of driving trucks in the Marine Corps and therefore I snagged these from one of my buddy’s M35 projects.

I couldn’t just toss these or bury them when the project started so I moved them to strategic places so they would still serve some function in the garage.

After I got the major items sorted and moved, I checked my supplies to make sure I have enough to get started on a project like this.

Beer? check. Soft drinks? check. Mustard? check. Giant jar of pickles? check. Music?

What kind of music do you listen to when you restore / work on your Rover? I prefer the classics. So I broke out a couple of my favorite greatest hits albums (she how I went old school there with the terminology?). The Essential Clash and The Cars Complete Greatest Hits.

How can anyone work on a British auto and not have some Clash on hand?

London’s burning! London’s burning!
All across the town, all across the night
Everybody’s driving with full headlights

Great stuff, good times, good times.

Okay back to the project at hand, getting the Range Rover into the garage. I moved the parking lot of cars from the driveway and lined the Range Rover up and moved her into her new birth for the next few months. Just like the last time, she fits.

She’s snug. I’ll have to work around the mower location and many items will need to be stored on top when I start stripping the interior out. But she’s in there.

I’m still considering a storage shed for some of the items I store in the garage. All the camping gear, the table saw, the furniture items, the wood scraps, the mower and trimmer, the fuels, the weight bench my son never used but we had to have (rolls eyes), all that could go into a storage shed and free up a “shit ton” of space.

Immediately I know I need to rethink how I am lighting the garage. More light is almost always a good idea. I need to look into some lighting options.

Well that’s it for now. I have already begun work and assessed the problems and have a couple of new ones to add to the list.

  • Sound deadening in the rear and under the bonnet (hood)
  • Rust removal and rust proofing

I’ve already discovered those two problems that I hadn’t thought of previously. I’ve always wondered why it takes people 2 or 3 years of work to restore a classic car. When you start on one you quickly learn about the huge amounts of time that “the little things” take up. Every little thing has to be addressed. And you can never estimate all the rust you will find. All of it has to be removed with extreme prejudice or you will just be back in there again removing what you probably should have taken care of the first time.

I will probably be a Waxoyl and Rustoleum expert when all this is done. There are a great many other new skills I’m going to have to master as well. Welding, body work and painting being three that immediately come to mind.

Thanks for reading and Happy Rovering.

Not much going on (Post #143) 5/6/2009

Just a post to let my readers know,

  • I’m not dead
  • Not much is going on
  • Still have stuff to sell from my Discovery
  • My beloved Big White Bus is nearly mine again

We have one more payment on the now wrecked-totalled-dead Discovery 2 and it’s off to the auto lots to buy my wife and possibly my son cars. I also have the rims and some other bits I need to sell from the Discovery. And, I get to begin driving my beloved Range Rover Classic again.

A few projects wait for me.

  1. The sunroof is malfunctioning.
  2. Rust on the lower tail gate.
  3. Headliner will need to be replaced again.
  4. Viscous coupler needs to be replaced/rebuilt.
  5. The fluid in the passenger side floor board needs to be sorted.
  6. New radio.
  7. Tint the windows.
  8. Air condition needs to be repaired/recharged.

The sunroof will be a chore I’m afraid. It drops down to slide and then slides about an inch and then stops. I’m sure it is fixable, I’m not sure what it is causing the problem. This will be easily accessible when I pull the headliner for a replacement.

The rust on the tailgate is another of the normal problems with Range Rover Classics. I have all the stickers to repair and repaint and rebadge the lower gate. I’ve watched Edd China do this type of job on Wheeler Dealers so many times I’m sure with a little guidance from JagGuy I should be able to sort this out in a single Saturday in his shop. I need to protect my upper lift gate while I’m back there and will learn what he did to prevent his from rusting out. I will post the procedure when I have it done.

A new one at Atlantic British
The viscous coupler failure is a very annoying problem. And could be the most difficult of this list to fix. I’m thinking the repair will be a used replacement. I will then have one on the shelf to rebuild in case the used replacement fails me.

The wet floor boards is most likely a leaking wind screen seal. There are some small holes in the floor pan that need filling as well. I will pay a auto glass company to replace the seal and refit the window. It’s not worth it to mess with this when doing it wrong could cost me a wind screen and more wet floor boards. I will pull the carpets and seal the holes most likely with welding.

Tinting the windows is a necessity of driving in Oklahoma. The afternoon sun can bake you like a cake. The air conditioning since it was converted to R134a does not cool like the R12 did before. I will replace the expansion valve and get the system recharged. Hopefully it won’t be a continuing problem.

A new radio will be a nice addition. The stock unit has a famously failed display. A used replacement unit is a couple of hundred dollars. There is a fellow in Arkansas, Roverville Radio that refurbishes your unit for less than 200$(US).

If I can’t find a good unit on eBay, I think I’ll just buy a new “modern unit”. That way I can get Sirius OR an iPod OR a memory stick OR Bluetooth my phone OR whatever is available right now to get tunes in my Classic. I’m sure what ever I buy the next technology will be release a week after I have it installed. So get your money together this summer for your own sound system upgrade.

Undercoating? We don’t need no stinking undercoating (Post #142) 4/30/2009

Some Toyota Tundra owners are reportedly experiencing inordinately heavy amounts of premature rust, and they want the Japanese automaker to take action to address the problem. WCVB TV in Boston has been investigating the Toyota rust situation for about a year, and they’re reporting that at least two dozen 2000-2001 Tundra owners have complained to the National Highway Traffic Safety Administration (NHTSA). Owners of 1995-2001 Toyota pickups say their vehicles had inadequate corrosion protection, and many feel that the automaker should recall the vehicles.

Wow! I thought Land Rovers were rust buckets. I’ve never seen any Land Rover that badly rusted. I will say though, that I live in a nearly perfect climate for Land Rovers.

Click the pic for the story.

And of course the original…

I’ve discussed on a number of occasions a couple of place you should check your Land Rovers for rust. Namely everywhere…wait, no, mostly the floor pans and rear gates of the Range Rover Classics and the cross support on the Land Rover Discovery.

I’ve had floor pans rust out on a Dodge Ram pickup. And I used to ride around in a JagGuy’s Ford Falcon that had liberated speed limit signs for floor boards due to the rust on that body.

JagGuy's Falcon didn't look anything like this one

Rust is not any fun on a classic automobile, let alone on a new model. So if you haven’t made a point of taking up the carpets in your Land Rover I highly recommend it. You need to nip that rust in the bud as soon as you find it. Otherwise you will be doing the difficult and unpleasant work of replacing panels and other parts lost to this silent killer. (almost sounds like an infomercial doesn’t it)

There are lots of solutions for your rust problems. I urge you to research them before you are buying a complete frame or worse, scraping a beloved Land Rover.

Happy Rovering and thanks for reading.

Rust! (Post #85) 8/20/2007

When I went to change the transaxle oil I had to remove the support beam that runs across the frame just below the transaxle.
And I was shocked to find some really nasty rust.This is not good. And it was badly coroded. I ran the wire brush and a wire wheel on a drill across it as much as I could. I then sprayed it with brake cleaner on the under side. On the beam I washed the brushed part with alcohol and then on both I used the air to dry them.
I then put some self etching primer on it. Mostly to annoy the rust until I can get under there and grind off the rust and repaint the parts.
I’m not sure a set of washers between the bracket and the frame wouldn’t be a bad idea. At least then it would mostly dry after it gets wet. Instead of that water sitting in between and rusting.
I would highly recommend any one with a Discovery with such a support beam get under there and take care of the rust IMMEDIATELY.
Thanks for reading and happy rovering.