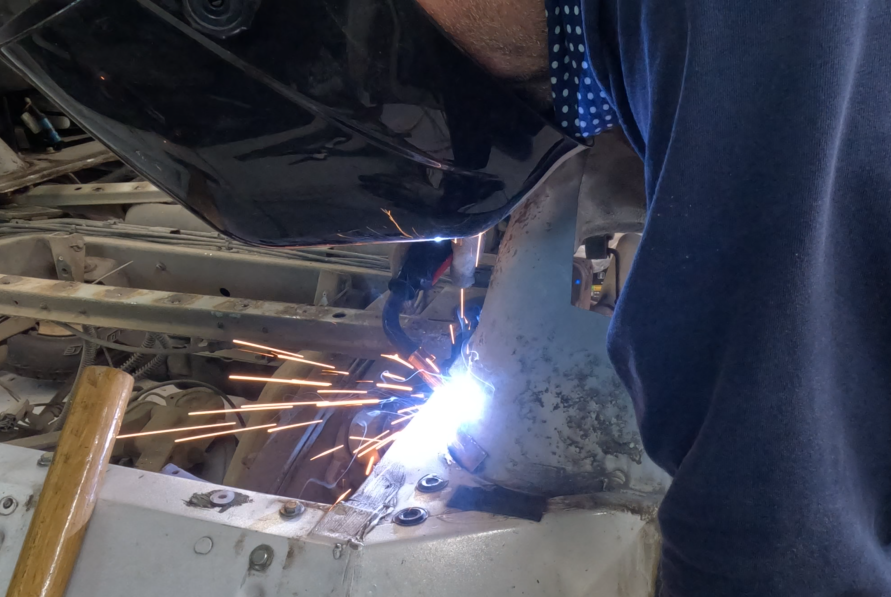
Fender Repair Part 2, Welding Patches (Post #618) August 5, 2023

Welding the corner

Today started out “cool”. At least it was cool for an August on the southern plains. The temp was lower than I thought and clouds covered the northern sky and looked to be moving south. This usually says we are going to get a break in the hot temps. We’ve been 24 days without rain. But with all things weather in Oklahoma, a full cloud cover did not offer any relief from the heat.

Regardless I need to make some progress on the Big White Bus if I’m ever going to drive her again. So after a little bit of trimming of the hedgerow between my neighbor and our house I got to work. Sticking with the theme of welding for this summer, repairing the rust in the fender seemed like a great idea.

I had four places in the fender that needed repair before I started today. I am now down to two. I repaired a small rust spot and repaired the corner of the fender.

I fixed one spot with a simple rectangle and welded it up in short order.

The corner was a complicated piece to fix. The patch for the corner was somewhat shaped like a trough? I don’t have the tools to make that happen. I tried hammering a piece of 16 gauge into a trough but really didn’t have any luck.

I got a bit of inspiration and decided that if I put the patch in and shaped it like one of the complex sides I could perhaps hammer it to fit the other complex shape. So with a bunch of vise-grips I got the patch in place and went to work with the hammer. I worked from the back of the piece to the front and continued until it was in the right shape. To say I was surprised it worked that well was an understatement.

I tacked it into place and began attempting to weld it in place. While not a perfect job, I think it will work and will keep the water out of the truck. I welded both the inside and outside of the patch. This was mostly in a vain attempt to make it a water proof solution. I know I’m fooling myself that it is.

So the final step in the fender repair well will be to give the entire underside a healthy coat of bedliner. I will do this on all four corners once I am done with the repairs.

I am still trying to source the bed panel. There are some in England, but I haven’t found one on this side of the pond yet. I have a Facebook contact that might do a bulk purchase and have some shipped over. I am hoping this works out. I am pretty sure I could order the panel and the support pieces but the shipping is ridiculous. Like, more expensive than the parts.

There were some issues with the video. The sound decided not to record on two sections. No camera changes were made…just no sound. I did a voice over for those sections. Also the shop was too hot for the GoPro to work and after two segments it shut down. I stuck it on the portable air conditioner to get it back to operating temp twice.

There are the last two sections for this fender, the “big hole” and “the strap” as I am referring to them now. Once those are done this fender is COMPLETED! Progress will have been made!

Thanks for reading and Happy Rovering.
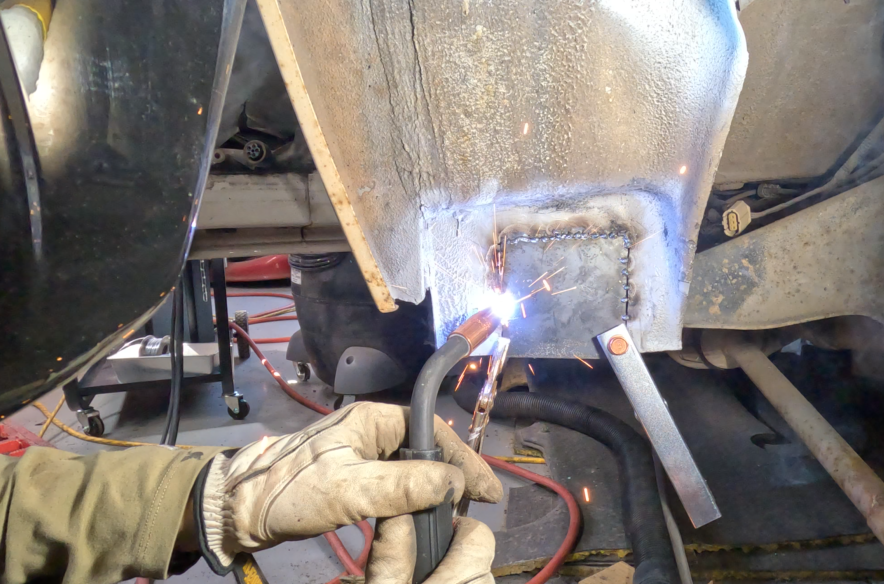
Fender Repair Part 1, Welding Patches (Post #616) July 25, 2023

Welding a patch for the body mount

I finally broke down and welded something on my Range Rover. While I will admit freely, I am NOT a welder, but I did enjoy getting the patches welded on. I took a few hours the day before this video was shot to “practice” welding with some scraps I had cut off the Big White Bus.

One of the difficulties is the metal on the Range Rover and the metal I am patching with are different thicknesses. I believe the OEM body panels are 18 gauge whereas my patching material is 16 gauge. I watched a YouTube video where a young man from Weld.com showed how he setup his welder to weld different thicknesses. It’s pretty good stuff and I recommend it if you are still wondering how to setup your welder and what settings you might want to start with. His settings for 18 and 16 weren’t different so I just need to find the same settings he suggested and convert those values to the letter equivalent on my Lincoln MIG Pro 180.

I also watched a fellow from Make It Kustom that has some great tips on welding and patch making. Good stuff there too. This guy is obviously an artist and I imagine has, “done this a time or two.”

In my video there is a lot of grinding and sparks flying and hopefully some good tips to help you weld your patches on your Range Rover Classic. I sped a lot of it up so I’m not consuming a lot of your life watching my low grade videos.

The camera overheated at the end for the second time that day. The temp inside the shoppe was above 110°F (which is 43.3°C for you metric system types). Yeah that’s pretty hot for this old man. I’m seriously going to investigate getting an exhaust fan installed to pull the hot air out.

Overall I’m pretty excited that I can weld stuff. I did fix a yard swing that one of our trees landed on and crushed. I’m looking forward to finishing the welding on the rust and turn my attention to making stuff like a 270 degree awning, a rear bumper, and lots of other stuff.

Thanks for reading and Happy Rovering

Fender Prep Part 2, Rusty Bits (Post #615) July 18, 2023

Prepping the fender

In this installment I spent two days preparing the fender well for welding in the patches. Two days (4 to 5 hours each) of wire-wheeling and grinding and cutting. It was a dirty job with lots of rust dust and rubber flying all over.

My spinal cord didn’t enjoy sitting on the hard shoppe floor for so long. And, it was hot. Deep in the Congo humid Africa hot in the shoppe. It would rain in the morning, then the sun would come out and crank up the air temp along with the humidity. Temps from 95F to 100F plus 90% humidity, AND I’m in the metal hot box of the shoppe where the temp is 105F to 115F. Brutal. I need an exhaust fan for the heat.

My shooting of video was mostly terrible. It also was extremely long. I’m not sure what I should have done differently to make this more consumable. Watching other Youtubers I see they sometimes have longer videos. I would have most likely had to skip some of the work. How much grinding does one need to watch? I sped those parts up to cut time.

I’m prepping the first of the welding videos now and should have it out this week.

Thanks for reading and Happy Rovering.
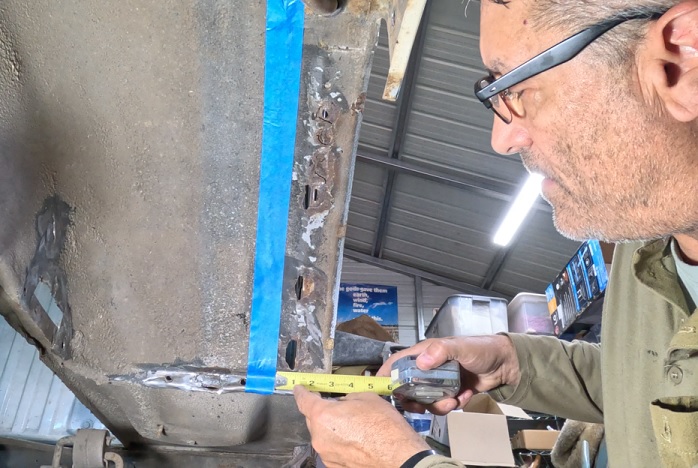
mmmm rust removal….

Fender Prep and Planning to Weld (Post #612) July 3, 2023

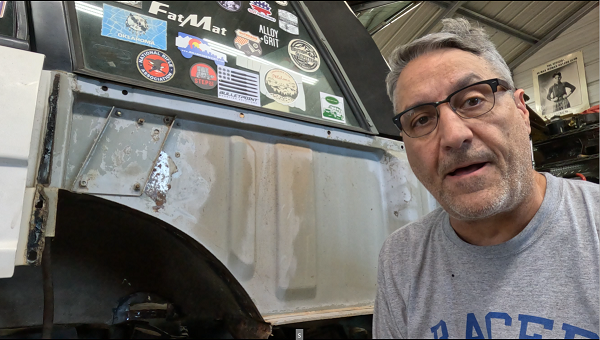
Me looking back at the camera.

In this installment I talk about how I will attack the rust in the driver’s side rear wheel well. I bought some shielding gas for my mig welder and will be welding patches and fixes this week. My GoPro camera decided not to record audio on the underside review so you’ll have to settle for a lovely voice over (which is terrible). You’re welcome.

Hope you enjoy the content. You can contribute to help with the cost of keeping this site on the internet through my Patreon account.

Thanks for reading and Happy Rovering.
Sill Rust (Post #607) 4/4/2023

Sill rust

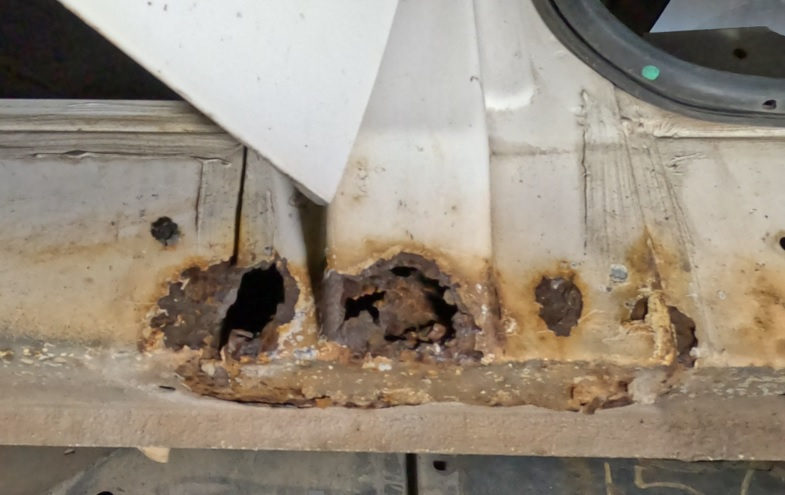
Rust. The ever present issue in every Land Rover. While investigating the rust in the rear floor board I found some really nasty rust on the sills. So much so in some places that additional cutting and repair will need to be planned.

The passenger side B Pillar is rusted out. This will need some major work to rebuild. I have prices for the steel and a welder. I just need to pull the trigger on them both. I also need to source about a case of zinc based primer like Seymour 20-1675 PBE Professional Primer [Amazon.com] More research is needed for this. I’ve seen and read some things that give be some doubt about this process.

For now, I’ve coated the bare metal with some primer. Now on to the video…

You can support me on Patreon.

Thanks for reading and Happy Rovering.
D Pillar – Painting? (Post #602) 10/3/2022

D Pillar Work, Interior trim painting…allergies

I got out into the shop and was working on some peripheral projects over the weekend. Peripheral because they don’t directly get the Big White Bus back on the road for driving. These are the cosmetic fixes, plain and simple. The primary project line is getting the motor back to 100% and making it reliable. I completed the repair of the heater fan blower motor. That disabled the motor due to the coolant hoses being removed.

I did start the motor about a month ago. Surprisingly she fired right up. I was really happy about that. I have not addressed the original issue with the reliability of the motor which is the ignition system. I’m 94.67% sure I’m going to replace the distributor with a Davis Unified Ignition (DUI). Its an all in one unit built in Memphis, Tennessee. Seeing the price today makes me wish I’d have bought it a year ago. The price has gone up about 50$(US). Although waiting has allowed me to start the one year warranty when I’m actually driving her.

All other projects from the list….linked here [Okierover.com Blog] not counting the replacement alternator, which I believe is where my vampire batter drain is coming from, are not keeping me from driving her.

I’ve ordered Knightsbridge seat covers. I finally talked myself out of putting leather back in. The estimates I got from local car upholstery companies were more expensive than ordering new leather…..customized with embroidered family crests on the headrests and my face digitally embroidered on the seat backs. Just kidding, but seriously, super expensive. So I ordered seat covers I’m not afraid to get muddy and dirty.

My new radio and speakers have arrived. I’ll need to watch the install video, call tech support 16 times, and finally give up and have the Evil German Dude or JagGuy help me install it. I’ll post something about that when I get closer to installing.

Still a couple of interior trim pieces that need painting. I am not going to remove them, I’m going to paint them in place, its just not worth the effort to remove them. The door cards came out without much effort and I need to wash them down, tape them off, and paint them. Perhaps next weekend.

I know this post was about the D Pillar so let me close with that. I have the welding repair still yet to do. As mentioned in the video, I used a palm sander and 100grit sandpaper to remove the glue from the beauty cover. It formerly had vinyl wrapped on it.

I’ve cut out some closed cell neoprene foam to replace the rust inducing open cell crap they delivered the Range Rover with from the factory. I’ve decided to start with painting the beauty panels. Rattle can style…can’t get much more redneck than that. I’ll show the finished product when I get it done.

Thanks for reading, watching, and Happy Rovering.