Painting My Dash (Post #600) 9/19/2022

6 minutes of rambling about painting and rust.

My dash looks like hell. The sun has really taken it’s toll on the plastic. Several places are starting to turn into dust. It also is no longer uniform in color and some pieces aren’t even close to the original color. That color was/is Bokhara Green. Named from the color often found in oriental rugs from the Bokhara district of Turkestan. Traditionally made by the Turkmen tribes, the rugs were made almost entirely from locally obtained materials. Using wool from the herds and vegetable dyes, or other natural dyes from the land to create the Bokhara green color.

In my extensive research (30 minutes of distracted Google searching), I could not find a paint code I could take to a paint store. Nor could I find a can of paint on my side of the big pond (the Atlantic Ocean). You can’t ship paint, believe it or not, its flammable (the more you know…).

Before we get too far into this post…a disclaimer:

I have no idea if painting the plastic parts of my dash is going to work. I did not do any extensive research on best practices or if the products I had available would even bond properly with my very sun damaged dash. Undertake this at your own risk.

With OEM Bokhara Green unavailable, I started looking for colors and stumbled across Rust-Oleum Specialty Flat Earth Brown Camouflage Spray Paint [Ace Hardware]. I originally found the green color but once I saw the brown…I knew that was it.

I painted the dash pieces and have decided that the “flat” and “powdery” nature of this paint is going to be difficult to clean up later. Dust and whatever that will inevitably find its way on to these parts is going to be hard to wipe off. So I decided to experiment with coating the paint with a matte clear. It will also help with keeping the sun off the plastic. UV protection is right there on the label.

I stopped at the store on the way home and picked up the Matte Clear. I tested it on a piece of trim. It dried to a matte finish. This is a second wet coat in the picture.

Un-coated above, Matte finish below

I’ve got a bunch more work to do. I found some more rust on the floorboard in the cargo area. To get this fixed I’m going to need to cut the floorboard out and patch it. The floorboard is supported by a piece of steel that is very rusted and failing in several places. To do this right, I need to replace the steel that is failing. I don’t know what that will entail at this time.

Rusty hole in the floorboard in the cargo area.

I also popped for this ridiculously expensive rust paint.

Hopefully this will magically do what it says it will do.

This paint was insanely expensive. Like 160$(US) for this gallon. I’m not going to lie, I’ve got high hopes for this stuff. Everything I’ve painted on this Range Rover has already begun to have surface rust. I see these types of products used on the YouTubes and TV shows and I’m hoping it works as well as it appears to in the magic of television and the interwebs.

To replace the rusted bits, I’m going to check with Mickey at Mickey’s Garage [Mickey’s Garage] as he indicated on the Facebook that he may have a donor vehicle that I could perhaps get some parts from.

Every one of these “new discoveries” just postpone the day I will get to drive the Big White Bus for pleasure again. It’s frustrating, but it is what it is. I need to fix this rust. The things I want to use this vehicle for will require the flooring to be fixed. No reason to spend a few hundred dollars on building a bed and drawer solution if its just going to get ruined when water gets inside. It’s fun to fix stuff…right? Am I having fun? I’m not sure yet.

My friend the Evil German Dude gave me some excellent advise recently. “You’ve got to leave work at work, and put things behind you so you can go out to the shop and do things you WANT to do.” He’s right, I’ve been very distracted by home repair, nursing our dog back to health again, and I have neglected myself and my wants and needs.

Thanks for reading and Happy Rovering.
Fender Rust (Post #597) 4/5/2022

Big shocker!

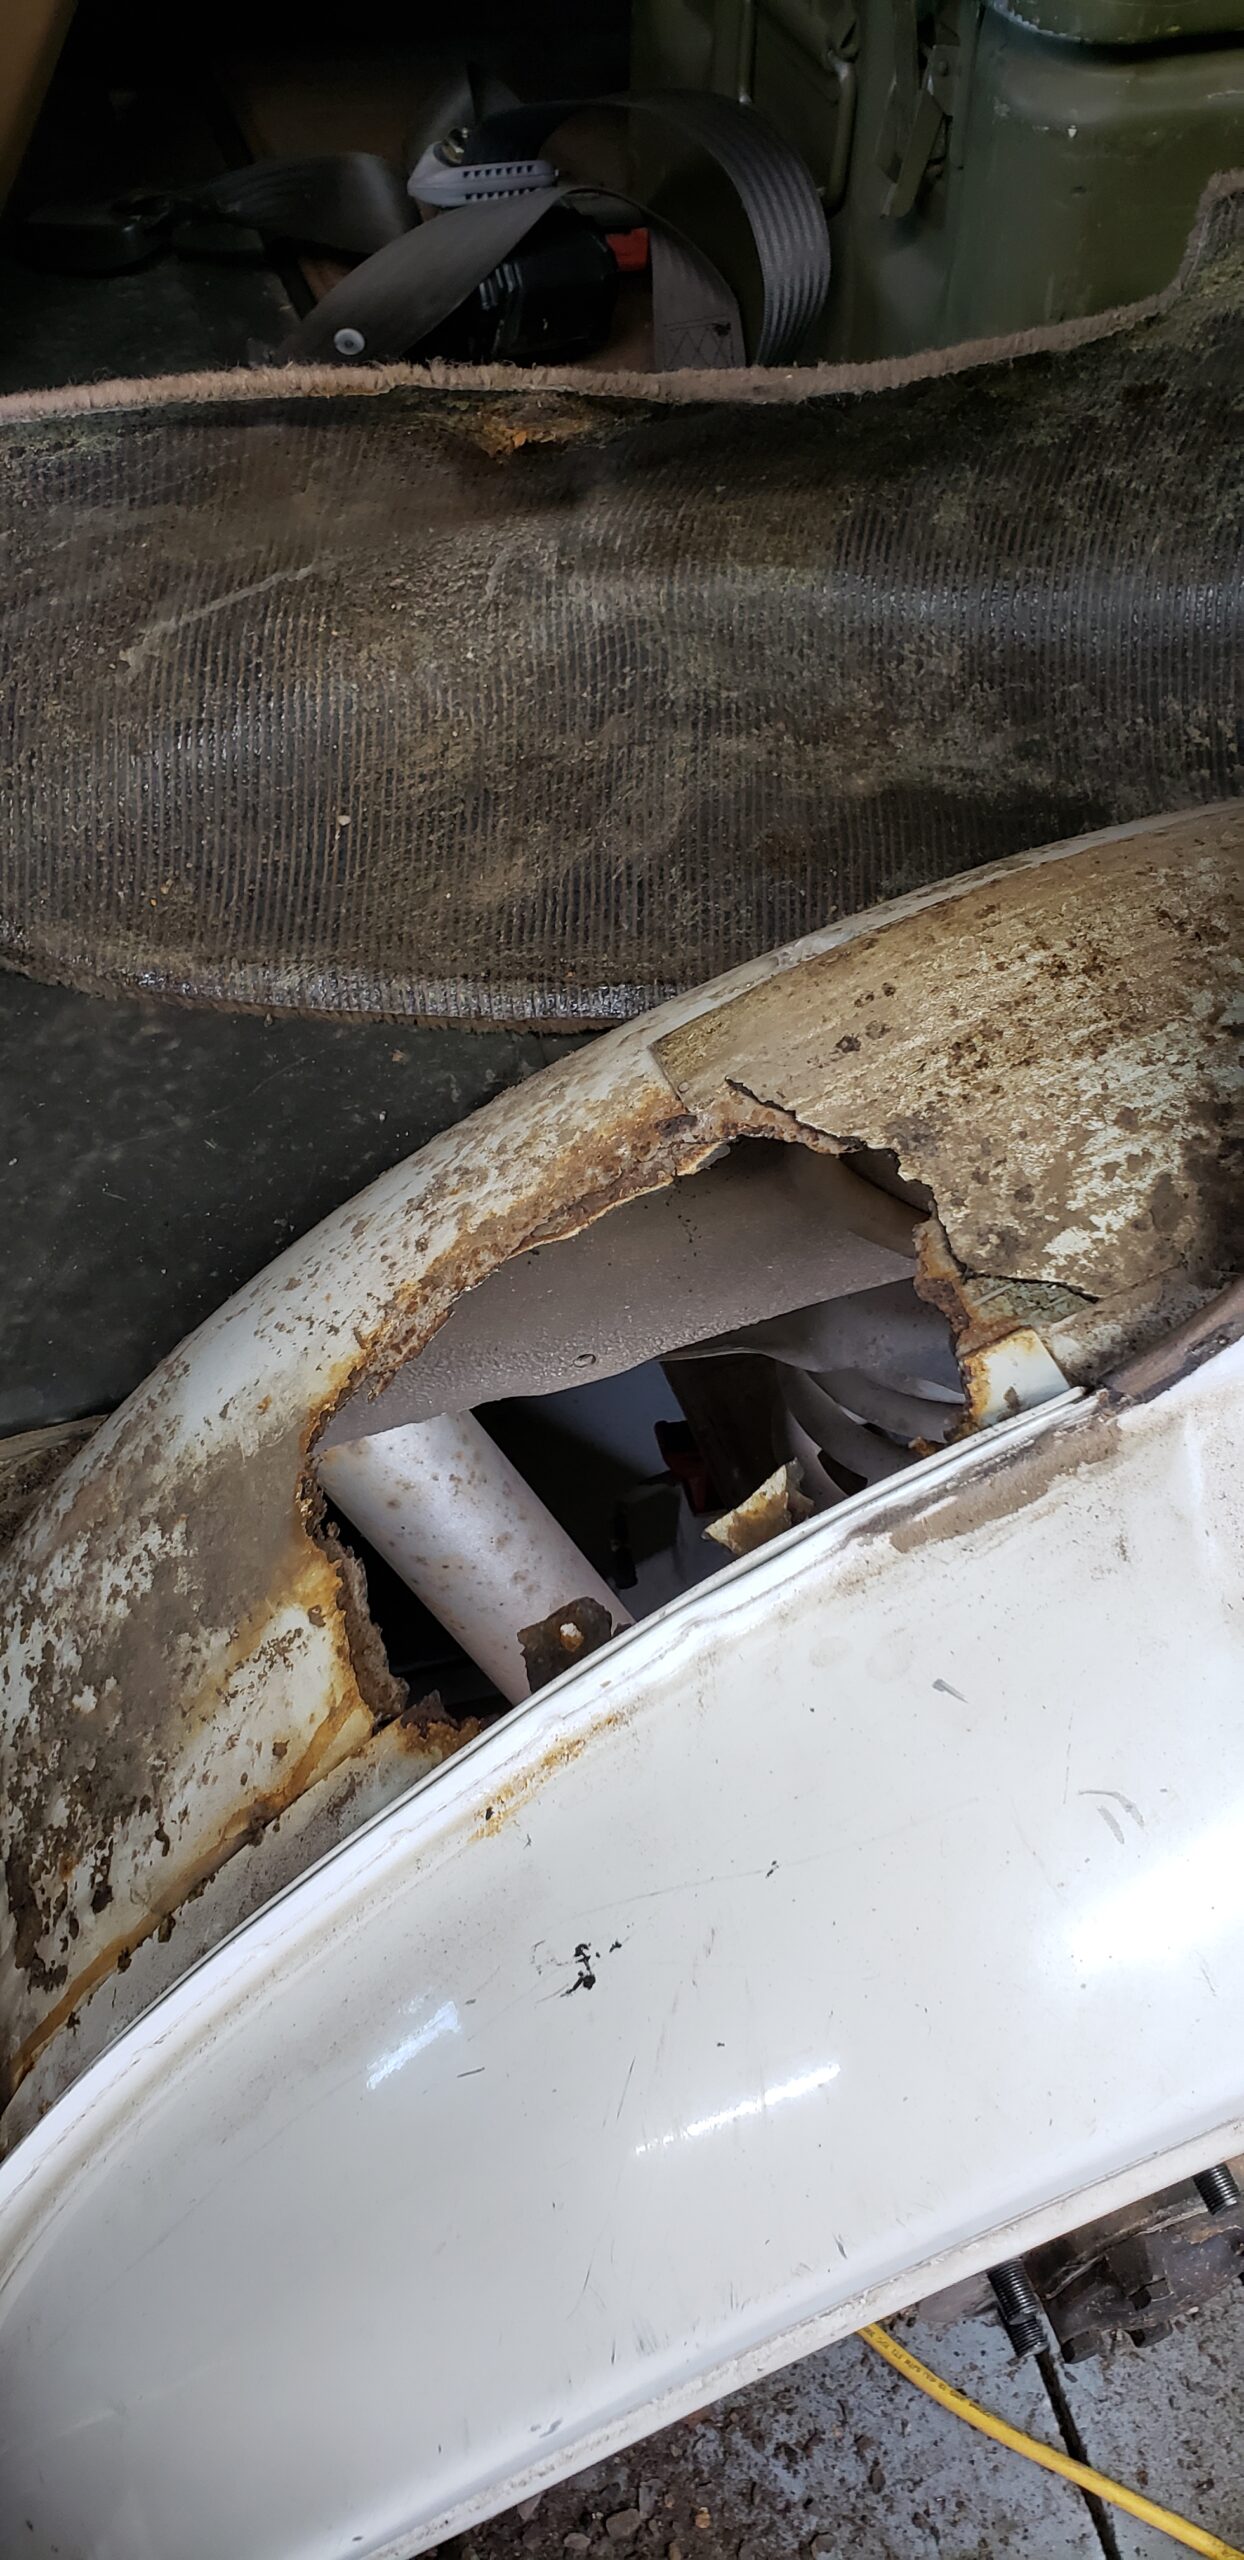
I found some rust under the left rear fender wheel well. I know! you are probably as surprised as I am!! (/sarcasm).

There were some signs of rust under the wheel well. I pointed them out in another video. So I decided to investigate. I found a lot of rust.

I’ve watched a bunch of videos where guys fix the rusted body panels and sub-structures. I guess it is my turn. I took a welding class a few months back and this was exactly why I took the class. However, I don’t have the tools I need to do most of these repairs. Not yet, anyway.

I will need:

  • A welder ($400 to How much do you want to spend amount of dollars)
    • Welding hood (already own it)
    • Welding gloves (already own it)
    • Fancy pliers (already own it)
    • Training (already done did it)
  • Metal break ($50 to I’ll probably borrow JagGuy’s)
  • A bunch of wire wheels to remove rust ($6 to $15+ for the fancy name brand ones)

I’m going to take a couple week break. I need to do some remodeling on the house’s master bathroom (Mrs. Okierover will be happy when I get this done.) I’m going to the Midwest Overlanding and Off-Road Expo (aka MOORE EXPO).

If you are thinking, “when will you get the Big White Bus back out on the backroads?” Well, I don’t know. At this pace…probably in the Fall. Trust me when I say…I really want to get her fixed and reliable again. Funding does matter, so hopefully that won’t be too big a constraint.

There will be more on this rust issue as I get back in the shoppe and start to sort out this mess.

Thanks for reading/watching and Happy Rovering.

D Pillar Vinyl Replacement, Part 1 (Post #596) 3/24/2022

D Pillar Vinyl Replacement

In this video post I investigate my cracking vinyl on the D pillar of the Big White Bus. The Southern Plains is very unforgiving to fabric, even plastic fabric. Mine is cracking and looking pretty terrible. Time to pull it off and get it replaced.

I’m going to need to refresh the black paint on all the pillars and the door frames. I found the part number for a rattle can of Beluga Black. Lots of cleaning, light sanding, cleaning, taping, priming, sanding, and painting, and more painting coming this summer.

And…the headliner is going to need either regluing or replacing…..again. I might go with a fabric that I can stick my souvenir event patches can stick to, just.like.a.real.overlander.

I also find a lovely whole rusted in the passenger side D pillar that will need some repair. Lots of grinding away the rust (rust abatement), welding in a new piece of metal, priming and painting. Good thing I took a welding class last year.

This is part one of possibly two or three videos.

Thanks for watching and Happy Rovering.

Footpad Repair (Post #595) 2/24/2022

https://youtube.com/watch?v=YuB75PMaZA0%3Frel%3D0

Some time ago I noticed the footpad on my inner fender well would droop when I rested my foot on it. In the beginning I would just put my foot under it and lift it back up. But one day when doing that the footpad broke away from the fender well.

The bolts holding the footpad in place had rust welded to the fender well. So when I was lifting it back into place I was actually bending the fender well pieces, much like you wiggle a wire rapidly to break it. As I’ve said before I really have become accustom to resting my foot on the pad and I wanted it fixed.

So I took some time and investigated and repaired it. I used a Dremel tool with a 60 grit grinding wheel and got as much rust off the inner and outer fender well. While I was behind the quarter panel I also ground off some surface rust.

Once I had it all ground down, I applied some acid etching primer to the metal surfaces. I know it won’t last forever, but maybe it will slow down the rust.

Thanks for reading and watching the video. It’s low quality but hopefully entertaining.

Thanks for reading and Happy Rovering.

Fender Swap (Post #556) 3/6/2016

If you are a regular reader you will remember some late unpleasantness when a distracted driver smacked into the Big White Bus while she was parked on a city street. I was determined to get the BWB back on the road. After all we already have one car payment and my budget would not allow for a second. Besides that, I love this Range Rover. We have a lot of miles together and I know her inside and out. I didn’t really relish going through learning another automobile.

So the day was set aside for “mechanic-ing”, but before we managed to get started some friends of Rogers showed up with a lovely 1932 Buick. I don’t remember all the specs on this car but it was a Buick and nicely done. The trunk was a dealer option and still had the original leather clad luggage inside. A time capsule to another time.

1932 Buick. You never know what will show up at the shoppe.

To get the fender straightened was the first thing. We got the Range Rover lined up with our pull point. We did not believe the under structure was damaged but we needed to pull the fender out to make sure. JagGuy got the “come along” out and hooked it to a M54 military truck parked in front of the shoppe and on to the bent fender.

That worked nicely. “The panel “wants” to go back the way it started.” he said admiring the job. So pulling it straight will help with a lot of the work. We did learn the bumper was a loss. I couldn’t see any reason to try and straighten it. I’ll have to get a new bumper. I’ve got my eyes on some aftermarket ones.

We took a break after that and went over to Back Door BBQ. The “Beastwich” sounded appetizing so I indulged. This might have been the best sandwich I’ve ever eaten. No, really. It was amazing.

Beastwich. Something different each day.

Satisfied we decided to attempt to put a coat of paint on the new fender I had salvaged from the Pull-A-Part yard a few weeks back. We got it on to the table and I was instructed to rough it up and wash it down with a solution that removed all the grit and oils. These are basically all the same, sorry I didn’t remember the product name.

After JagGuy applied a layer of paint he wasn’t terribly happy with the results. Knowing we weren’t going to be able to install the same day as paint, he told me he would put another coat on during the week and it would be ready for the next weekend to install.

The results were mixed. I should have probably bought medium drying instead of the fast I wound up buying from English Color and Supply. Good folks there, and they have the expertise and a nice disposition. I didn’t pretend to know what I was doing and asked for help all the way. Highly recommended.

English Color and Supply

So I retrieved the fender and a couple of weeks later I installed it. I had already disassembled the fender on the donor Range Rover so this was old hat to me. There really isn’t anything special about removing the fender. Remember these are built to be worked on.

Remove the lights.

Remove the pozi-drive (The Garage Journal) screws (use a number 1 or 2 Phillips) from the inside.


You will need to remove the plastic box on the seat release. The push button unscrews.

You need to remove the two bolts on the inside of the fender above the tire.

What she looks like without the fender.

Fender off.
Fender off.

Reattached the lens cover rubber to the fender BEFORE you put the new fender on. You can do it after…its just harder. I ground down the rust spots as well as I could and gave everything with rust a coat of self-etching primer.

I reattached the fender. The rear inside is attached with pop rivets. So you’ll need to put some elbow grease on the fender to get the holes lined up.

Pop rivets
Pop rivets

I think there were 4 or 5 needed. That’s it except for putting the light assembly back on. I used the new one I salvaged from the wreck. In the end, it looks great.

It is now the third different painting she has had. I really should get an orbital buffer to her this summer and get the oxidation off and get the panels shining and perhaps closer to the same color.

That’s about it. The removal and reassembly of the fender is a 1(one) on the Okierover Difficulty Scale. The painting however is another thing. If you REALLY, REALLY care about the paint matching and there being a nice coat of paint this might be a 3(three) on the Difficulty Scale. You would need to apply bondo and sand a great deal more than we did. Every minor imperfection on the panel will be magnified by ten once you start to apply paint. I didn’t care all that much about perfection.

Thanks for reading and Happy Rovering.

Randomly Meeting Another Range Rover Owner (Post #432) 1/9/2014

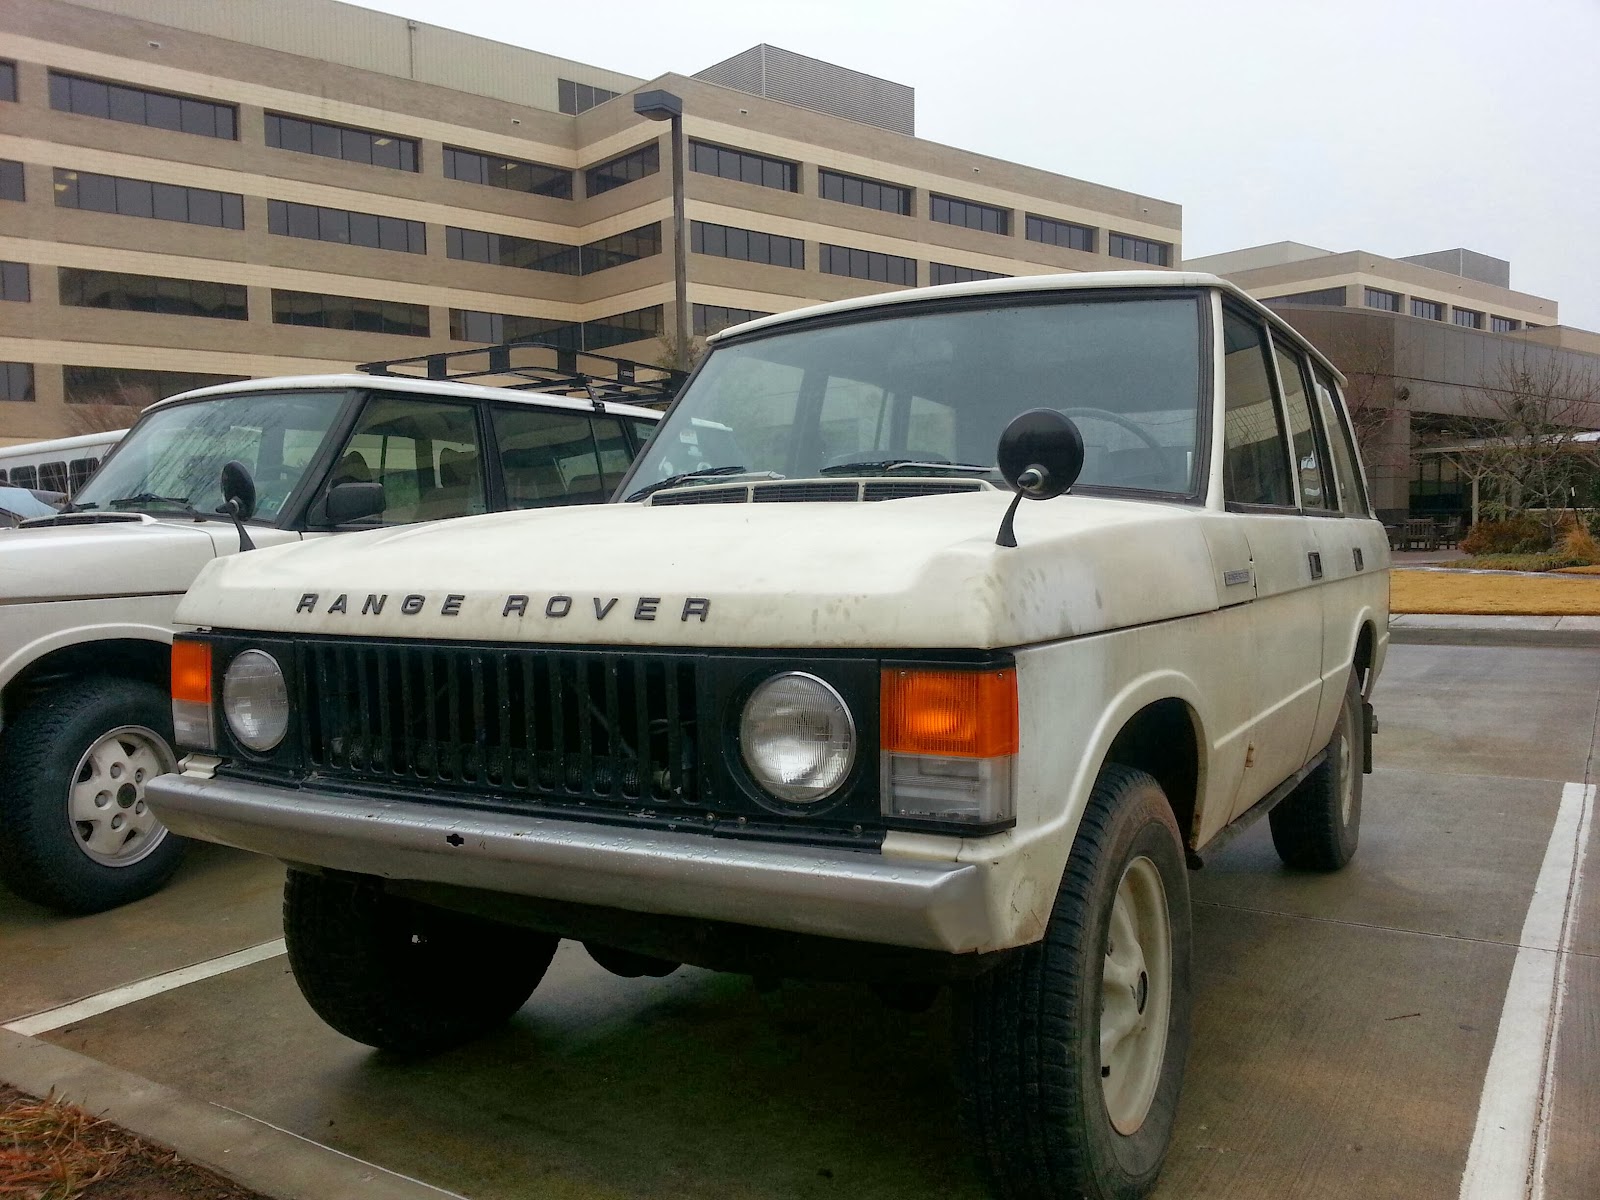
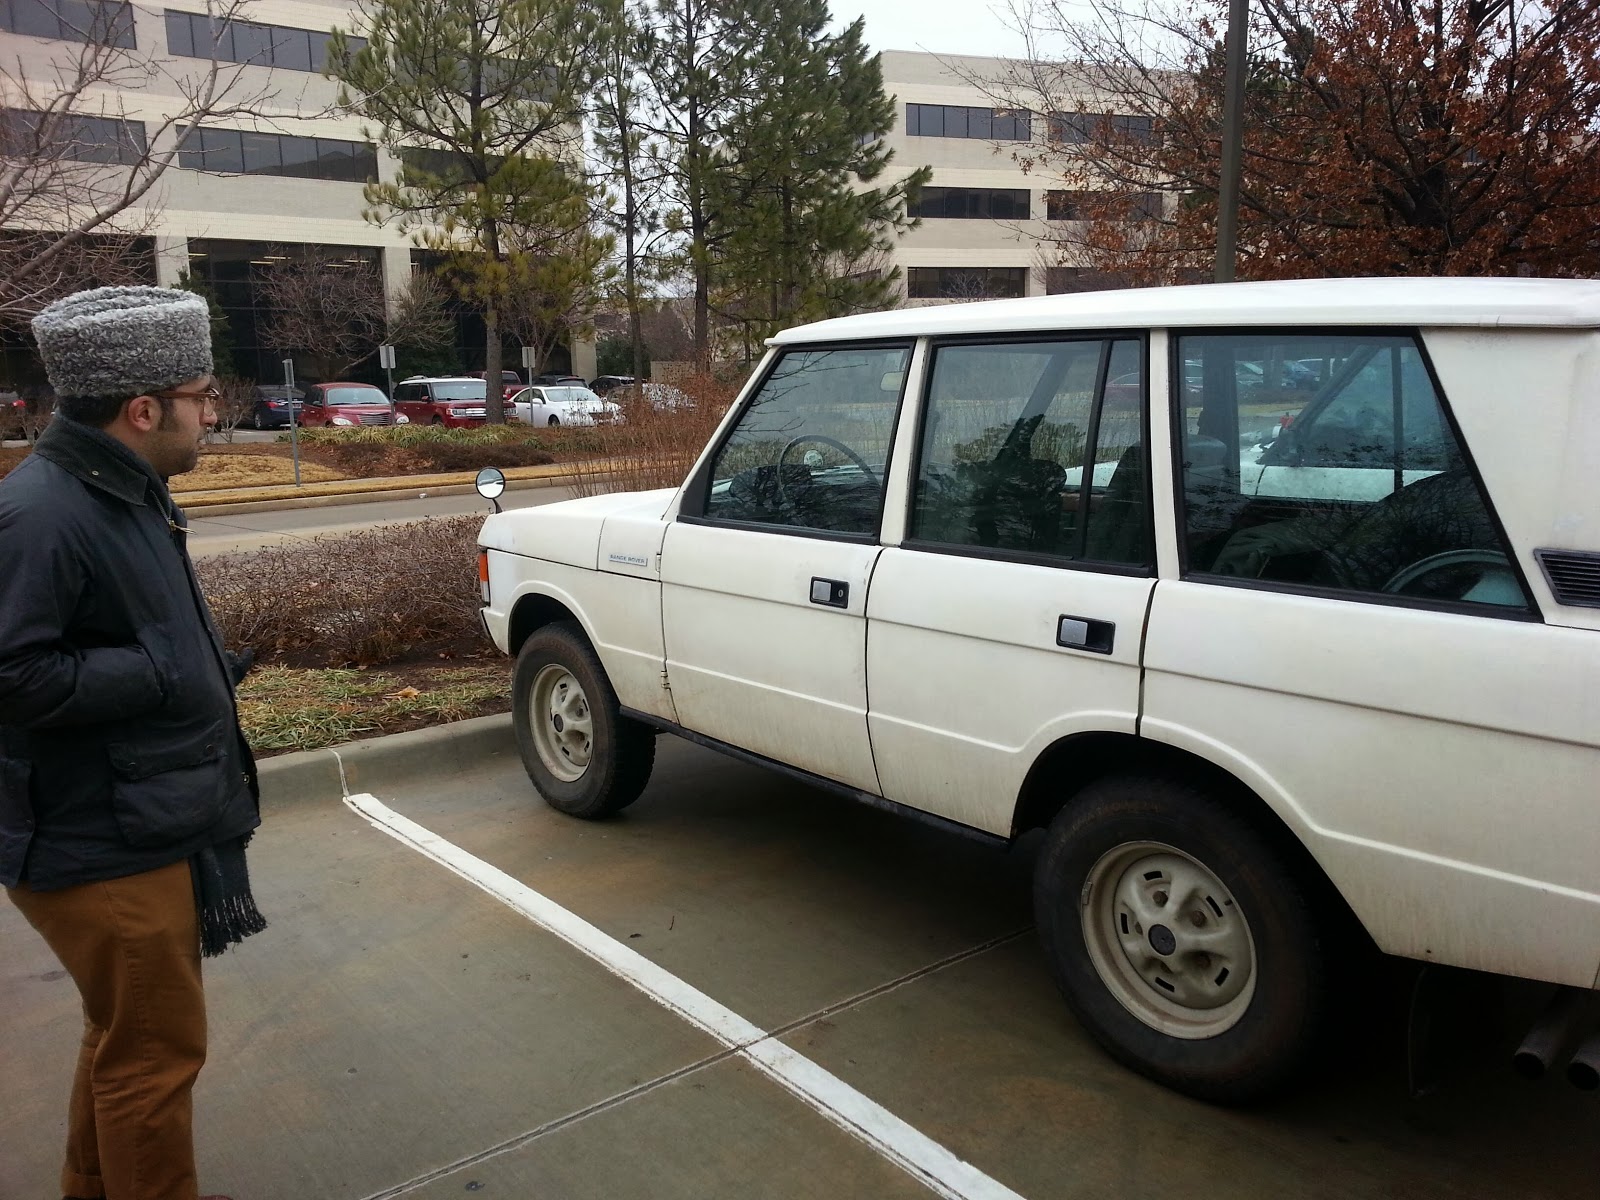
I was coming out of lunch today at Richey’s Grill (Urbanspoon) in the Research Park and eyed a young man giving my Range Rover “the once over” (Idiom dictionary). I quickly noticed his Range Rover next to mine in the lot. That gentleman was Cyrus. I introduced myself and we then began chatting about our Land Rovers.

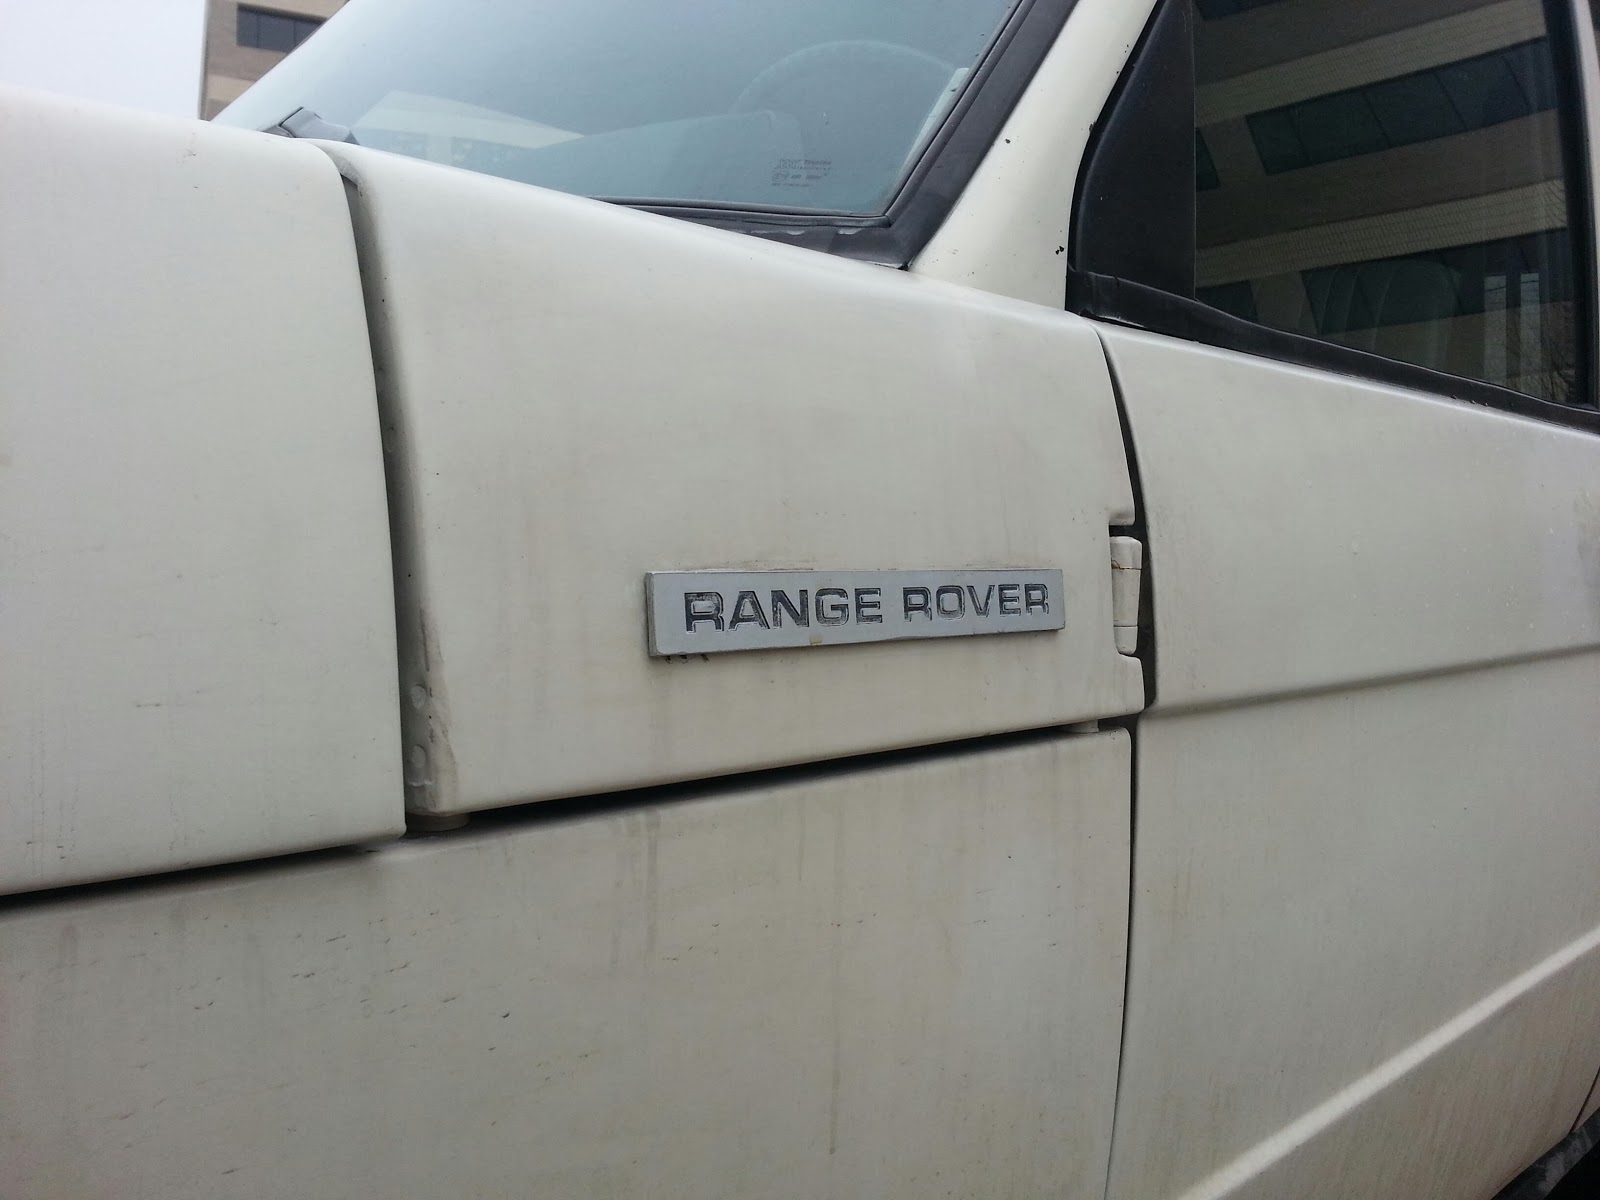
As you can tell his Land Rover was a bit different from mine. His is a 1988 model. Cyrus went on to tell me that the fellow he got it from went to a lot of trouble to make it appear to be an even earlier model. You can see some of the work in the pictures. Wing-mounted mirrors, badging, wheels, even the gas filler looked to be non-North American standard. He’d stripped out the interior and even swapped the steering wheel for an older version.
We talked about that a bit. I don’t know the models before 1989 very well so I didn’t have much to offer. I later looked them up on Rangerovers.net and the differences were great. Cyrus’s previous owner was obviously on a mission. The automatic shifter-cover even appeared to be from a 1970’s model Ford Maverick.
He opened it up and showed me the terrible floor pan rust he has. It is truly terrible and will take a lot of fabrication to correct. Cyrus talked about bringing it back to more original kit with an instrument bezel and some other bits.
I really enjoyed talking to him. As with most of my meetings it almost immediately turned to the subject of off-roading. I told him about Red Dirt Rovers and some garage days of old and shared my blog address again. He seemed really keen to join and meet up again. I’ll be sending him an email and a Google Community invite for Red Dirt Rovers.
I think I need to have some of those cheap business cards printed up so I can share this info more efficiently. 
Thanks for reading and Happy Rovering.