
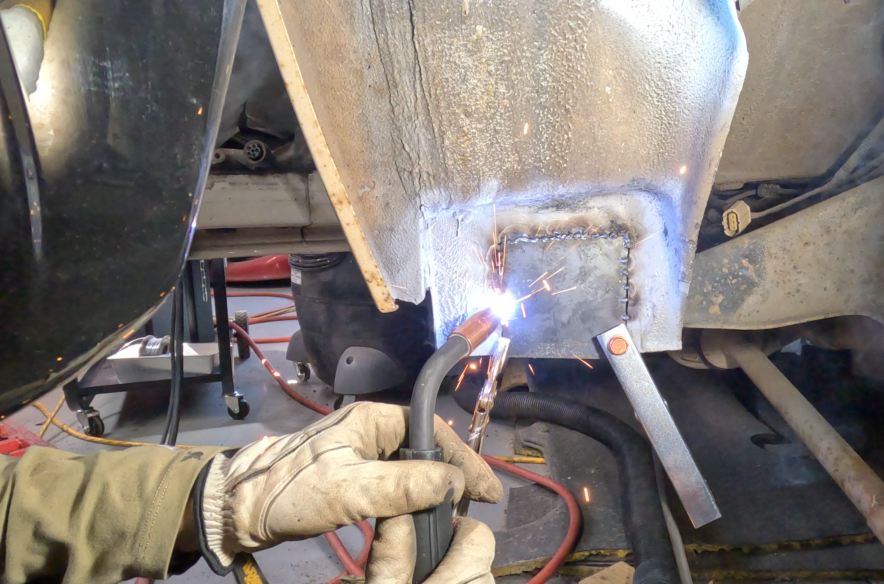
I finally broke down and welded something on my Range Rover. While I will admit freely, I am NOT a welder, but I did enjoy getting the patches welded on. I took a few hours the day before this video was shot to “practice” welding with some scraps I had cut off the Big White Bus.
One of the difficulties is the metal on the Range Rover and the metal I am patching with are different thicknesses. I believe the OEM body panels are 18 gauge whereas my patching material is 16 gauge. I watched a YouTube video where a young man from Weld.com showed how he setup his welder to weld different thicknesses. It’s pretty good stuff and I recommend it if you are still wondering how to setup your welder and what settings you might want to start with. His settings for 18 and 16 weren’t different so I just need to find the same settings he suggested and convert those values to the letter equivalent on my Lincoln MIG Pro 180.
I also watched a fellow from Make It Kustom that has some great tips on welding and patch making. Good stuff there too. This guy is obviously an artist and I imagine has, “done this a time or two.”
In my video there is a lot of grinding and sparks flying and hopefully some good tips to help you weld your patches on your Range Rover Classic. I sped a lot of it up so I’m not consuming a lot of your life watching my low grade videos.
The camera overheated at the end for the second time that day. The temp inside the shoppe was above 110°F (which is 43.3°C for you metric system types). Yeah that’s pretty hot for this old man. I’m seriously going to investigate getting an exhaust fan installed to pull the hot air out.
Overall I’m pretty excited that I can weld stuff. I did fix a yard swing that one of our trees landed on and crushed. I’m looking forward to finishing the welding on the rust and turn my attention to making stuff like a 270 degree awning, a rear bumper, and lots of other stuff.
Thanks for reading and Happy Rovering