Footwell Repair Part 7: Floor Panel Repair, Final Assembly (Post #666) 8/12/2024

Post #666!!!! Not today Satan, I finally wrap this fender up. Maybe a proper Devil Dog would have made a more creative 666 post. You’ll just have to settle for one of my old tags.

Mrs. Okierover made me get a new tag…she’s religious that way.

Anyway, I got this beast reassembled. Mostly reassembled…okay I got the fender on and the wiring loom back in place. It’s significant okay!? Dang!

My grand son Grady came over (mostly because he was bored at home) to help. And help he did! A lot of what I filmed before he got there was lost. I truly hate this GoPro, if its not overheating halfway through a shot, it’s dropping files, or losing the sound track off a segment. Trash. I’ve read a bunch of complaints about this GoPro 11. Several telling everyone they’ve fixed a bunch of the overheating in the GoPro12!! Now it overheats 1/3 less! Nope. Not gonna fall for it. GoPro, if you want to redeem yourself you can send me a 12 for free and I’ll give it a review. You probably won’t like the review, but I’ll give one an honest one.

Back to the assembly, I got the wiring loom put back in place. It went surprisingly well. The fender went on pretty easy. I did make one mistake in the building of the side bulkhead. I should have made it longer. The result was I didn’t have one of the two fender mounting places. I also lost some hardware. So I went to the hardware store to get replacements. Met a fellow Marine building a Skoolie camper for his family to travel in. Sounded like a fun project.

When I got back and Grady and I had wrapped up the video I was finishing the assembly and guess what I found?? Yeah, the missing screws and bolts I stopped looking for 3 hours earlier. Isn’t that just typical.

On an annoying note… the damn Big Whit Bus wouldn’t start. So I get to deal with that issue again. YAY! /sarcasm font.

Like and subscribe! Or whatever.

Thanks for reading and Happy Rovering.

Footwell Repair Part 6: Floor Panel Repair, Seam Sealer (Post #665) 8/5/2024

I started the weekend fixing my 2014 F150. I’ve been hearing noises from the front and could feel some vibration in the floorboard. I talked to a few of my co-workers and they diagnosed wheel hubs. So I ordered a set of Timkin hubs and new brake discs and pads. I spent 5 hours putting them on. I setup the awning for shade so I wasn’t in the sun the whole day.

Victory was mine and I spent the rest of the day mowing the yard and working in my pumpkin patch. I have 5 Kakai pumpkins so far and will have a bunch of pepitas to munch on.

Sunday I set to getting the seam on the new panel sealed. Nothing too exciting about this. I did learn that 3M seam sealer is way more expensive than the German made UPOL brand. 3M $72.00(US), UPOL $22.00(US). That’s a big discrepancy.

I’ve got a problem with the welds on the transmission tunnel side. I can’t reach them to get them cleaned (the panel under there is oily and dirty), the rubber coating (no longer attached to the steel), and I can’t get to the panel because the exhaust is in the way. I’ll need to drop the exhaust. I’m not excited about that. I need to get her up on a lift to see if it would be easier. More on this on another post.

I’ve got everything sealed. Next up, I need to coat all the panels in the wheel well in truck bed liner. I’m hoping this will DELAY the inevitable.

The next post will be me fumbling to remember how to reassemble this part of the truck.

A little shout out to Mrs. Okierover as it is our 35th wedding anniversary this weekend. Happy Anniversary sweetheart.

That’s about it, like and subscribe, and as always Happy Rovering.

https://youtu.be/yBh2xRWomw0

Footwell Repair Part 5: Floor Panel Repair, Panel Finally Installed (Post #664) 7/27/2024

Yes! I finally have the panel welded in. Is it pretty, oh hell no. Is it water tight, not even close.

I will liberally apply seam sealer. You’ll see that in my next video. I had a helluva time getting that panel held in place. I finally came up with a solution. Use a 50lb bag of sand to hold it in place while I set some welds. This could not have worked better.

I was also able to hammer the panel grooves flat. I went and got my grandson “Thumbtack” and had him hold a 10lb weight against the panel while I hammered on the opposite side. This work pretty well I guess? I don’t know. If I was better at body work I would have built a jig and made a panel with the same grooves. But I’m not a good body worker.

I covered as much of the panel in primer as I could reach. What I learned when I crawled underneath to spray primer on the panel was a big bummer. I found the welds had heated the rubber covering on the transmission tunnel. This caused the rubber to separate from the panel and you can guess what’s going to happen under there.

No, that was a terrible guess….really? It’s going to rust, rust a lot. I haven’t a clue what I’m going to have to do to get to this area and get it covered with paint and rust preventative coverings.

As I’ve said it a dozen times, every job creates two more jobs.

I have a shout out to Tumbleweed Garage [Youtube]. He’s working on a 1948 Willy’s Truck. I enjoy his work.

Thanks for reading, like and subscribe, and Happy Rovering.

Footwell Repair Part 1: Footwell Repair (Post #660) 6/30/2024

thumbnail

stu·pid·i·ty /sto͞oˈpidədē/ noun

1 : the quality or state of being stupid

2 : a stupid idea or act

3: working in a metal shop building in the heat of an Oklahoma summer

Good grief it was hot today. The shop was 120F° (48.8°C) when I opened the big rollup door. After a few minutes the temp calmed down to a very tolerable 105-110°F (sarcasm). It was about as hot in there as I’ve ever seen.

But temperature is not something we let ruin a good time. Some people go camping in this heat, I don’t. Some people continue to run as a hobby in this heat, I don’t. Some people work on their Land Rovers when its this hot outside, I definitely do.

The heat aside, I have to work on this Land Rover at every opportunity if I’m ever going to drive her again. So there I was sweating my b@11s off to make a floor panel patch.

I started with measuring the size AGAIN. I seriously measured for this patch at least a half dozen times. I then proceeded to cut a patch from my recently procured steel.

The patch needed a lot of manipulation to get close to fitting. I bent the panel by hand first and then used the BF hammer to get it even closer. I’ve still got a long way to go to get this even closer.

One of the seems in the deep bend along the transmission tunnel is not welded. That will need to be welded and sealed again. I also have a small patch to fix next to the bulkhead on the door side. Those two will be the next two things I tackle.

Once those are fixed, I’ll be able to finish the patch. The patch will need to have another 1/2 inch trimmed off. Then…there is the two bends that are there for structure or to limit the vibration. I’ll need to build a jig and use the air chisel as an air hammer to bend the metal.

This is going to take a router bit that will closely approximate bends. And it will take me making a jig. I watched a video on YouTube by “Make It Kustom” where he did this very thing. I’ll need to make the same tool he did. And I’ll need my air compressor…which…is now disabled.

Seems my last working air fitting end, which started leaking recently, now will not hold any tools because the ball bearings are missing. And if that wasn’t enough, my hose end is now stripped out and I won’t be able to put a new fitting on, so I get to buy a new hose too. Super awesome.

That’s where I decided to shut down my work and jump in the pool.

Thanks for reading, like and subscribe, and Happy Rovering.

https://youtu.be/U5KY1AeaX0s

Footwell Repair Part 11: Wheel Well Panel (Post #658) 6/19/2024

In this post I talk about making my replacement panel for the front passenger side wheel well. I went to Chickasha Industrial and bought a piece of scrap 20 gauge. It will be just the right amount for the fender and the floor panel. Happy I didn’t have to buy a giant sheet.

I started by making my measurements and then checking them again. After I finished that I checked the measurements again. In the video I show how I needed to have a trapezoid shape. And after typing trapezoid in this post I realize I have spelled it wrong in this post, which is being exported as I type up this post. Oh well…..

I referenced “Mephisto’s Trapezoid” from the 1981 Pee Wee Herman – Live at the Roxy show which was on HBO. It’s one of my favorite shows to watch and was the inspiration for Pee Wee’s Playhouse. Captain Carl, played by the amazing Phil Hartman, tells his story to Pee Wee about getting lost in Mephisto’s Trapezoid. Comedic genius.

I cut the steel and then measured again. I made some bends to get the inner edge and the back lip right. After getting the panel made I could tell I needed to make some adjustments to the fender well too. So I did some hammer and dolly work and got everything sorted. I also had to adjust my panel after I got everything sorted. No biggy.

I dry fitted the panel at least six times. I’m pretty sure I can get it into place with just a few plug welds. I’m going to try my hand tomorrow at modifying a broken drill bit to make a plug weld bit. If that doesn’t produce results I’ll probably run to a welding shop and see what I can find. The gist of this is you can paint everything and seal it with whatever then remove just the part of the paint you need to weld.

This is a giant experiment because the entire floor pan in the back is going to be done this way. The holes are there and all I’ll need to do is get the Z bar in place and make a crap ton of plug welds. Then I can get the entire seam sealed with bedliner and or whatever.

That’s pretty much it for now.

Like and subscribe and Happy Rovering.

https://youtu.be/nPFNPa3TgQY

Footwell Repair Part 3: Investi-Disassembly (Post #651) 4/12/2024

thumbnail Footwell Part 3

UGGGGGH!!!!!!
Will this ever end?

I think I know the answer to that. But I have to show my exasperation. This rust find is possibly the worst thing ever. It’s in the most terrible of locations.

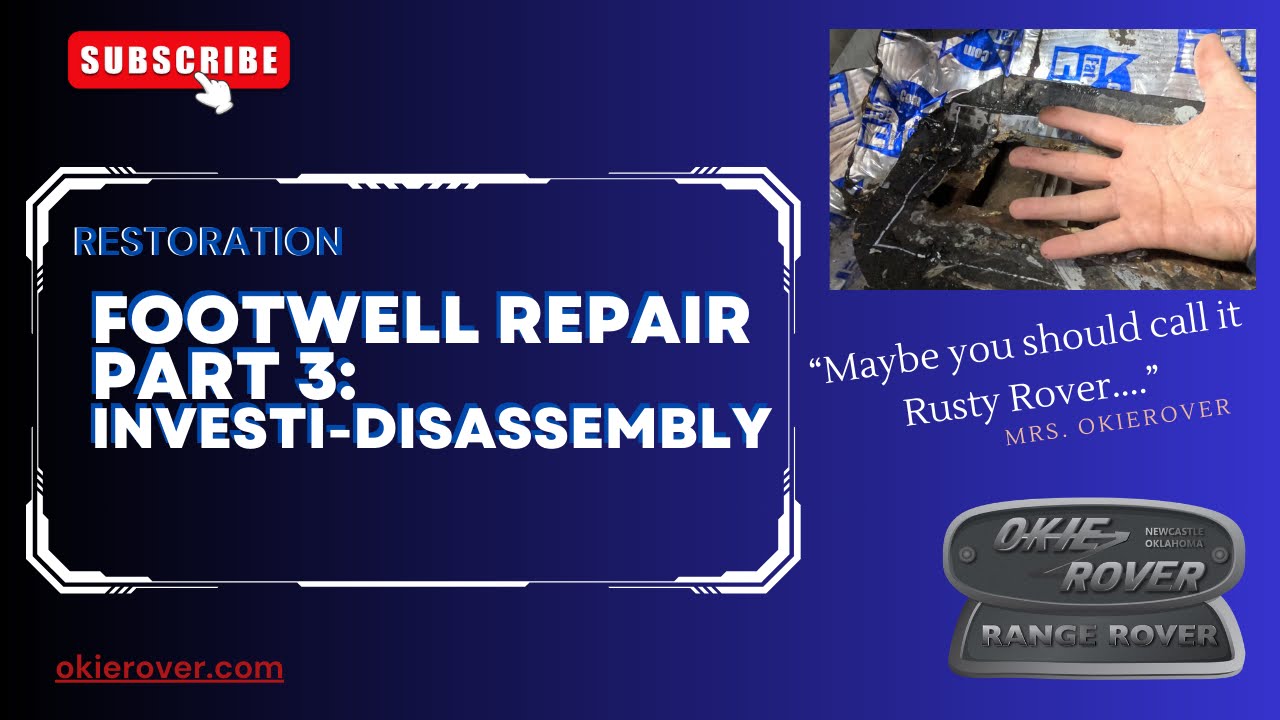
Mrs. Okierover said, “Maybe you should call it Rusty Rover instead of Okierover.”
She’s not wrong.

Every where there’s red its rusted through.

It’s as bad as you can imagine. There are at least four different panels converge in this area to form the firewall, fender well, and the foot well.

There are a LOT of peripherals that run through there too. Including the fuel lines which I may have nicked when I was air chiseling the panels out. If you’ve followed the blog for very long (at least since 2010) you’ve seen The Evil German Dude and I attempt to fix the floor pan when it rusted out.

We had fun, but we failed to keep the water out and our work finally failed. I had an ongoing issue with water getting in and wetting the fargin’ OPEN CELL floor pads under the carpets. The carpets too we constantly wet. I found the place where water was getting in making the carpet wet. It was through the firewall at the corner where it married up to the side wall.

As you will see in the video, this rust is bad. Real bad. The repair is going to be really difficult and probably beyond my skill set. That being said, I have to fix it myself. There is no money to send it off. The body work itself would likely cost more than the entire vehicle is worth.

I’ve still got a LOT of work to do. I need to find a solution. It will probably be welding several panels together. I’ll need to study it more to make my mind up.

I stared at it at least an hour while I shot the video. Still struggled to sort out a concrete idea.

I am going back out the weekend this is published as OkieF150. We are going to the 200th Celebration of Fort Gibson. Fort Gibson is the oldest town in Oklahoma. Way back when it was still Indian Territory the United States needed a fort to protect the trade from this area.

We are going to make a weekend out of it and I’m hoping we can get some fishing in while we are at it. This will be the last overlanding trip for this year as I will be spending every weekend for the rest of the year trying to sort out all these issues.

Like and subscribe on the videos and the blog.

Thanks for reading, and Happy Rovering.