
Everyone is taking their liberties with the latest installment of the Star Wars™ franchise so why not?
This weekend was the first available after the holidays and I had to take advantage of the time and get my bushings replaced on the front end. If you’ve been reading along, I’ve been trying to fix my death wobble (Okierover). I’ve tried lots of things and nothing has helped more than fiddling with the bushings.
With that theme in mind I resolved to replace all the poly bushings on the front axle. If you’ve been a reader, you remember 5 years ago (I thought it was longer) when I swapped my worn out factory original bushings for new-fangled poly bushings (Okierover). At that time, I bought into the hype that poly was awesome. I failed to listen to the voice of reason and replaced them with OEM rubber. So if you are reading this and you are one of the few forum contributors that told me to go rubber, you were right, I’m sorry I didn’t listen. The bottom line on the poly is they fail at a higher rate than the rubber. History is often forgotten when making decisions. If you look at it from that perspective, the OEM rubber bushes lasted 17 years and 150,000 miles. The poly bushes I just pulled out, 5 years and around 70,000 miles. That’s the bottom line.
I took advantage of JagGuy and his open-ended offer to use his garage. He has recently bought a second Land Rover Discovery. He found it at Nathan York’s Rover Central (http://www.okcrovercentral.com/). That makes him a two Land Rover family.
Getting Started
The first task is to get to the bushing you are going to replace. The second is to remove it. The third is to PRESS a new one back in. Of course you don’t have to press in a poly bushing. Therefore they come out pretty easily. I started with the panhard rod. I can now take the panhard rod off in less than 15 minutes counting tool fetching. It is by far the easiest to remove of the suspension bits. My arthritis is really starting to come home to roost and I was hoping to work from a standing position. That didn’t happen. There was a dead trailer parked in front of the lift and a dead car on the lift. So on my back I started.
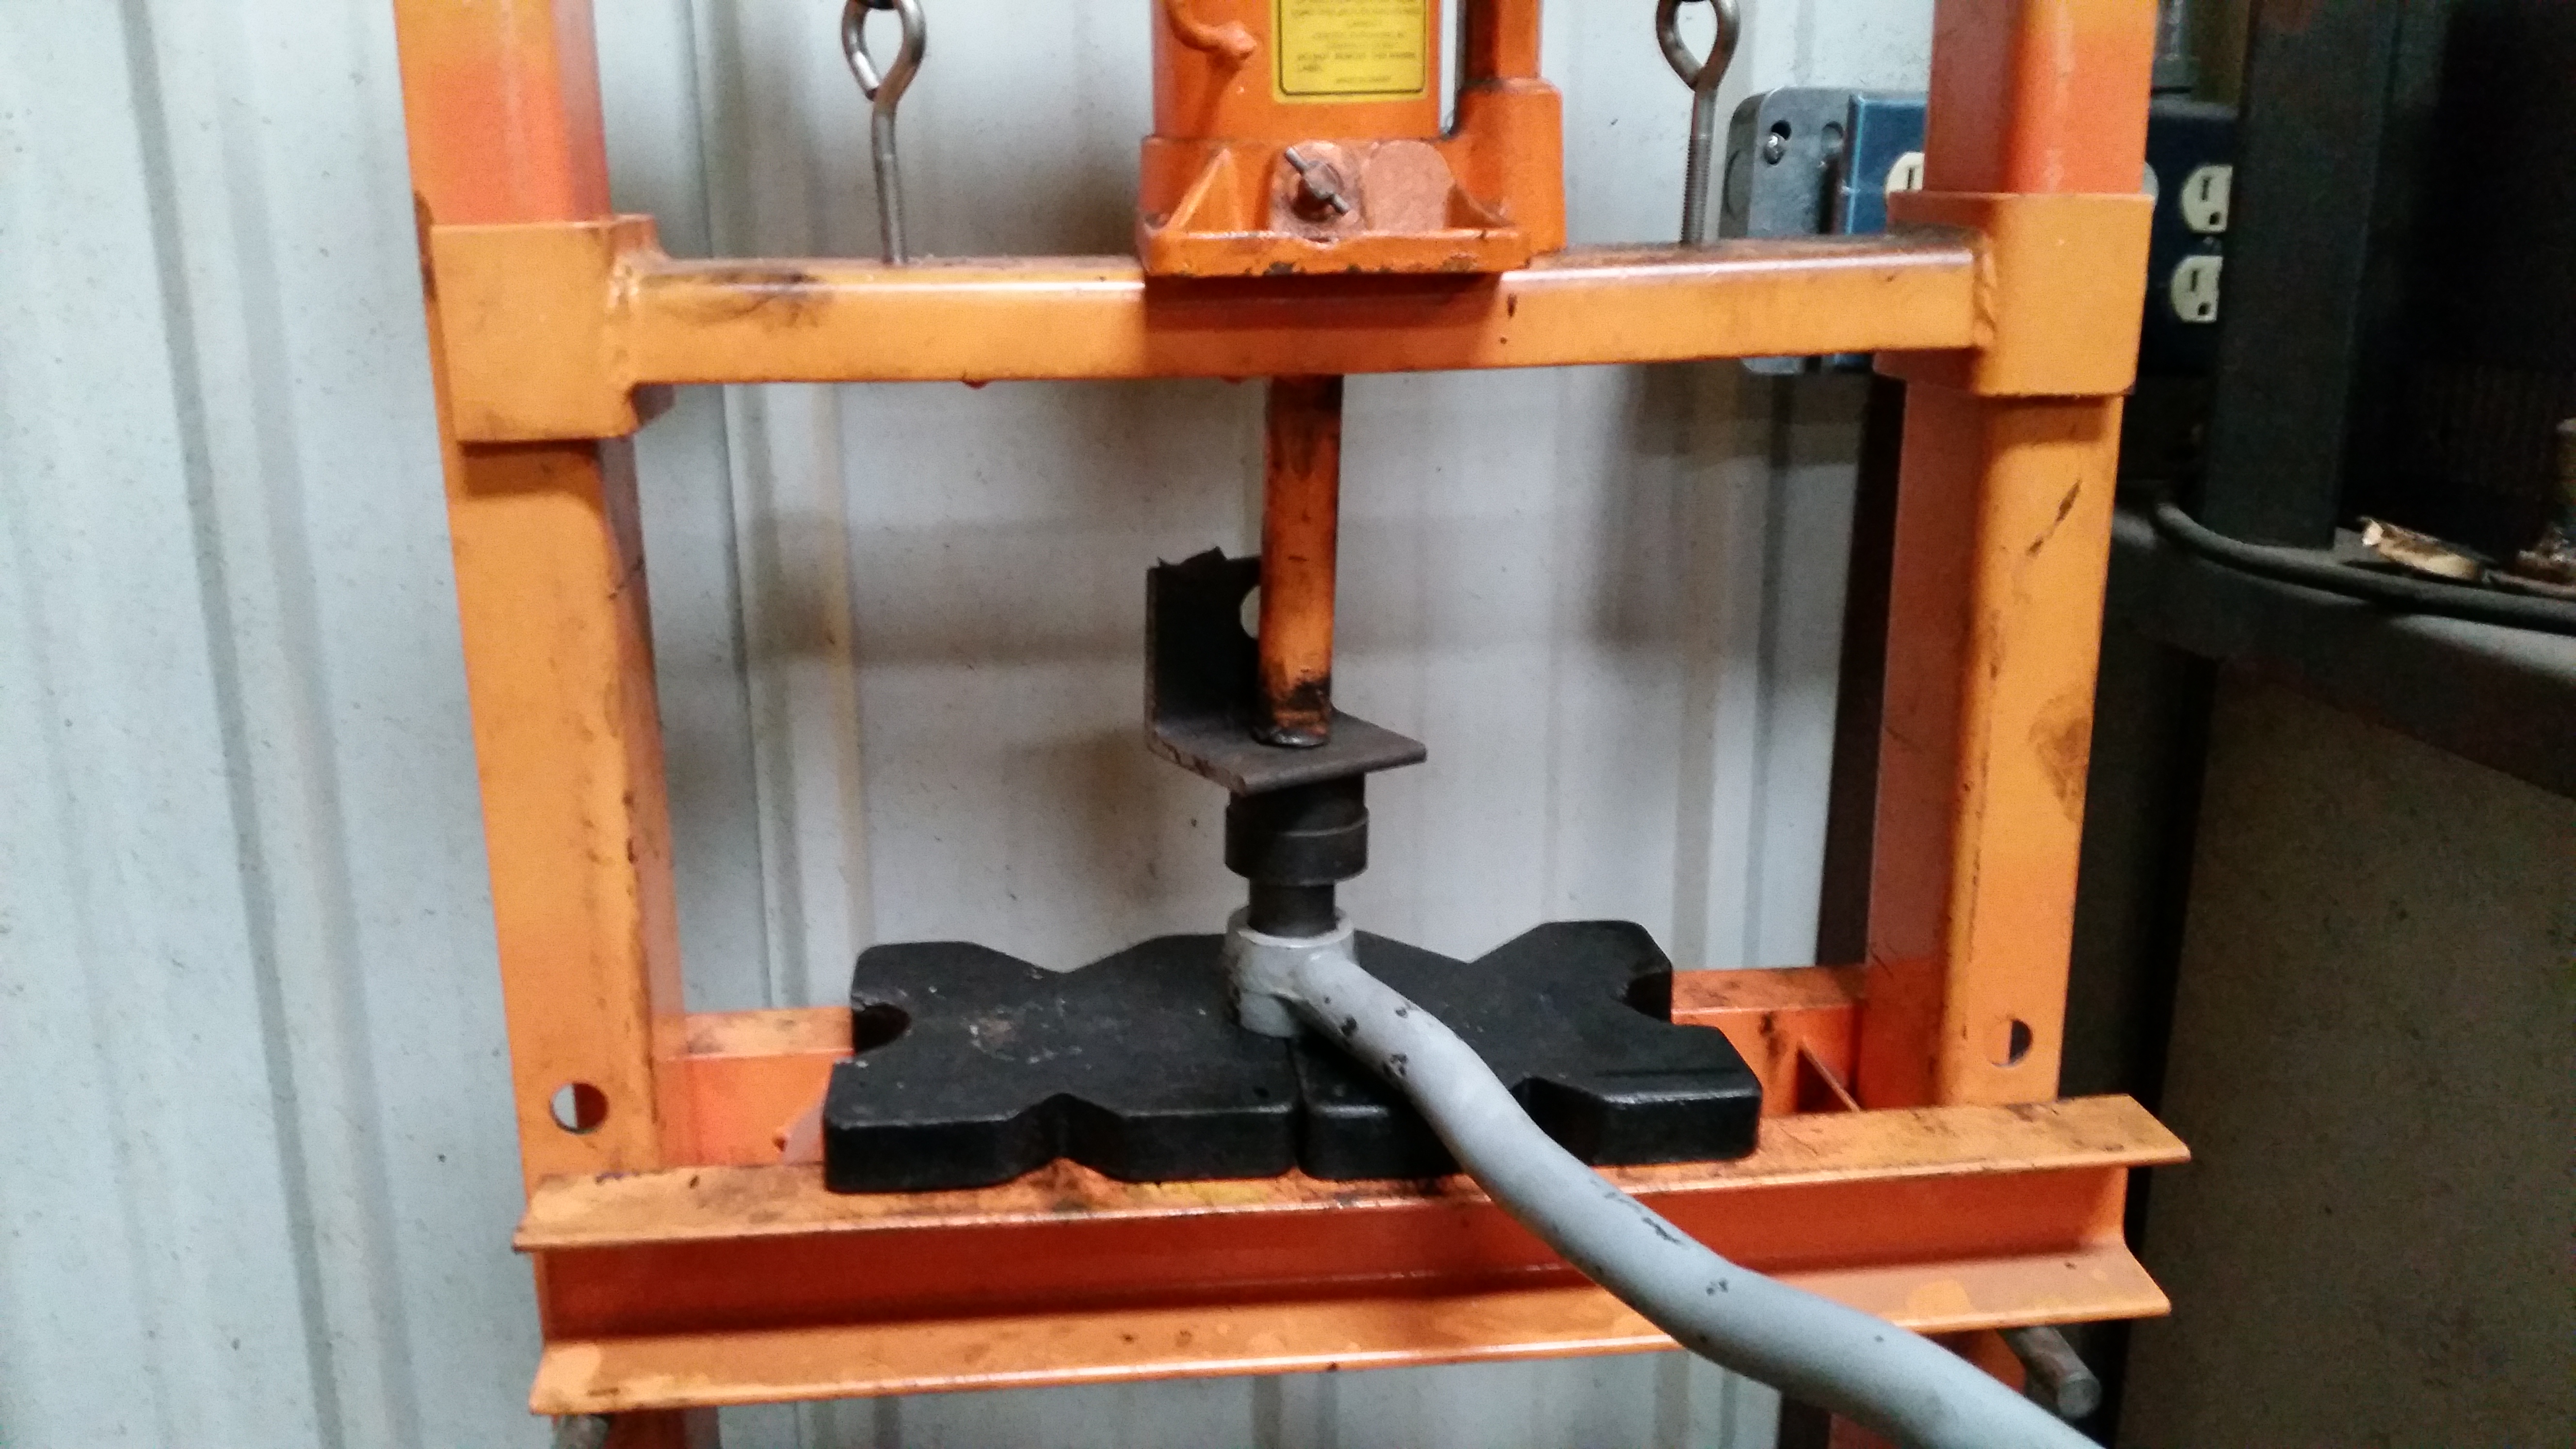
Using a Press
When using a press be very careful. Things get placed under extreme pressure and if they want to go in an undesired direction there is nothing you can do to stop them. Setting up the press with the various spacers and such takes longer than pressing the bushing in.
There isn’t much to say about pressing the bushing. Measure the bushing against the hole you are pressing it into. If there is going to be an overlap adjust for it when you press it. There is not a lot of margin for error. Also having a good set of press tools is essential. If you are pressing bushings out there is no other way to do it without these short of burning them and crushing the sleeves with chisels. If you are pressing them out I’d advise you to visit Youtube and have a complete set of tools.
Again, the first side is the hardest, the second is easy once you have the press set up. If you have a spare mammal with opposable thumbs handy it would be nice to have them hold the arms while you set up the jigs and such.
Lunch
It was now on to the radius arms lunch. We took a break as we usually do on Saturday and went down to Back Door Barbecue (Back Door BBQ) It’s located in Uptown OKC along the NW 23rd street corridor. It’s a nice place owned by the folks that own Pizzaria Gusto and Big Truck Taco.
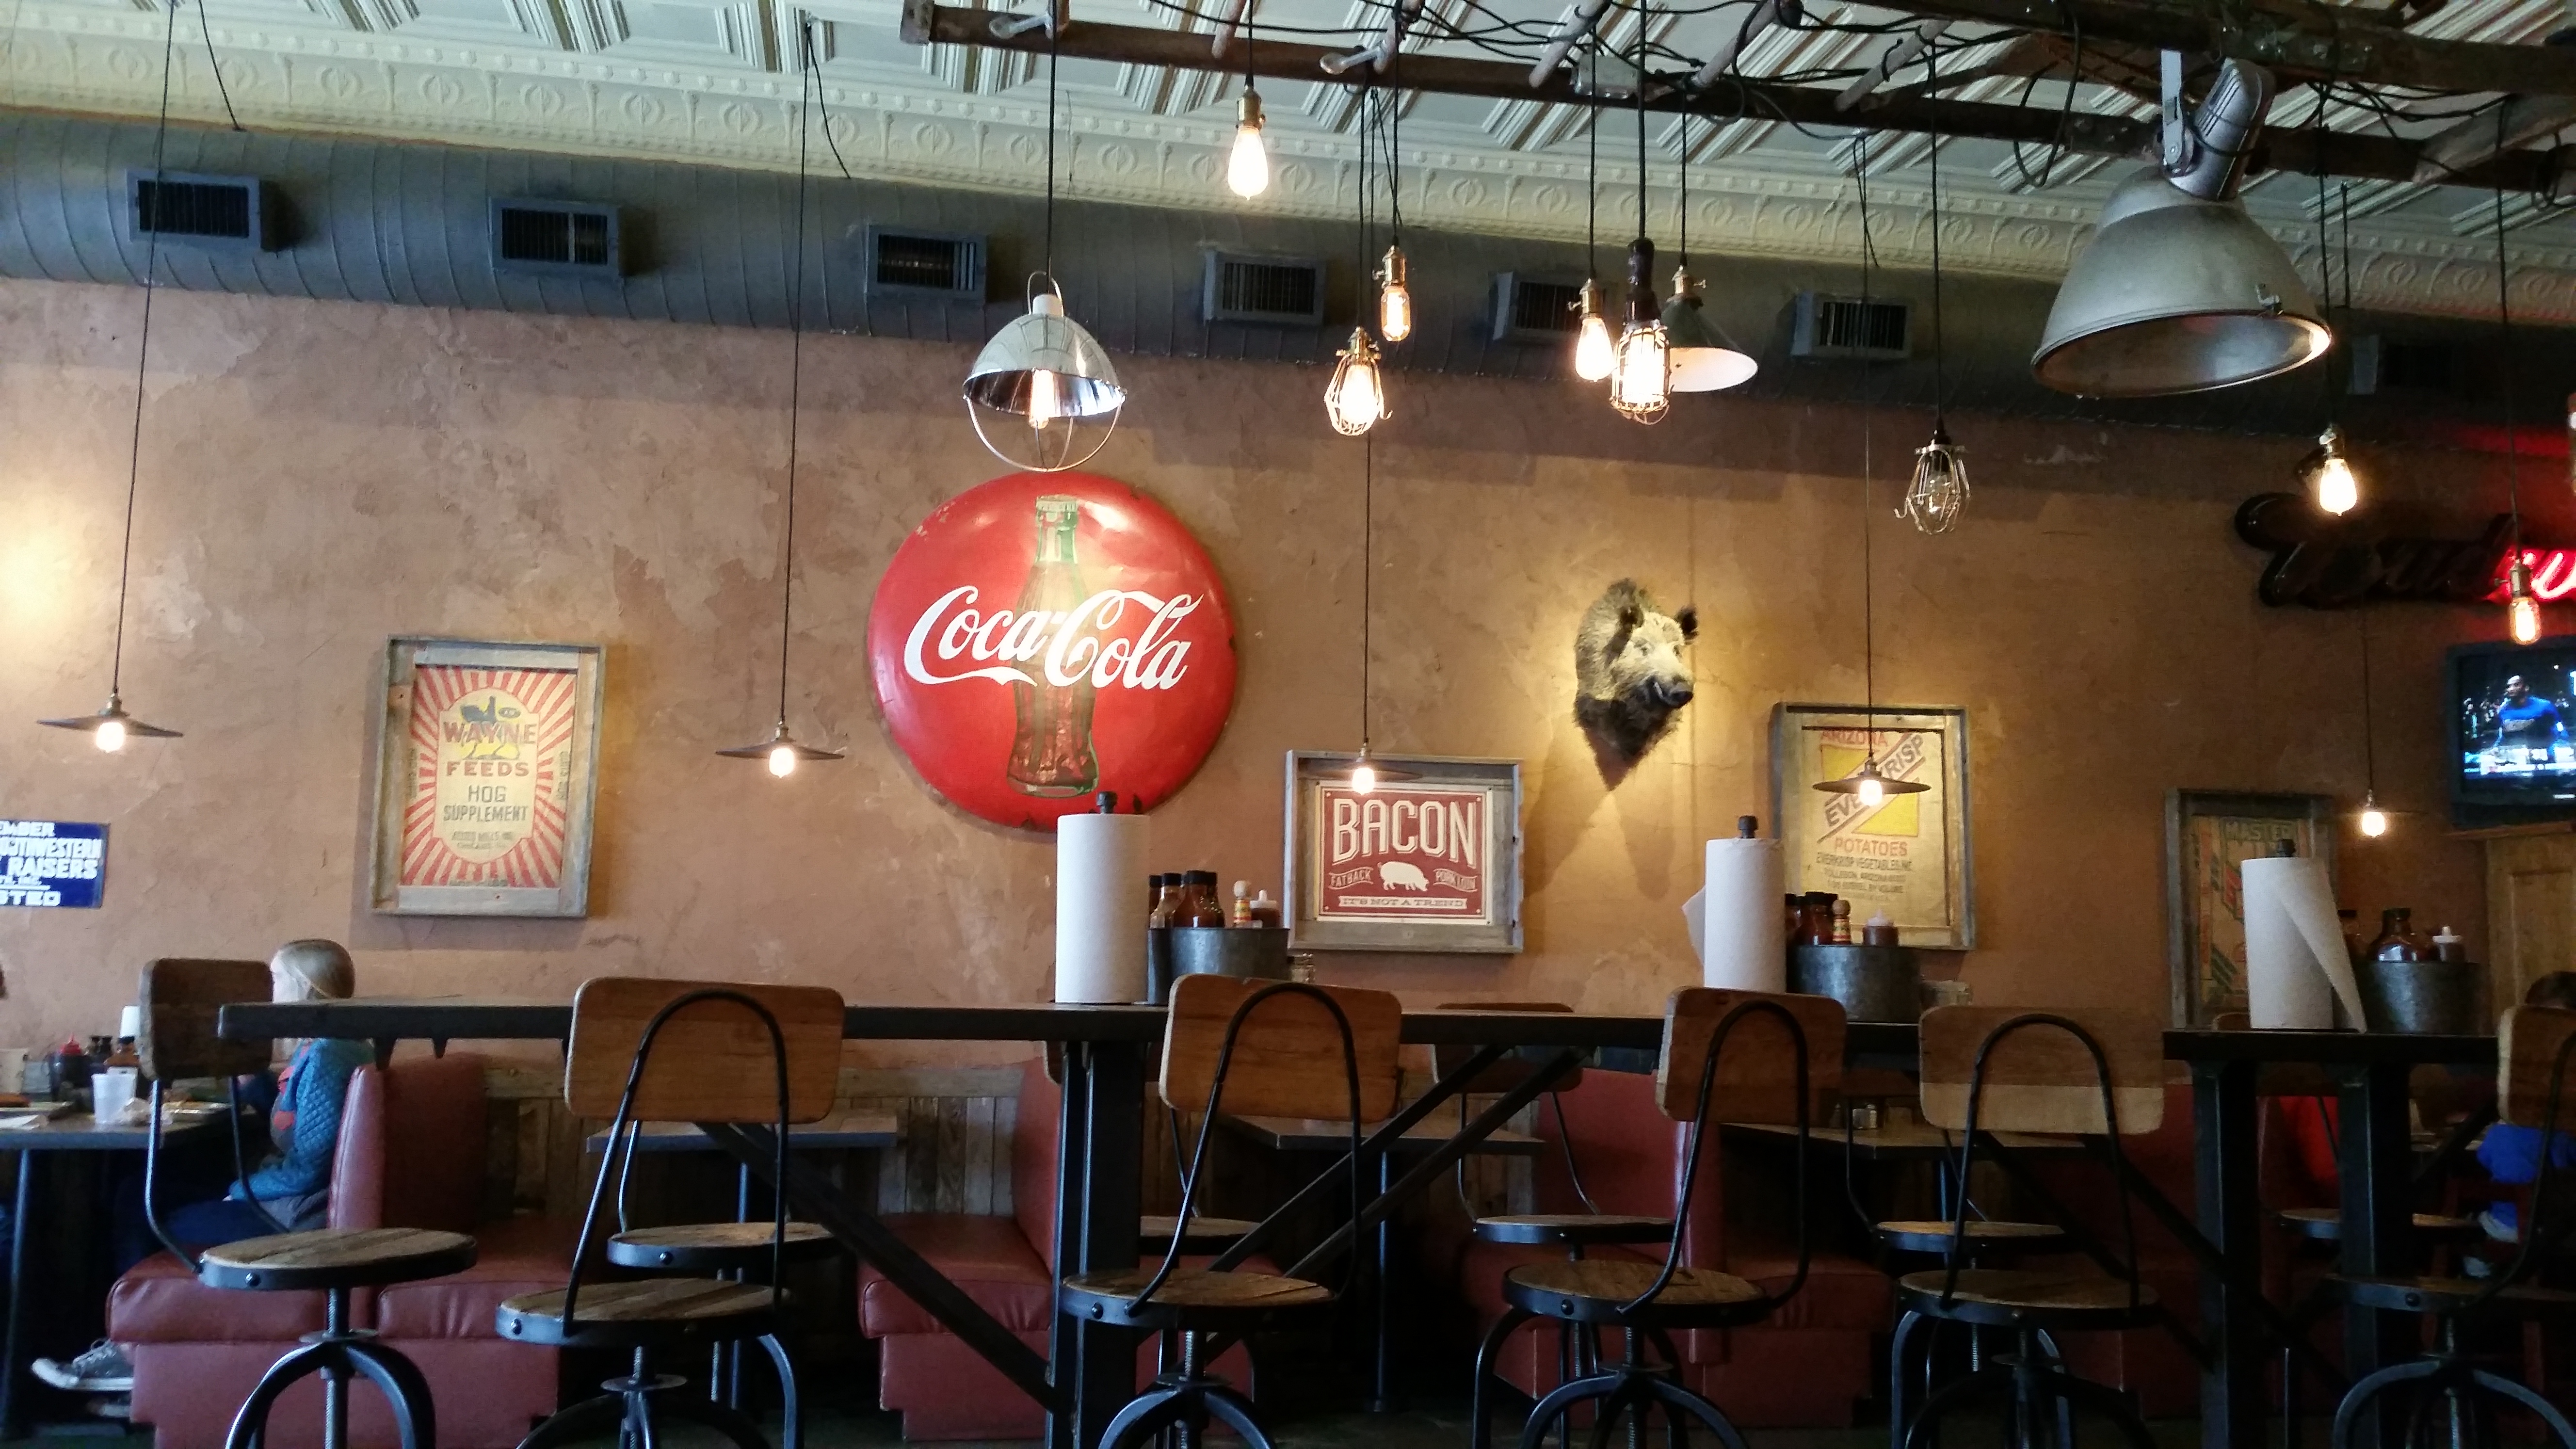
I’ve eaten here well over a hundred times. Mike and Paul and Preston eat here EVERY Saturday. It’s that good. And if you eat somewhere regularly enough you will be treated like friends and family. This place gets the Okierover Seal of Approval.
Our conversation usually geeks out on technology, or what JagGuy is working on in his electronic’s laboratory. We generally solve the world’s problems, tell no one, and then go back to the shop. Saturday was no different.
Bushing Pressing
Back to the shop. It was time to remove the radius arms. The bolts here needed the advantage of leverage to be removed. Be prepared to use a break-over bar or have a cheater pipe ready. It is simply amazing to me how an extra four inches of leverage makes such a big difference (that’s what she said).
Pro-tip: do one side at a time. As JagGuy pointed out, once you remove the radius arms there is nothing holding your axle in place under the Range Rover. It could move forward or backward causing you a LOT of trouble later.
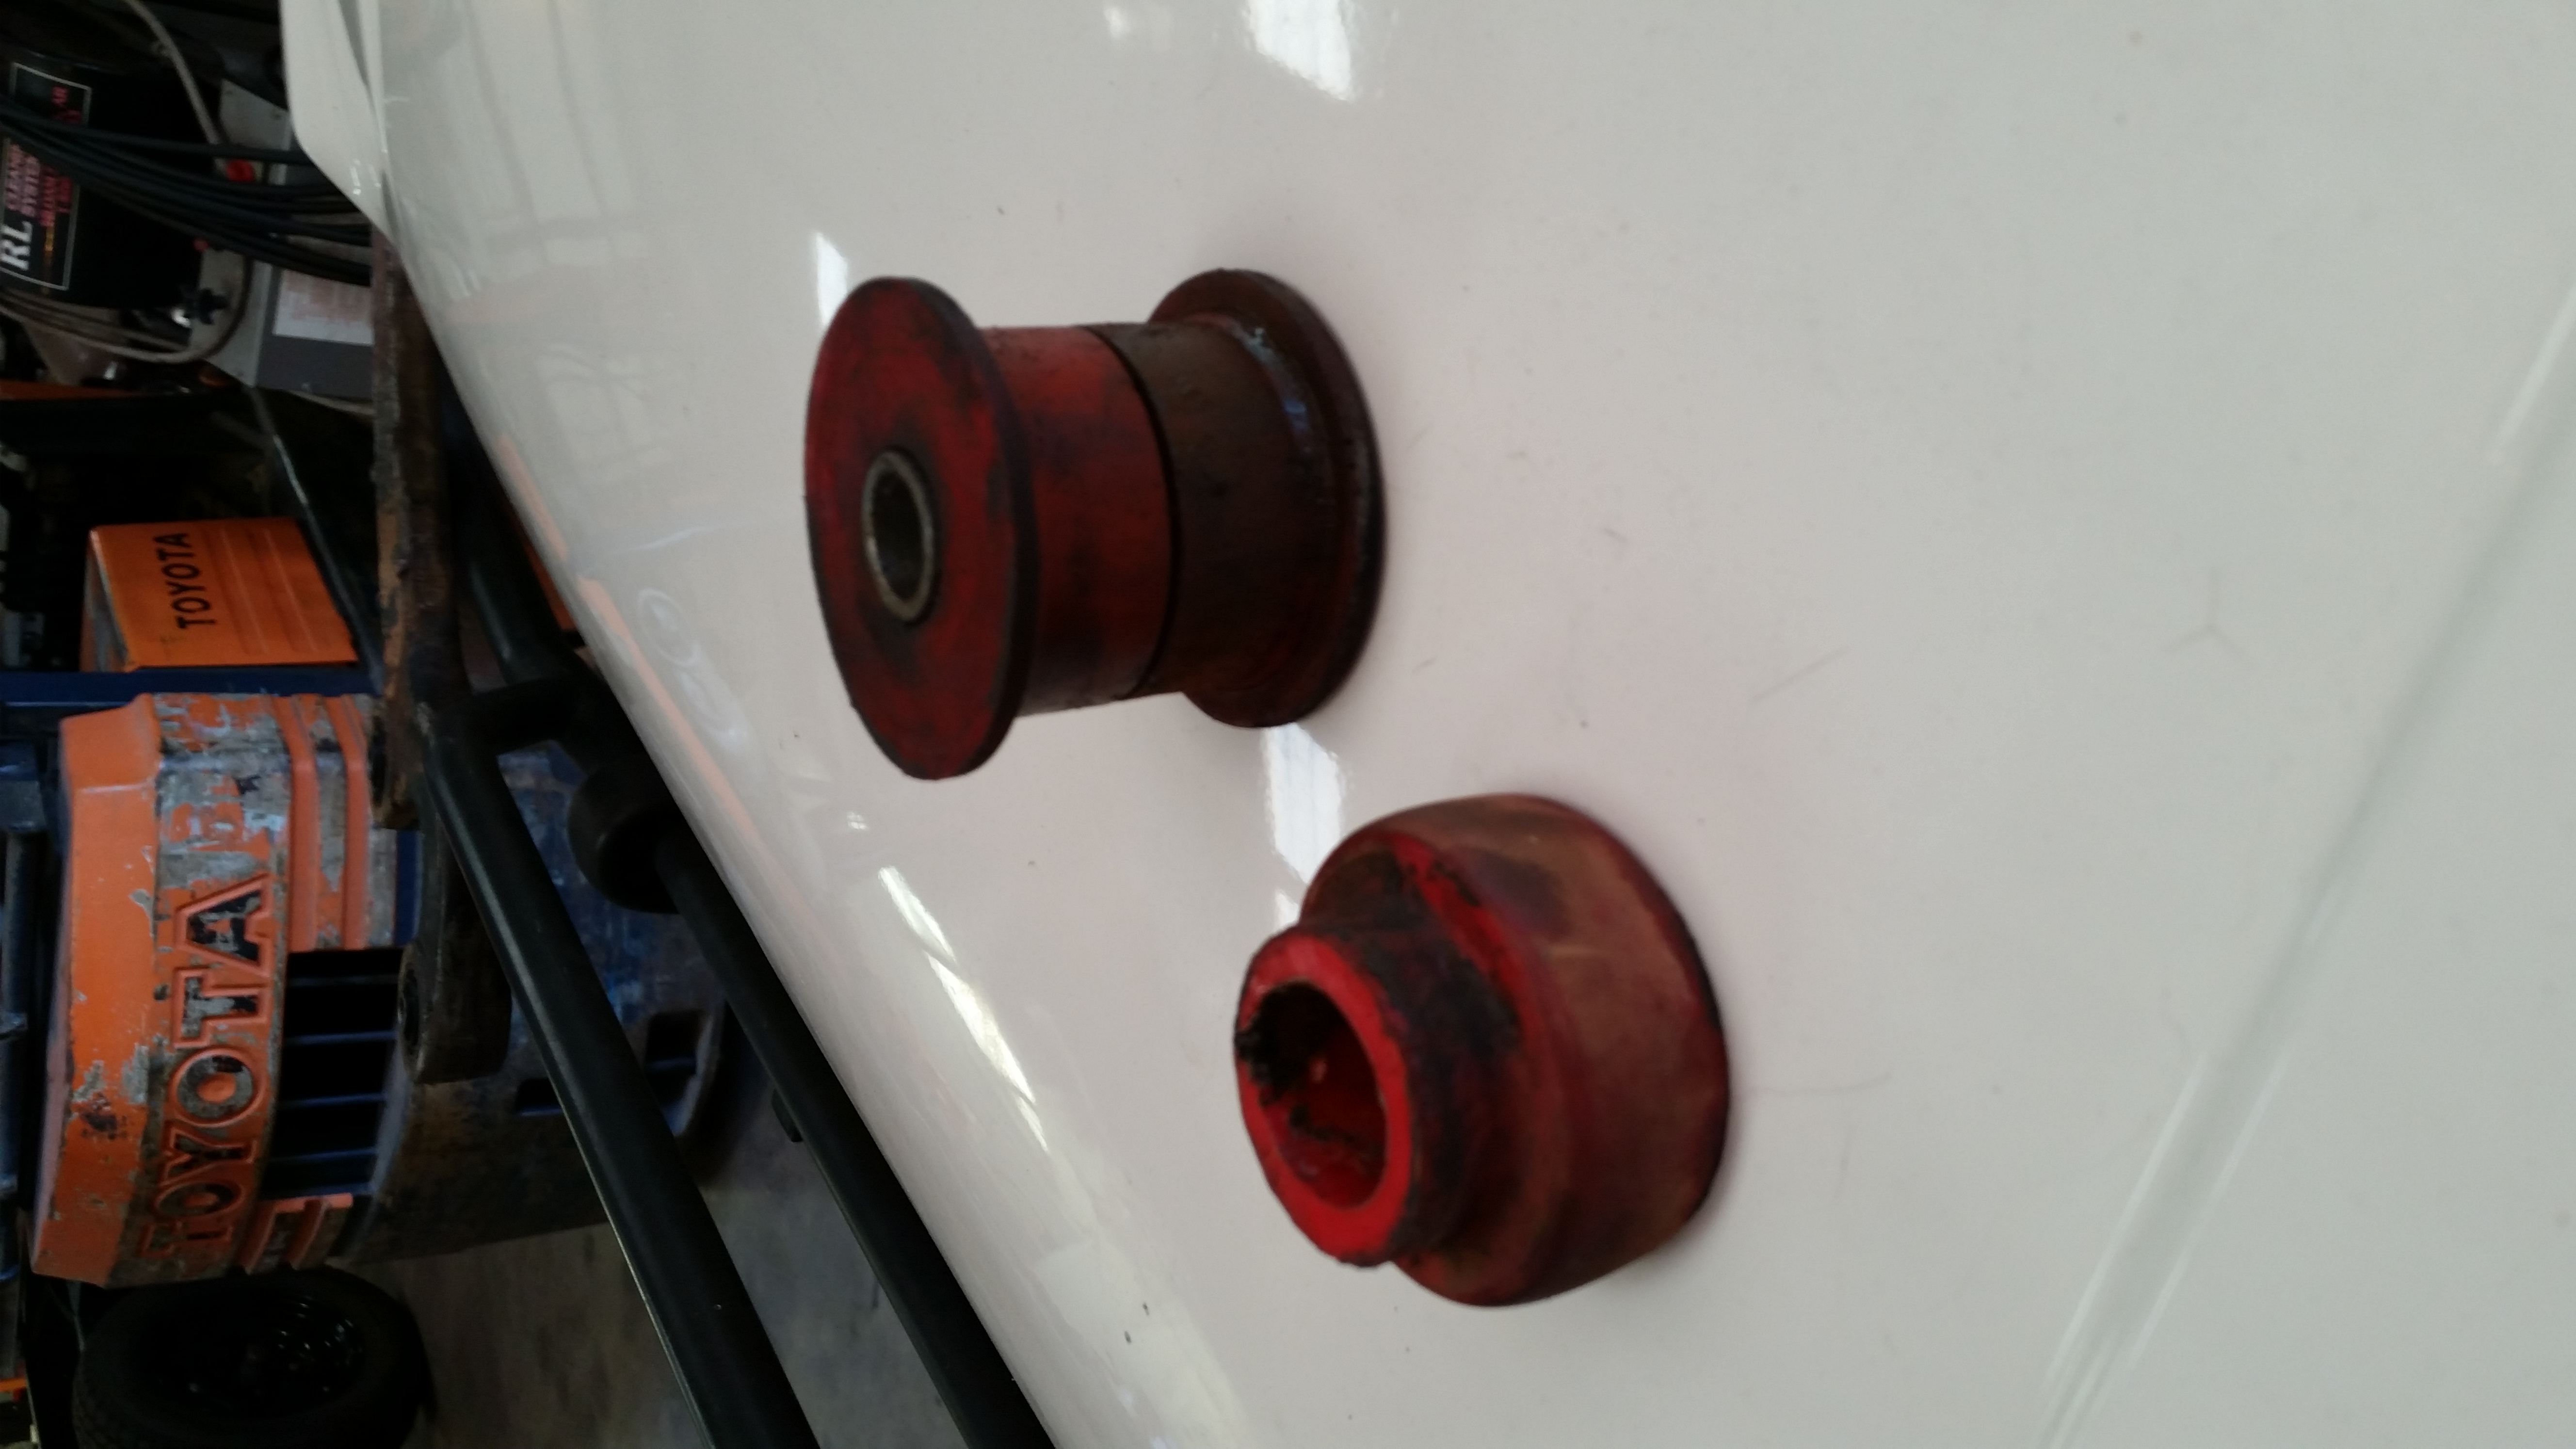
You can see in the picture the old poly bushings. What you can’t sense is how hard/non-pliable they’ve become. In short, very un-bushing-like.
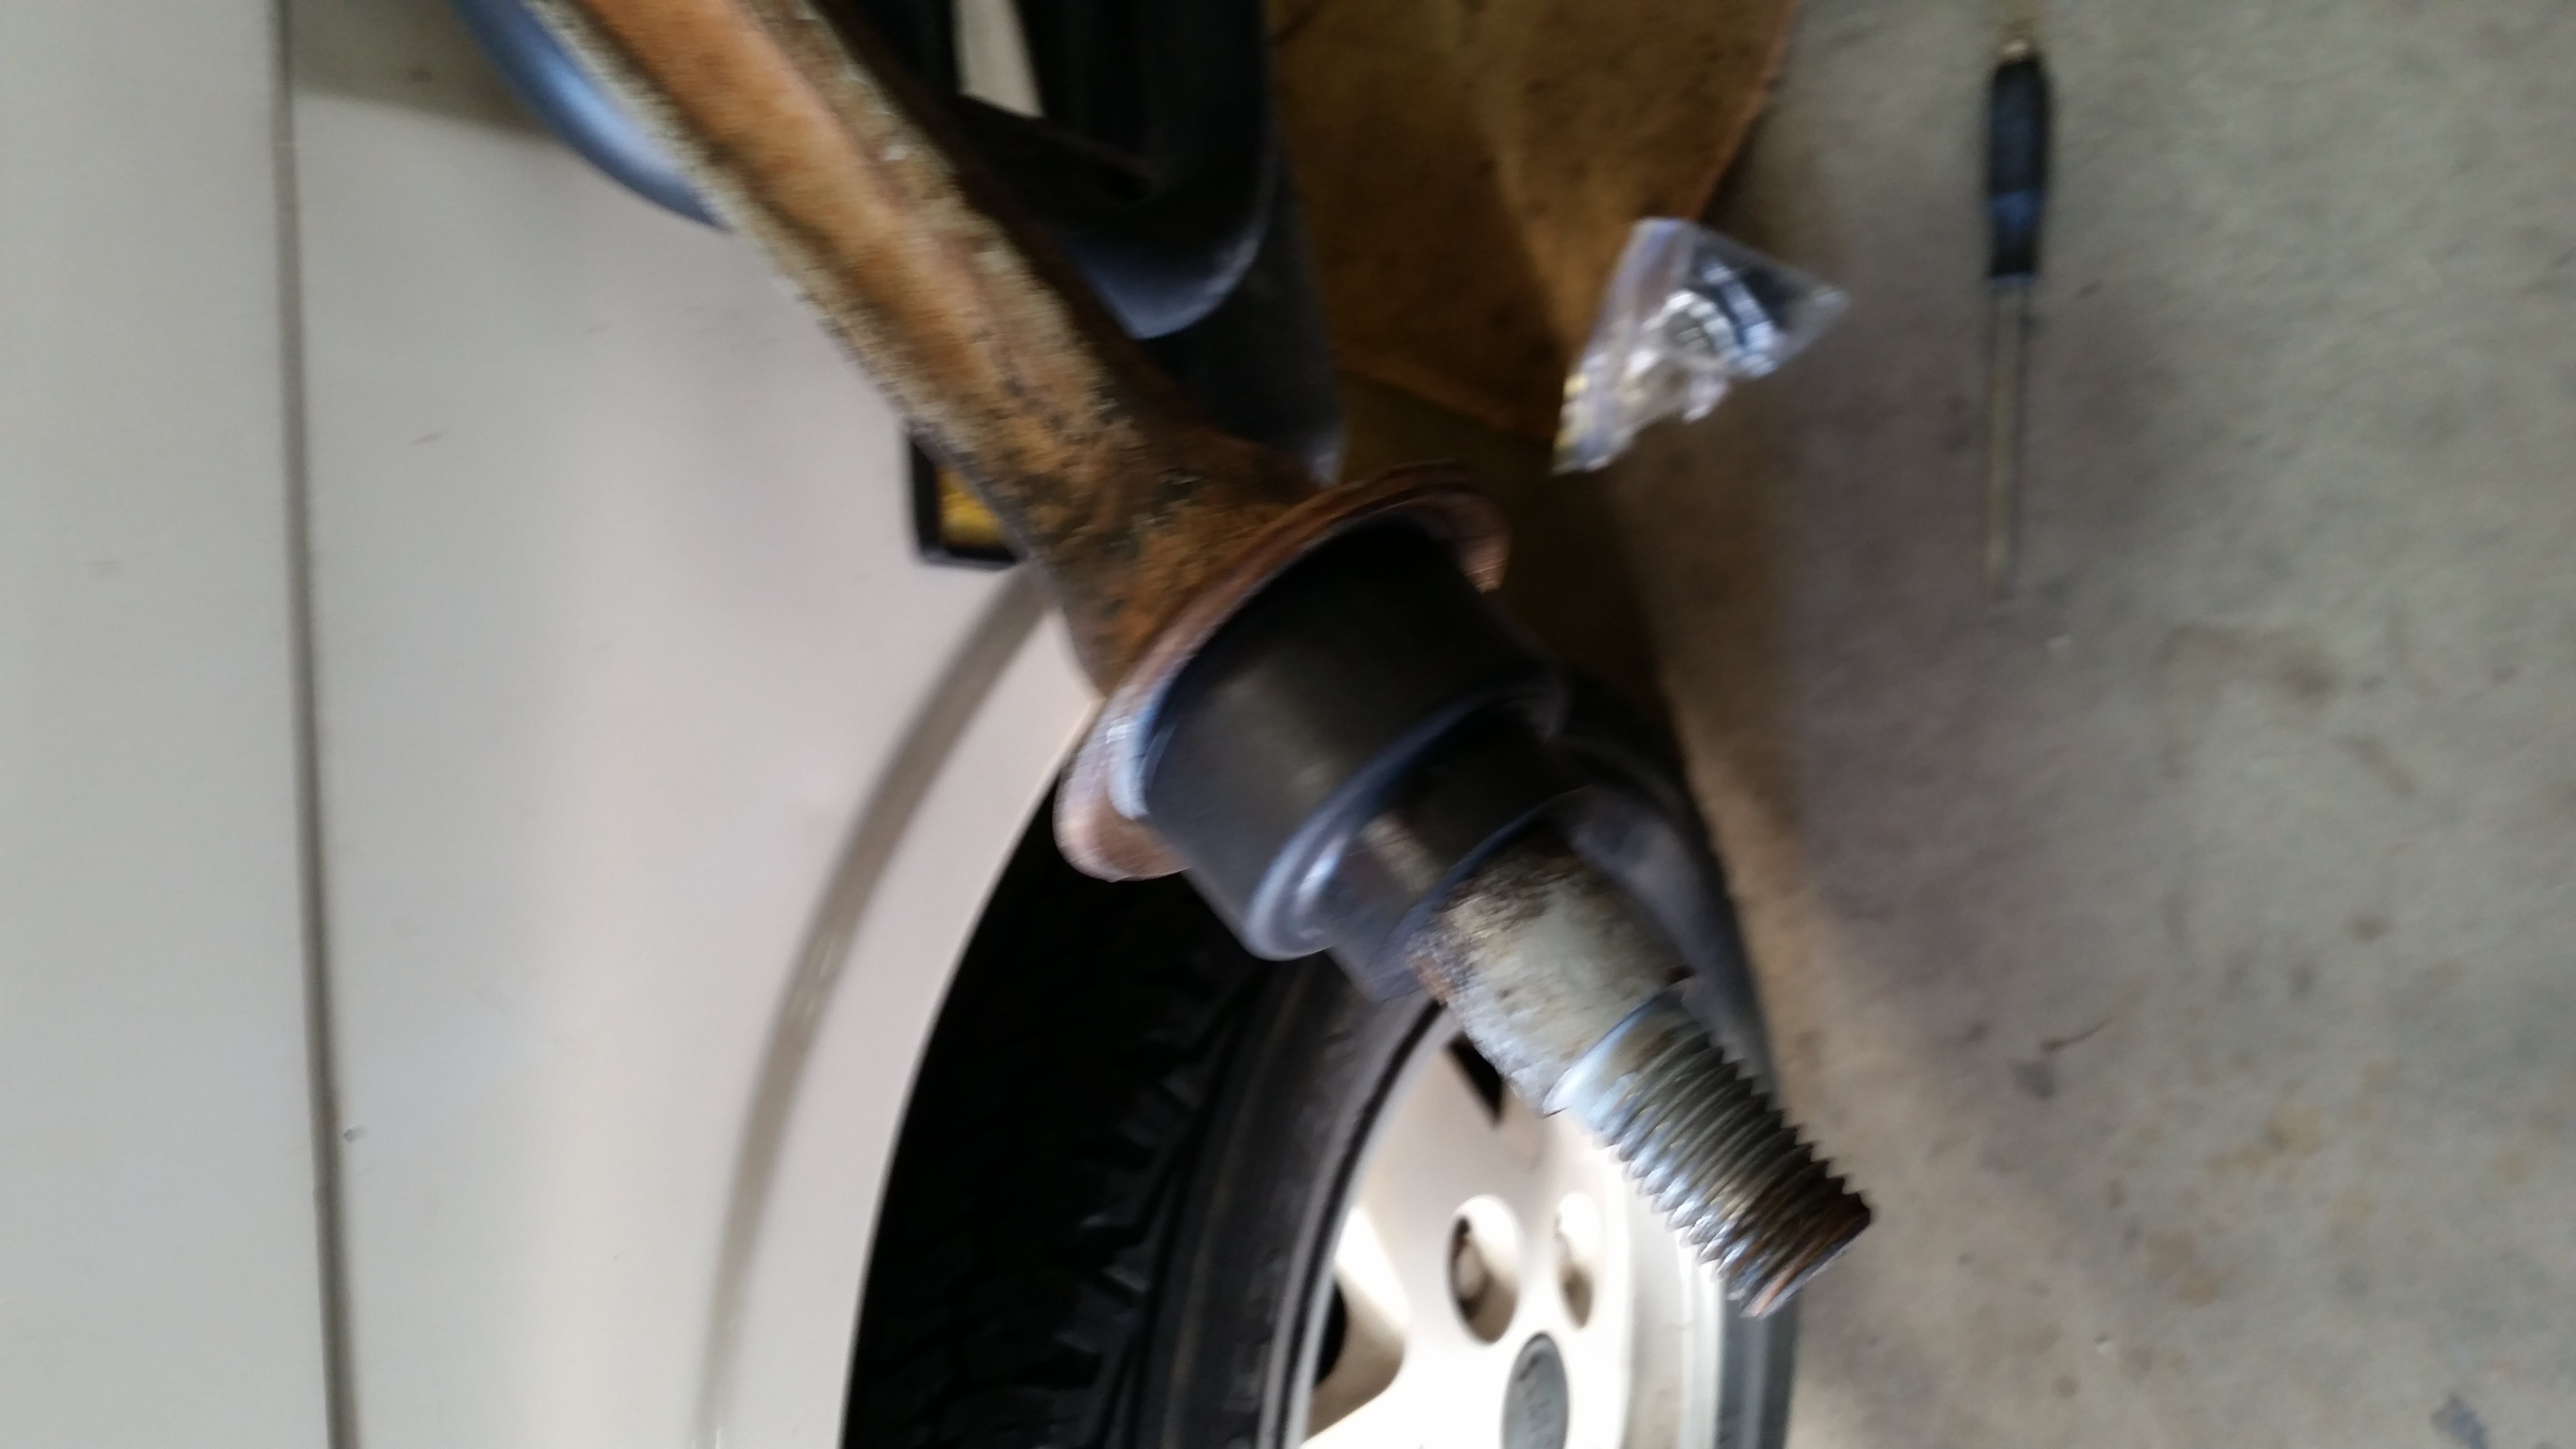
I have replaced the poly bushing with an OEM rubber one for the end of my radius arm. In my haste to order these from Trevor at Rovah Farm (http://www.rovahfarm.com/) I failed to order a sufficient quantity. You will need FOUR to do the job completely. I will temporarily use my poly on the backside until new ones come in this week.

And here they are pressed into place. I wish I had the time to clean off the arm and give it another coat of Marhide acid etching primer. As you can see it has lasted five years, good stuff.

Pro-tip: Have your spare bottle jack handy. Getting the bolts lined back up takes a little bit of gentle pushing and a big screw driver to guide the arms back into place.
Pro-tip part two: If you don’t have a spare bottle jack, get one. They are cheap and it keeps you from unpacking your on-board unit every time you need one.
Test Drive
The test drive was successful. I hit some seams in the road that would have normally sent my front end to wobble. Now that the bushings are all fresh I need to take it down and get an alignment. I am hoping that will be the final piece to conquering my death wobble.
Wrap-Up
It took me around three and a half hours to do this job. On the Okierover Difficulty Scale (Okierover) this is a 3 (three). You will get dirty, you will need a press (special tool), and if you are north of 50 years in age, crawling around on the concrete for three plus hours will remind you of those days when you were younger and didn’t hurt as much after doing a little work.
It is a mild winter, #Hibernot (Okierover). The Central Oklahoma Land Rover group is planning a trip for the third week of January 2016. Send me an email if you are interested.
Thanks for reading and Happy Rovering.