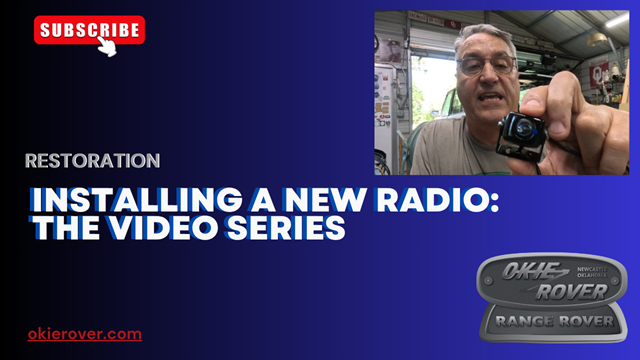
In this video series I am installing a new radio in my Range Rover Classic Overland rig.
Part 1 – is installing the integrated cameras.
Part 2 – is a lot of wiring and some rust abatement and painting.
https://youtu.be/8x6PginHrQs
Part 3 – is painting… yeah, painting. When have you ever worked on your Land Rover and NOT had to address some rust when trying to wire up a camera? Oh, it’s just me? I doubt it.
https://youtu.be/BlGF9UUMtps
Part 4 – I reveal my paint job (terrible) and fish, fiche, fishe, no, I’m certain it is FISH, fish the wires through the tailgate and back through the truck to a power source.
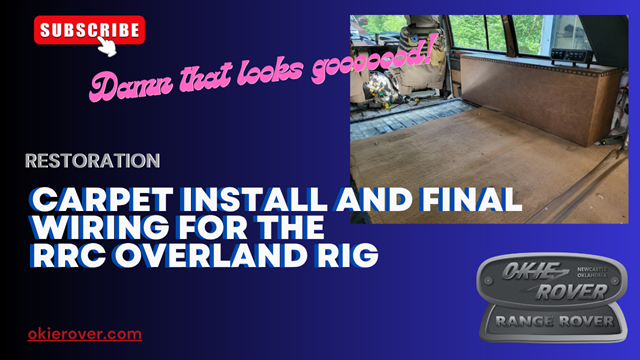
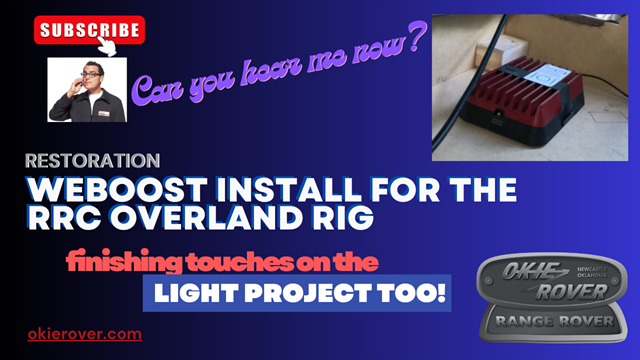
In this video I reinstall the carpet on my Range Rover Classic Overland rig. I also finish up some additional wiring for the Weboost and a set of lights.
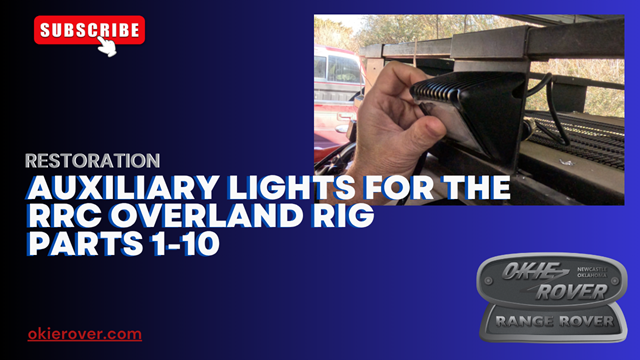
This is a collective post of all the posts for my Auxiliary Light Project.
Part 1
In this post I put the lights on the roof rack. The weather played along and it was the only day this week I could get out there. Last weekend was spent getting Erica and Brian’s house moved. Erica remembered I drove M54 5 ton trucks in the Marine Corps Reserve.
So I got to drive the U-Haul home. The first two hours was driving with the wind on the front right corner with a wicked wind blowing me all over the road with the incredibly vague steering. I also enjoyed a crosswind with that vibrated the left mirror and creating a loud noise. It was brutal.
We got them all load and unloaded in two days. That took a toll on this old man, but I was happy we got it all done.
So on to the lights…
I started with a template so I could get the holes drilled correctly that needed a slight adjustment for the power wire. Once I got them on the roof rack, I realized the power wires were going to need to be secured and out of the way.
I found some metal clips that were designed to hold a tablecloth on to a picnic table. After I broke 4 drill bits trying to drill hole in them, I gave up and went to the hardware store to buy some. On the way I realized the steel was probably spring steel. So, drilling a hole was probably a folly in itself.
The bracket got installed and then I went on to wiring. Nothing special here. I watched a Simon Fordman YouTube video where he soldered his wiring. I decided that would be how I did it. What I learned is I need a wider variety of heat shrink. I had several of the right diameters but not in the length I needed.
What’s next? I’m glad you asked. I need to wire in the switches and relays. This means I need to determine what the box is going to look like. I also need to decide what I’m going to make the inside out of, MDF? plywood? paper mâché? the choices are endless!!!
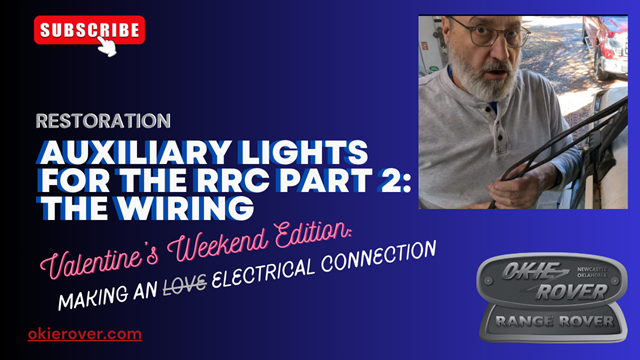
Part 2
I finished up the soldering on the lights. I didn’t finish one last weekend. I should have filmed it because it was the best connection of the three. Its sad how you lose skills when you don’t use them. Add soldering to the list of perishable skills…
Dancing
Running
Bending over at the waist
Patience
Firearms accuracy
Drinking all day and waking up the next day like nothing happened
(New) Soldering
That’s most of my list… I’m sure “cognitive skills” and “remembering why I walked into a room” will be added soon but for now let’s go with these.
I got the wires routed along the roof rack. I bought some ridiculously over designed zip ties. I used those along the rack. I’m not worried about the wires moving.
I was able to run the wires around the rain gutter and into one of the holes in the D pillar that would have been used to hold the beauty panel on. I’m not worried about it going anywhere because the wires are right up against it.
I got the D pillar beauty panel secured and installed the interior trim piece as well. I now have to get connectors and wire and make jumpers for the relays and plan my wiring panel. At this point I’m thinking a piece of wood mounted to the interior back. It would be covered by the box that will be the location of the light switches and the sub woofer.
There will be additional power needs back there. I have a ridiculous list of needs for the rear.
Interior lights, charging batteries for a drone and cameras and flash lights…. Its a ridiculous list and I should probably print it and stick up somewhere so I am always thinking about it when I’m planning.
That’s all for this week. Like and subscribe if you watch the video. Thanks for reading and Happy Rovering.
Part 3
In this video I talk about my terrible planning skills. I also mount the relays on my board for the auxiliary lights on the roof rack for my Range Rover Classic Overland rig.
Part 4
In this video I talk about my terrible planning skills. I also mount the relays on my board for the auxiliary lights on the roof rack for my Range Rover Classic Overland rig.
Part 5
In this video I discuss my windshield issue, deal with a missing Amazon order, and finish soldering the diodes for the auxiliary lights on the roof rack for my Range Rover Classic Overland rig.
Details About “Kit and Kaboodle”
Origin: The phrase dates back to around 1870, with earlier iterations including “kit and boodle” or “kit and cargo” in the 1840s/50s. It is believed to have originated from “kit” (a collection of tools/items) and “boodle” (a, Dutch-derived, word for a group or property).
In this video I start the cabinets to house the switching board for my lights on my Range Rover Classic Overland rig. I also managed to cut through the handle on my table. Thankfully, I was able to repair it with a little welding.
There were some other issues but I dealt with them off camera. Speaking of cameras, this camera is REALLY pissing me off. I think I’ll be looking for a new camera in the coming year. One that doesn’t overheat and is easy to turn on and off.
I made the hard decisions to skip the subwoofer for now. The size of the one I chose would have taken up the entire space behind the cabinet. It was the Kenwood Excelon P-XW804B.
The search is on….
Part 7
Finishing up the carpentry. No one called me out for spelling it wrong in Part 6.
Part 8
In this part I test my circuit to make sure it does what I planned. Spoiler alert it does. I also fix the bracket by welding a nut on to the brackets. I screwed up getting the fabric to cover the box. I’ll have to make a daytime run to get it so I can wrap this project up.
Part 9
In this video I move yet another step closer to wrapping up the switching board for my lights on my Range Rover Classic Overland rig. All I need is to cover it with fabric and finish out the wiring and mounting of the switch.
Part 10
In this video I wrap up the switching board for my lights on my Range Rover Classic Overland rig. I only burned both index fingers and started a small fire. About normal, and I’ll probably recover.
Like and subscribe. Thanks for reading and Happy Rovering.
I finished up the soldering on the lights. I didn’t finish one last weekend. I should have filmed it because it was the best connection of the three. Its sad how you lose skills when you don’t use them. Add soldering to the list of perishable skills…
Dancing
Running
Bending over at the waist
Patience
Firearms accuracy
Drinking all day and waking up the next day like nothing happened
(New) Soldering
That’s most of my list… I’m sure “cognitive skills” and “remembering why I walked into a room” will be added soon but for now let’s go with these.
I got the wires routed along the roof rack. I bought some ridiculously over designed zip ties. I used those along the rack. I’m not worried about the wires moving.
I was able to run the wires around the rain gutter and into one of the holes in the D pillar that would have been used to hold the beauty panel on. I’m not worried about it going anywhere because the wires are right up against it.
I got the D pillar beauty panel secured and installed the interior trim piece as well. I now have to get connectors and wire and make jumpers for the relays and plan my wiring panel. At this point I’m thinking a piece of wood mounted to the interior back. It would be covered by the box that will be the location of the light switches and the sub woofer.
There will be additional power needs back there. I have a ridiculous list of needs for the rear.
Interior lights, charging batteries for a drone and cameras and flash lights…. Its a ridiculous list and I should probably print it and stick up somewhere so I am always thinking about it when I’m planning.
That’s all for this week. Like and subscribe if you watch the video. Thanks for reading and Happy Rovering.
In this post I rough-in the wiring for the lights on the outside of the Big White Bus. My plan is to have external lighting that I can control from the comfort of the sleeping area in the back of the Range Rover Classic.
I have selected the lights I’m confident will provide the light I might need… setting up camp, entertaining guest and generally lighting up the exterior so I can see any threats that might be lurking while I relax in the the comfort of the sleeping area.
Three of these strategically placed on the roof rack should be sufficient lighting. There is a a minor concern about how the wiring will go from the lights back into the sleeping area. The wire I bought has a significant shield. I sorted out how they should run past the D pillar beauty panel.
I think it will work the way I have it, but if not, I will cut the beauty panel to accommodate the wires. I had a thought to run the wires through the tubing on the roof rack. The thickness of the shielding will likely prevent that. I also didn’t have black zip ties. So I’ll have to source those to complete the wiring.
That’s the gist of it for this week. I do explain my recent absence from posting videos. I have had a few weeks of medical issues that all culminated into a possible muscle tear or pull in my abdomen. I then had family over for Thanksgiving, then I reinjured myself helping Mrs. Okierover’s cousin with a tree that would have fell on his rent house. I then got bronchitis and it has been a battle to beat that. Better living through chemistry.
Congrats to the Midshipmen as they defeated the Cadets of Westpoint in a thrilling football game. My first Army/Navy game was on TV when I was probably 11 years old (1975, Navy won). I had just begun to enjoy college football. I was watching the game on my black and white TV in my room. My dad walked by and I asked, “Who do we route for in the Army Navy game?” Dad said, “Always Navy.” That should have been obvious but I was only eleven and didn’t have a full grasp of the universe at that age. I know, shocking. My dad served in the Navy when, “Ships were wood, and men were iron.” That was 1947-1950. Sailors learned knots and morse code and nautical things subjects no squids today learn. My uncle also served with my dad on the USS Wiltsie. Uncle Bob lied about his age and joined when he was 16 years old. Epic. Dad was 19 years old. They fought the Chinese communists during the Chinese Civil War.
Thanks for all the emails and messages checking on me. I’m getting better every day.