Footwell Repair Part 9: Seam Sealer (Post #656) 6/3/2024

In this installment I apply seam sealer to the most recently welded “L”. Seam sealer was not how I wanted to seal this joint up. I wanted it to be welded closed. That is just not possible. It wasn’t originally built that way. I can only hope the seam sealer I’m using will last long enough for me to quit this Overlanding Hobby.

I also look at the floor patch I’m going to need to build. I talk about the two structural bends in the panel. I saw the guy on Make It Kustom [Youtube] build a jig and a tool to make these kinds of bends. You can look through his videos to find it. I’m going to think long and hard about this before I tackle this problem.

It might be fun to build the jig. I will need to buy a router bit to get the jig in the right shape. I’ll probably need to build a special air hammer bit like he did too. It would be a one off fix. I don’t think I will ever tear this apart again.

It’s a short video and I know it’s über riveting content watching me smear seam sealer. In my defense I didn’t have time to produce anything else this weekend. Saturday we visited the Evil German Dude and his lovely wife. Paparazzi Ford was there too. The Evil German Broad made brunch for us and we all got to catchup on the latest happenings and see their almost finished “cabana”. That’s what the county commissioners called it for tax purposes.

It’s an amazing space and it took a lot of forethought, planning, engineering to make it as awesome as it is. Several things I saw had me comparing how much time I’ve spent thinking about the future state of the Big White Bus. I know I’ll have some great ideas that will need additional thought and probably re-engineering to get them right.

I picked up a parts washer from EGD too while I was there. So that’s pretty cool. That’s all for this week. Like and subscribe to the blog and the Youtube channel.

Patreon.

Thanks for reading and Happy Rovering.

Footwell Repair Part 7: Building an “L” for the Bulkhead (Post #654) 5/19/2024

Part 7 should have been titled, “How the hell are we going to make an L that has a big bend in it?!?” I have been thinking about this solution for two weeks on and off in my spare brain idling time.

Today’s video is me actually experimenting with bending the metal and making a sample piece. I’m pretty sure I know what I’m going to and how I’m going to put this thing together. The next step is to cut the strip I’m going to use for the L piece and hammer it into shape. I’ll need to do some additional measuring and mental gymnastics to sort out how I’m going to weld all this up so it doesn’t leak and dare I say it, “it doesn’t rust” or “rust much”.

1820’s Cherokee

I also mention that I went to the 200th Anniversary of Fort Towson. You can google about Fort Towson that was once known as the Chateau on the Prairie. It must have been a wonderful sight to behold with it’s limestone walled buildings and it’s blue roofs.

Life on the prairie in this time was hard. Like real hard. Death was ever present and it was not uncommon for a soldier to arrive and be dead within a year. They grew much of their own food and getting supplies from the east was inconsistent.

As a living historian, I portray a Cherokee for this period in Oklahoma history. This was the time when the creator of the Cherokee syllabary Sequoyah lived. The fur trade in “Indian Territory” pre-dates the mountain man era of the fur trade popularized in several movies like Jeremiah Johnson (1972) and The Mountain Men (1980).

As always like and subscribe to the blog and Youtube channel.

Next week will be more metal bending and welding of the support into place to get ready for putting in the floor.

Footwell Repair Part 6: Bulkhead Repair (Post #653) 5/11/2024

Here we go again. This is Part 6, and I’m not even going to bore you with how many more parts this will take to get the passenger side wheel well completed. Let’s just say, its going to be quite a few more.

In this one I cut out the bad bits of the bulkhead/sidewall/whatever and replace it with a patch that if I do say so myself is probably better than the last one. Only time and wet carpets will tell, and probably rust. Whatever, it’s done.

I now have a solid bulkhead to weld additional part on. Parts like the patch I’m going to install for the floorboard. Still not sure how I’m going to shape the floorboard, but that for next Saturday to worry about.

Check out the video. I think it went pretty well.

Like and subscribe if you like the content. I always appreciate it. And comment! I love comments. I got a comment this week that I needed magnets.

Thanks as always for reading and Happy Rovering.

Footwell Repair Part 5: Ugly Welding (Post #652)

Today’s episode has me correcting the crappy welding I attempted last week. First thing I needed to do was to cut the bad patch off the firewall. Since the welds were trash, the patch came off easily.

The next job was to make a new patch. This time I made the patch and shaped it to fit the curved firewall. A little hammering on the sand bag, a little bending in the vice…and boom we had a nice patch.

I took time to cut out the floorboard. I also used the air chisel to explore the rust and seem sealer on the footwell. It found more rust.

The plan for today was to get the firewall patched. I got the patch placed and began welding it. My nephew came by to do some laundry and he showed me how he was mastering the solving of a Rubik’s Cube. He can do it in just under 4 minutes. I’ve never solved one.

I got the patch finally welded into place. I painted everything again with two coats of primer. I then got some seam sealer setup in the caulking gun and went about getting everything sealed up. I was pretty sure my welds were good. But when I sprayed the primer I had some sneak through some welds. Well I put enough seam sealer on it, it won’t leak. Plus I’ll likely but the Fat Mat back down once I’m finished.

Like and subscribe to the blog and Youtube channel, I would really appreciate it.

Thanks for reading and Happy Rovering.
https://youtu.be/bFYjszdK2D0

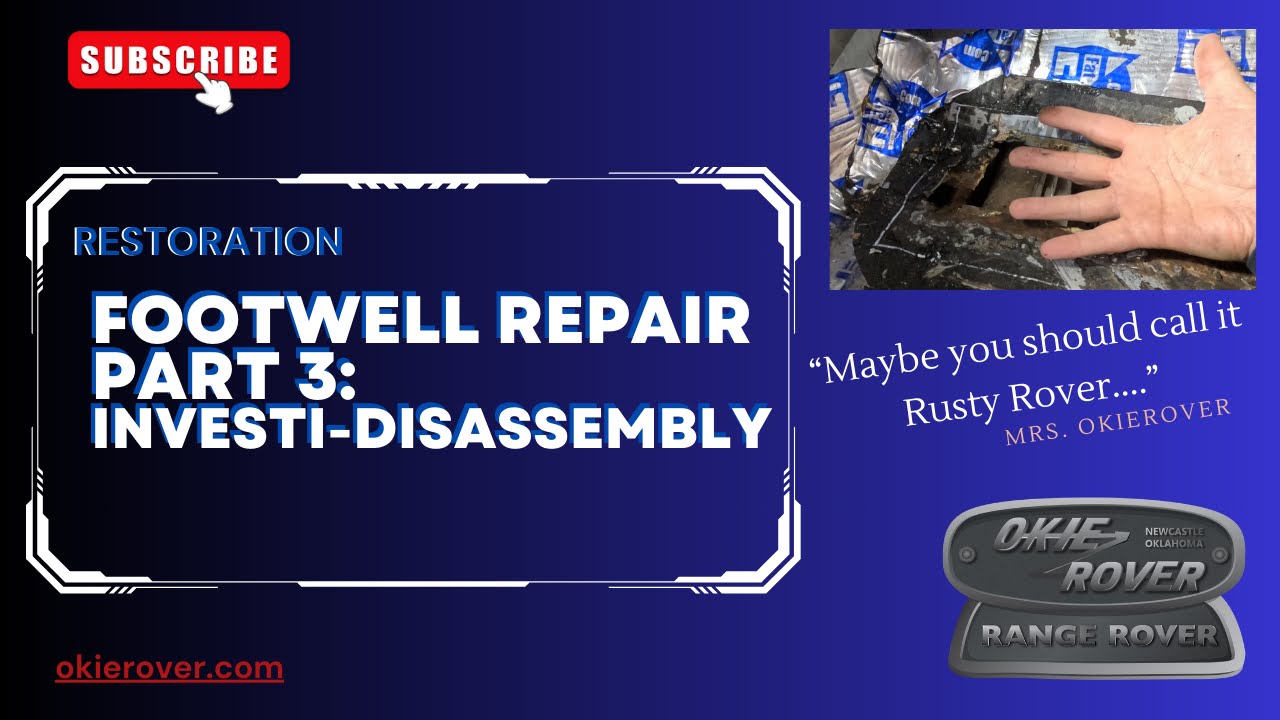
Footwell Repair Part 3: Investi-Disassembly (Post #651) 4/12/2024

thumbnail Footwell Part 3

UGGGGGH!!!!!!
Will this ever end?

I think I know the answer to that. But I have to show my exasperation. This rust find is possibly the worst thing ever. It’s in the most terrible of locations.

Mrs. Okierover said, “Maybe you should call it Rusty Rover instead of Okierover.”
She’s not wrong.

Every where there’s red its rusted through.

It’s as bad as you can imagine. There are at least four different panels converge in this area to form the firewall, fender well, and the foot well.

There are a LOT of peripherals that run through there too. Including the fuel lines which I may have nicked when I was air chiseling the panels out. If you’ve followed the blog for very long (at least since 2010) you’ve seen The Evil German Dude and I attempt to fix the floor pan when it rusted out.

We had fun, but we failed to keep the water out and our work finally failed. I had an ongoing issue with water getting in and wetting the fargin’ OPEN CELL floor pads under the carpets. The carpets too we constantly wet. I found the place where water was getting in making the carpet wet. It was through the firewall at the corner where it married up to the side wall.

As you will see in the video, this rust is bad. Real bad. The repair is going to be really difficult and probably beyond my skill set. That being said, I have to fix it myself. There is no money to send it off. The body work itself would likely cost more than the entire vehicle is worth.

I’ve still got a LOT of work to do. I need to find a solution. It will probably be welding several panels together. I’ll need to study it more to make my mind up.

I stared at it at least an hour while I shot the video. Still struggled to sort out a concrete idea.

I am going back out the weekend this is published as OkieF150. We are going to the 200th Celebration of Fort Gibson. Fort Gibson is the oldest town in Oklahoma. Way back when it was still Indian Territory the United States needed a fort to protect the trade from this area.

We are going to make a weekend out of it and I’m hoping we can get some fishing in while we are at it. This will be the last overlanding trip for this year as I will be spending every weekend for the rest of the year trying to sort out all these issues.

Like and subscribe on the videos and the blog.

Thanks for reading, and Happy Rovering.

Footwell Repair Part 2: Disassembly (Post #649) 3/24/2024

Thumbnail Footwell Repair Part 2

In this installment I begin the disassembly of the front fender to expose more rust. And I was NOT disappointed. I found just about what I expected. A rusted through footwell. On a positive note…I think I found where the water was getting in to soak my carpets. I have no idea how to correct it, but at least I found it.

In order to get to all the rust the front fender had to come off. I encountered a bunch of rusted screws and bolts. I had to cut several of them off. I even used an air chisel to remove some spring type U nuts (yeah I had to look that name up, I had no idea what they were called). I can tell you they were a bitch to remove. But after you deconstruct them a bit they came right off. I’ll likely replace the U nuts with stainless steel bolts and nuts.

The fender didn’t put up much resistance after I got the U nuts off. I then had to remove a plastic fender piece. You can probably guess that the plastic clips weren’t going to survive being taken off.

Underneath I found a lot of surface rust. I put the angle grinder with a wire wheel to work. I cleaned up some of the rust and found a bunch of really bad metal.

In the seem between the wheel well and the footwell I found what I think is the source of my wet carpets. This spot is going to be hard to fix. I don’t know what needs to be cut away and what needs to be welded on.

Inside where this failed bulkhead is is covered with Fat Mat. That will need to be removed. Heat gun and patience I hope will assist me in getting it removed. There is a nice cluster of wires and relays right there too. So joy of joys I’ll get to relocated all that too!!! Woot!

I also took the lug nuts and cleaned all the rust off them. I have the first coat of paint on them. They’ll get a second before I put them back on.

That’s about it for this week. I got to watch some severe weather out in western Oklahoma on Sunday. It all petered out before it got to the Okierover Base Camp.

Like and subscribe the video.

Never trust quotes in social media.

https://youtu.be/Hr4vN39uf8c