1 Million Facebook Fans | Land Rover USA (Post #369) 7/16/2013

I don’t have 1 million Facebook Fans….Land Rover USA does. And to celebrate that, they made a video. A video that I submitted a picture for and since you are reading this…yes, our picture made into the video!

The original post was a post about my grand kids and their fondness for playing in the Range Rover while I work around their parent’s house.

http://okie-rover.blogspot.com/2012/05/passing-it-to-next-generation.html

It included this low res version of a photo I took of them playing in the back. I posted the photo on their Facebook page and they contacted me and asked to use it.

So without further ado…here is Land Rover USA’s video and watch for our picture in the 44 second. They open the glove box and there they are.

They got to one million fans pretty quickly. They were soliciting photos when they were around 850,000 fans.

I’m really happy they used our image. Perhaps I’ll submit a photo of Fireball’s dogs for the pets video. The dogs, like the grand kids, are fond of getting in the Range Rover when it is parked.

Thanks for reading and Happy Rovering.

Brake Caliper Failure (Post #364) 7/2/2013

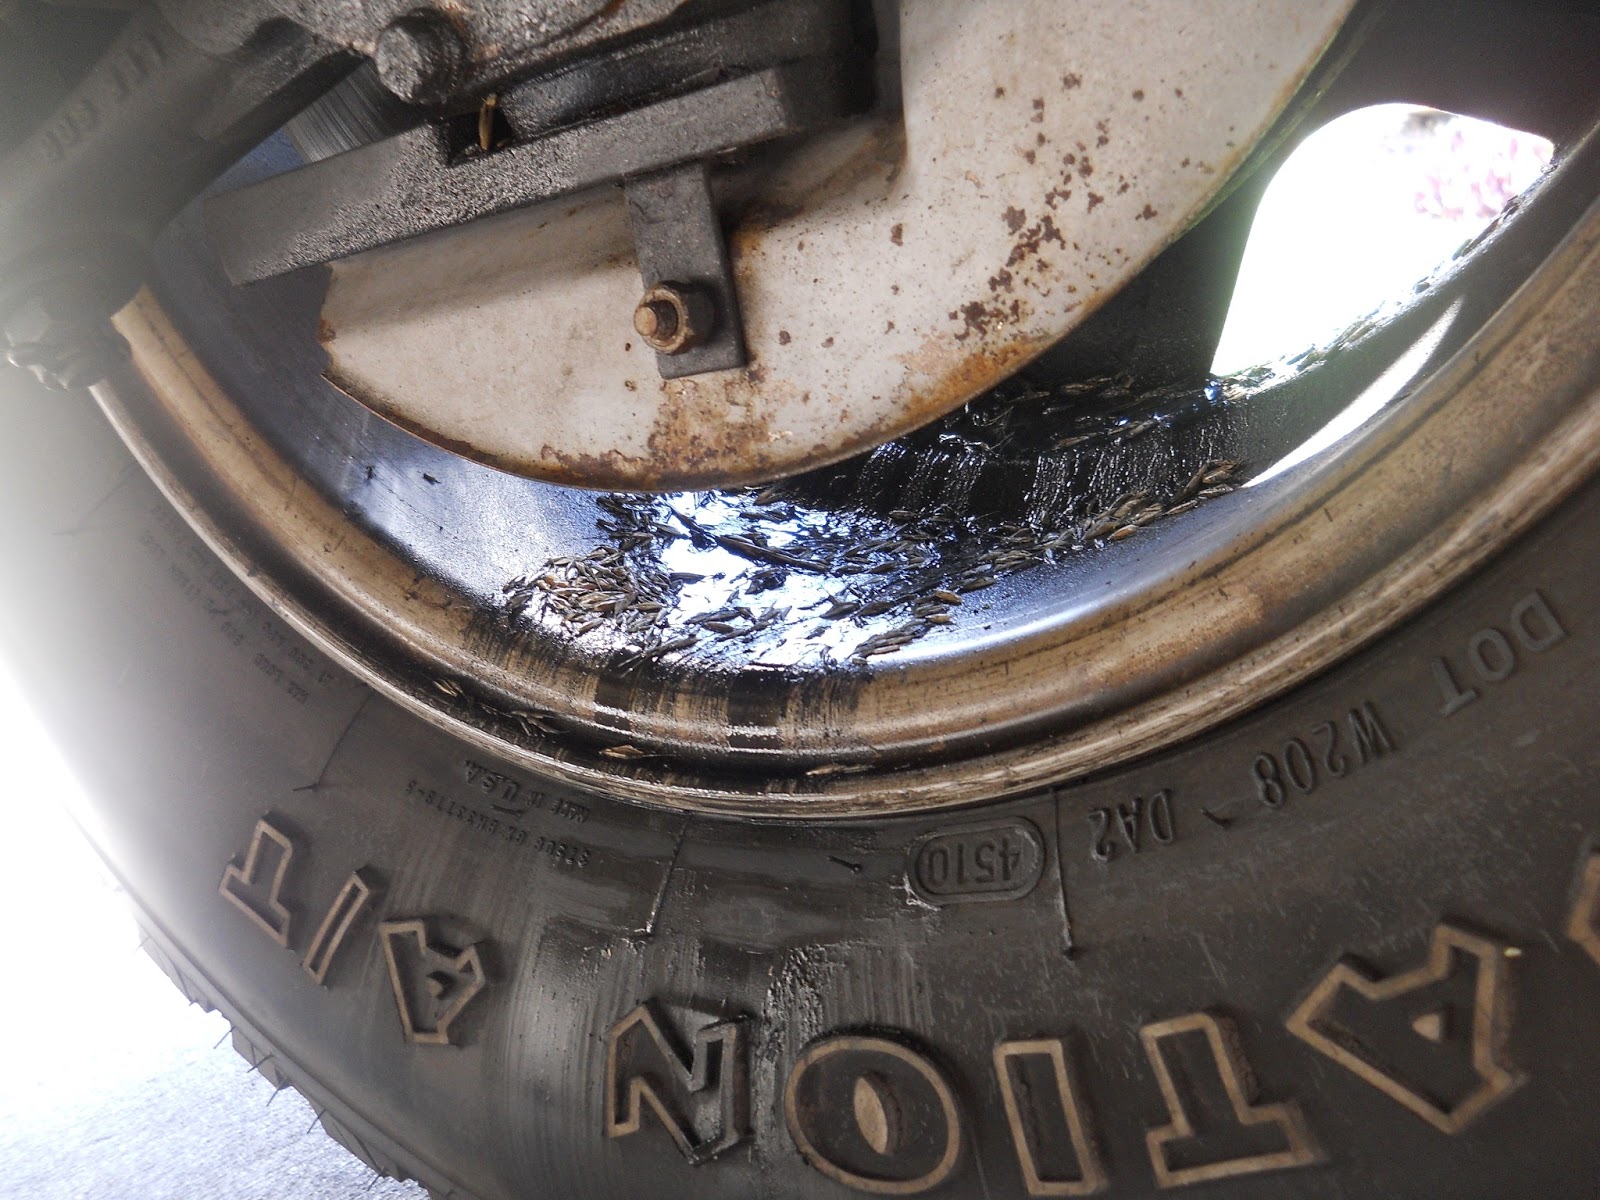
I’m pretty sure that should be dry.

Look what I found. No, not the rust on the splash guard, I expected to see that. The left front brake caliper is leaking. I’ve been hearing a pop on that side ever since I replaced the left rear brake caliper. I was just about ready to send the old gal to the shop for some fresh springs and air conditioning and then this.

I rebuilt all the calipers about three years ago, or was it four? I had trouble with the right rear staying together so I replaced that caliper with a “professionally” restored unit. I’m pretty happy with having 197,000 miles and one rebuild before a replacement for this part.

This may explain the ABS problem I’ve been having of late. When the brake is depressed (pushed down, not emotionally upset) it is hard (as expected) and is stopping but as the brake continues to be pressed it the braking really picks up and decreases the speed very quickly. That tells me something is not quite right time for a replacement.
More after the jump….

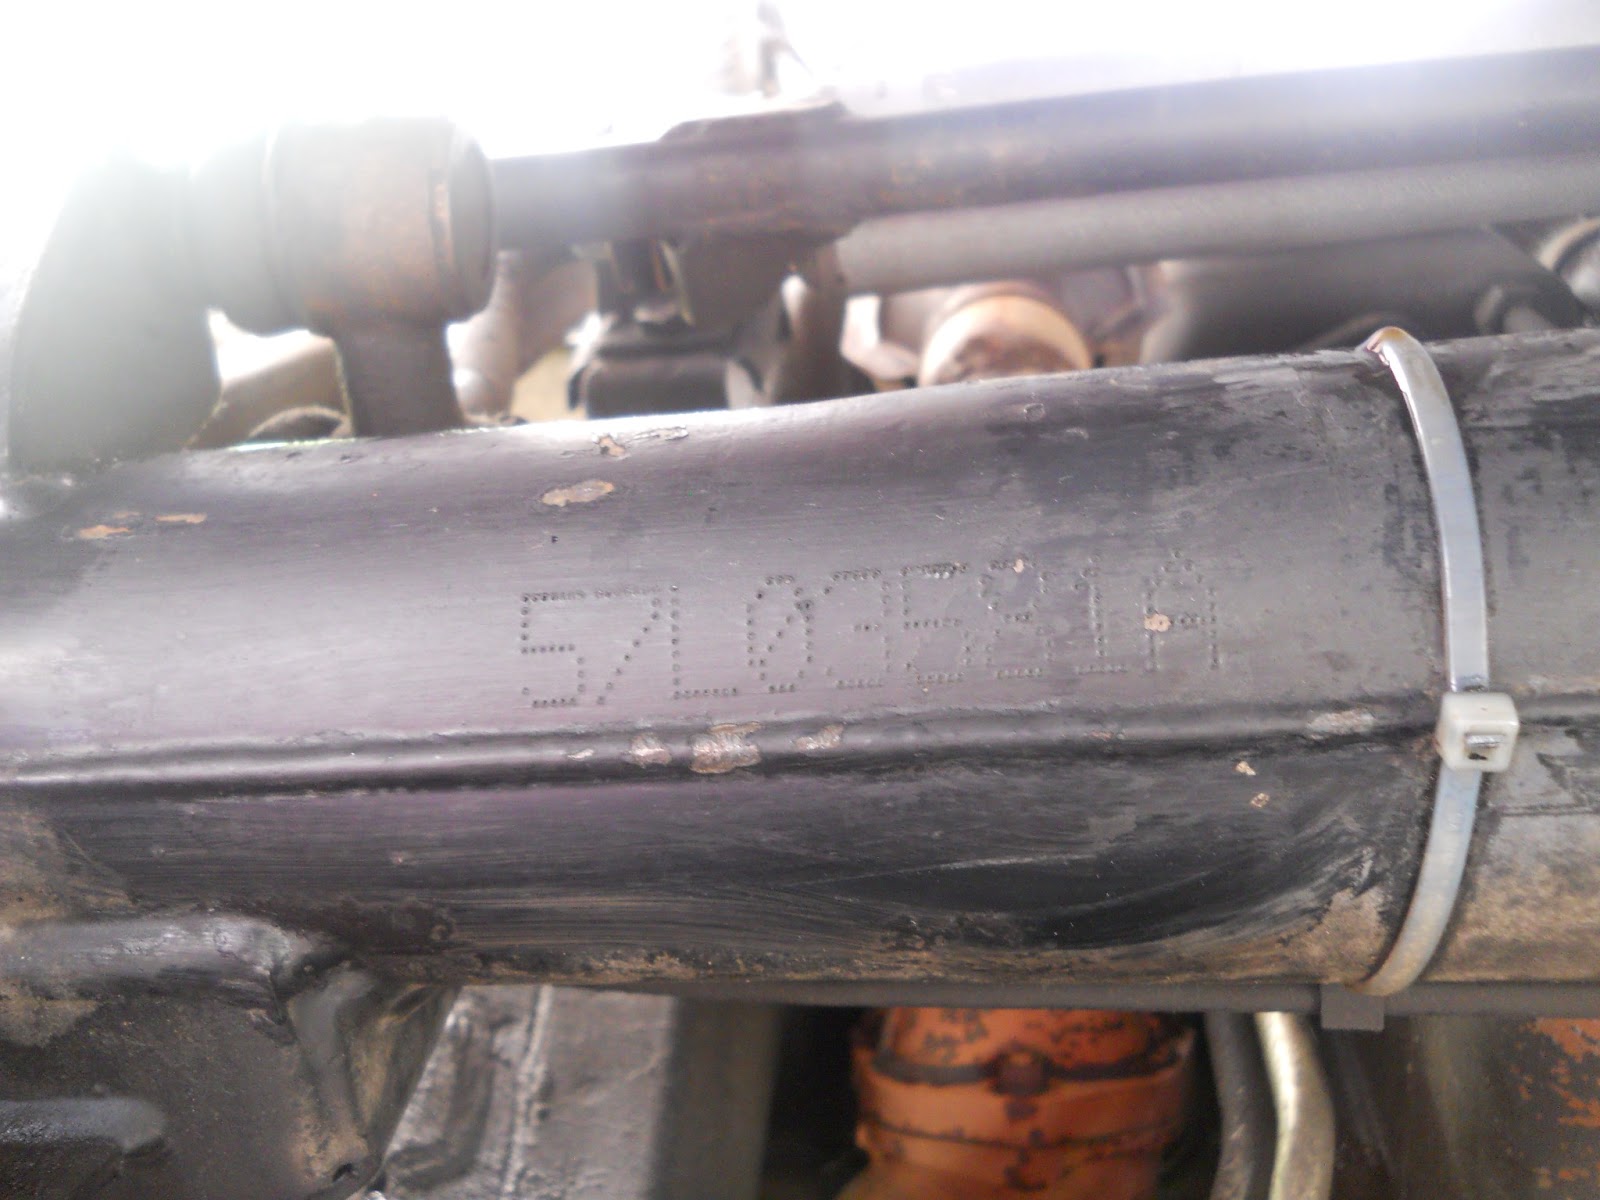
Upside down, stamped on the front axle.

When ordering a brake caliper you will need to know your axle number. My 1993 Range Rover LWB is axle number 57L03581A. This will tell the parts man which caliper to send you. The differences are also noted by the type of bolt used to mount the caliper to the axle. Either a 7/16th bolt or a 12mm 12 point head. I’m sure if you pull yours off and inspect the bolts you’ll know which one to order.

I’m looking all over the internet for the part. Rovers North has a unit for 149$(US). Atlantic British has one listed for 199$(US). I’m hoping for a price match. There are some other units available under a hundred dollars. One was “out of stock” and the others did not give me any confidence in who I was ordering from. These are brakes (read that as mostly important) so I’ll stick with companies I’m familiar with.

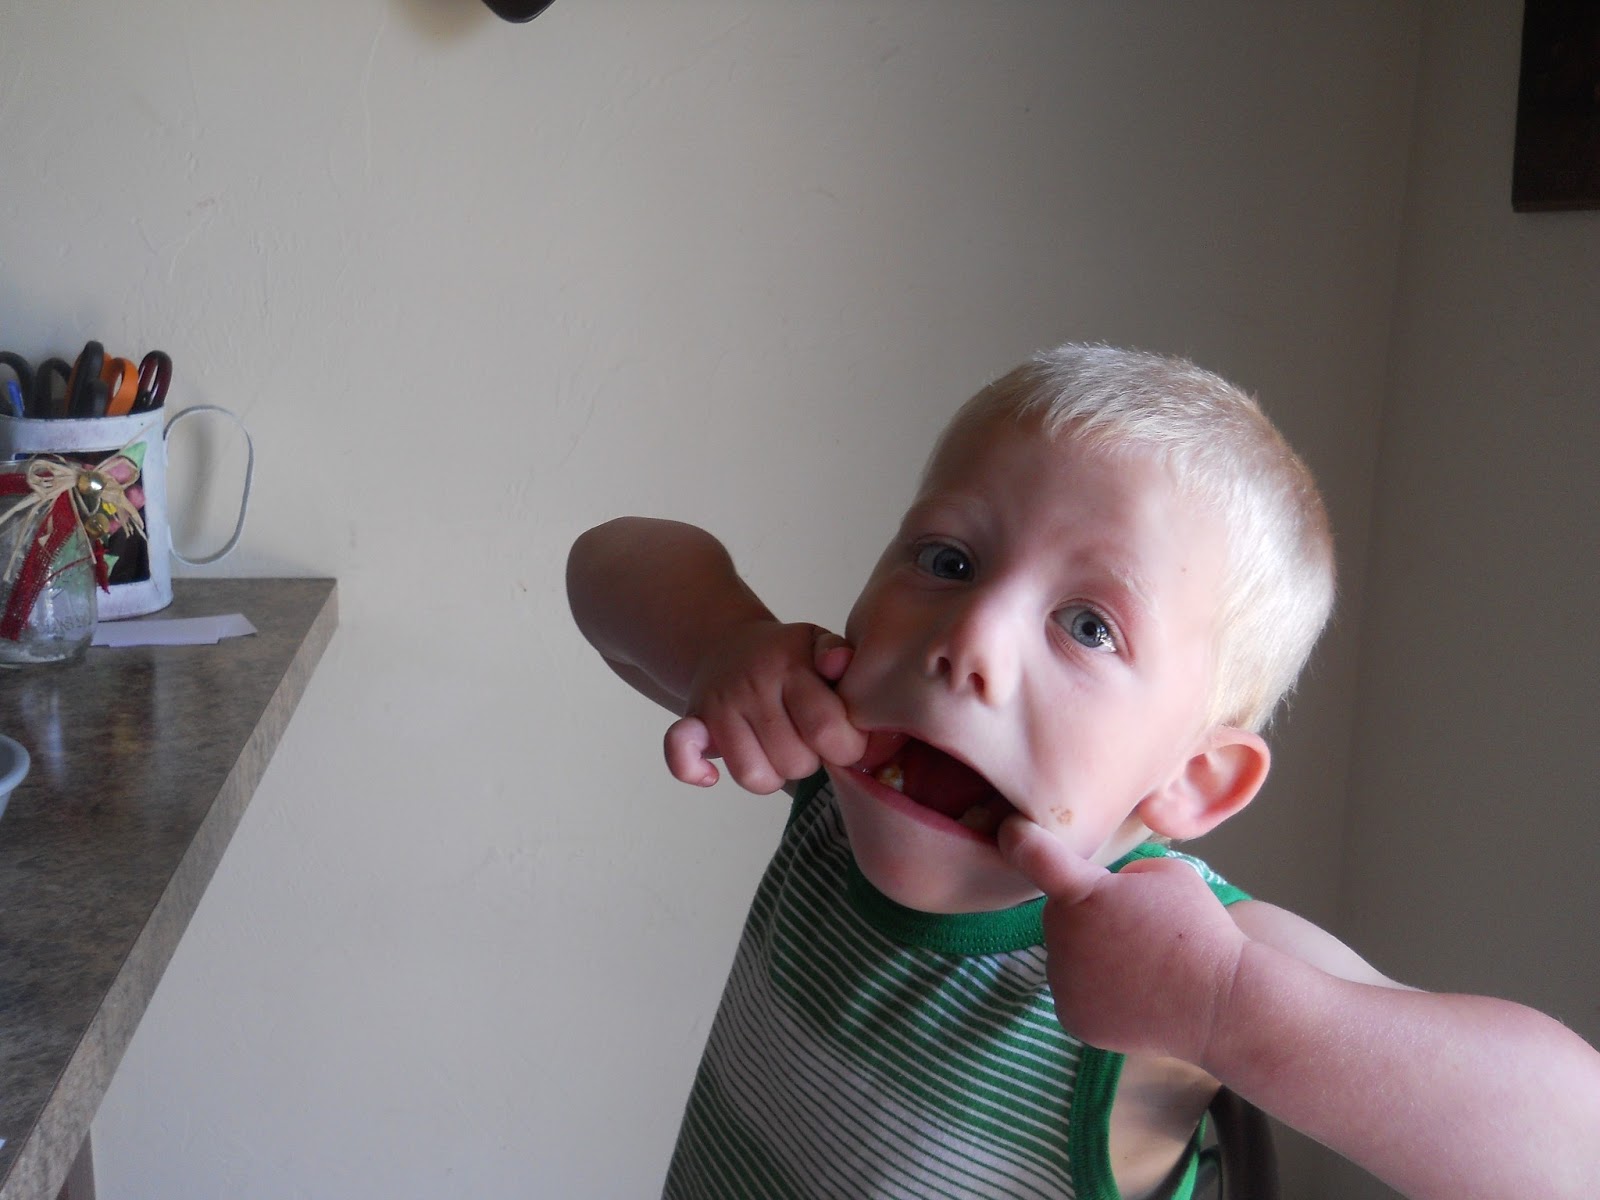
My grand kids came over while I was researching parts. While their dad and mom ran errands and I was awaiting a response on a price match request from Atlantic British we ate Jell-O and made funny faces. You might say I was encouraging them.

At this point I’m wondering when the caliper will arrive, what with the Independence Day holiday being mid-week. I’m too cheap to have it over-nighted. And when I’ve asked for “priority shipping” it always seems to arrive on the day it would have if I just order the “whenever you get around to it” shipping. If it arrived on Friday I could work on it that day. Saturday is out, Sunday would work but I’m not sure it will arrive by then. So I’m looking at a weekday evening.

Phone rings….
Bully for me, it looks like Atlantic British is going to price match for me. So I got that ordered and I’ll be ready to swap it when it finally arrives. I always enjoy talking to Eric at Atlantic British. After we briefly kibitz and share a joke about my new credit card number and being on a budget, he says it will be here Monday or Tuesday. Indeed the Independence Day holiday has things mucked up a bit.
Thanks Eric (and AB) for the price match.

I told Mrs. OkieRover that I thought I was getting close with the repairs. I’m guessing that was probably in vain. The circumnavigation of Oklahoma is still in the works, with every repair I grow more confident. The Big White Bus is a twenty year old British automobile and I’ll probably have something to work on every week until the rust wins the battle.

Thanks for reading and Happy Rovering.

May 20th Tornado (Post #341) 5/21/2013

Red path was the F4 May 20th tornado. Green was the F5 from May 3rd, 1999.

Several of you have emailed to check on us. That really means a lot to us. Thank you.

Me and all mine are safe.
My oldest daughter (#1) went over to a friend of our’s home. They have a safe room under ground. They watched the storm form and touch down. They scurried for safety and said for quite some time they could hear the roar as it passed by.

RovErica (#2) was traipsing between her new job in Norman and her apartment. She was at her apartment when it hit. Mrs. OkieRover was at the Norman Regional Hospital Heathplex waiting for the wounded. They sent most of them to the trauma center at OU in OKC. NRH’s Moore hospital was destroyed. They moved those patients to the Porter Avenue campus in Norman.

My son was in north Norman and I was at my office near the capitol in OKC when it hit. I had to drive east of Lake Stanley Draper to get around the mess and home.

Thanks for checking on us and say a prayer for the victims and the first responders who are dealing with the aftermath.

Thanks for checking on us and Happy Rovering.

Family and Finally a Garage Day! (Post #328) 4/13/2013

Finally I have a Garage Day! The weather is cooperating and my schedule is clear. I am asking no sympathy for my schedule I do it to myself.

I took the Range Rover to Dibble, Oklahoma to watch my grand daughter play T-ball. I love the two lane highways in Oklahoma and this was an opportunity to drive on them. Specifically highways 39, 76, 74b, and 24. 74b between Goldsby and the intersection with 76 just past Cole, Oklahoma has those great “lose-your-stomach” peaks on the hills.

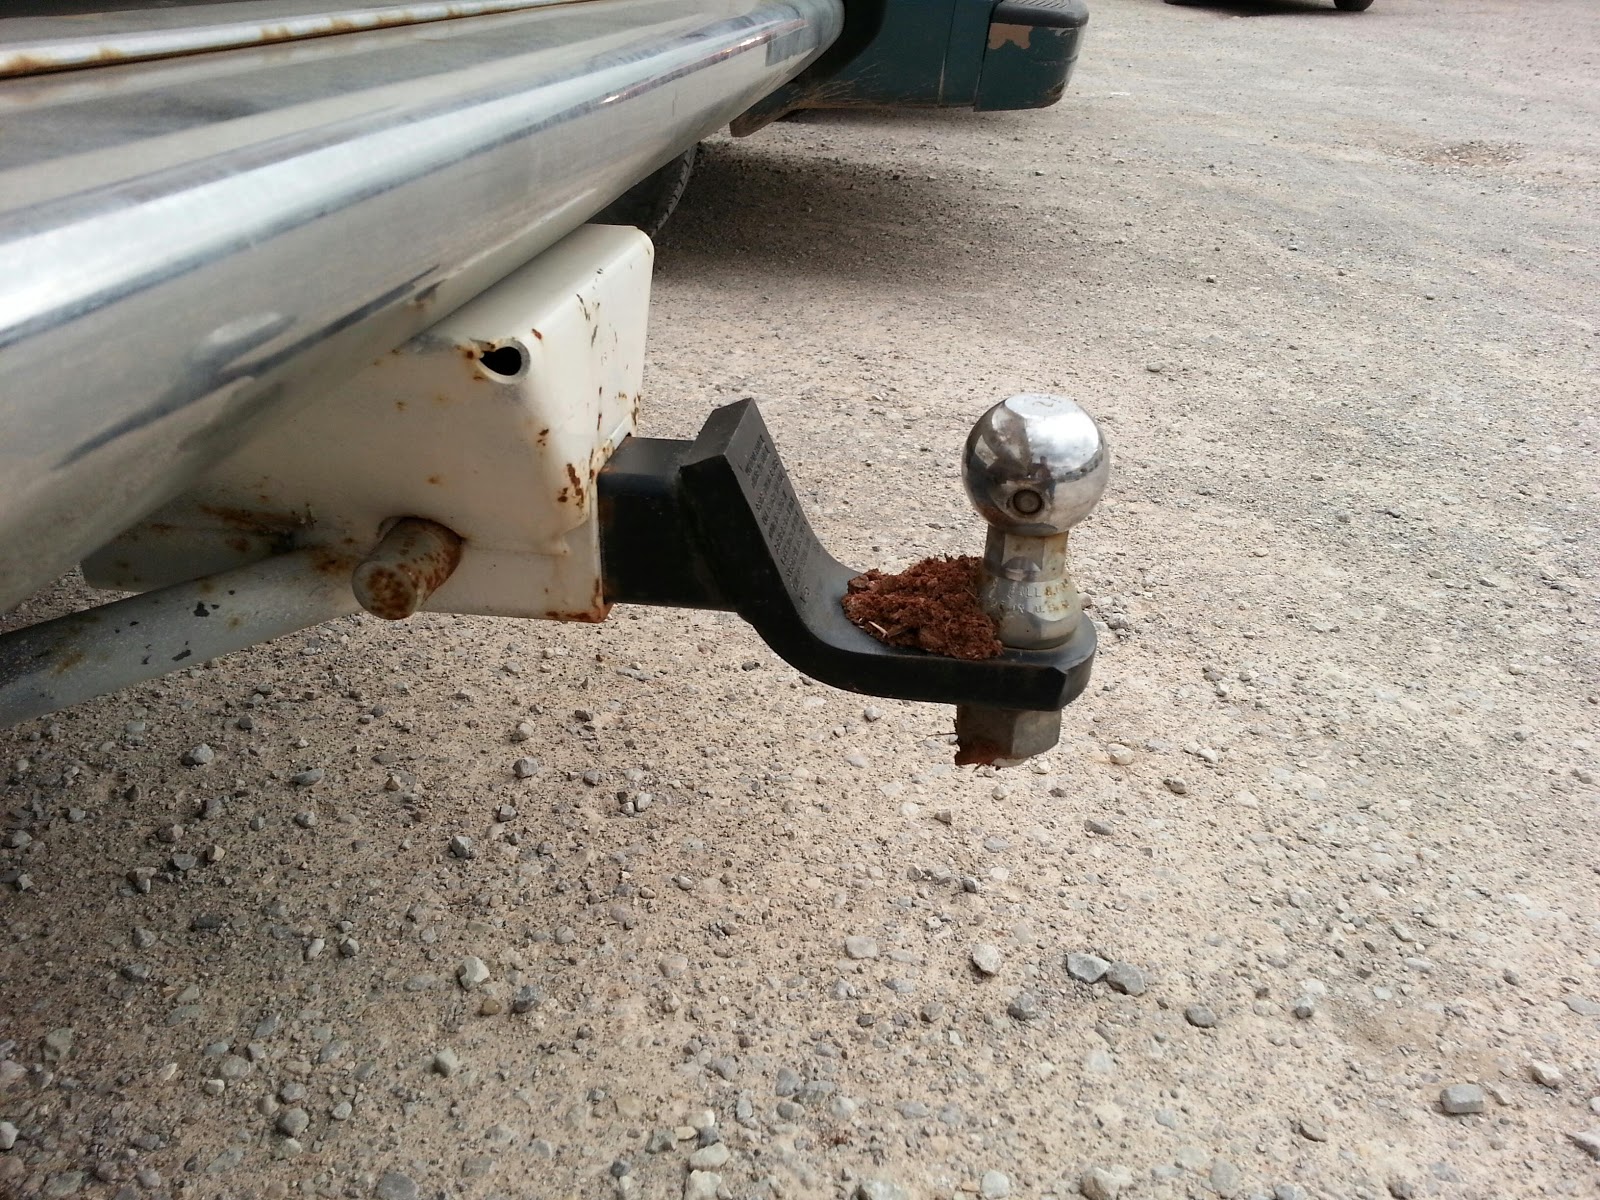
I rolled into Dibble and they had blocked the parking lot at one end forcing me to either drive a few blocks around to the other lot or just go off the road and turn around. Of course, I picked option two. When I turned in to the lot it was a steep ditch, the approach angle was fine, no worries there, but when I tested the departure angle I contacted the ground. No damage that I can tell, but it was enough to make a furrow in the ground as evidenced by the dirt on my hitch.

I got a picture of our number 9 on third. The weather had just turned with a cold front passing through. Amazing how many Okies attending the game were totally unprepared for a serious change in temperature. Think 81 F to 61 F in three minutes with a 15-20 mph north wind. Making windchill something like 55 F.

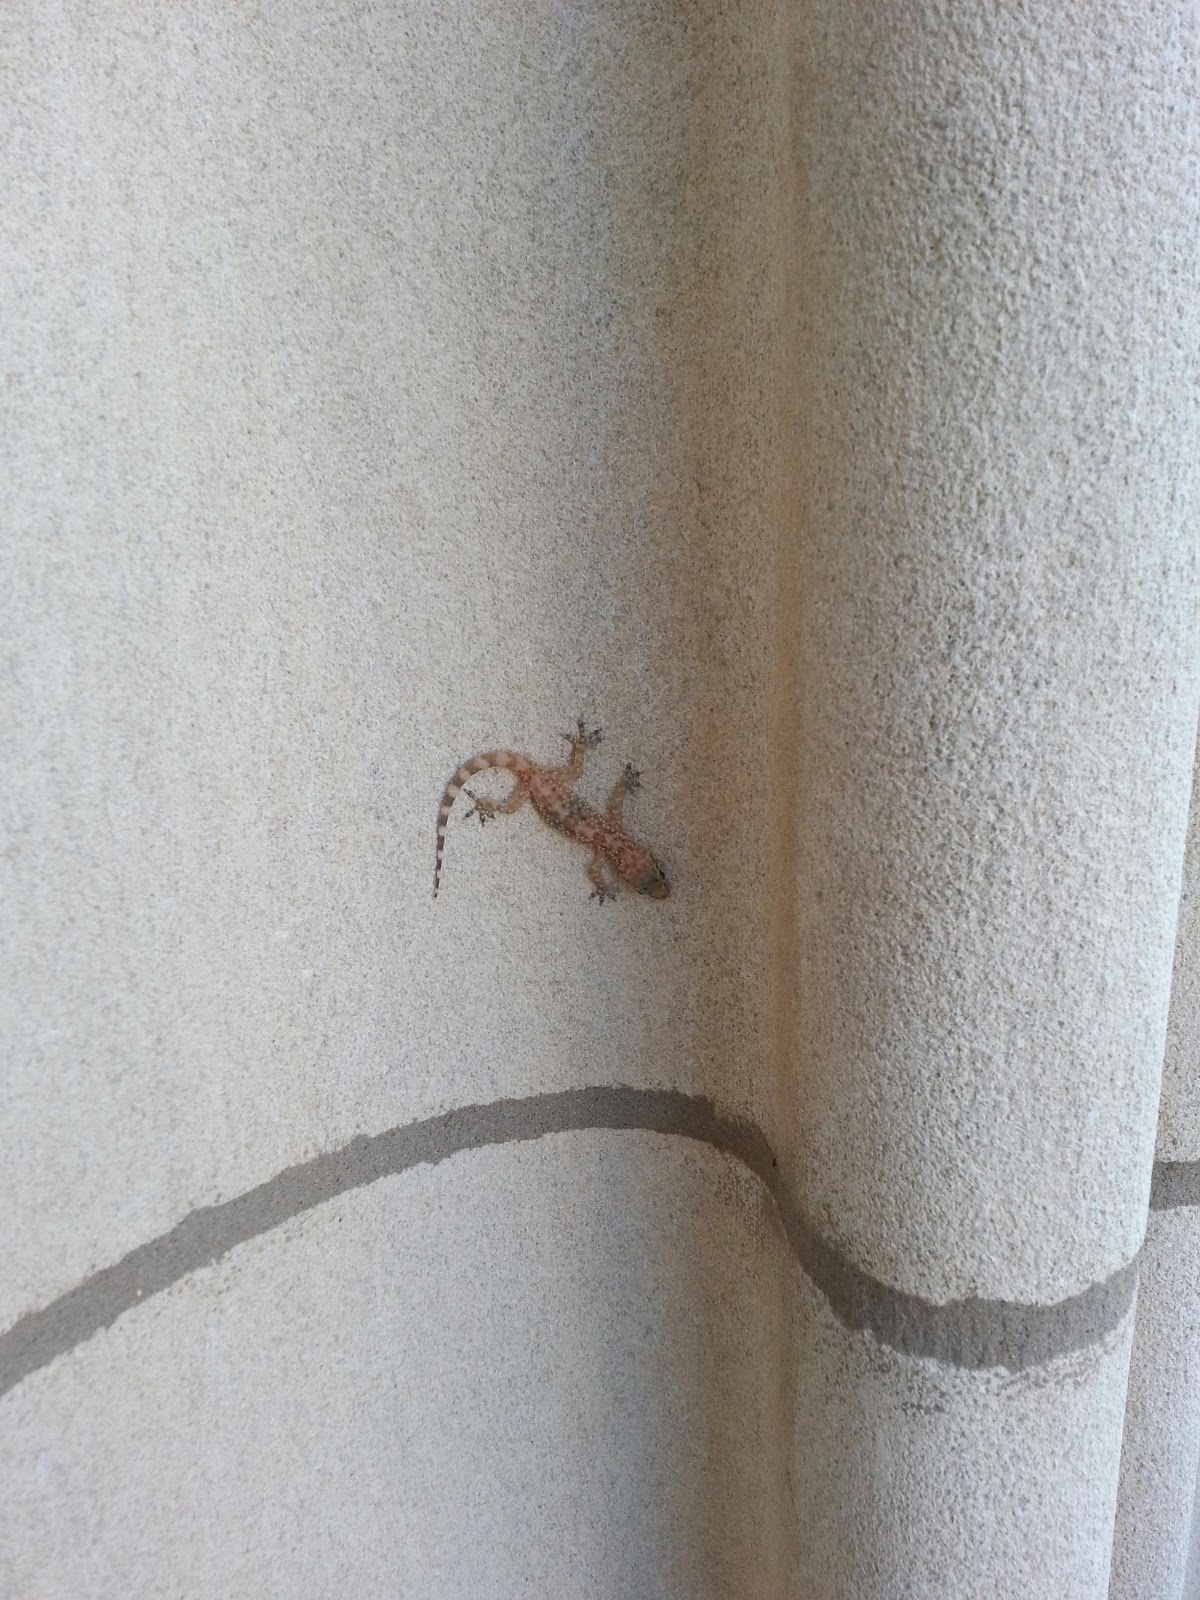
We had family pictures this week. We went over to the University of Oklahoma campus and took pictures of my wife’s family. We spotted this Mediterranean House Gecko on one of the columns in front of Evan’s Hall.

Unfortunately for the gecko a Mockingbird had also spotted him and as soon as we were done, the Mockingbird swooped in and had a snack. Much to the chagrin of the grand kids. As we reminded them of the circle of life. They then told us of watching a hawk destroy a squirrel. They thought it was cool.

After this year, I may attempt to see how many different species of reptiles I can see in the wild, instead of birds. I’ve also thought of a quest of mammals.

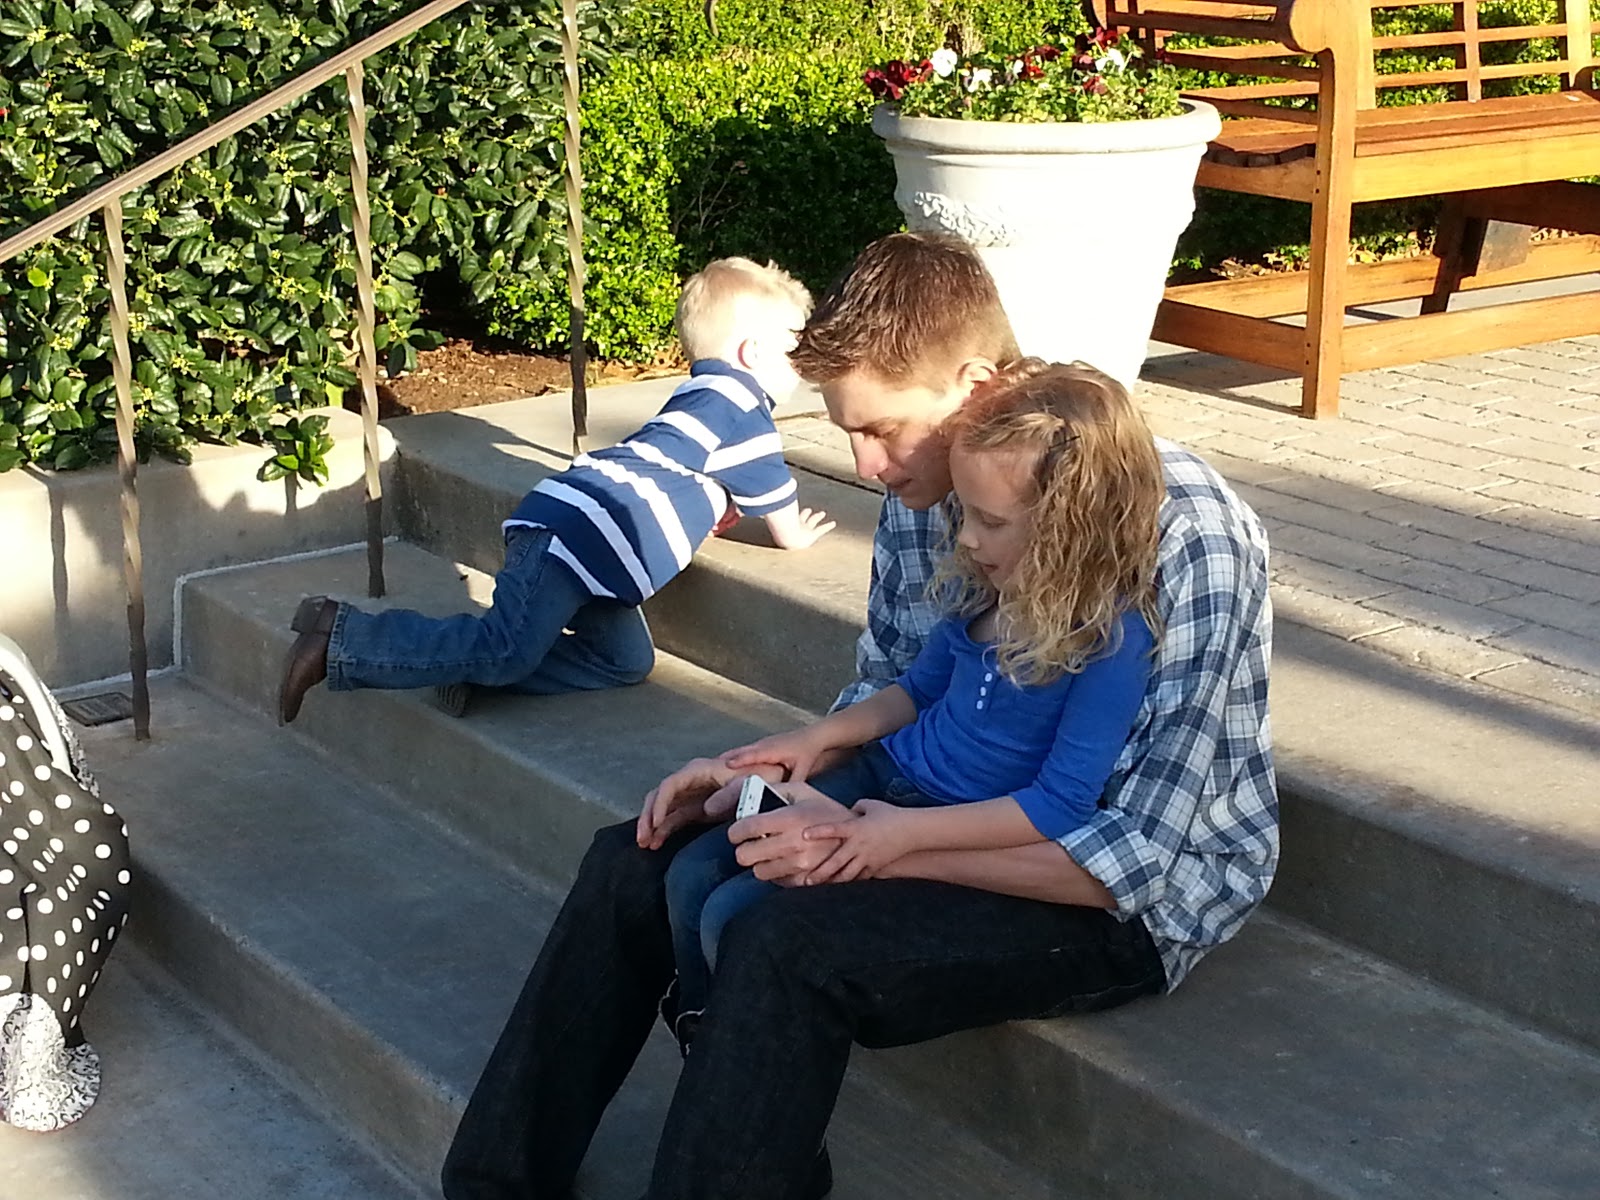
Mrs. OkieRover with RovErica. That’s her dad Grady on her right. Although he was a Navy man he’s alright with me. His sense of humor is top-notch. He served on the USS Essex back in the day. He started out with a stint with the Oklahoma National Guard at age 15. He told them he was 18. Funny how times have changed.

This is my son-in-law Justin and my oldest Lecia whom you’ve heard referred to on this site as Fireball for her propensity to throw softballs hard enough to register on the Richter scale when you catch them.

Justin you have seen in my historical pictures. Although his people are Pottawatomie and mostly “uncivilized”, he has not totally shunned me teaching Cherokee words to the grandchildren.

Here we have the grand children and my son Diet Mountain Drew. Just out of frame is the princess Prestyn in her baby bucket.

I am greatly blessed by these people and proud of each and every one of them. I couldn’t ask for better people if I made them myself…

The love of family and the admiration of friends is much more important than wealth and privilege.
Charles Kuralt

I couldn’t agree more Chuck. If you need me I’ll be in the garage.

Thanks for reading and Happy Rovering.

Fuel Pump Replacement (Post #326) 4/5/2013

196,000 miles out of one fuel pump. That’s pretty good. But as you have read in previous posts it was time for a new pump. Let’s first sort out the process for testing the fuel pump.
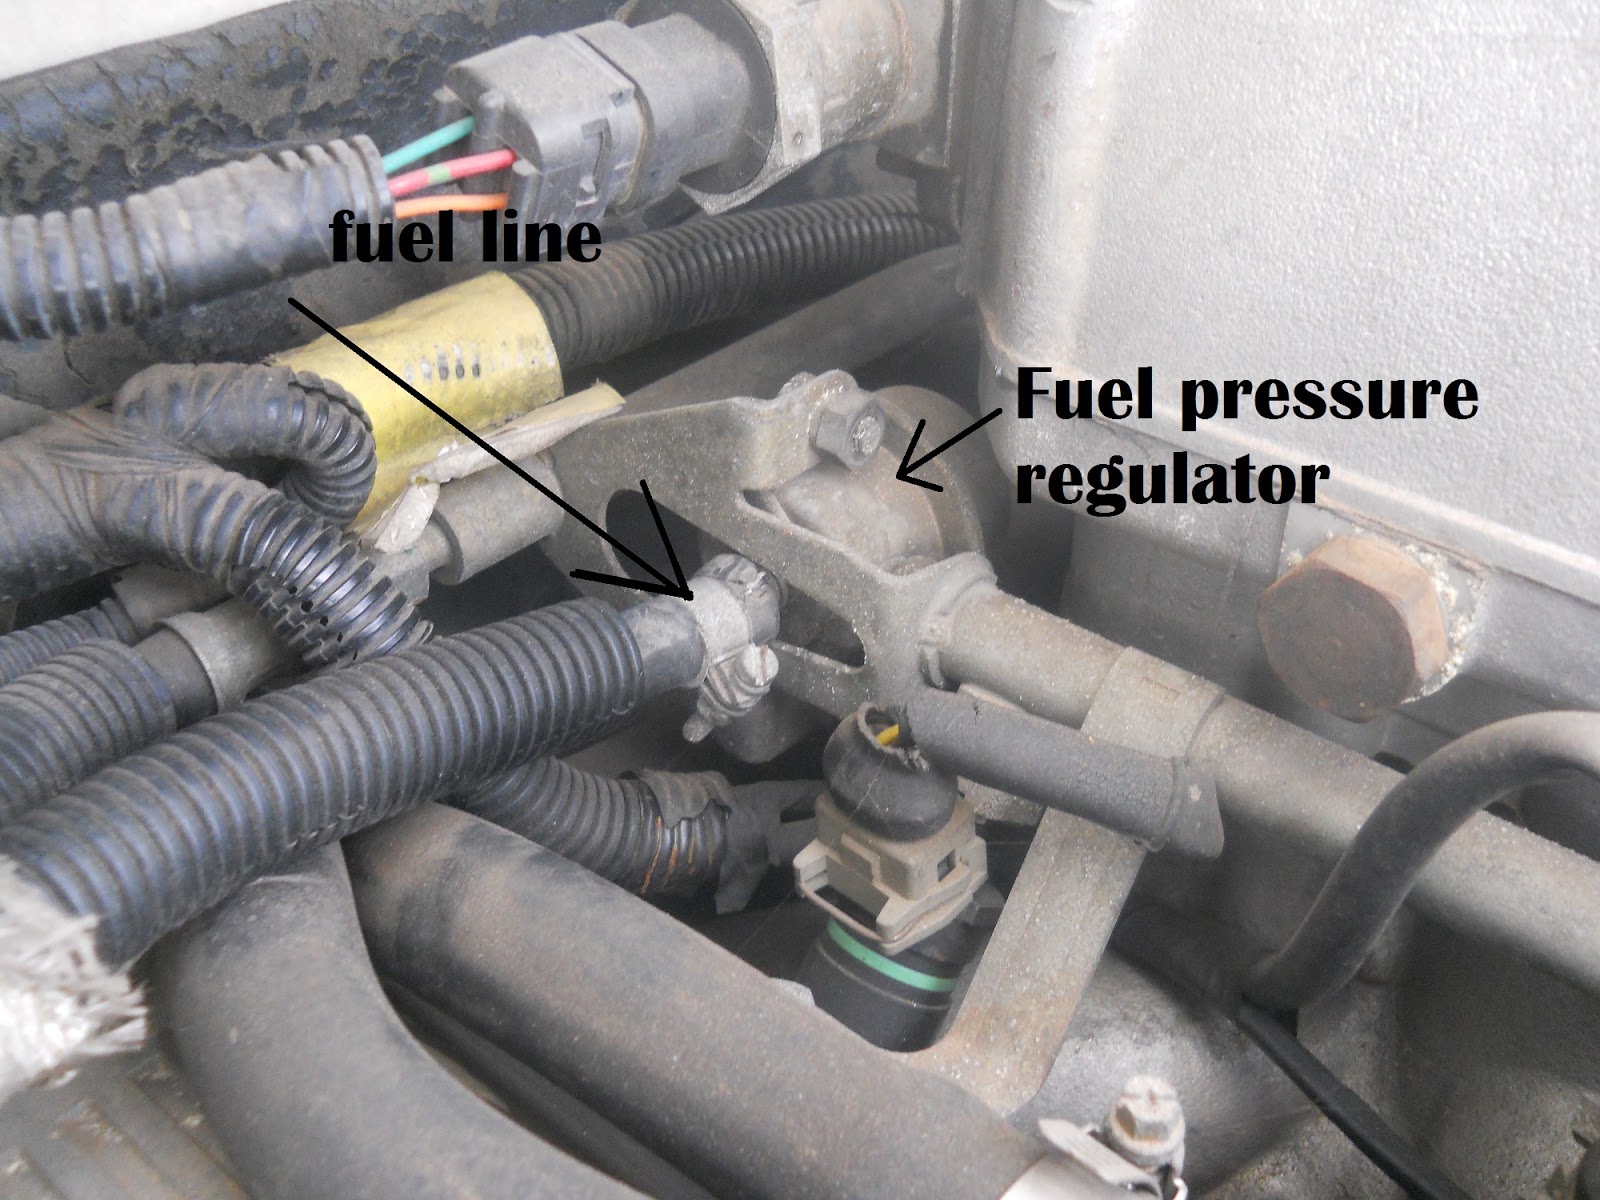
Checking for fuel at the fuel rail was first. I disconnected the fuel line from the fuel rail.
Remove the hose clamp. Place a rag, preferably a large one like a t-shirt under it. You are checking for fuel coming out. WARNING. When you turn the key to the on position it activates the fuel pump. The fuel pump will run for a short burst to pressurize the rail. It will then shut off. A lot of fuel will come out when you turn on the key. It may even shoot out on to the engine. DO NOT DO THIS WITH A HOT ENGINE.
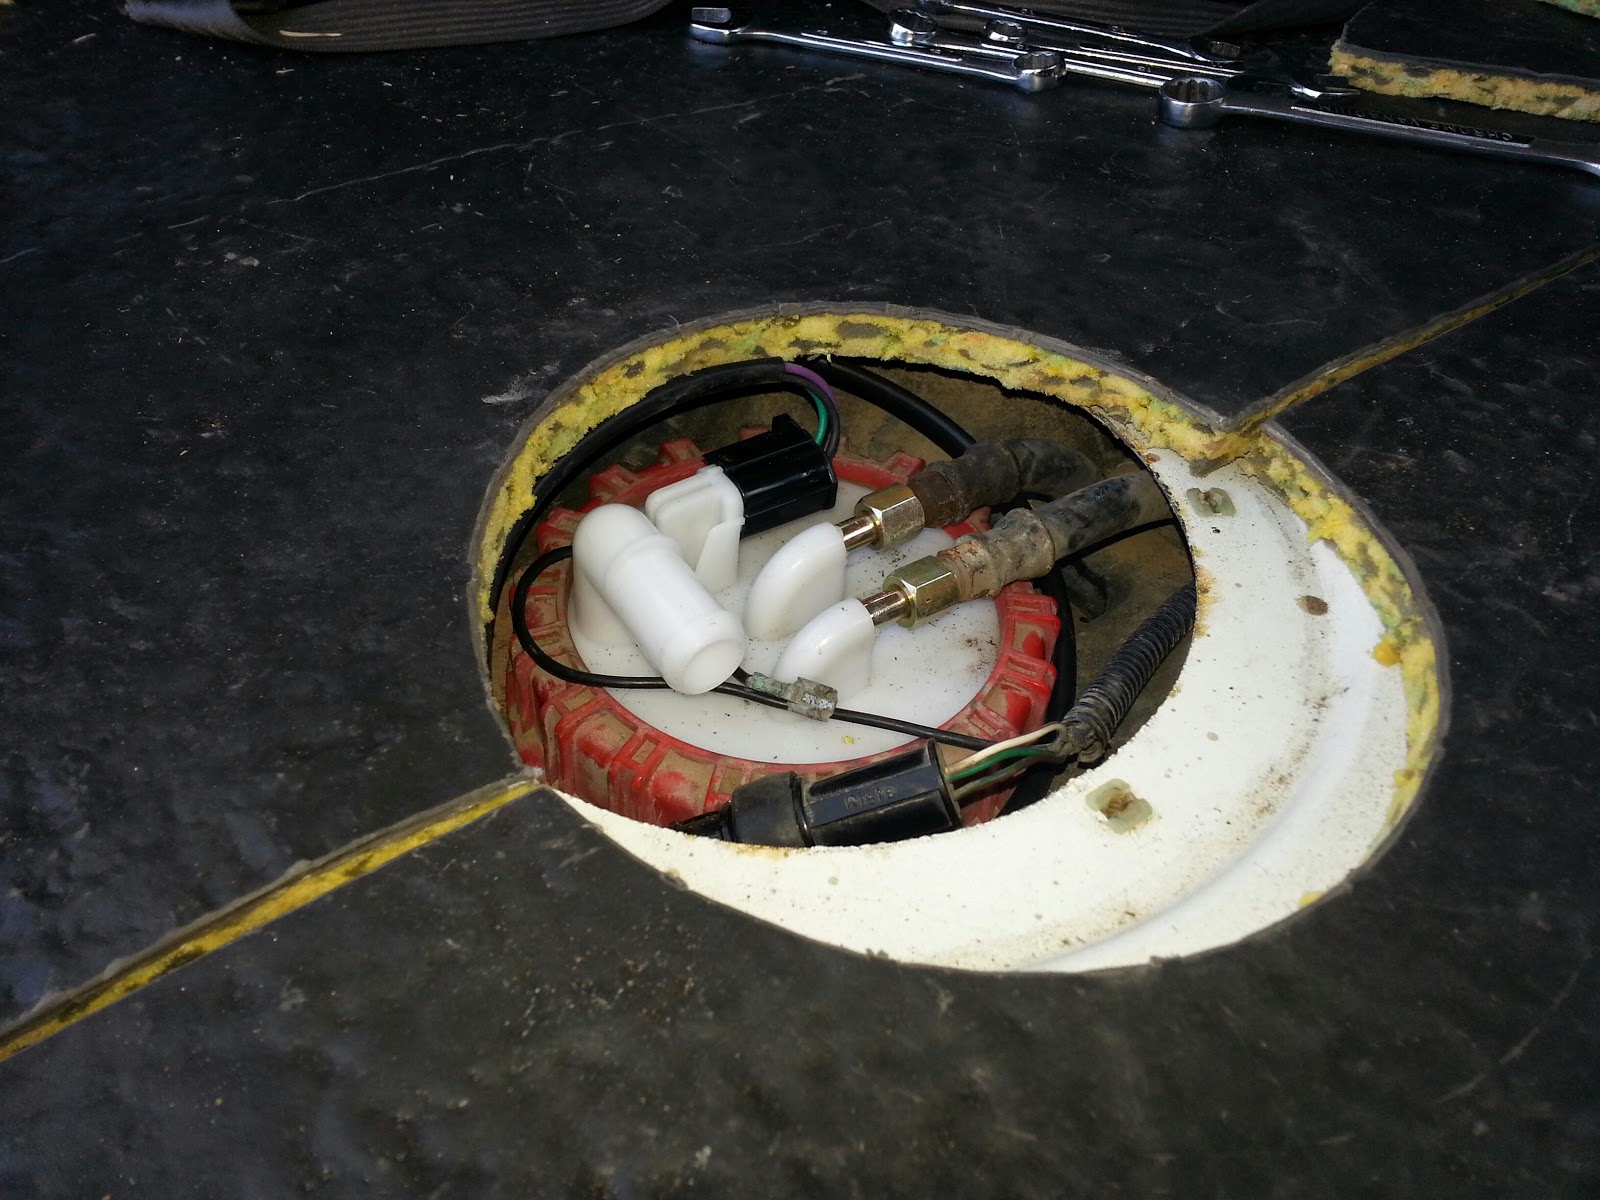
When I disconnected mine, no fuel came out. So that told me the pump did not run. So I climbed in the back and disassembled the back to get to the fuel pump access panel. Some time in the late 1990 models they started manufacturing an access panel to repair the frequently failing pumps.
I wanted to first check to make sure I didn’t have a blown fuse. I couldn’t remember which fuse was the one for the pump. So I pulled all of these and checked for a blown one. I also reseated the fuel pump relay (silver one) located between the green and brown items. All the fuses were good. On to the pump.
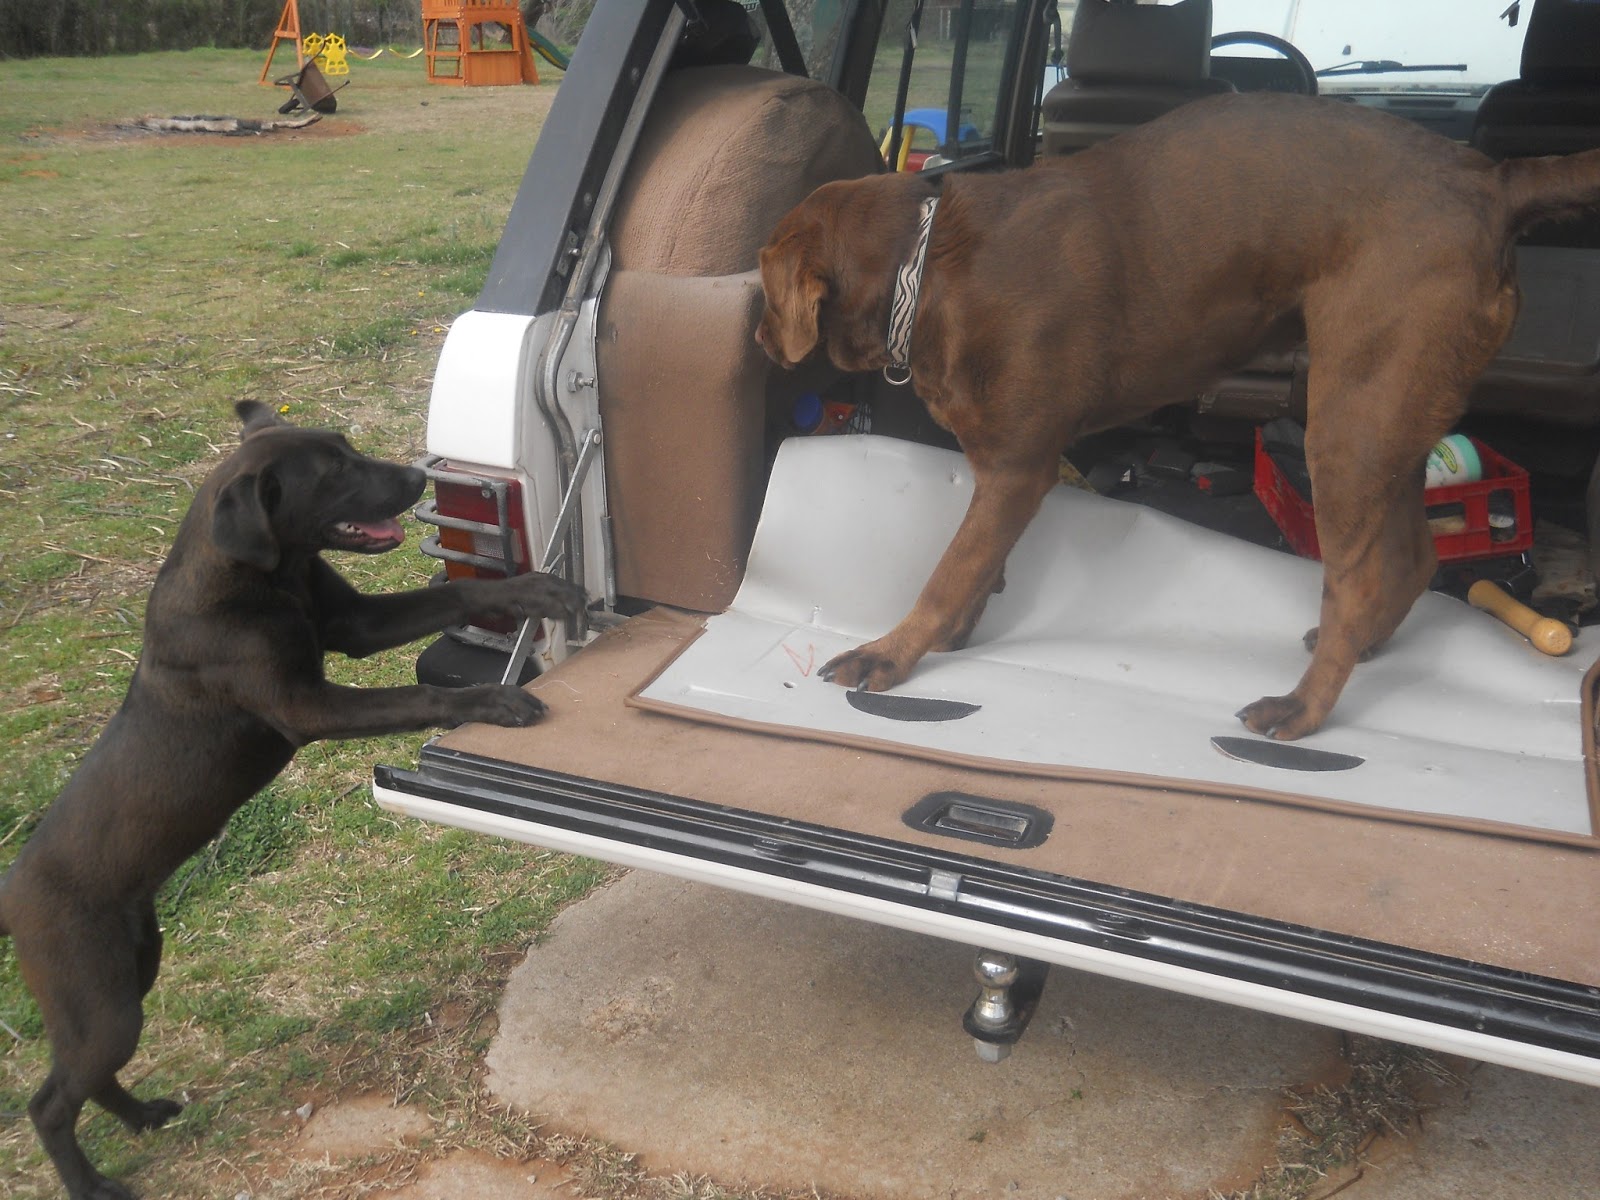
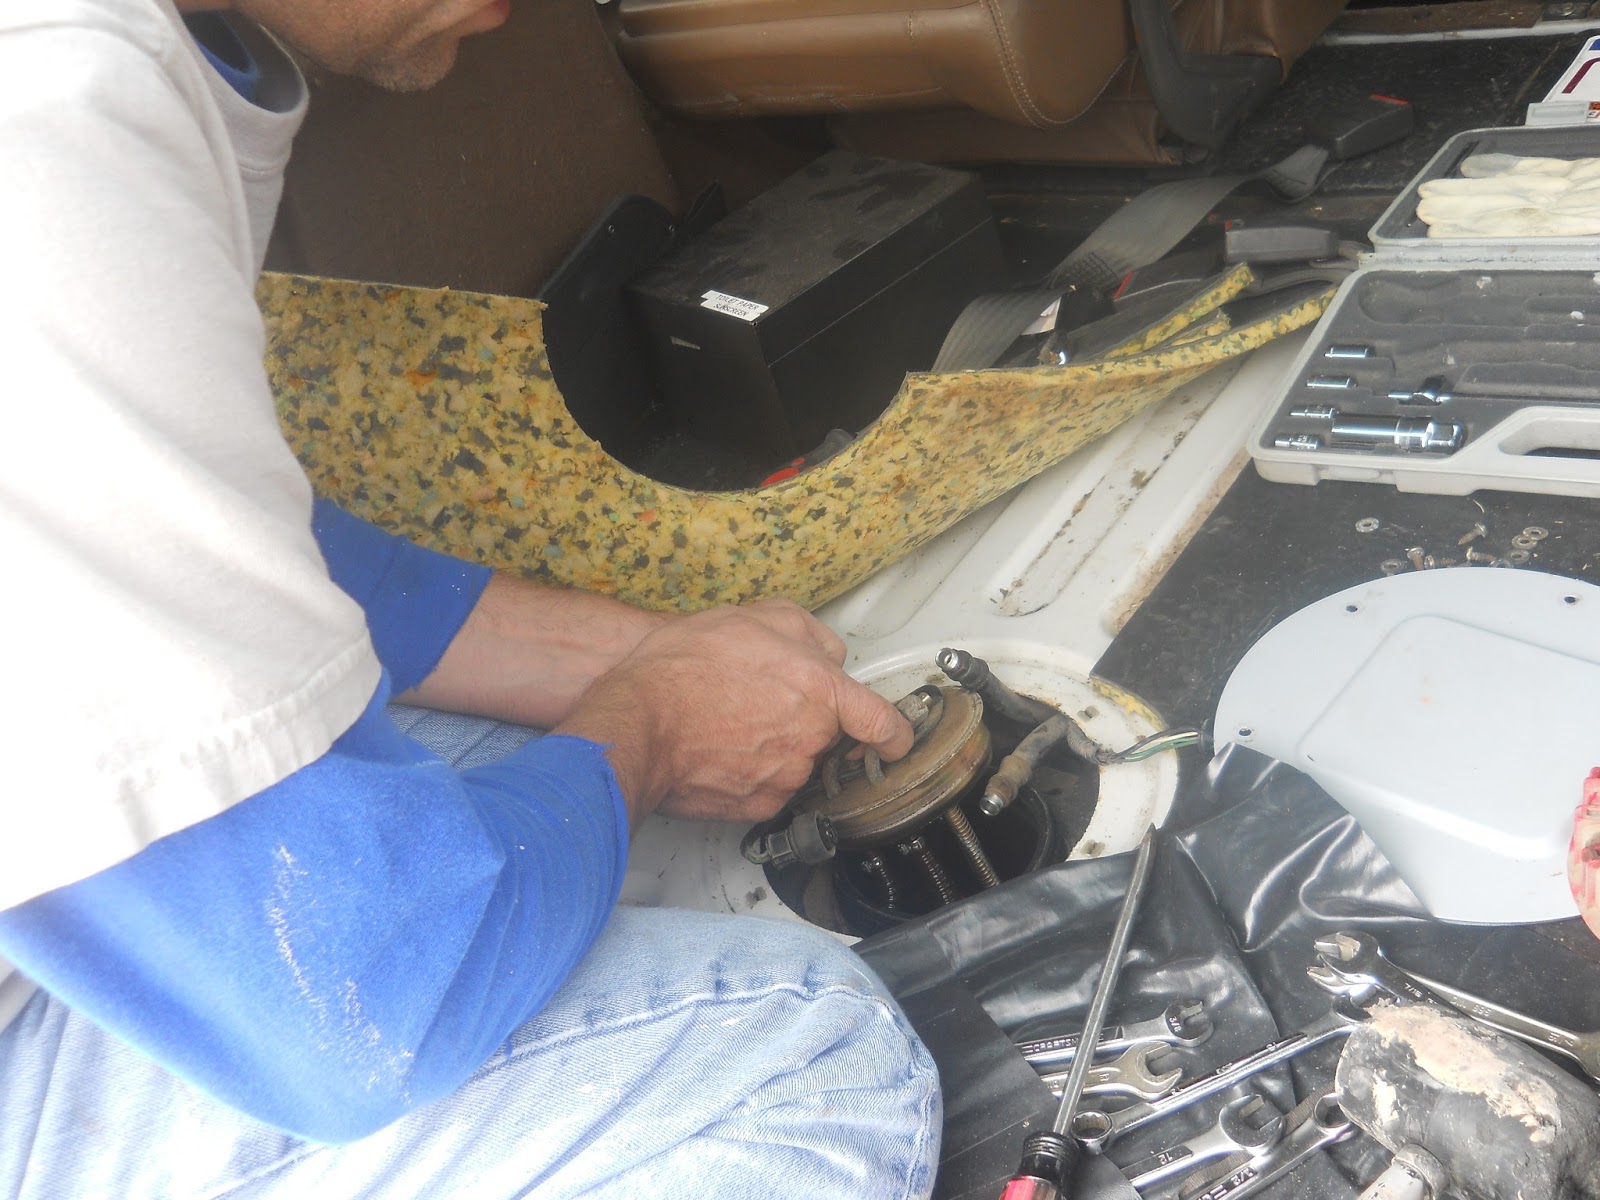
Remove the carpet and the dogs from the rear of the vehicle and access the panel.

I don’t know why they think it is okay to get in the back of the Range Rover.
Luna and Paisley
Remove the six screws. Move them to a safe place. Remember you are about to open the fuel tank. If you have something that might fall in the tank…it will fall in the tank. Secure all loose items NOW.
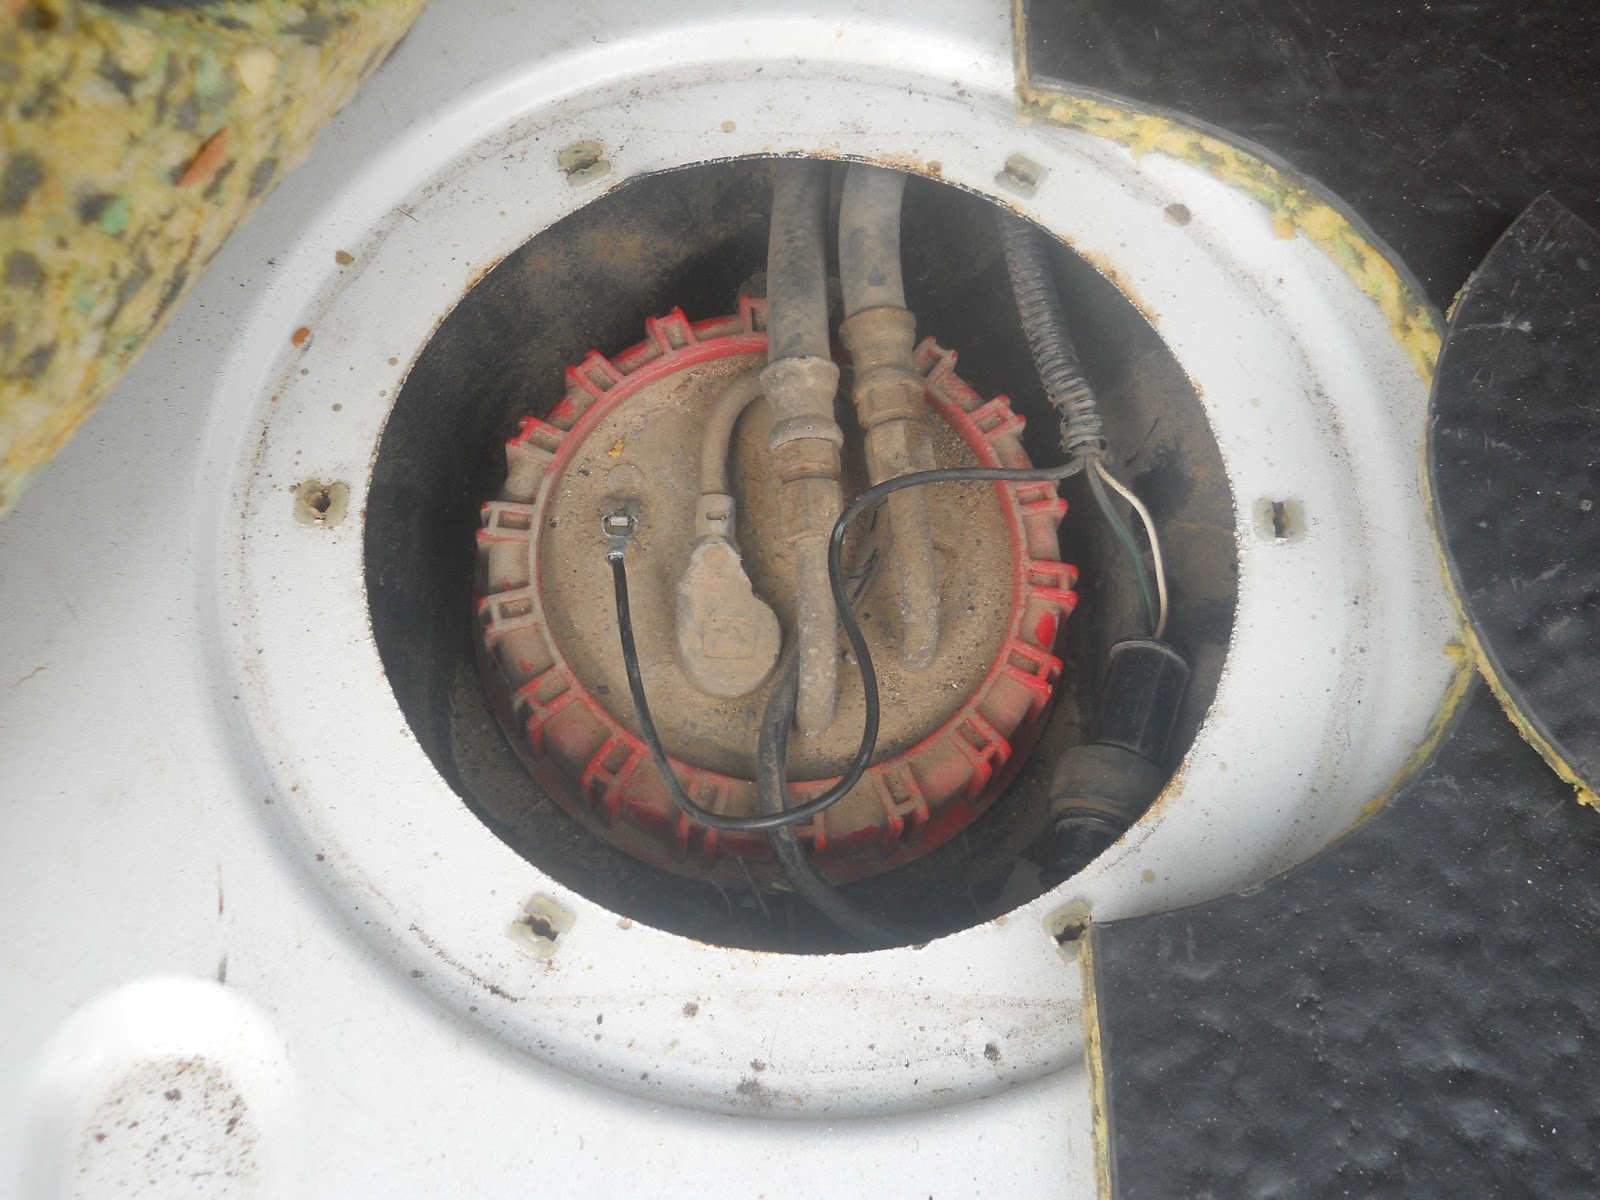
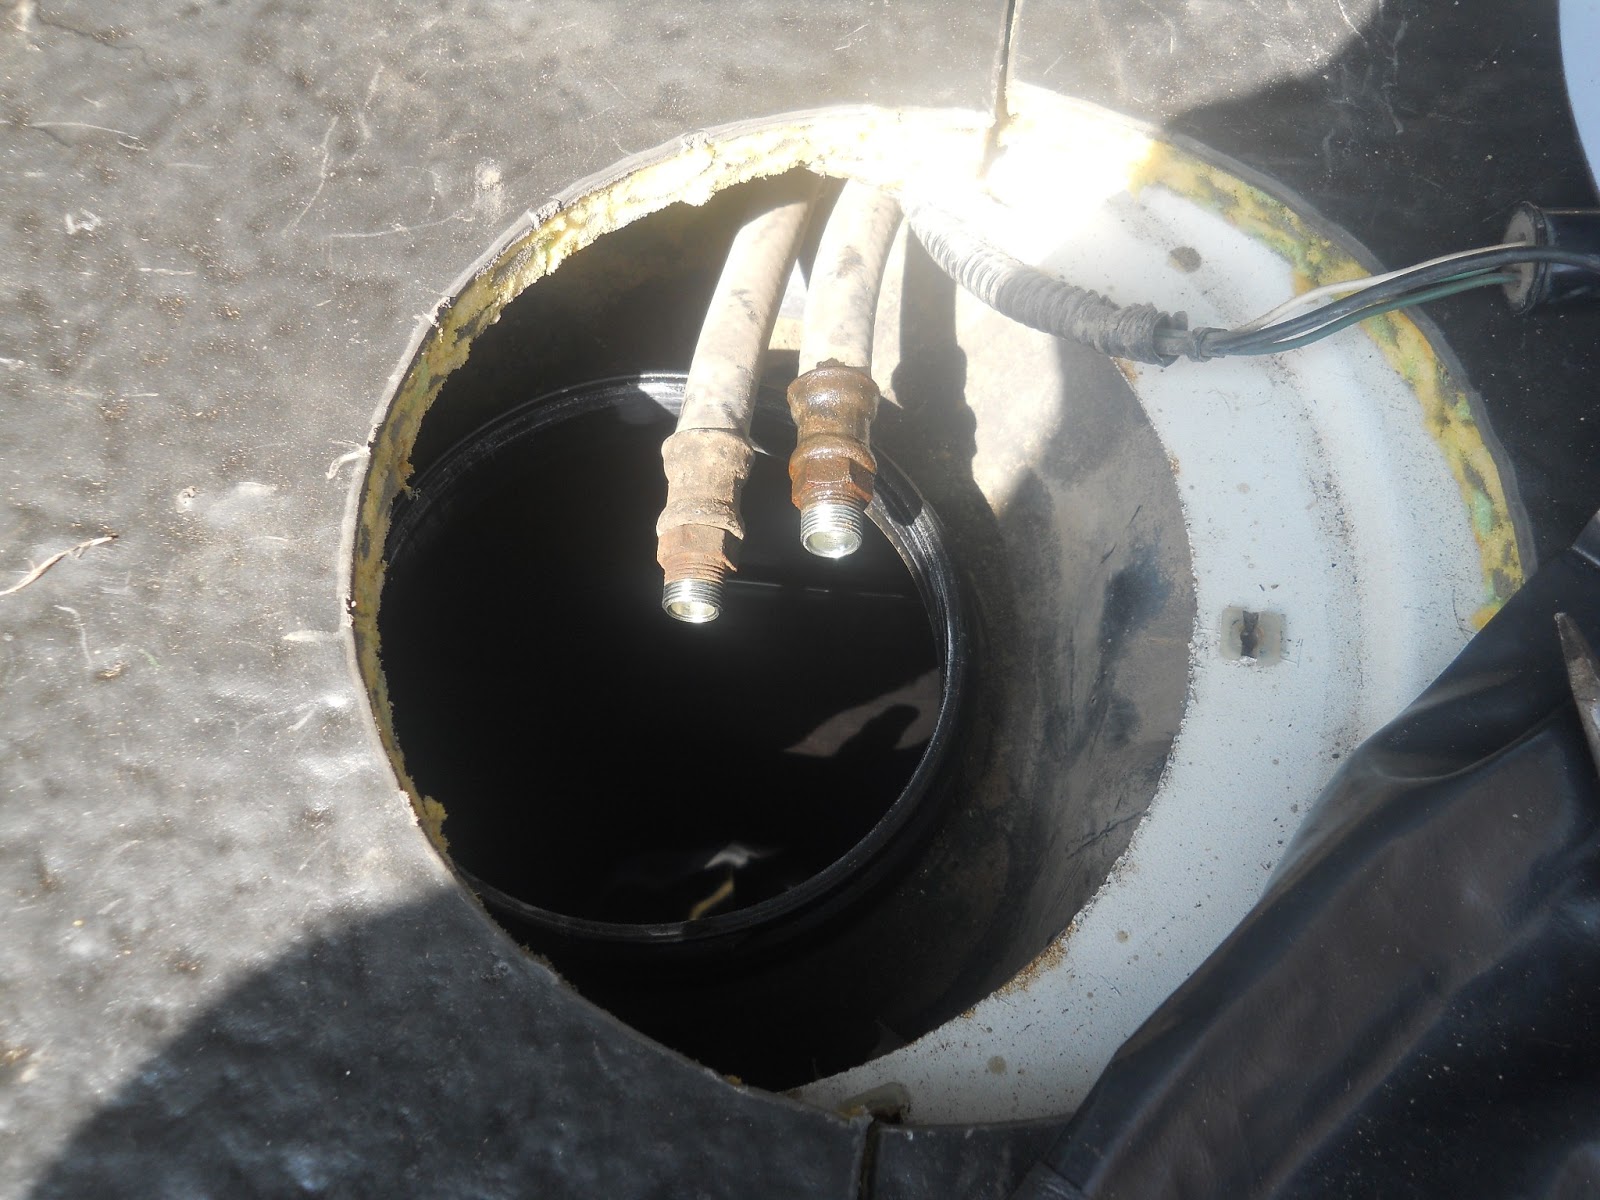
After you are open you are dealing with two fuel lines, a ground wire, and the power connector.
There is also a fair amount of dirt under there. I used a shop vac to get as much as I could to eliminate debris from getting in the tank. Vacuum before you start to remove any bits. Vacuum again after you have knock the wrenches against stuff.
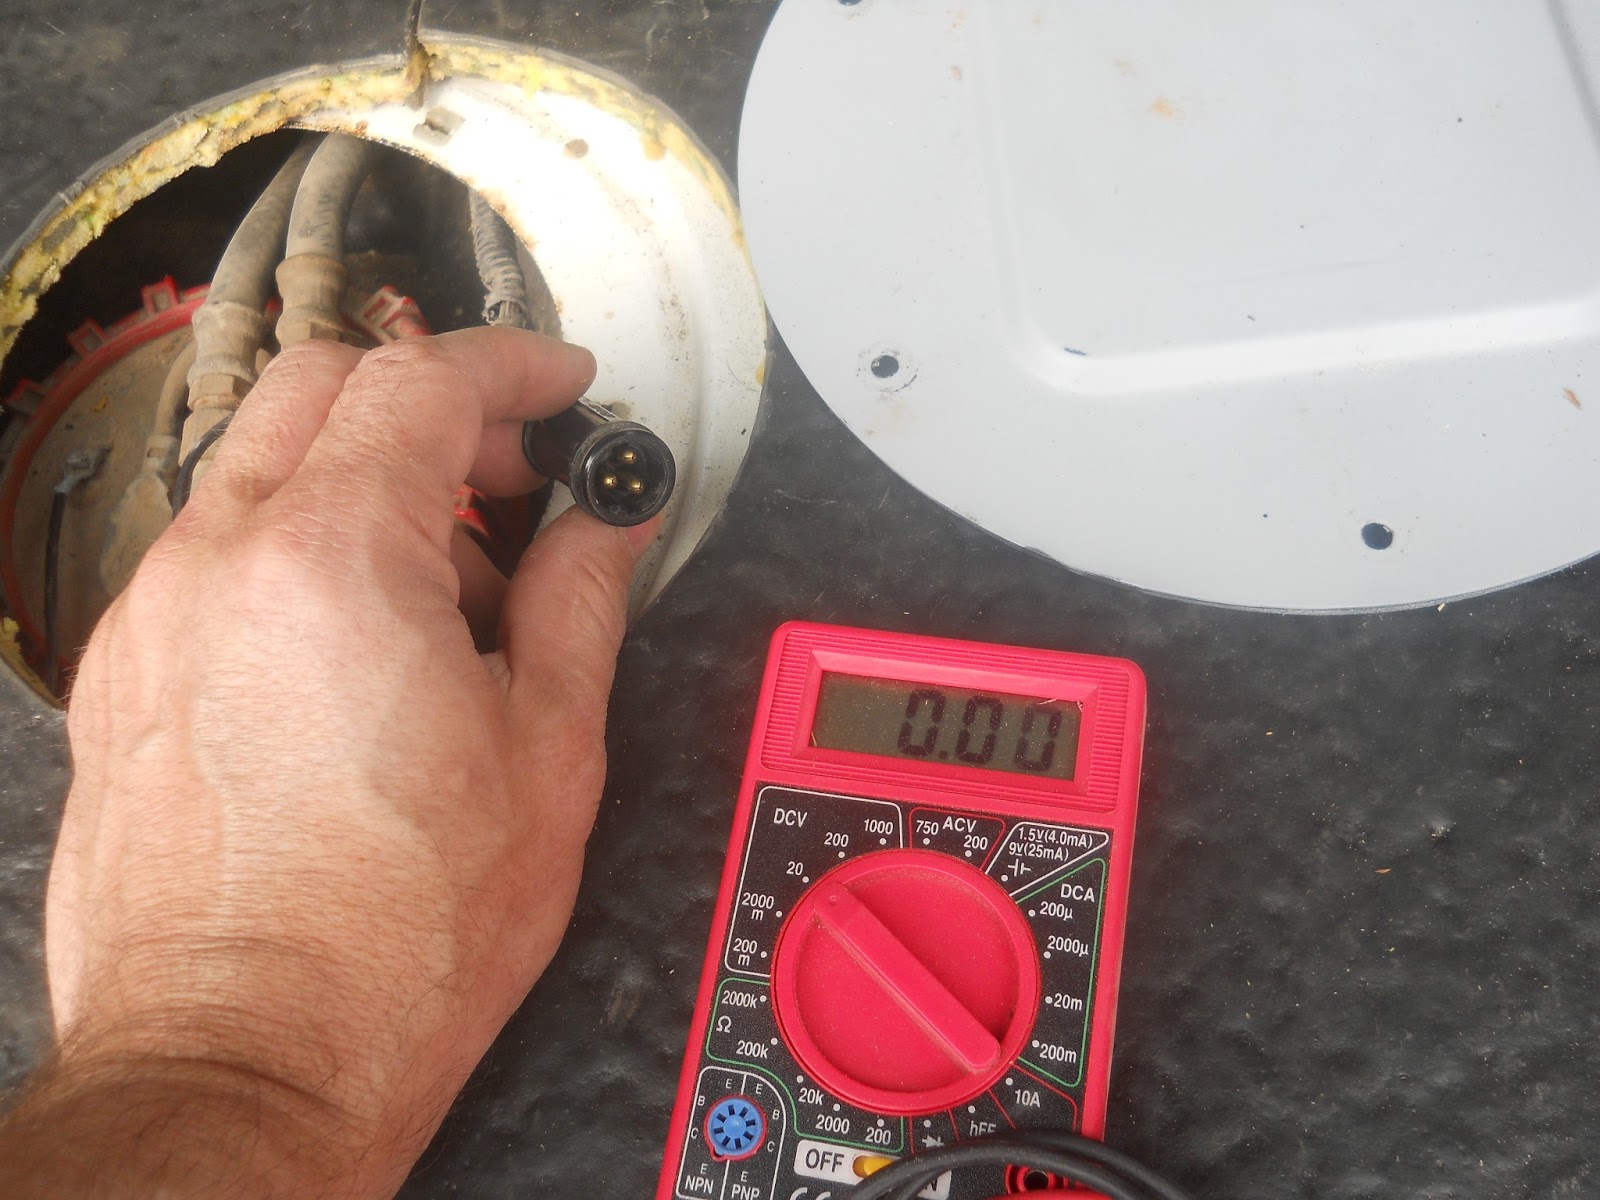
Pull the connector and set your volt-ohm meter to volts. Have someone turn on the ignition. You will see a voltage spike for a few seconds. Remember the pump only runs for a few seconds. I checked across all the combinations of wires. I had power to the plug so….it had to be the pump.
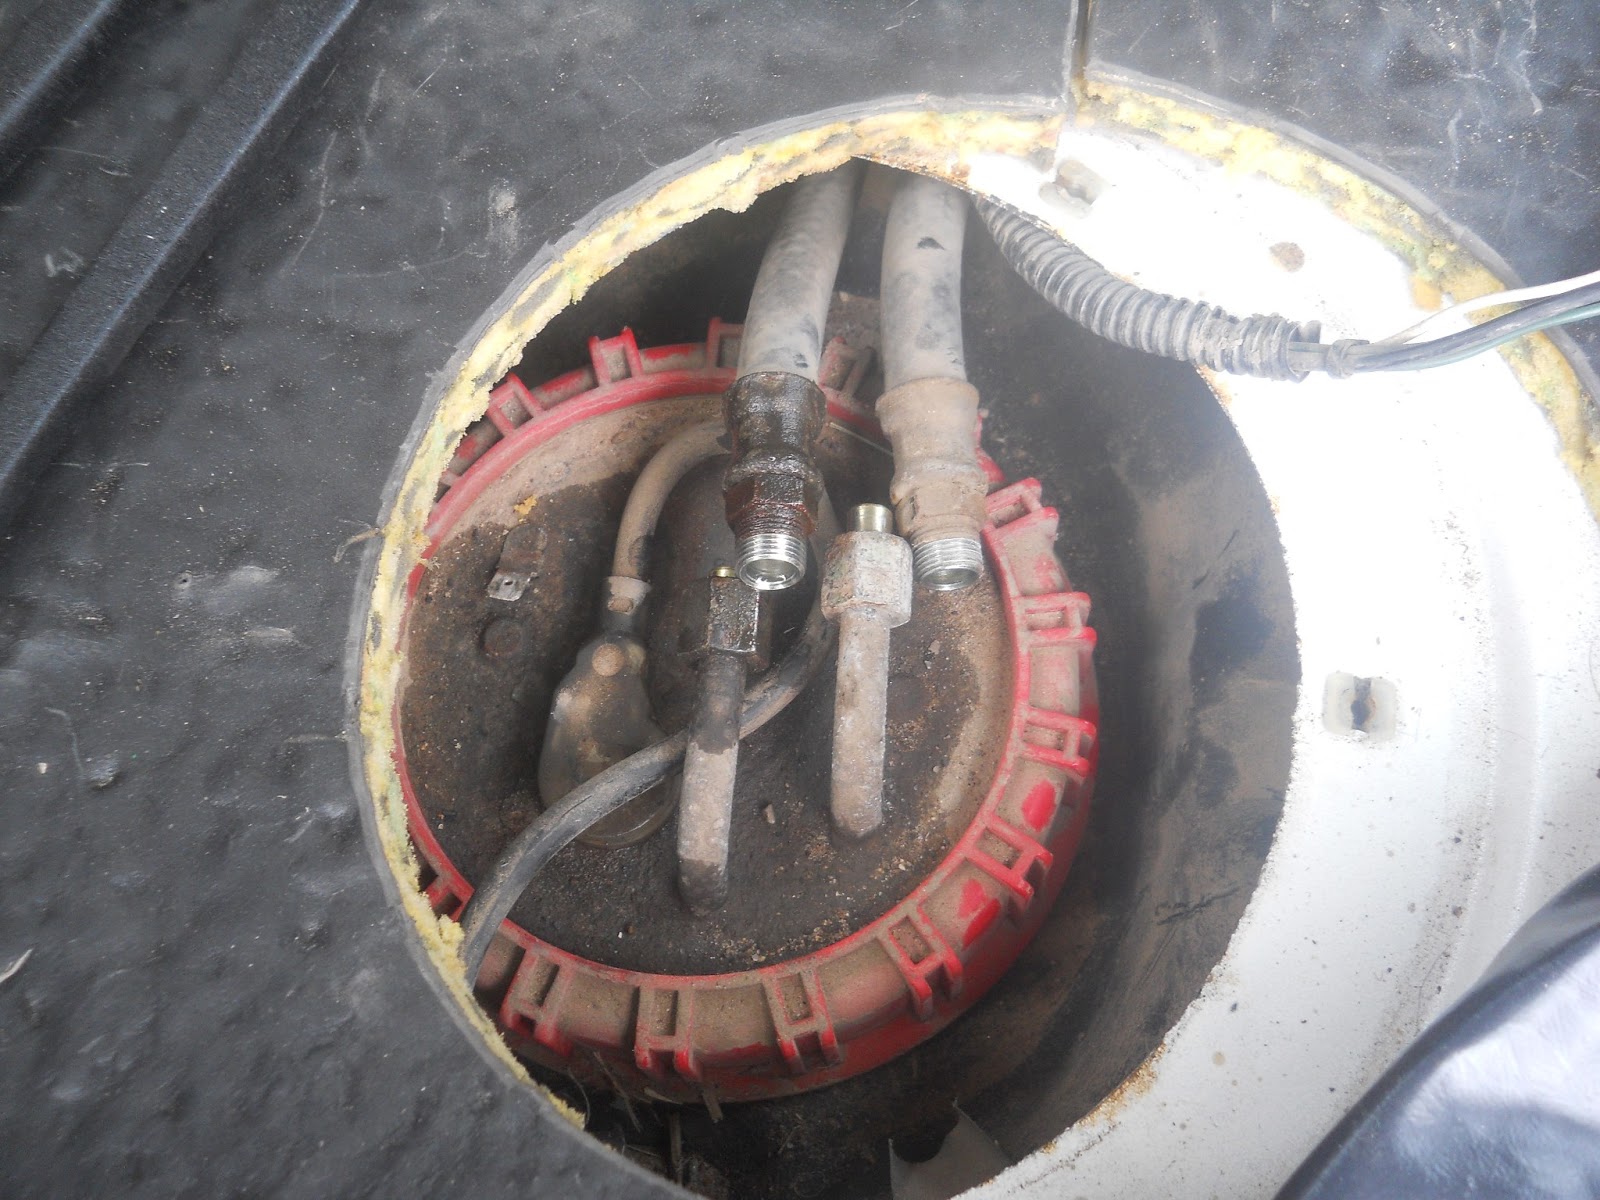
Disconnect the fuel lines and the ground wire.
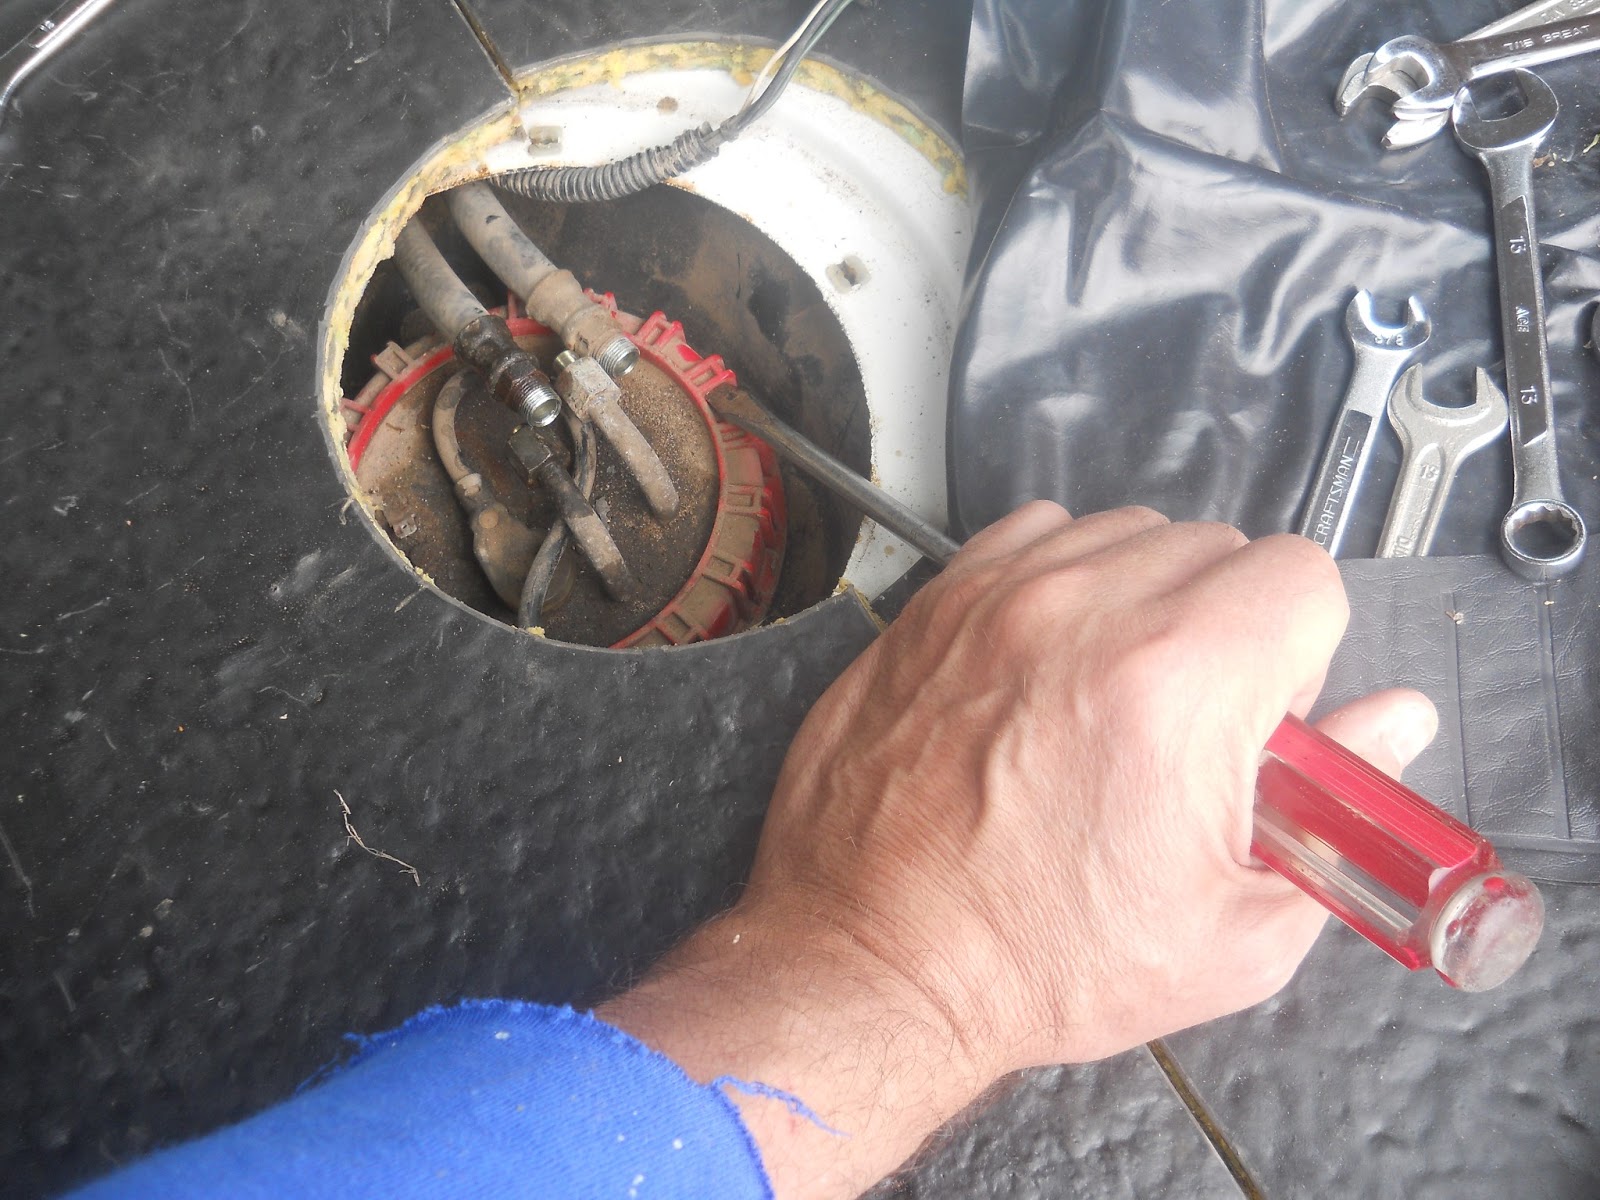
You are going to use a mallet (I used a rubber one) to hit a large flat-head screwdriver to turn the ring. They make a special tool for this…I didn’t buy it. Take your time and lightly tap this ring until it spins enough times to remove it.
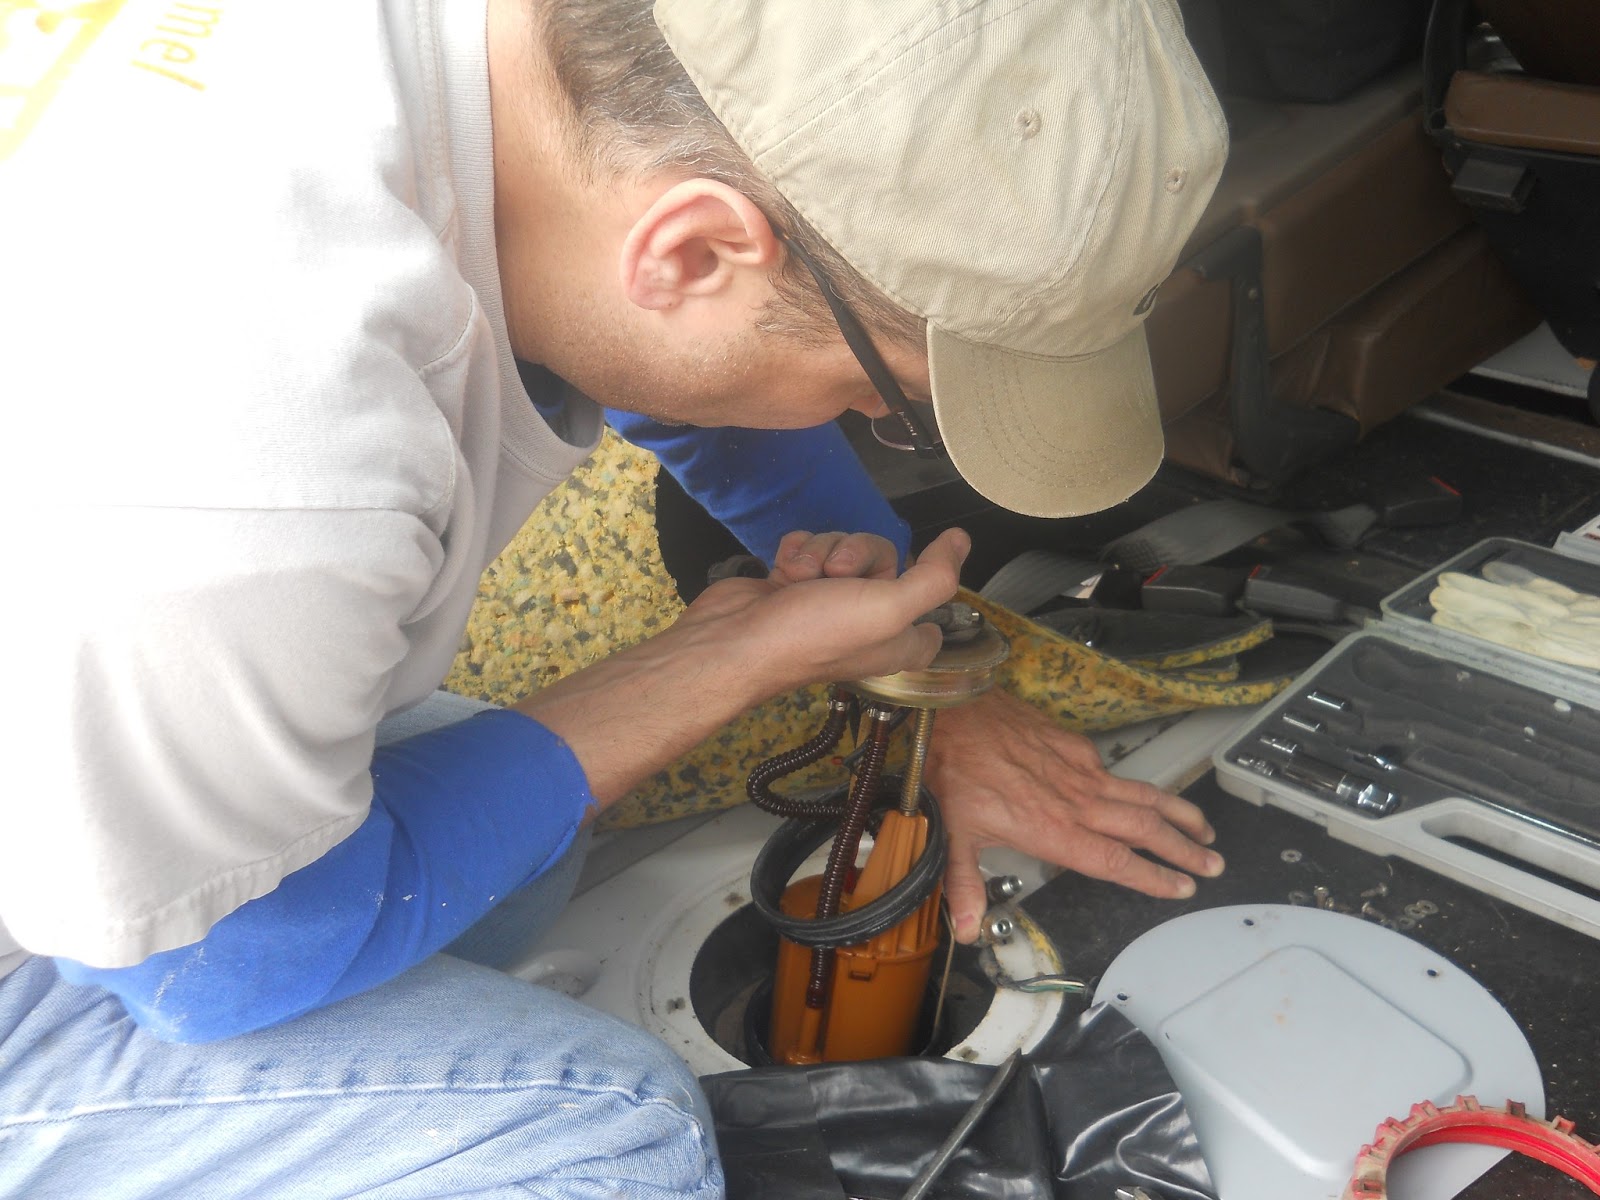
The next series of pictures is me pulling the pump from the tank. 

Holding the fuel supply lines out of the way.

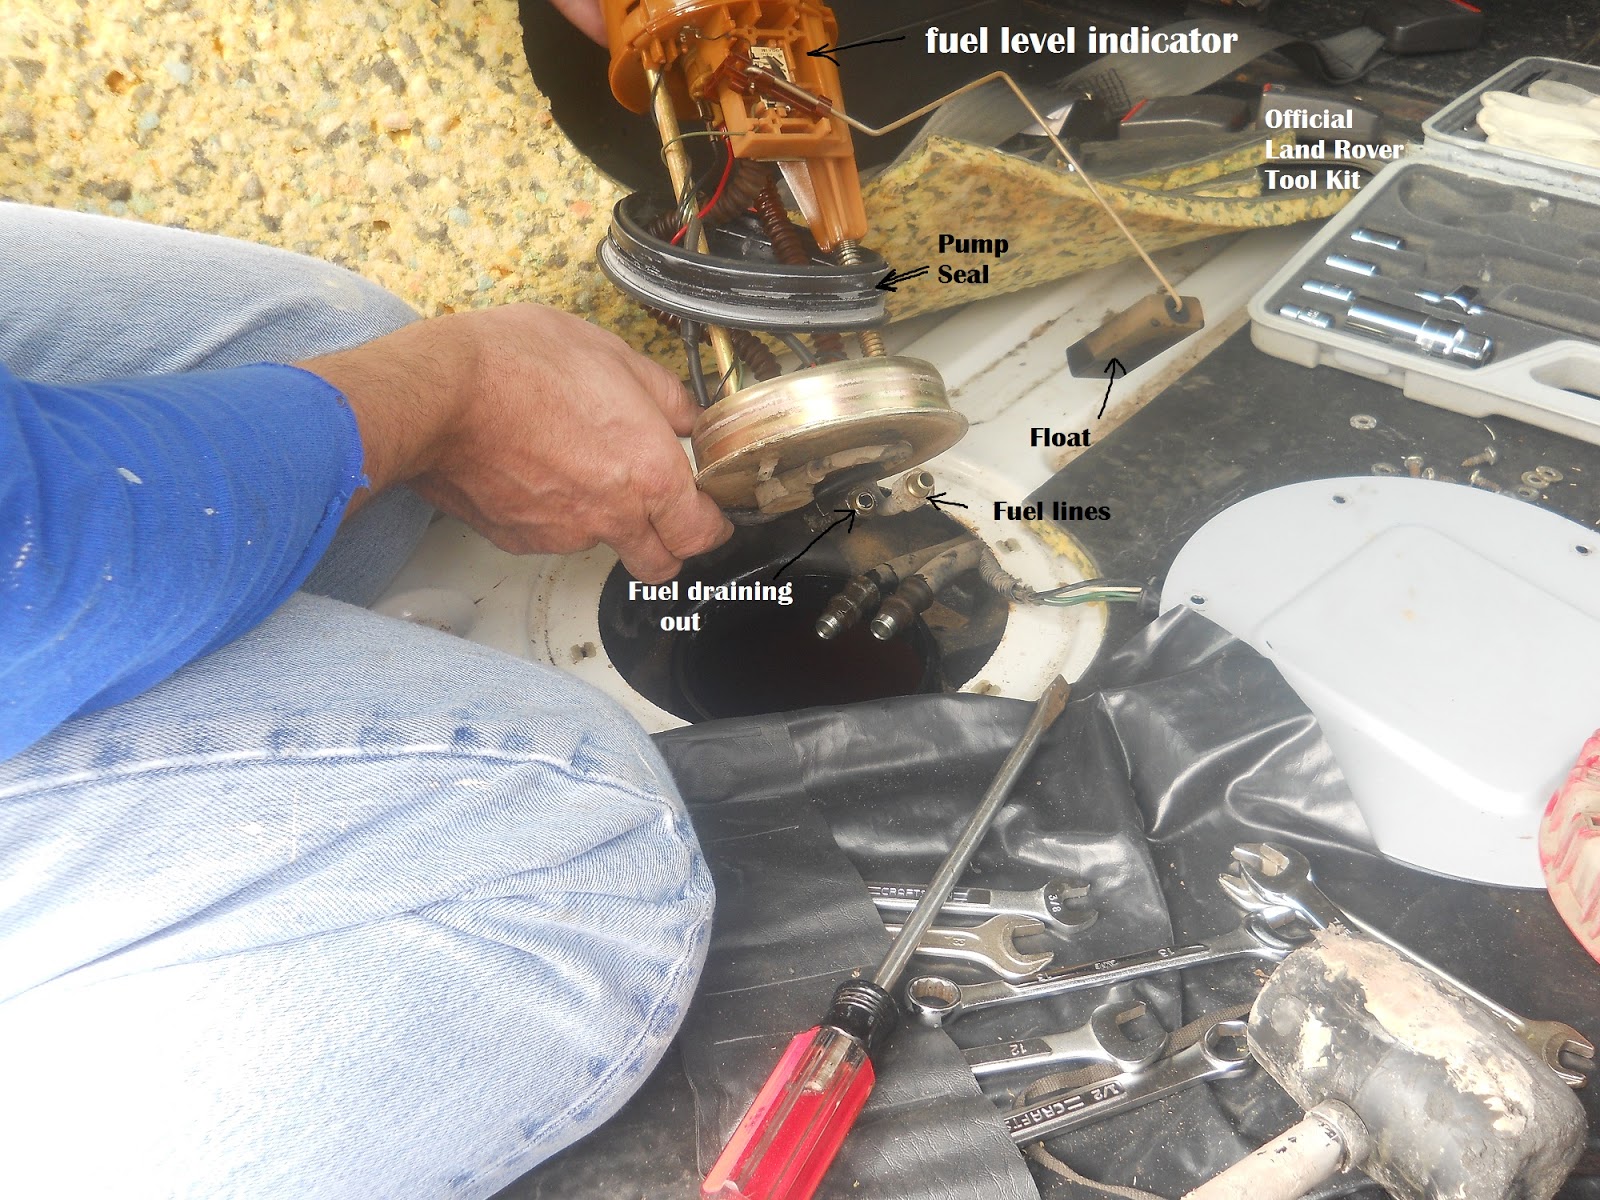
Remember the fuel level indicator is connected to the float. So as you are pulling it out you will angle the pump to slide it out. The lower part of the pump is a sump that keeps fuel around the base of the pump. This way the vehicle is not starved for fuel when the tank is low and you turn a corner and slosh the fuel to one side.

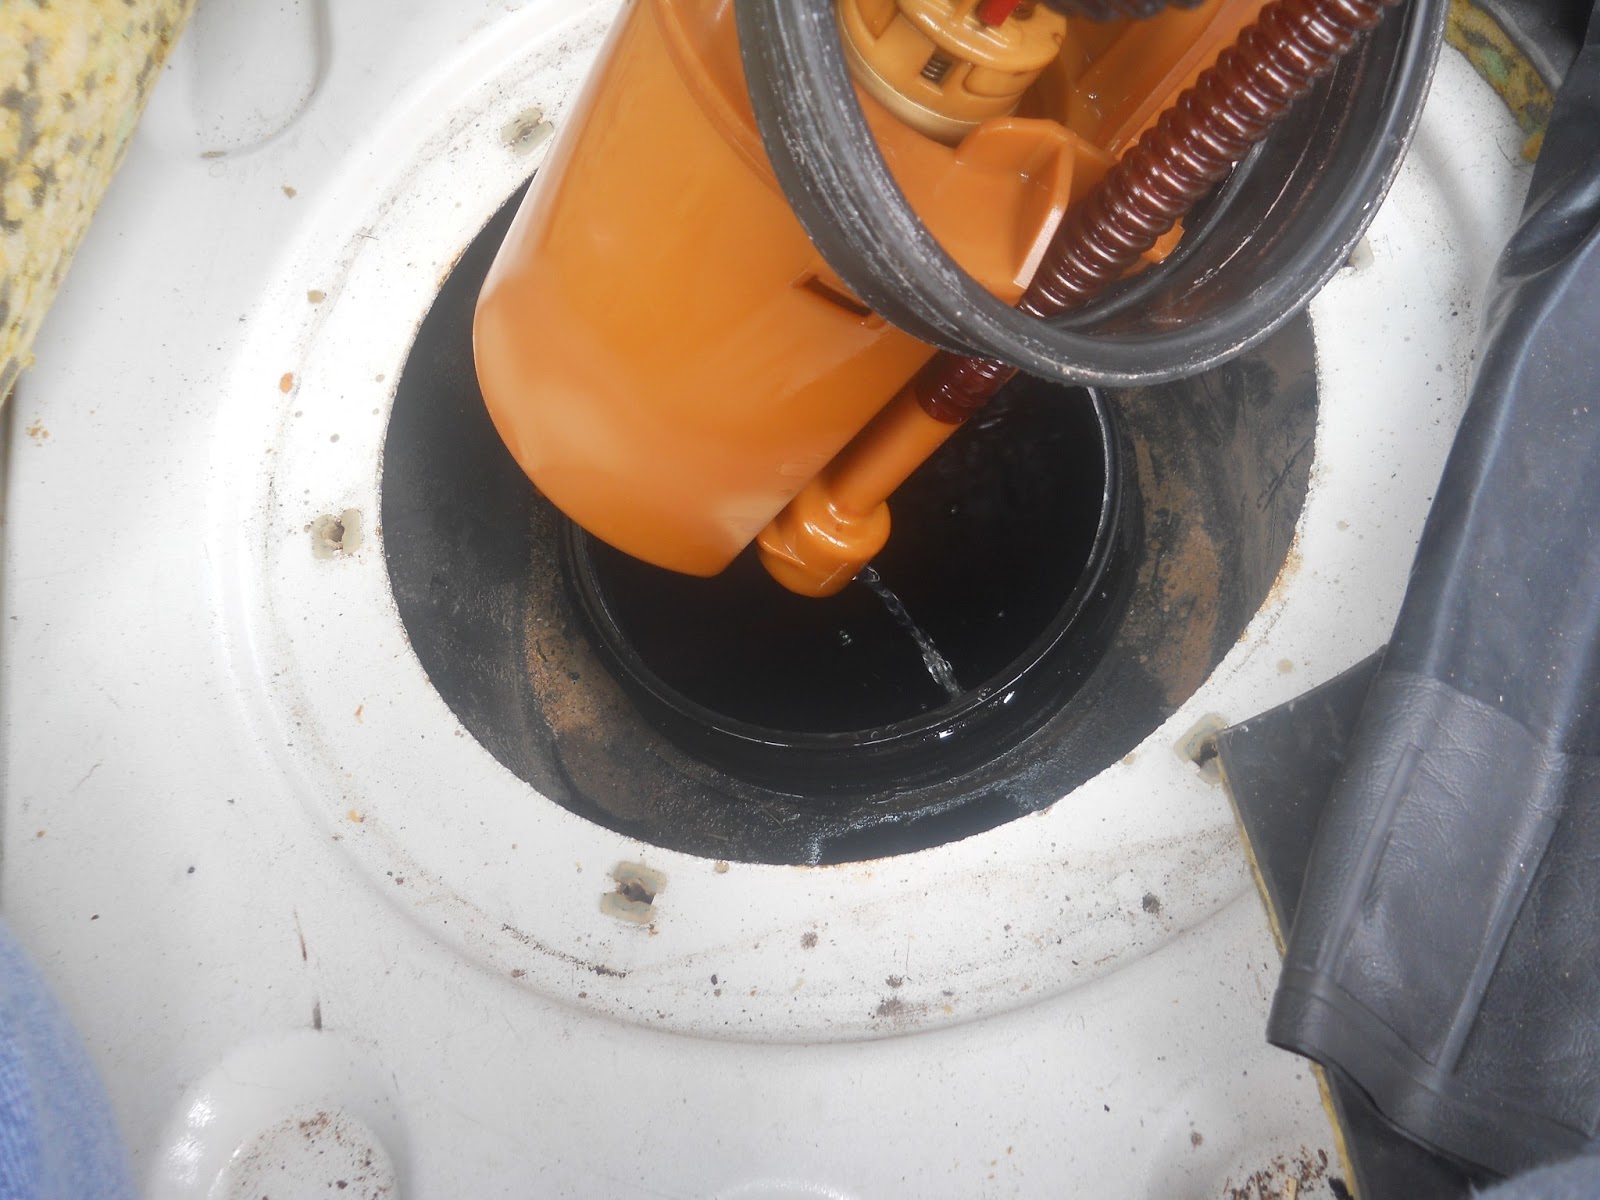
So as you are pulling the pump assembly out. Let the fuel run out of the pump. This will prevent fuel being spilled in the cab.

Fuel draining out.

I inverted the pump and drained more fuel out. You can see the official Land Rover Tool Kit in this picture. I needed to use it due to having an insufficient collection of tools in my tool bag. I remedied this by purchasing a socket set for the on-board tool bag.

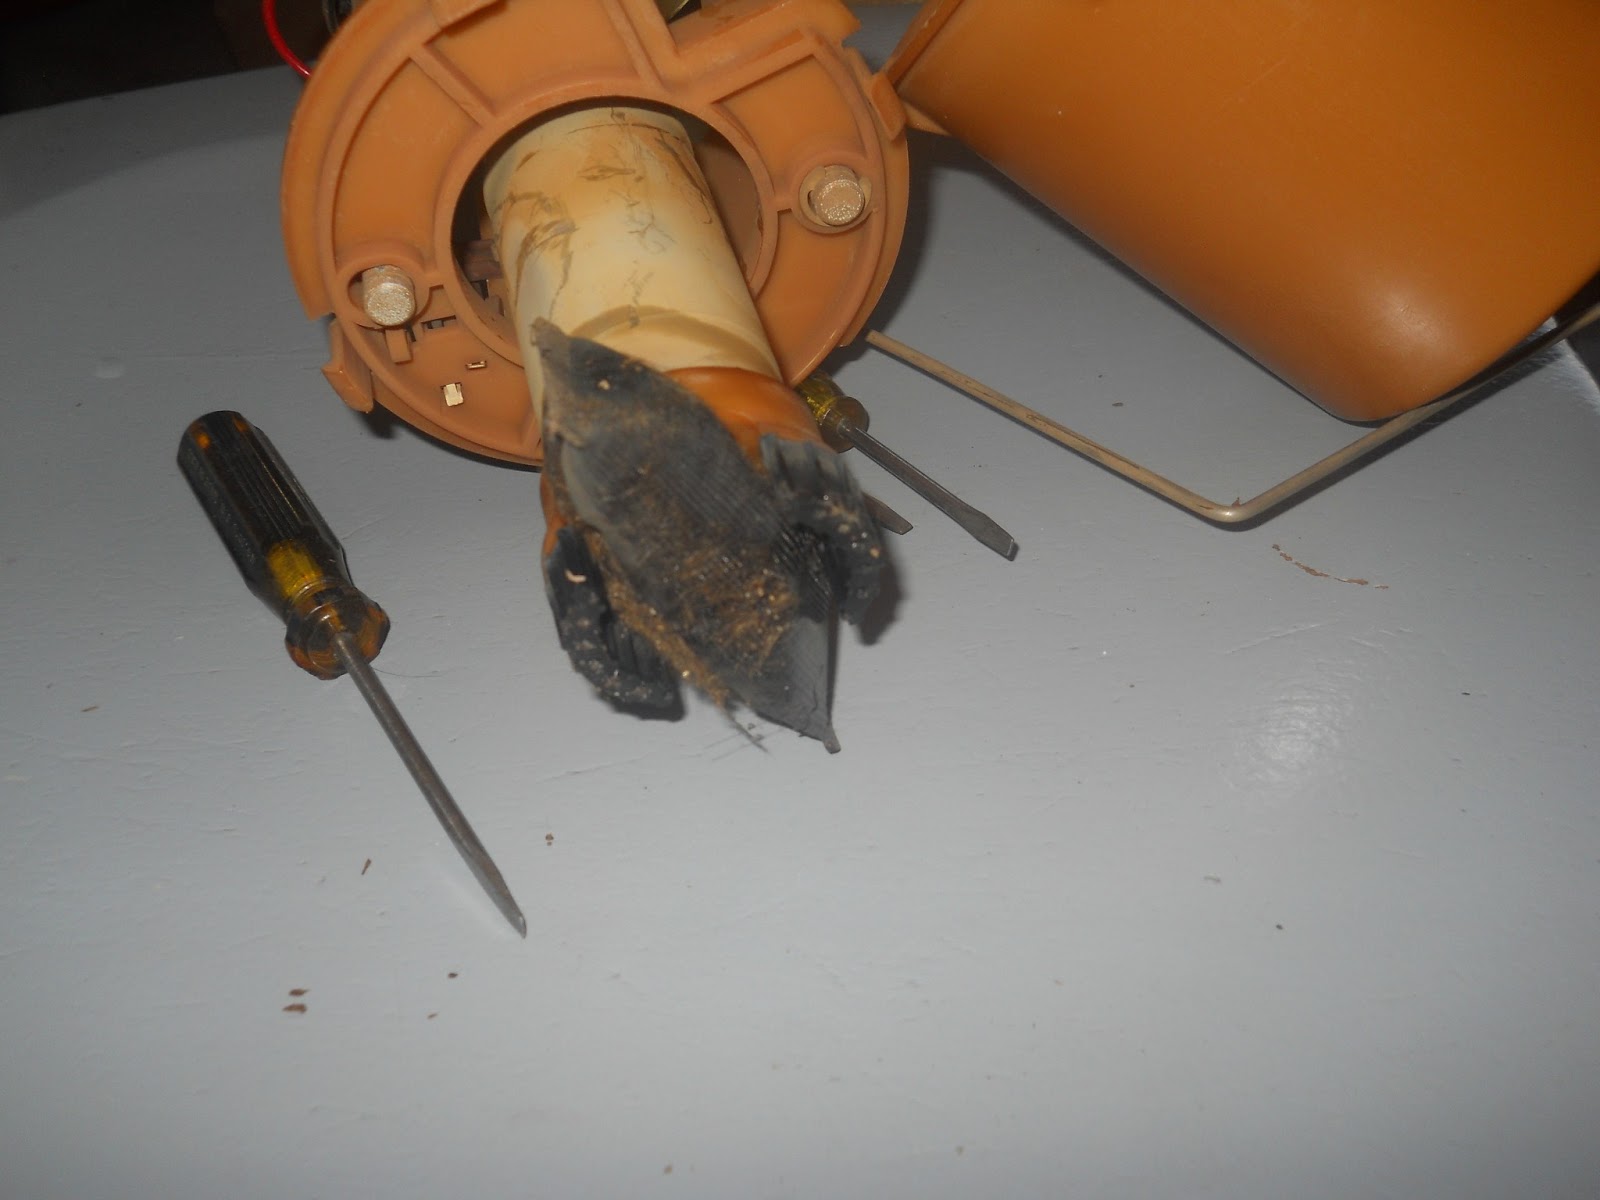
Once I was back in my garage I took the old pump apart. Look at the debris attached to the filter. NASTY!

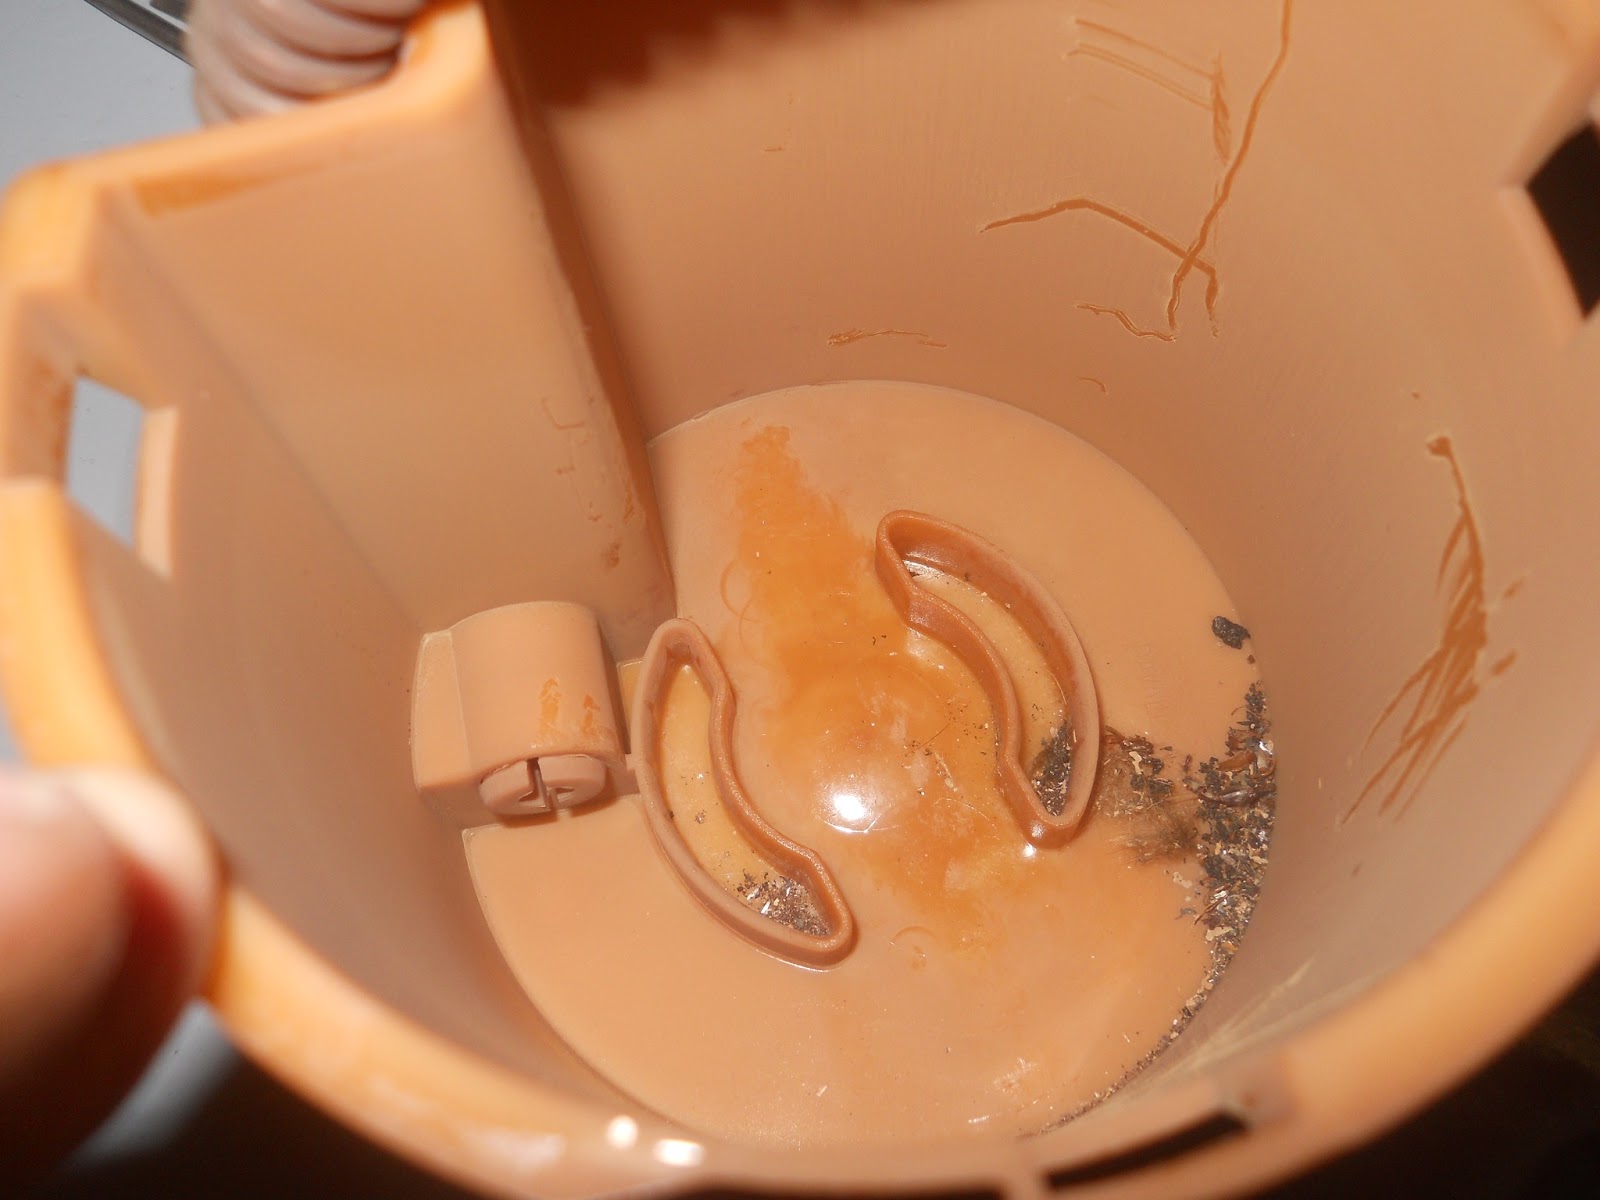
Look at the debris in the bottom of the “starvation tank”. 

While I was sourcing a new part I just placed the access panel over the hole and replaced the carpet.

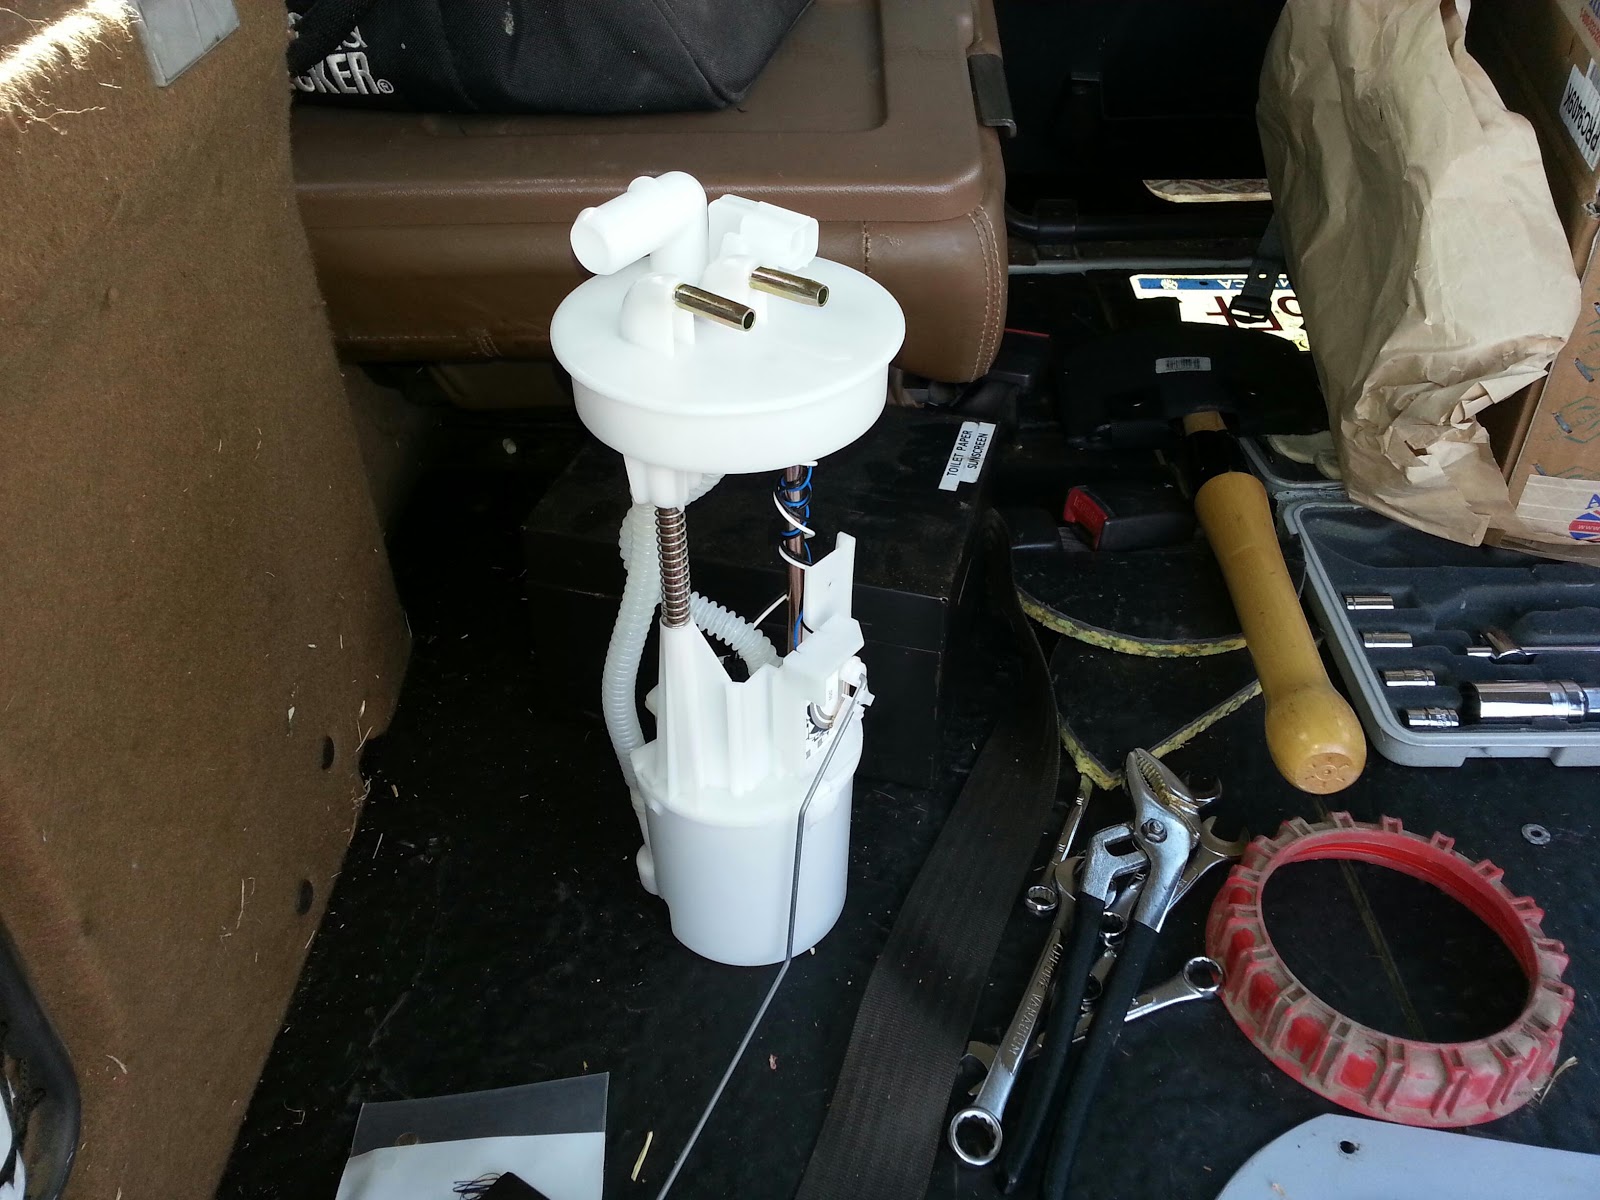
I ordered a new pump from Atlantic British and paid the up charge for it to be delivered in 3 days. 300$ for the kit. I originally intended to repair the old one. I talked myself out of that due to my schedule this week. Two assignments, a test, and the weather (four inches of rain in four days, thank you God.) made this an easy decision. I will rebuild the old pump with a replacement pump. I expect it will cost less than a hundred dollars to replace the pump portion.

With the new pump in hand, I went about installing it.

I placed the rubber seal in the tank and then fitted the pump through the seal. It was a tight fit. You then screw down with the red securing ring. Use the screwdriver and rubber mallet. Take it easy and take your time. No need to use the mallet like Thor uses Mjölnir (Wikipedia).
Connect the power connector pig tail thing they send in the kit. Reconnect the fuel lines. 
With the access panel still open, I started her up. I watched for fuel leaks. NONE. So I buttoned everything back up.
I drove the Range Rover over to Braum’s in Tri-City to have ice cream with my grand kids (and my daughter and son-in-law). I had a single dip of chocolate chip on a sugar cone. Yummo.
The Range Rover ran great. I noticed the fuel gauge had me at a quarter of a tank. With a new pump and new indicator I thought it prudent to fill the tank and make sure the gauge was working correctly. It was all good and showed a full tank.
I pulled over in the parking lot of the Chickasaw Nation Training facility. This is the old T.G.&Y. building. I really loved that job. I called JagGuy and chatted about lots of stuff and he looked up replacement pumps will we gabbed. I’m lucky to have him, both as an automotive resource and friend.
As I was chatting I saw the state bird of Oklahoma, a Scissor-tailed flycatcher fly by. Spring has officially come to Oklahoma.
On the Difficulty Scale I’d rate this a 2. It is not difficult, just a tad fiddly.
Thank you to Justin and Lecia for letting me maroon the Range Rover in their driveway. Thank you to Lecia for helping me check for electrical continuity by turning the key while I was in the back.
I am heading to Fort Washita for the annual rendezvous this weekend. Get out and support your local historical society this spring.
Thanks for reading and Happy Rovering.

Ignition Coil Strikes Again (Post #324) 3/18/2013

It was a lovely day today. It was lovely right up to when the Range Rover decided I’d gone far enough with these ignition components. I stopped at the post office in Newcastle and when I came out lots of turning over, not so much spark.
I figured it was the coil. Interestingly enough there isn’t a compatible coil in Oklahoma. That’s right, not in the entire state. I called the big three, 
  • NAPA – who told me there was ONE in the entire United States. Highly unlikely, but that’s what he told me on the phone.
  • Autozone – who were more than willing to order me one and charge me to have it sent to the store.
  • O’Reilly’s – “I could maybe get you one by next Friday.” was not exactly what I wanted to hear.

As you can imagine, I’m pretty frustrated by this point. My awesome oldest daughter taxi’ed me all over. To O’Reilly’s, and over to Norman to get my spare, and then back to Norman to take me home when the spare was found to be failed as well. It cost me a tank of gas for her Ford Explorer and lunch at Braum’s Ice Cream and Dairy. She had my three grand children in tow and we made the most of it.

I called Rick’s Auto for a tow truck. Matt told me it would “be a while” before he could get there. I was thinking 3 hours it is Saturday in small town Oklahoma.
He said, “I’ll be there in about 45 minutes.”
“No problem,” I replied.

While waiting for the tow truck I decided to take Grady and Cadence down to see the chickens who were making quite a fuss while being sold at the Fair Barn. I was stumbling for what to call the building thinking the Fair Barn wasn’t going to really describe it very well to a three and six year old, when Cadence blurted out from the back seat, “That’s the Fair Barn.”

Apparently she had gone to see some “livestock” the farmers brought for her Kindergarten class to see. They were instructed to write a “Thank You letter”. Most of the kids wrote Thank You and signed their name. Cadence wrote a letter which garnered praise from her teacher. It went more or less like this…

Thank you for bringing your livestock.
Thank you for letting us see them.
I don’t remember what you said you did with the pigs.
Do you walk them or just let them go free.
Love Cadence.

So Cadence knew all about the Fair Barn. We looked at what was a poultry show. Chickens, ducks, turkey’s, guinea hens, even some rabbits. Our visit killed a good 15 minutes.

Then nearly exactly when he said he would arrive, Matt from Rick’s Auto arrived with his flat bed. He got me up on the back and delivered me to my daughter’s house. Very efficient and very courteous. He even shared a picture of his Jeep which he was still tricking out. Bed-lined top and bottom, winch, bumpers, and a custom paint job that reminded me of an electric Tangier’s Orange from the G4 series.

A blurry picture of Matt the tow truck driver. He’s a Jeeper and showed me a pic of his pretty awesome rig.
The color he color he painted it reminded me of an electric Tangier’s Orange from the G4 series.
The results of a failed coil on a Land Rover in Oklahoma.
I must remember to have a “working” spare next time.

So with a quick call to JagGuy we came to the same conclusion I came to before the call, bad coil. Considering how it seems to be a frequently failing part you’d think I’d have an idea of a compatible part. I did not. So I quickly checked John Brabyn’s Rangerovers.net to see if his excellent site had mention of a spare coil. The ignition link 404’s me. I tried a couple other links and they 404’d me as well. Only when I got home did I remember how his site was constructed and if I’d just scrolled down I’d have found that he didn’t have any listed.

So a little coil education is warranted. Deciding to try a different source for the parts JagGuy suggested going to a beefier coil perhaps from Summit Racing. So off to their website. Basically there are about a trillion combinations of coils there. You can limit them to your specific vehicle. Important parameters for a novice like myself are
  • Coin Internal Construction: OIL or EPOXY
  • Maximum Voltage: 40,000V or 45,000V

JagGuy steered me away from 45,000V coils with the logic that with a little rain the arcing off to the surface of the distributor would be greater, OR that’s how I heard it. If anyone understands this and provide any comment I’m all ears.

The OIL or EPOXY filled is a give and take.
Oil is cooler. Heat kills coils.
Epoxy is used to reduce the damage of vibration. Vibration kills coils.

In the end I opted for OIL for the cooler operation. I might consider a swap to EPOXY when we go to vibrating the Range Rover over some rough country. I am definitely buying two coils.

I WILL HAVE AN ON-BOARD spare going forward. 

I can almost guarantee you that because I have a spare, the coil I will install will have a record 25 year live span. But only because I have a spare ready-at-hand.

I bought TWO PerTronix Flame-Thrower Ignition Coils. (Summit Racing)
(Flame-thrower has a nice ring to it, don’t you think?)
The rest of the stats for this coil are listed here from their site.

Coil Style: Canister
Primary Resistance: 1.500 ohms
Coil Internal Construction: Oil-filled
Coil Color: Black
Maximum Voltage: 40,000 V
Turns Ratio: 115:1
Secondary Resistance: 10.6K ohms
Inductance: 6.4 mH
Peak Current: 7.2 amps
Spark Duration: 1.5 mS
Mounting Bracket Included: No
Coil Wire Included: No
Ballast Resistor Included: No
Coil Shape: Round Diameter (in):2.125 in. Height (in):6.000 in.
Quantity: Sold individually. (DARN: A six pack might have been a better option.)—->
Notes: For use with the original Pertronix Ignitor ignition. Can also be used with other induction ignition systems.

I am hoping I slap this bad boy in and off I’m running. I will be exploring the rest of the ignition system when I get the Range Rover back to my house and my tools. It was not all that long ago that I upgraded and or replaced the cap and rotor and the ignition wires (2011) and put in a new coil.

Sal in New York chatted me up about heater core replacement and fan resistor placement. Hang in there Sal.
Chris in Denton is putting in a diesel conversion and was kind enough to let me know. I am very keen to follow his exploits on Texas Rovers Forum. (TexasRovers.org)

Thanks for reading and Happy Rovering.