Door Handles That Last (Post #611) 6/5/2023

If you were to rate the most annoying things on a Range Rover Classic at the top of that list would be the Questionable Use of Paint and Seam Sealer to Prevent Rust. I think we could all agree with that. The second item has GOT to be the Door Handles.

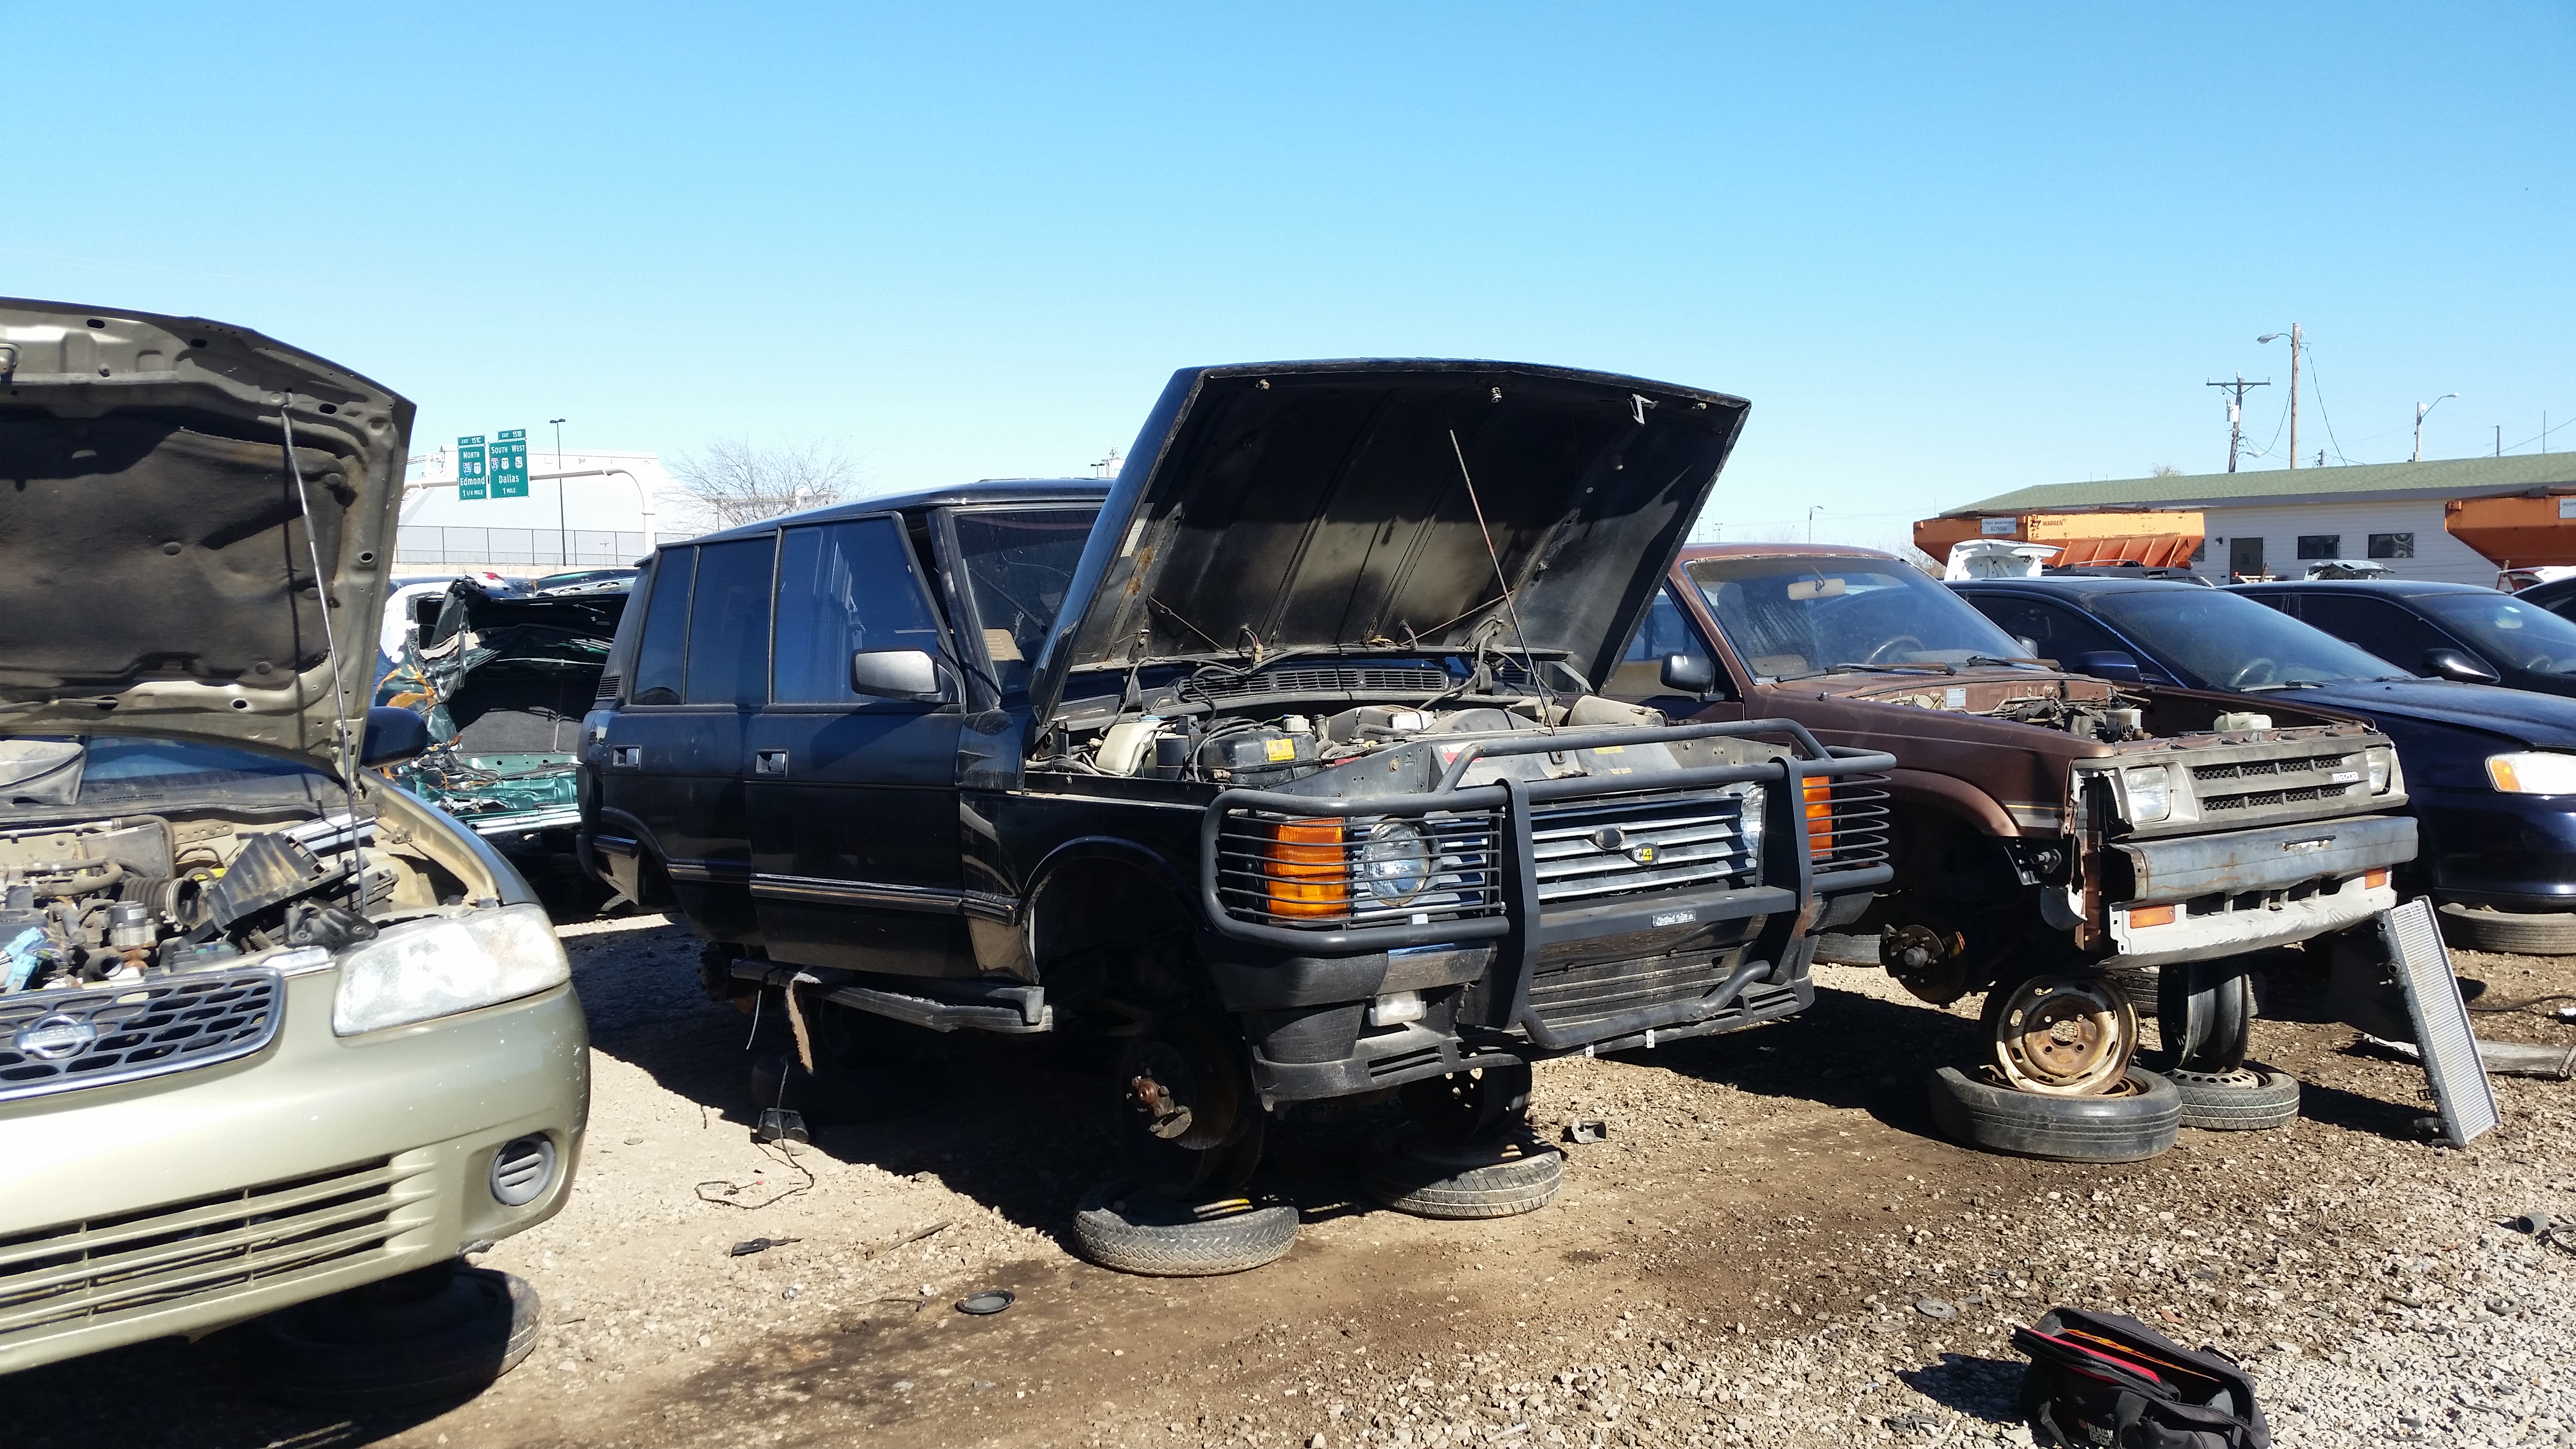
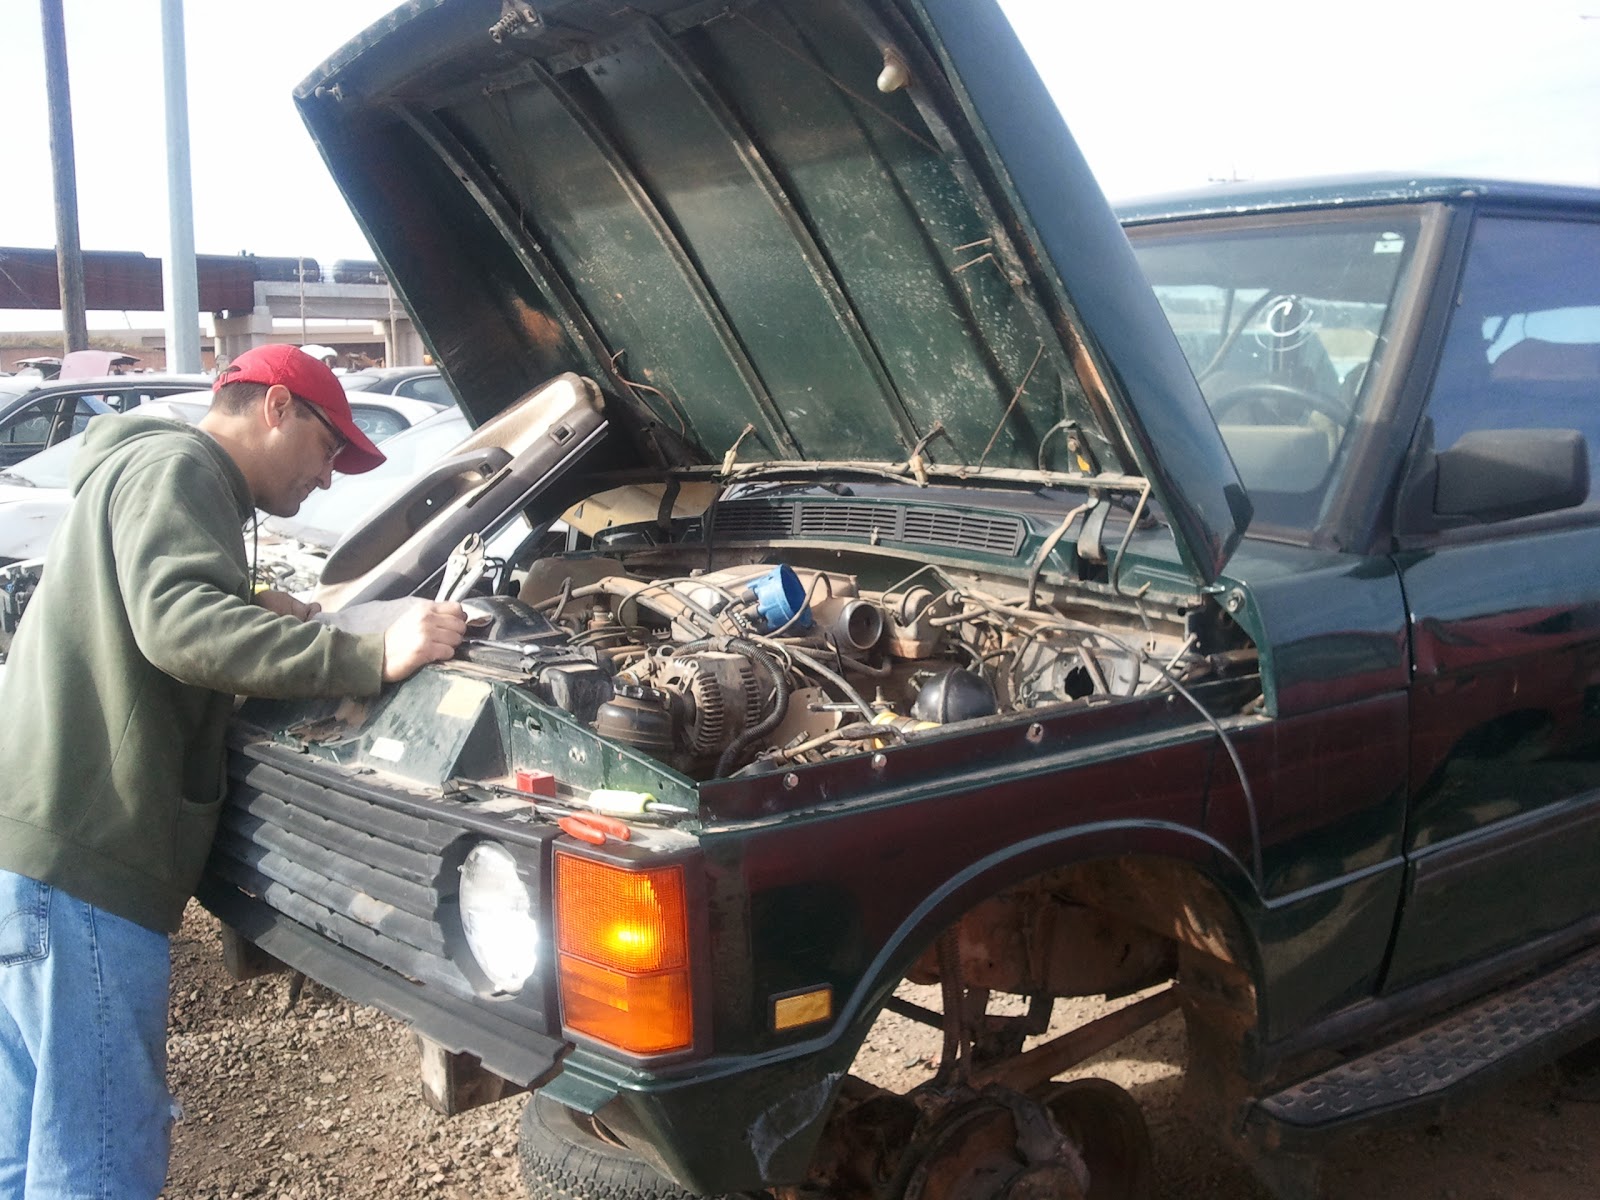
At some point in owning a Range Rover Classic or a Discovery 1 you will have a door handle fail. I’m not sure what specific material the door handles are made from. I’ve speculated in another post that they were made from Play-DohTM. I’m pretty sure they are made from some kind of aluminum mache’ and hope. You might as well say they were made of Unobtainium [Wikipedia] because finding a set of new/old stock (ran out decades ago) or on a rig in a breaker’s yard (aka junk yard in the USA). I haven’t seen a Range Rover in a junk yard since 2016 [Okierover.com]. The odd one may have snuck past me in that time…suffice to say they are getting rare. Spotted one in 2015 and 2011.

It was quite frankly a surprise to me that it took so long for some smart guy or girl to machine their own. I am surprised no longer. A gentleman right here in my home state of Oklahoma is making them. This is the best of all possible situations, Made in Oklahoma, Small Business, genuinely nice guy, and almost certainly better than OEM.

Chris McCune‘s [Facebook] handles are made from 6061 aluminum. I am but a simple caveman and your systems of measurements of specific metals frightens and confuses me, but when I get in my Range Rover Classic and drive to the mall through the outback, I want to open the doors with the handles and not crawl in the window like psychopath.

(Apologies to the, now deceased, genius of Phil Hartman for the paraphrase above.)

You are more likely to pull the entire handle assembly off the door, than to have one of these break like the OEM handles. He’s so confident in his design he is offering a Limited Lifetime Warranty. Basically as long as you aren’t using the handle as recovery point when you get stuck, he’ll make it right if one of his handles fail.

This is an unsponsored product recommendation. I have not been compensated in any way to promote Chris’s products. I’m just helping out a fellow Okie with his small business in this niche market.

The next time you tear your door handle remember Chris and order some handles. I would publish the price, but prices of metals change and I don’t want someone in the future who may be reading this post to get the wrong idea about what the handles cost. At the time of this post (June 2023), they are fairly priced. I’ve seen them for sale for more than this and have purchased some crappy OEM ones for this same price. Click the link above and send him a Private Message.

I looked up my previous posts on door handles, check those out too. One contains the instructions for replacing your door handles.

Thanks for Reading and Happy Rovering.

She Was Rough (Post #559) 5/31/2016

I got word from JagGuy that LKQ OKC had a Classic on the lot. She was a 1993 as well. So I made my way down and was quite pleased with the site. The staff were friendly and efficient.

The check out process was fun. They struggled with the discount when it was time to check out. There was a Memorial Weekend discount and they wanted to give me a military discount too but the computer system wouldn’t allow it.

I was happy with the price 50$(US). The haul was not as significant as usual. I was able to pick:

  • Interior wood trim pieces
  • Plastic trim vents
  • Trailer light wiring kit
  • A door handle from each side
  • Mass Air Flow Sensor
  • Both Belt Pullies
  • And an oil sensor I’ve never seen in working condition

The Classic was well picked over. The ECUs were all gone. Two of the four door handles were broken or missing. The center console was trashed. The seats were well worn.

This classic had 212,000+ miles on her. She had fought the good fight. She was well used. Some one had tried to keep her on the road,  she had new belts. But her days of ferrying people are over.

In a world where these Classics get harder and harder to find its sad to see one go,  but when one keeps others on the road the sacrifice is just.

Thanks for reading and Happy Rovering.

Fender Swap (Post #556) 3/6/2016

If you are a regular reader you will remember some late unpleasantness when a distracted driver smacked into the Big White Bus while she was parked on a city street. I was determined to get the BWB back on the road. After all we already have one car payment and my budget would not allow for a second. Besides that, I love this Range Rover. We have a lot of miles together and I know her inside and out. I didn’t really relish going through learning another automobile.

So the day was set aside for “mechanic-ing”, but before we managed to get started some friends of Rogers showed up with a lovely 1932 Buick. I don’t remember all the specs on this car but it was a Buick and nicely done. The trunk was a dealer option and still had the original leather clad luggage inside. A time capsule to another time.

1932 Buick. You never know what will show up at the shoppe.

To get the fender straightened was the first thing. We got the Range Rover lined up with our pull point. We did not believe the under structure was damaged but we needed to pull the fender out to make sure. JagGuy got the “come along” out and hooked it to a M54 military truck parked in front of the shoppe and on to the bent fender.

That worked nicely. “The panel “wants” to go back the way it started.” he said admiring the job. So pulling it straight will help with a lot of the work. We did learn the bumper was a loss. I couldn’t see any reason to try and straighten it. I’ll have to get a new bumper. I’ve got my eyes on some aftermarket ones.

We took a break after that and went over to Back Door BBQ. The “Beastwich” sounded appetizing so I indulged. This might have been the best sandwich I’ve ever eaten. No, really. It was amazing.

Beastwich. Something different each day.

Satisfied we decided to attempt to put a coat of paint on the new fender I had salvaged from the Pull-A-Part yard a few weeks back. We got it on to the table and I was instructed to rough it up and wash it down with a solution that removed all the grit and oils. These are basically all the same, sorry I didn’t remember the product name.

After JagGuy applied a layer of paint he wasn’t terribly happy with the results. Knowing we weren’t going to be able to install the same day as paint, he told me he would put another coat on during the week and it would be ready for the next weekend to install.

The results were mixed. I should have probably bought medium drying instead of the fast I wound up buying from English Color and Supply. Good folks there, and they have the expertise and a nice disposition. I didn’t pretend to know what I was doing and asked for help all the way. Highly recommended.

English Color and Supply

So I retrieved the fender and a couple of weeks later I installed it. I had already disassembled the fender on the donor Range Rover so this was old hat to me. There really isn’t anything special about removing the fender. Remember these are built to be worked on.

Remove the lights.

Remove the pozi-drive (The Garage Journal) screws (use a number 1 or 2 Phillips) from the inside.


You will need to remove the plastic box on the seat release. The push button unscrews.

You need to remove the two bolts on the inside of the fender above the tire.

What she looks like without the fender.

Fender off.
Fender off.

Reattached the lens cover rubber to the fender BEFORE you put the new fender on. You can do it after…its just harder. I ground down the rust spots as well as I could and gave everything with rust a coat of self-etching primer.

I reattached the fender. The rear inside is attached with pop rivets. So you’ll need to put some elbow grease on the fender to get the holes lined up.

Pop rivets
Pop rivets

I think there were 4 or 5 needed. That’s it except for putting the light assembly back on. I used the new one I salvaged from the wreck. In the end, it looks great.

It is now the third different painting she has had. I really should get an orbital buffer to her this summer and get the oxidation off and get the panels shining and perhaps closer to the same color.

That’s about it. The removal and reassembly of the fender is a 1(one) on the Okierover Difficulty Scale. The painting however is another thing. If you REALLY, REALLY care about the paint matching and there being a nice coat of paint this might be a 3(three) on the Difficulty Scale. You would need to apply bondo and sand a great deal more than we did. Every minor imperfection on the panel will be magnified by ten once you start to apply paint. I didn’t care all that much about perfection.

Thanks for reading and Happy Rovering.

A diamond in the rough (Post #275) 11/25/2011

Last weekend I dragged my neighbor Fish4OSU up to JagGuy’s shoppe to see if I had a spare starter on my spare engine. Unfortunately I did not. On a whim and a suggestion we went by the local “pull-a-part” which I learned today is not part of the national chain. It is U-Pull-It, whatever.

Fish4OSU needed a fan motor for his daughter’s Saturn LS-1 and a mirror. I needed a starter. I’ve been to this breakers yard many times, they seldom have any Land Rovers. But I thought what am I out, a buck…what the hell.

We found lots of Saturns and the mirrors were not in that great a condition. Fish4OSU commented it must be a thing with these cars. Bad or missing passenger side mirrors. Nearly everyone had either swapped paint with something or been driven behind a truck pulling a sand blaster down I-35. While he sourced the fan I went in search of a diamond in the rough.

I walked the 200 yards to the “import” section. I stopped to admire a Mercedes Benz 300SD with a diesel motor. As I walked on, I dreamed about dropping that into my Range Rover. I looked right and what did I see?

YES! that was the tell-tale roof line of a Range Rover Classic. When I got up to her there was a gentleman attempting to extract the transaxle or transfer case or transmission. I’m not sure he was sure. As I looked her over I mumbled, “1993 or 1994, I wonder if there are any others”. He heard me and replied, “1994. This is the only one.” I politely told him I was going to be in the front and that I’d be right back.
I went back to tell Fish4OSU I found one. He was finished and we returned to the Range Rover. The gentleman was gone and the drive train was still intact. I started on the top end retrieving parts. I got the fuel temperature sensor, the water temperature sensor, the cap from the overflow tank and the throttle position sensor (fingers crossed, say goodbye to my error 14). I went into the cab and found the EFI computer and the window ECU. I pulled them too. I was pretty happy with myself and we returned to the counter to pay.
Just as I put my receipt in my wallet I looked down and noticed a starter sitting on the counter. I forgot to get the one thing I had gone there to get! I had already paid, so I told Fish4OSU to wait for me, “this will only take a second.” I got back to the Range Rover and started to work on removing the starter.
The bottom bolt came off easily enough. I got lined up for the top bolt. No matter how hard I tried I could not get it out. I worked on it for at least 30 minutes before I gave up bruised, battered and covered in oily dirt. The tools we borrowed from JagGuy just weren’t quite up to snuff or I sucked using them…the jury is still deliberating.
They had Sunday hours and I said I’d just grab my tools and come back tomorrow. Saturday was beautiful, middle 70’s and truly pleasant outside. Sunday was the opposite of that. It was 37 degrees and a 10-15mph wind from the North blowing in low clouds. If it had been 10 degrees colder it would have been snowing. That figures doesn’t it? But it is the OkieRover way, never easy.
So I got back to her and got to work. I could not break that bolt free. I’m pretty sure I tore the head up as I was unable to get any satisfaction. Frustrated I looked at the top of the motor. There was an original alternator there and an original air conditioning compressor. I thought I could use both of those things. So I went about removing them. 
As I cut the lines for the air conditioning compressor, they still had pressure in them! Bonus, this compressor was still working when this Rover met her demise. I grabbed a rear lens from the passenger side and both of the door handles still in the doors. My second day injuries were minimal, some light bruising and a partially crunched pinky finger. Funny thing is, I don’t bruise. I’ve fallen off the back of a van going nearly 30mph through a field and I didn’t bruise. Yeah, that’s a story for another time.
How this Classic wound up in the yard I do not know. The panels were all straight. It was not a wrecked truck. It even had a cigarette lighter in it (I grabbed it too). The inside was in rough condition. Not as bad as mine but you could tell it was not well cared for by the driver. The headliner was still original. It lead me to believe the transmission or some electrics may have been its undoing. I would have liked to have had the whole body but that was not possible. You cannot buy a Salvaged Title vehicle “intact” in Oklahoma. She was probably still Dealership maintained, looking at the parts I saw inside.
All in all I made a killing. The first days parts cost me roughly 26$(US). If even one of the parts is in working condition I scored big.

The second day’s parts were more pricey, 87$(US). But the air conditioning compressor costs twice that so I’m still “standing in tall cotton” as we say in Oklahoma.

I am really happy I found her and was able to get some parts off her. I was sad to see her in the breaker’s yard. It just makes me realize that Classics are getting harder to come by and getting parts for them will be getting harder and harder. I guess when I can no longer get the important parts, I’ll just have to buy a Series 2a or Series 3. You can still get most of the parts for one of those from Rovers North.

Thanks for reading and Happy Rovering.