Rust and the Art of Welding (Post #332) 4/22/2013

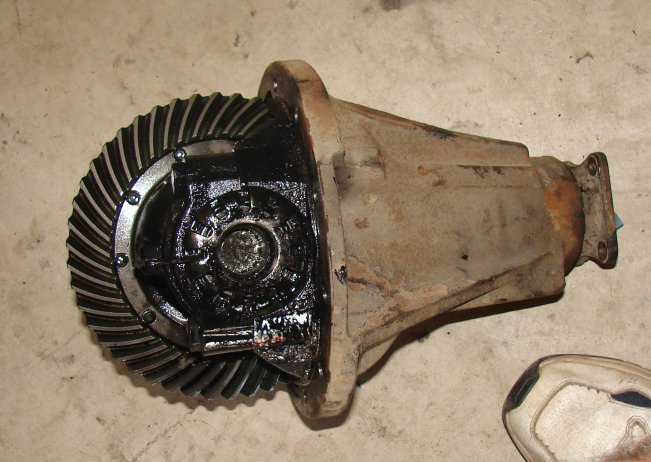
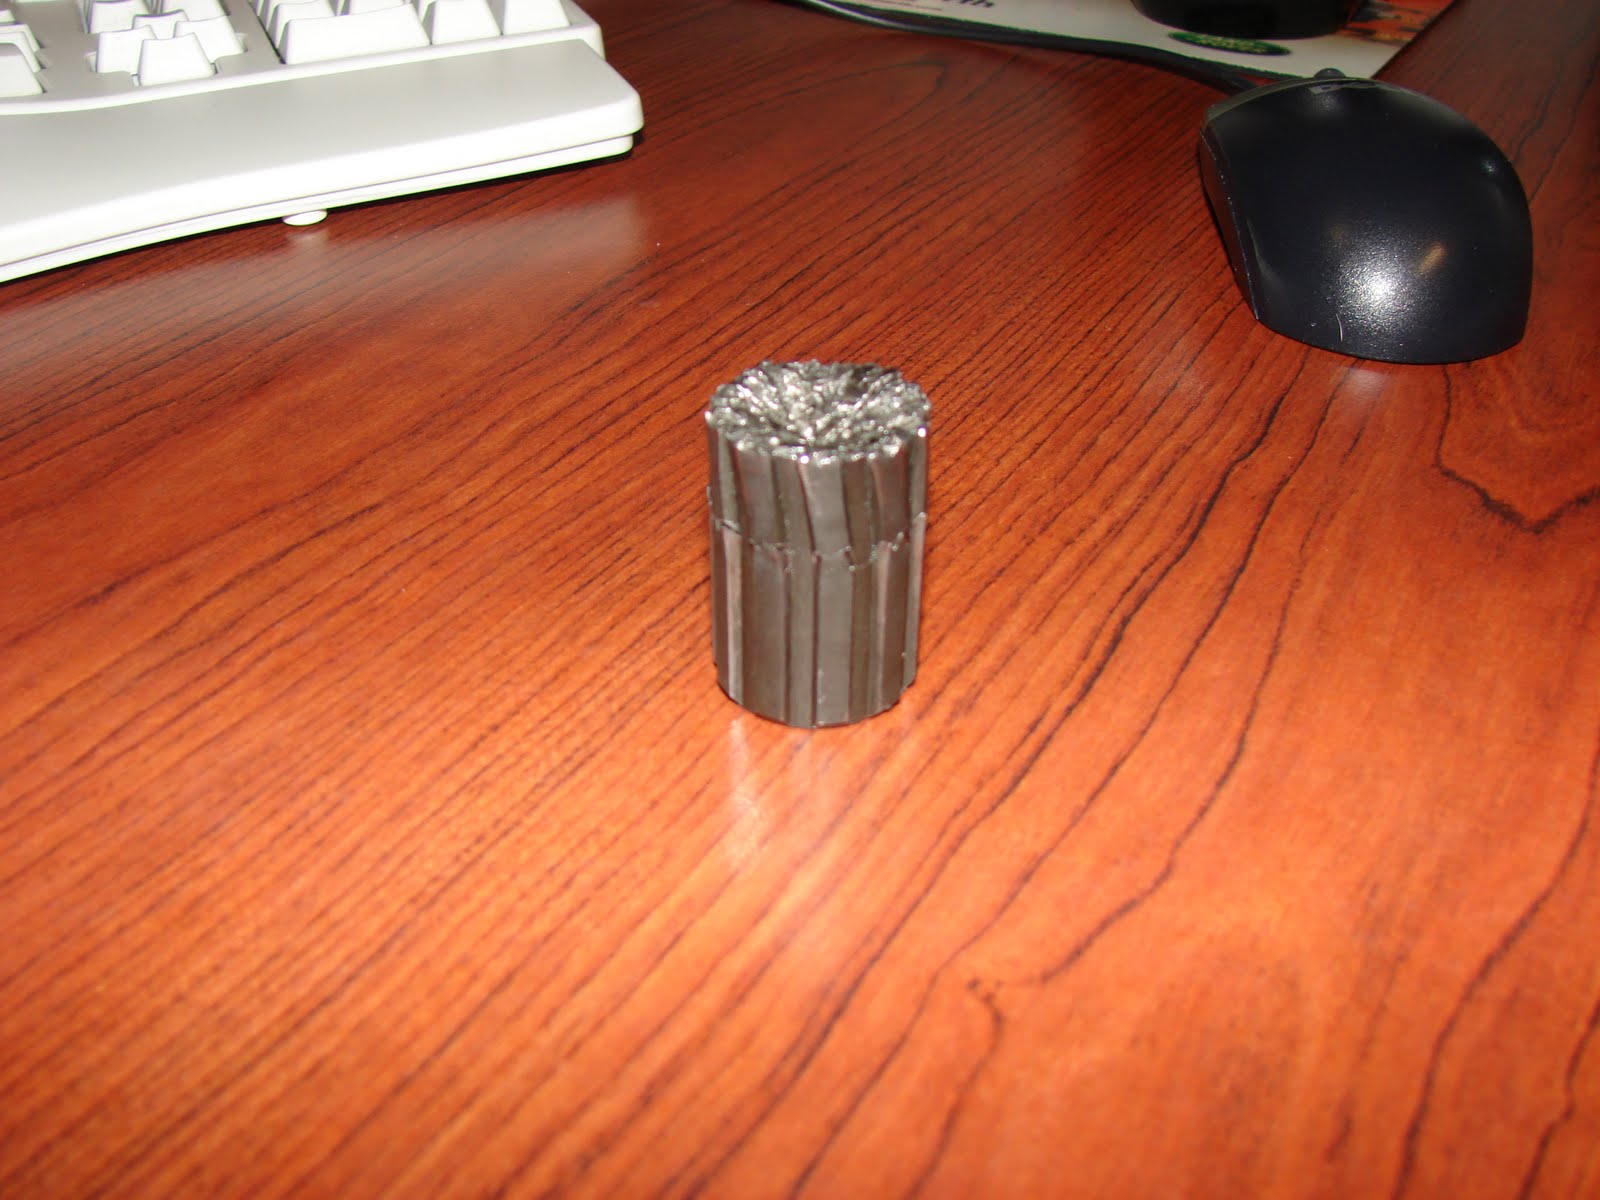
Do you know what this part is?

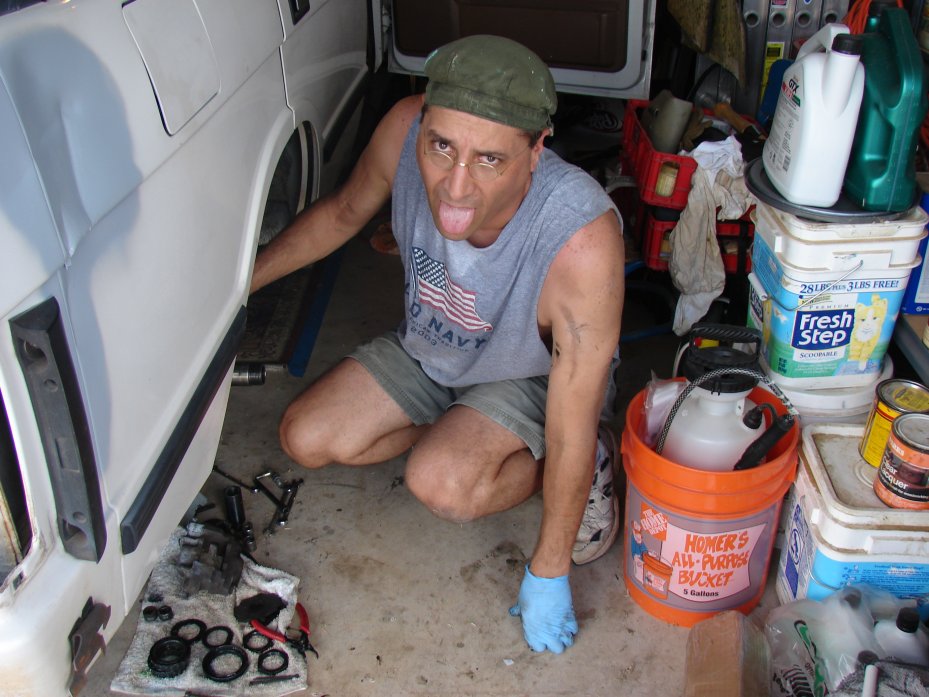
Nope, it’s an upper shock mount on a Range Rover Classic. Wait, what? You guessed that right? Bully for you. This weekend I climbed under the Range Rover to swap out the old and tired Old Man Emu shocks I bought in 2001. Before it was over, I had ordered two of these.

I sourced a set of Terrafirma shocks from Atlantic British and they had been languishing in their boxes on my garage floor. It was time to replace them.

The front shocks on went without a hitch. However the rear shocks were quite the ordeal to remove. It required me using the electric impact wrench. (Brilliant tool, by the way. If  you don’t have one, get one.) The rust was terrible. I have pictures to share in another post.

The nuts were welded to the shafts with corrosion and after hitting them with the impact wrench they just spun on the shafts. I had always wondered why people buy shock mounts, they are made out of metal right? How pictures have you seen or witnessed in person a person breaking a shock mount on the trail? I used to think these things were from hard use. Apparently they are from “use”. The part is shipped from the factory unpainted and you know what that means. RUST.

This means that after just a few years the rust has begun and the structural integrity of that part is being compromised. After climbing around under the Range Rover this weekend I was really surprised at how much rust was forming on the parts I had painted with Marhyde Self-Etching Primer just a summer ago.

If I had the budget and time I would probably pull the major bits and have them all powder-coated. But that is not really practical nor affordable. If I were doing a FULL RESTORE it would be. But I’m not, so I’ll just chase the rust around, part by part.

Speaking of rust, I noticed the brake calipers on the rear are really nasty. I replaced the right rear brake caliper a year or two ago when I noticed my second caliper rebuild failed. Frustrated I sourced new brake calipers. I did not paint them at the time thinking if I needed to return them under warranty they would not take them back. That left them with what ever they were coated with to rust. Turns out they were coated with Pre-Rust ™. Yes, I just trademarked that product. I will show a picture of the right side rear caliper in a future post.

After pulling the wheel to remove the shock, it turns out, I will need to replace the left side brake caliper as well. It does not seem to be contacting the brake disc. I may or may not have mentioned already that I have a pop when I apply the brakes and I would bet 100$(US) that this caliper is sticking and the culprit.

So what started as a Difficulty Scale 1 shock replacement, is going to be four jobs:

  • Replace Upper Shock Mounts
  • Rust Abatement on Right Rear Brake Caliper
  • Rust Abatement on Left Rear Brake Caliper
  • Replace Left Rear Brake Caliper

I think I will pull the right rear caliper and take it to JagGuy’s shop this coming weekend and sand blast the rust off. Then everything will get two coats of primer and get slapped back on. I wonder if anyone makes a “portable sand blaster”? I’m guessing Google is going to get work out on that search string later today.

I missed SCARR this weekend (http://scarr.texasrovers.org/) I really wanted to go but the time was not available. And as it turned out, my Range Rover wasn’t ready either.

Happy Earth Day. I hope it was awesome for you. In honor, I cut down a tree Sunday which was encroaching on my swimming pool. Up with people! (there will be no singing).
Smoke’m if you’ve got’em.

Thanks for reading, and Happy Rovering.

Color matters? (Post #295) 6/16/2012

According to an iVillage post the color of your car says a lot about you. I’m not so sure about that really. I’ve read a few pages that say what the TYPE of car you drive says about you. I will acknowledge that this is at best pop-science. One of my favorite television personalities, Sheldon Cooper a character on the popular television The Big Bang Theory show often says, “the social sciences are largely hokum.”
Sorry for the video its the best one I could find.

So let us say this is all, “just for fun”.
For the record, I drive a dark silver Honda Civic. I did not “pick” it out and only bought it to help a family member, so it will not be considered in our “scientific” findings. My wife drives a gag, champagne colored Honda CRV. Similar story, helping out a family member. This will also not be considered. Neither of these vehicles actually speak to our personalities so we will throw them out when factoring the data. As you know, I have a white Range Rover. I picked it out. Therefore it is a good piece of data for our fun today.

Range Rover = Practical personality.
White =  It really depends on who you are talking to.

Suite 101 says, “According to Eiseman, white cars are associated with a fastidious nature. The UK study found that they were often preferred by status-seeking extroverts, and the New Zealand crash study found that white cars had a mid-range crash rate, similar to that of red and green.”

If you ask people about me I think they would say I could be considered some what fastidious. I had to look the word up so I’ll share the definition here,

having high and often capricious standards : difficult to please.

Nailed it.

I am an extrovert. I tested in the Myers-Briggs Personality profile as an ENTJ. So yeah, that fits too.
I do not believe I am status seeking. I am concerned about my status, but I don’t believe I go to any effort to seek any new status.
I mentioned iVillage in the opening paragraph. I will post the link to the site but it had a hellacious number of pop-ups, so be forewarned if that little demon inside you says, “Go ahead, click it.” You were warned. 
iVillage says, “White car owners are hard to please. There’s a degree of fastidiousness; says Eiseman. ‘These are people who generally like things to be very pure and pristine and clear and direct.’ There’s nothing you can hide under the color white.’ The woman who chooses a white ride is more likely to keep her car super clean. And she lives the rest of her life this way, too.”
This confirms the above from Suite101. I am very direct, perhaps even to a fault. I once thought of setting the ring tone on my phone to my wife’s voice saying, “Could you be a little less direct?” I like to be clear as well. My wife might argue that with you.

Drive Mile One says, “White is for purists who love the color for its cleansing feeling.”

Yeah, I don’t know about that. I’m pretty sure the dark recesses of my personality that will confirm this have never been explored. I will say I am a purist. Cleansing? we may never know.
Lifescript, Healthy Living for Women says,Cloud White White has long been the conservative color of purity, innocence and doctors’ offices, which may be why many families choose white cars to transport their children in, but that doesn’t mean that white can’t spell luxury. According to ForbesAutos.com, white is the second most popular car color chosen for luxury vehicles. Being sold in sparkling hues like pearl white, this color is always on the most popular list. 
The Color Answer Book says the white is the color of the fastidious, and this may be true as a white car requires the most cleaning and upkeep to maintain that fresh, new look. Most sloppy or indifferent drivers won’t choose a color like white when it comes to car care and cleanliness.

There we go again, fastidious. According to these three websites, I might be an uptight prick. (Eh, I can live with that.) The “Color Answer Book” apparently is on the cleaning kick too. I can say though, I like a little mud on the fenders. It shows others, “I’ve been somewhere you haven’t or can’t go.”

Maybe someday, if you buy me a beer, I’ll tell you a story about the color pink As this is a family website, we’ll leave any further discussion to beer and fire light.


My wife LOVES red cars. I don’t have the time to tell you why none of their analyses are correct about people and red cars. It’s all a lot of hokum.

Thanks for reading, thanks for participating in the social sciences, and Happy Rovering and Happy Father’s Day to all the fathers out there.

Painting is harder than it looks (Post #213) 10/25/2010

Before my raging sinus infection took hold of me on Saturday, I decided to paint the tailgate. I woke up to a rainy day and temperatures in the 50s. I know humidity has a huge effect on painting but I could not wait. I’d been held up too many times on this project to blow an entire day once again.

On Thursday I went by my local auto paint supply store, B&H Supply. The good folks there were very patient with me when I had stopped by a month ago to get the “low down” on painting. After describing the project and what I wanted to accomplish, they suggested using a one step process to paint the tailgate. They suggested using Preval system to paint the tailgate. It is simple and easy and has pretty good results considering the situation.

I found the Land Rover paint codes from a website by Stephen Hull (updated link, July 2013). He has a great site that had a helpful chart of codes for all Land Rovers. I found my paint code in the “non metallic” page. I printed the page and took it with me to the paint store. Bud (a truly great Okie name) was a lot of help and was able to find the code listed in his computer. He went to the back and got the paint mixed. He said I’d only need a pint.

He brought out the paint, hardener, reducer. With a measured mixing container he marked the ratios for me and told me I’d have about half my paint left over when I poured the first mix. That wasn’t quite right. I mentioned that when he marked it but he was insistent. As it turned out it was exactly twice too much. Live and learn.

Bud had suggested that I should at least sand the surface with at least 500 grit sandpaper. I’m pretty sure I didn’t give enough attention to the sanding that I could have. I sanded off most of the edges.

I got everything set up and mixed the paint. I went back to the Range Rover and made sure I had everything taped off. In hind sight I should have lit that side of the garage up as well. I set up in my wife’s third of the garage. I got my bright halogen lamps and set them up. I got the paint materials out and tried to imagine how it would all go. I decided to paint the tailgate flat on the work table.

That would turn out to be a mistake. I should have had it propped up from the beginning. I was able to correct that later.

I mixed the paint and filled the paint jar. I used the short spray, short stroke method I’ve seen Edd China do a hundred times. Basically you spray and move, spray and move. If you do it the same way as Edd does you never have the paint coming out more than a couple of seconds before you release. After a couple of passes you have the area coated but not so much paint on it that it will cause a drop or a wave.

Now I say that and it seems my technique could use some more work. I did have runs and I did have one wave. The paint coats well and I think the problems I had were from the humidity. If I had a booth I think the results would have been better.

I painted both sides of the tailgate and both of the spots on the fenders. I sprayed the tailgate hitch, I sprayed stuff I didn’t think I even needed to spray. I had a lot of paint still mixed. I almost painted the floor board on the driver’s side but it was really dirty and would have taken me an hour to get clean enough to paint, so I passed.

Once I was done I used some of the reducer to clean up the parts. I let it dry all the rest of Saturday. I went in and watched football and tried to beat back the sinus attack with orange juice and Respa ™.

On Sunday I assembled everything. I had left the spots where the bolts went through the tailgate unpainted. Turned out I didn’t need to do that after all. The hinges were so loose that I had to align them from scratch. That was easy. I put the tailgate on and tightened it down. Open and closed the gate a few times and called it good. I tightened the bolts and began to work on the upper tail gate. It was a lot harder to get aligned.

I had to adjust the catches to get them to function correctly. This takes a vise-grip and a 7mm wrench to tighten the keeper nut. I got the latches working well, lubed them and put the pieces back on the gate.

I then began to put the badging back on the tail gate. I purchased some double sided tape for emblems from O’Reily’s. I cut it and got all the emblems reattached.

You may notice my EXTRA addition of the Oklahoma Edition badge. I have a friend that works for a dealership and I asked him to get me one when I saw them on a Ford Truck commercial. I put one on my 2003 Discovery and no one ever mentioned it. So when that truck was on the way to the scrap heap I took the badge off. I have a spare but was unable to find it.

I bought the RANGE ROVER and the COUNTY LWB badges quite a while ago and quite frankly was surprised I found them in that mess I call a garage. I put them on and the original dealer badge which was Andrew’s out of Nashville. That dealer is now called Land Rover Nashville. I also mounted the original green oval as well after I cleaned it up and re-glued it all back together.

The purchase of stainless steel screws came in handy when reassembling the tail lights. I was a few short so I just cleaned up the old rusty ones and gave them a coat of paint. I put the lamp assemblies back in their places and with a couple of new bulbs they were ready to go.

And if you go back to the first picture you can see the end result. I am happy with it. It is after all a work truck. It is not a beauty queen. God only knows how many scratches this paint job will have in the future. That is if the floor boards don’t rust out from under my feet before I can get those well earned scratches on her.

Thanks for reading and Happy Rovering.

Painting (Post #212) 10/23/2010

Its a rainy weekend here in Oklahoma. I am coming down with a sinus infection or something. I did manage to roll out of bed and get the paint on the quarter panels and the tailgate. Sadly it looks like “I” painted it. I’m hoping some buffing will help the finish. I’m not too worried about it though. This is a WORK truck or a TRAIL truck, not a show truck. I just wanted the paint to match.

I didn’t need half the paint I mixed up though and a lot went to waste. I feel more or less like crap and have decided to punt for the day and just relax and fight the sinus problems.

If I can string some thoughts together tomorrow I’ll post the final on the suspension bushings I finished yesterday. I also took care of the solenoid that malfunctioned and keeps me from going into low range.

More later….
Thanks for reading and Happy Rovering.

Differential Out (Post #196) 8/24/2010

Holy crap! Sunday was not all that much fun. I had a few hours to devote to Range Rover Classic Restoration Part Duex. I started with sanding the tailgate. I’m not sure if you have ever done any paint work or if you have watched any of the dozens of car shows on television. But when you see them sanding, and sanding, and sanding, there is a very good reason for that.

When you take paint off a panel you often have to remove the paint and primer down to the metal. Once you do, you can see how thick the paint is on the metal. I noticed this on the tailgate and remembered watching Edd China on Wheeler Dealers BBC America, sand the panel before he painted it. The basic idea here is to reduce the lip of the paint. Sanding it down makes the edge disappear. Well very nearly disappear anyway.

This is not a show car and I am not a paint and body guy. So I sanded the edge down on all the bits where it showed. I think I did a pretty good job but I know I could do better but I thought the time was better spent somewhere else. So I finished sanding, checked the edge and touched it up again. Then I wiped it all down with paint thinner to remove the dust and I covered it with more acid etching primer. The next step on this is to buy the paint to cover the tailgate and rear panels.

I then set out to get the differential out of the axle. To do this you need to remove the drive shaft. As I tried to do this it seemed like every one of those nyloc nuts would round off. Frustrated I finally decided the drive shaft would come off at the differential. I latched the vise-grips to each nut and went to wrenching or socketing whatever.
With the drive shaft out of the way, I started on the nyloc nuts on the differential. Luckily they did not round off. I positioned the hydraulic jack under the differential and had my trusty helper RovErica lower the jack. That didn’t work out like I thought it should. I just had her let it go and I manually wrangled it to the garage floor.

Let me tell you it doesn’t take many of these projects for you to appreciate the weight of some of the parts of the Range Rover. The differential is a very dense and heavy bit of the Range Rover. I totally underestimated my upper arm strength and its weight. The good news after it was out, I only had one busted up finger so I feel fortunate. Although sore, that finger was still functioning, so bonus.

I was pretty spent when it was all said and done as evidenced by this picture of me.

I looked at the differential and there locked deep inside was the end of my axle shaft. I piddled around trying to get it out but nothing worked. It took me modifying an old screwdriver into a punch of sorts. I placed it on the broken shaft and started banging away gently persuading it out with a one pound hammer.

You can well imagine with the heat generated when a shaft spins in two, that it would be stuck. Think heat expansion properties and bendy metal. And stuck it was. Finally after quite a few whacks the tip came out.

You can see in the picture that there was some serious stress involved in breaking that shaft. I talked to RovErica again to see if she remembered what might have occurred during her driving that might have caused it to break. I took her back to when she remembered the front wheels starting to chirp. The chirping tires were the result of the viscous coupling failing post drive shaft failure.

She recalled two episodes where she drove off the road why coming home from a friend’s home in East Norman. She said one of those resulted in the Range Rover leaving the road and her coming to a halt sideways. Or that’s how she told it. Either way this could have been the event. My friend who served in the Oklahoma Highway Patrol told me the spin out maneuver they employ to stop cars often breaks the drive shaft or at the least the drive train. Good work RovErica.

I called my pal JagGuy and asked him if there was anything I needed to do to the differential before I reinstalled it. He started talking about limited slip differentials and the fact that if it was limited slip the clutches would be totally hosed. I mentioned I could not see anything like that but he was insistent.

I also looked at Atlantic British and Rovers North for parts lists for the differential. Neither of them listed any part for the differential that could be for a limited slip.

I got on the RangRovers.net message board and asked if anyone knew one way or the other.

Danny from West Wycombe, England and James from Wisconsin offered some wisdom on the differential. Danny lives in what looks like from Google Maps an ideal place to own a Land Rover. I’d love to know if he lives in this estate. Hell Fire Caves looks like a lot of fun. I pretty sure they have a little bit of money. That looks like an incredible place to live. CHECK OUT THAT CARRIAGE HOUSE!

There are even ponies on the polo ground!

View Larger Map

I can just imagine greenlaning around that great property in my Land Rover.

Equal billing for James leaves me with this remembrance. The last time I was in Wisconsin, I was driving around in an M54A2 6×6.

I’ve never been to Spain, Emu Plains, NSW, Australia  but I been to Oklahoma. Ron Beckett (P38ARover) also commented on the board, “Your car would have a standard open diff. LR never offered an LSD.”

View Larger Map

I don’t see myself putting that back in until then and that gives me plenty of time to confirm everything. I do not want to take it out again. While it’s out I think I put my angle grinder to work and give it a lovely coat of primer gray.

I will also investigate some synthetic lubricant for the refit. I cleaned out some nasty stuff from the “pumpkin”. As you can imagine the last bits of the axle and all the fine bits that were ground off wound up in the bottom of the reservoir. The axle lube was a lovely silvery color. This is what initially tipped JagGuy off that a clutch was eaten. We shall see.

Thanks for reading and Happy Rovering.

December 6th, 2006 (Post #67)

December 6th, 2006


I had no idea how many pages I would need after I got this redesign started. There are several pages waiting for me to start and I will get to them in good time. I need to figure out the button graphics. I wish I had a couple ounces of graphics talent. I may sick RovErica on the task. She is very artistically inclined.

Restoring the Rangie. I will start ordering parts as soon as Christmas is done. I’m going to start with the brakes so I can get her back on the road. The painting will need to be done in North Oklahoma City at my buddy’s paint booth. I’ve noticed a nasty contrast between the front doors and the back half. The front is shiney and the back is badly oxidized. I’m not sure if I’ll paint the whole truck at this point or just the rusty bits.

I’m trying to decide which Rover to at the modifications to. The 93 Rangie is the obvious choice. But as it will be RovErica’s daily driver I can’t very well take it for the weekend. But as the Disco is MY daily driver I don’t want to add too many heavy mods. I need to build a bumper for the Disco after the wreck. But I’m sure with a little creativity I could do that in the shop. I saw how
Disco Mike set his up. He was kind enough to forward me some pics of his bumper build. Layed out like he did it I think I could do that for sure. I’ll just need to wander down to the steel yard and pick up some metal.

I “pimped” the my MySpace page this week. I find the hidden tricks difficult to understand. But copying off some of the other pages I’m able to find stuff I like. And using the copy and paste feature I can customize it to fit my needs. Check it out at http://www.myspace.com/okierover
I think it looks good. I wonder how much longer this MySpace craze will last?